1.src中重要的组成
1.1main.ts
// 引入createApp用于创建应用
import { createApp } from "vue";
// 引用App根组件
import  App from './App.vue';

createApp(App).mount('#app')
1.2 App.vue
其中要写三种标签
<template>
<!--html-->
</template>

<script>
//js或Ts 交互
</script>

<style>
/**样式 */
</style>
eg示例
<template>
<!--html-->
  <div class="app">
    <h1>
      你好!
    </h1>
  </div>
</template>

<script lang="ts">
//js或Ts
  export default {
    name:  'App' //组件名
  }
</script>

<style>
/**样式 */
  .app {
    background-color: #ddd;
    box-shadow: 0 0 10px;
    border-radius: 10px;
    padding: 20px;
  }
</style>
2.再写一个app
创建component文件夹
下面创建Preson.vue文件
编写vue
<template>
  <div class="person">
    <h2>姓名:{{ name }}</h2>
    <h2>年龄:{{ age }}</h2>
    <button @click="showTel">查看联系方式</button>

  </div>
</template>
<script lang="ts">
  export default {
    name:'Person',
    data(){
      return{
        name:'张三',
        age:18,
        tel:'129299292'
      }
    },
    methods:{
      showTel(){
        alert(this.tel)
      }
    }
  }
</script>
<style scoped>

.person {
    background-color:  skyblue;
    box-shadow: 0 0 10px;
    border-radius: 10px;
    padding: 20px;
  }


</style>
让电话点击显示,在showTel中使用shis指向tel电话
2.1将Preson.vue加入到App.vue跟中
<script lang="ts">
//js或Ts
import Person from './components/Preson.vue'
  export default {
    name:  'App', //组件名
    components:{Person}  //注册组件
  }

</script>
2.2 给Preson.vue 添加修改姓名和年龄
<template>
  <div class="person">
    <h2>姓名:{{ name }}</h2>
    <h2>年龄:{{ age }}</h2>
    <button @click="showTel">查看联系方式</button>
    <button @click="changeAge">修改年龄</button>
    <button @click="changeName">修改姓名</button>
  </div>
</template>


<script lang="ts">
  export default {
    name:'PreSon',
    data() {
      return {
        name:'张三',
        age:18,
        tel:'13888888888'
      }
    },
    methods:{
      changeName(){
        this.name = 'zhang-san'
      },
      changeAge(){
        this.age += 1
      },
      showTel(){
        alert(this.tel)
      }
    },
  }
</script>

<style scoped>

.person {
    background-color:  skyblue;
    box-shadow: 0 0 10px;
    border-radius: 10px;
    padding: 20px;
  }
  button{
    margin: 0 5px;
  }

</style>
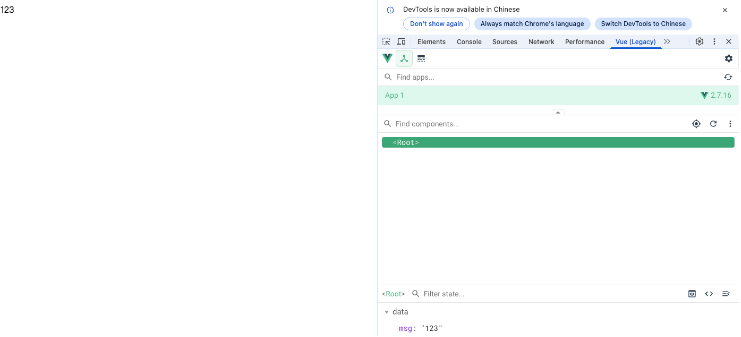
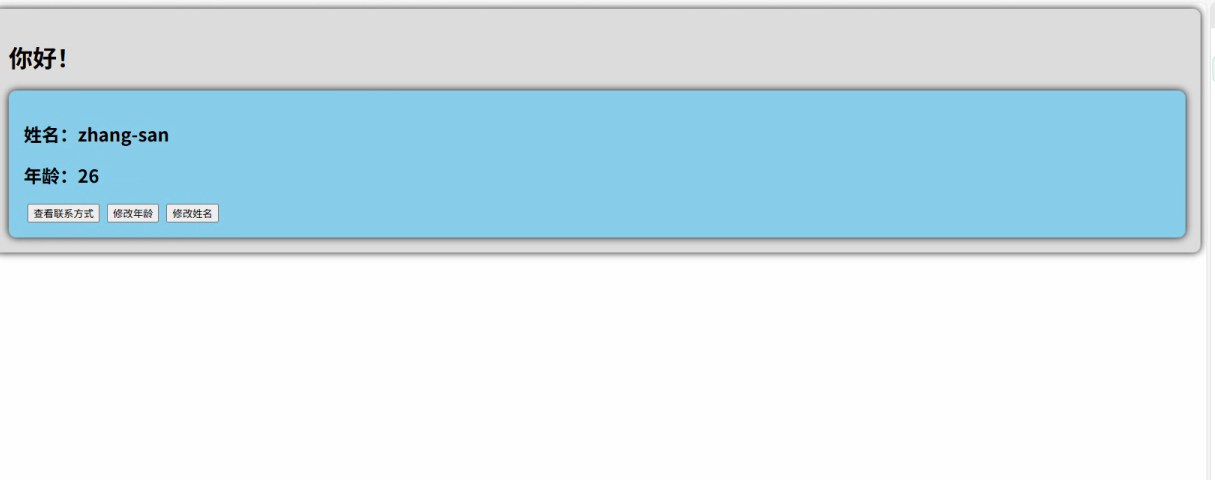
运行结果


![[ICLR 2022]How Much Can CLIP Benefit Vision-and-Language Tasks?](https://i-blog.csdnimg.cn/direct/75eed2dbee674f4198dbc4e274178c71.png)