官方例程位于标准库的目录下,详细路径如下
GD32F4xx_Firmware_Library_V3.0.0\GD32F4xx_Firmware_Library_V3.0.0\GD32F4xx_Firmware_Library\Template
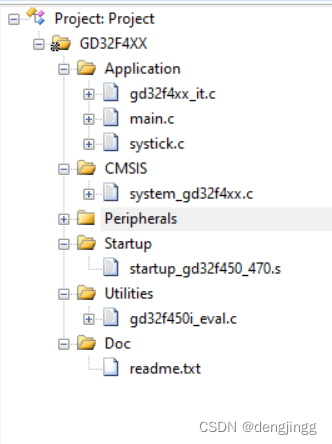
文件目录清晰简单。值得注意的是system_gd32f4xx.c 位于CMSIS目录下
CMSIS简单理解ARM公司的统一软件命名规则Cortex Microcontroller Software Interface Standard。
其中SystemInit 函数是CMSIS规定的接口,在今后的开发中,CMSIS出现频率会越来越高,迟早是要学的。
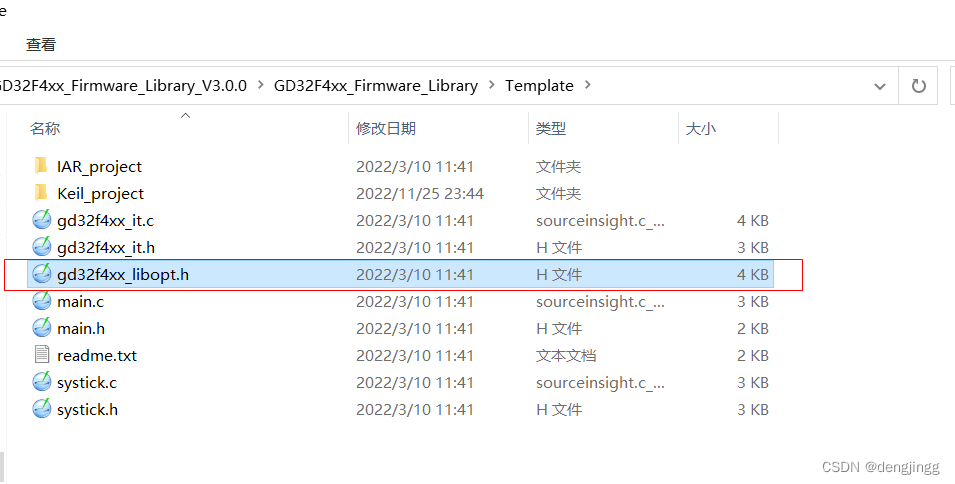 gd32f4xx_libopt.h 后面会提到
systick.c
配置了系统定时器模块,并且开启了定时器中断
oid systick_config(void)
{
    /* setup systick timer for 1000Hz interrupts */
    if(SysTick_Config(SystemCoreClock / 1000U)) {
        /* capture error */
        while(1) {
        }
    }
    /* configure the systick handler priority */
    NVIC_SetPriority(SysTick_IRQn, 0x00U);
}
在gd32f4xx_it.c中定义了中断服务函数,和本系列(一)中中断向量表对应
void SysTick_Handler(void)
{
    led_spark();
    delay_decrement();
}
在main.c中 引用了5个头文件。
#include "gd32f4xx.h"
#include "systick.h"
#include <stdio.h>
#include "main.h"
#include "gd32f450i_eval.h"
gd32f4xx.h
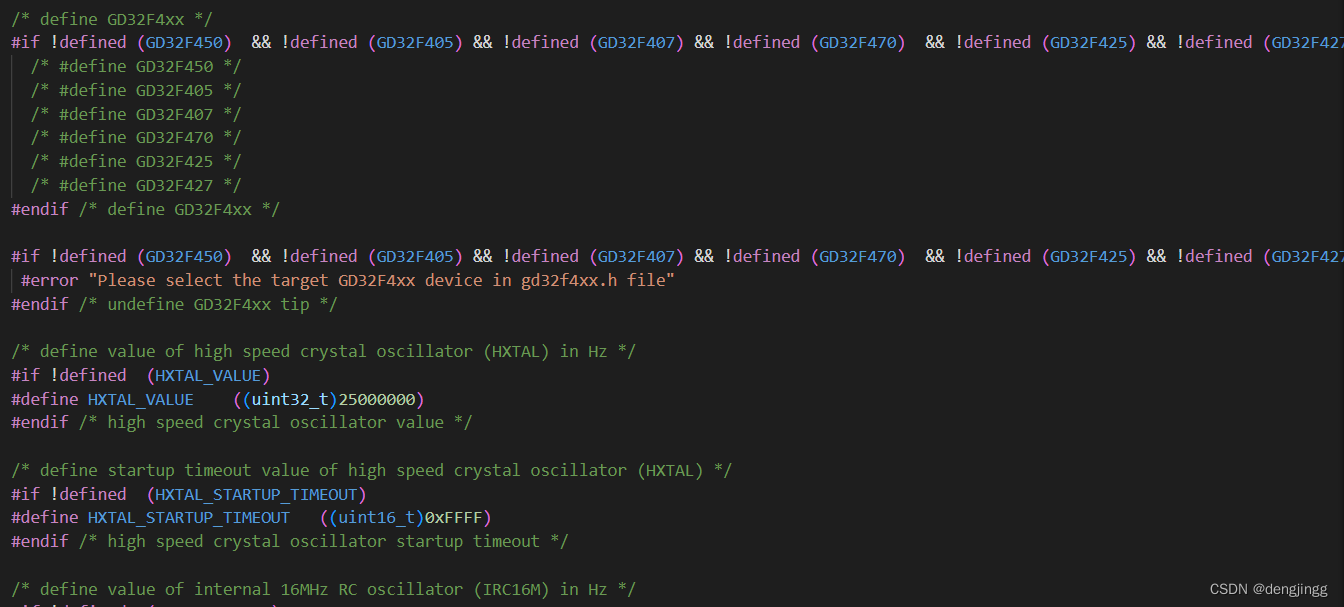
定义MCU使用的型号,配置时钟所用参数的设定。
全局外设的基础地址。对于CPU来说一切都是地址。
#if !defined  USE_STDPERIPH_DRIVER
#define USE_STDPERIPH_DRIVER
#endif
#ifdef USE_STDPERIPH_DRIVER
#include "gd32f4xx_libopt.h"
#endif /* USE_STDPERIPH_DRIVER */
最后通过gd32f4xx_libopt.h
加入各个外设的头文件
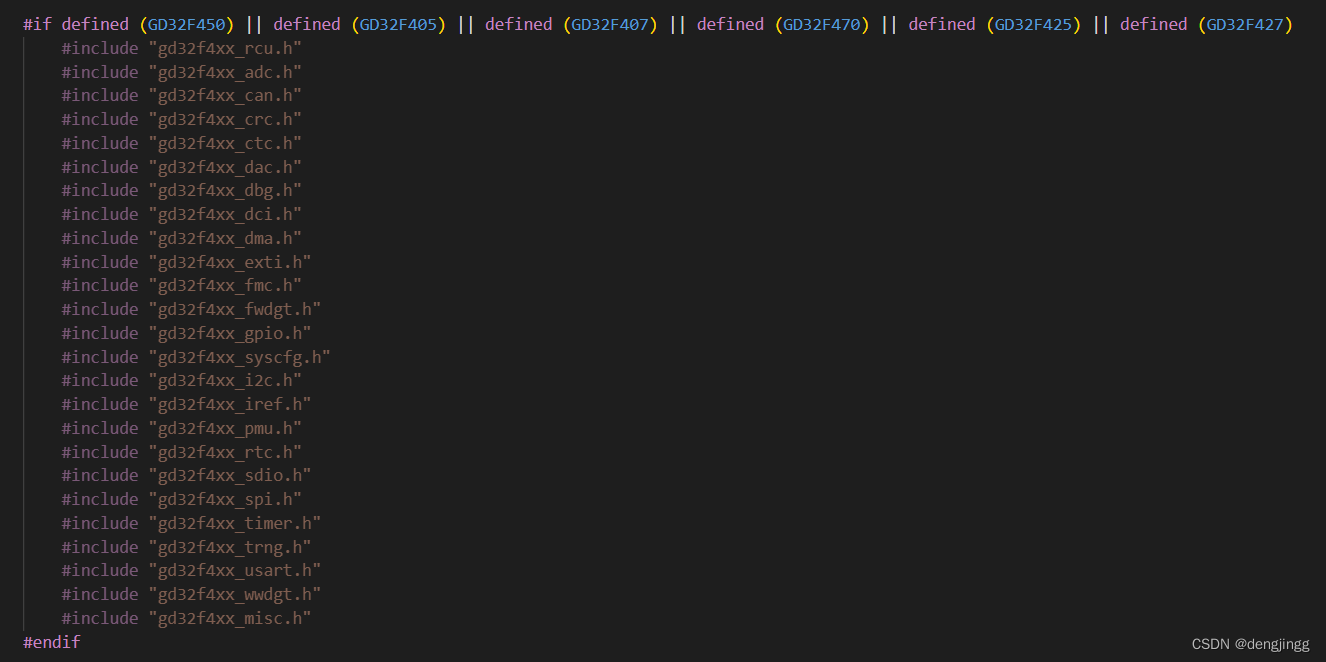
所以gd32f4xx.h 即可包含所有外设的头文件引用。
USE_STDPERIPH_DRIVER 定不定义都无所谓。
二 建立工程
1.建立一个新的工程,器件选择自己对应的MCU型号
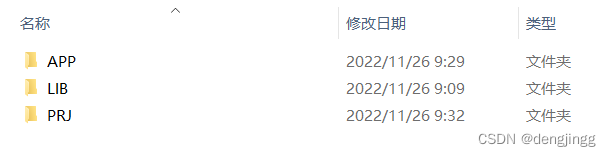
2.建立文件目录,按照自己喜好
3.拷贝文件
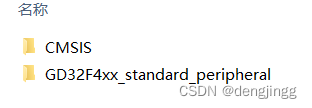
拷贝标准库到项目文件夹
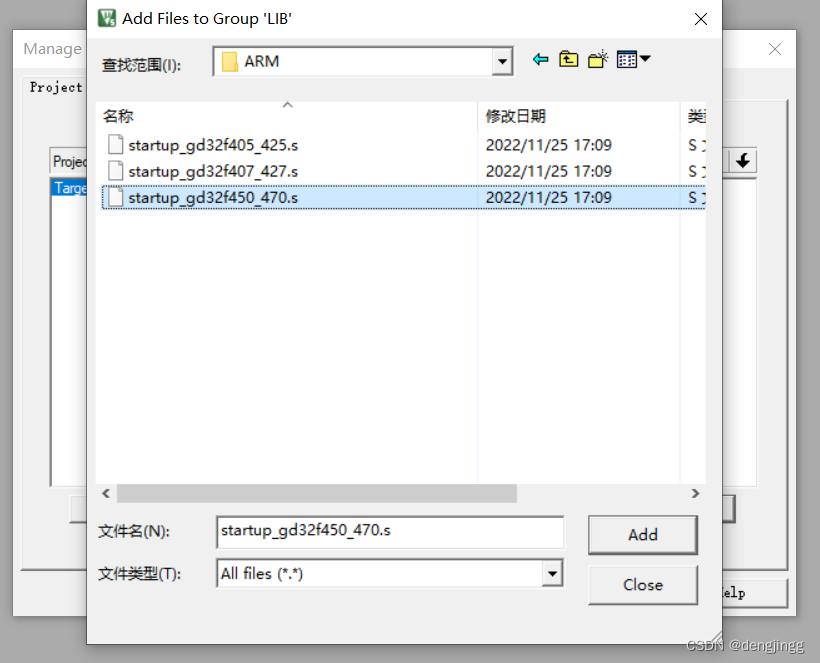
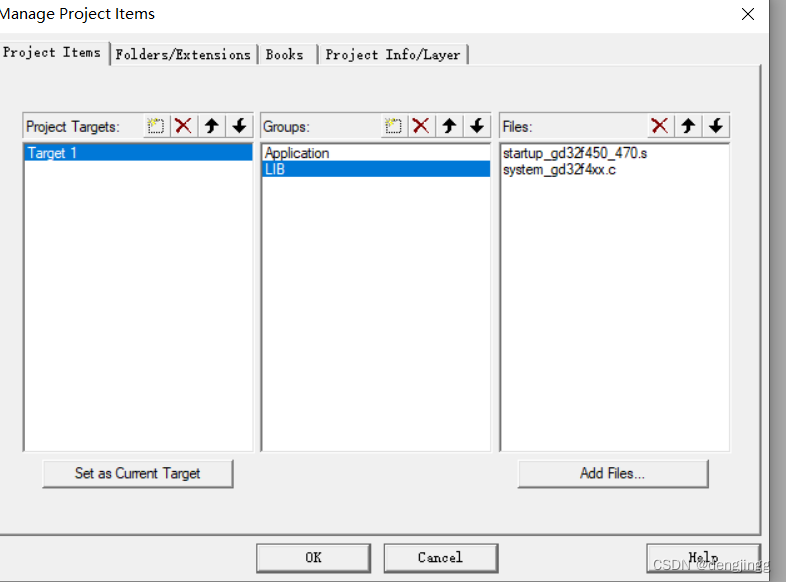
添加启动文件startup_gd32f450_470.s 选择MCU对应的型号
加入 system_gd32f4xx.c 因为这文件是systemInit函数所在的C文件
然后添加标准库GD32F4xx_standard_peripheral\Source,都加进去
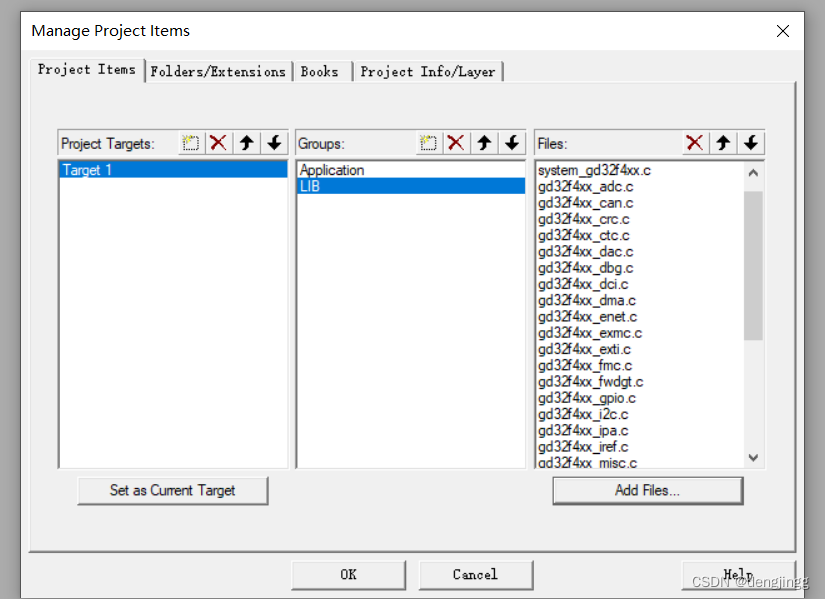
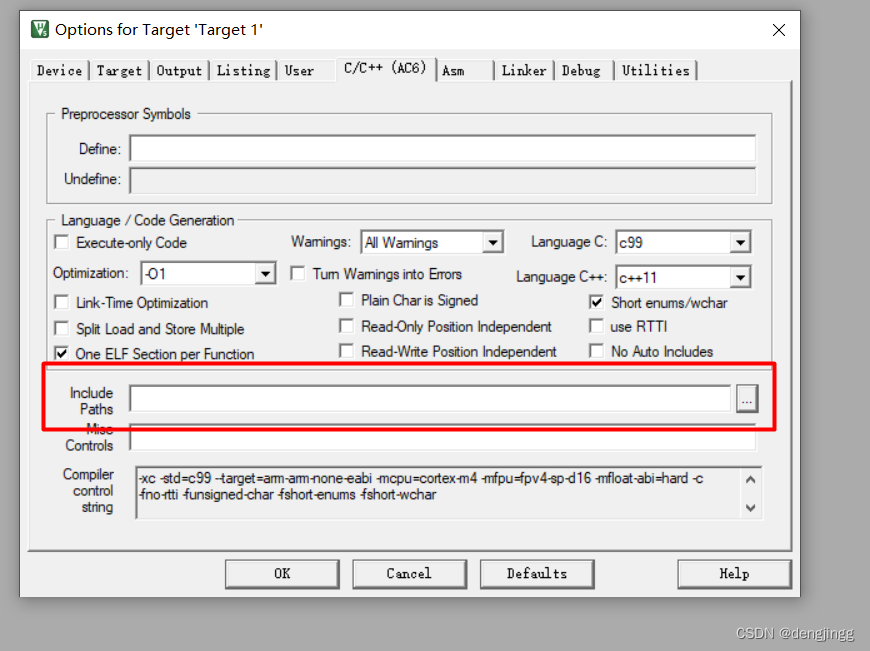
加入对应的C文件路径

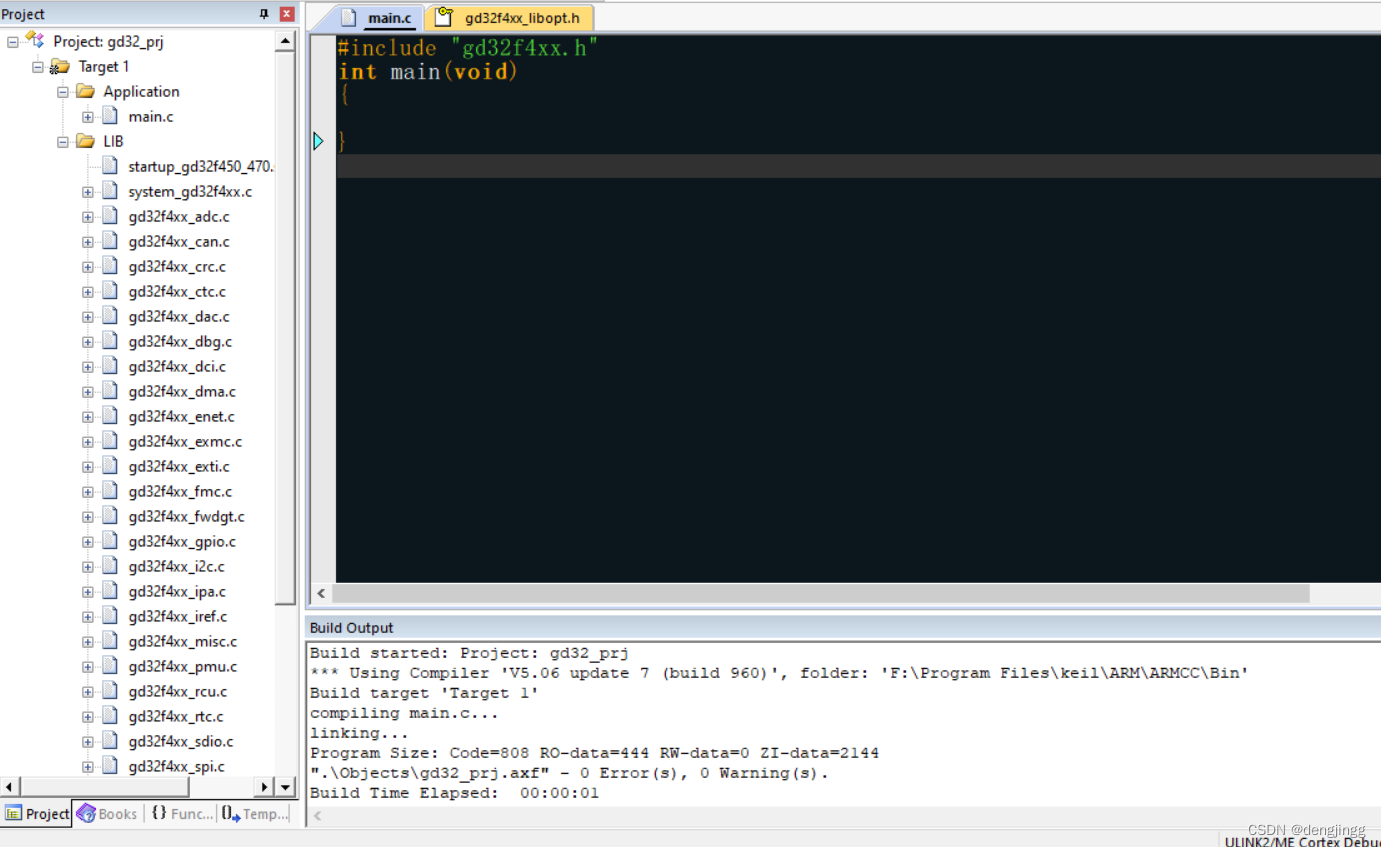
创建一个空的main.c
写入一下内容
加入到工程目录中
#include "gd32f4xx.h"
int main(void)
{
}
启动文件,和systemInit,加上空的main函数,就是标准库最小代码系统。
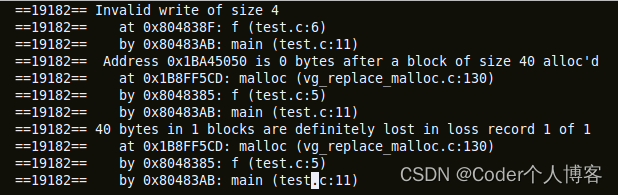
编译报错
F:\Program Files\keil\Packs\GigaDevice\GD32F4xx_DFP\3.0.3\Device\F4XX\Include\gd32f4xx_libopt.h(11): error: #5: cannot open source input file "RTE_Components.h": No such file or directory
缺少 RTE_Components.h
什么情况怎么冒出这个玩意,把标准库中的gd32f4xx_libopt.h拷贝到当前工程目录下。
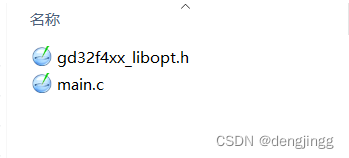
编译成功
创建工程 关键的地方在意gd32f4xx_libopt.h 这个幺蛾子,适当参考官方例程。


![[附源码]java毕业设计中华美食网站](https://img-blog.csdnimg.cn/44ec824b7956435c84104d6babea7b17.png)