1. 实验目标
设计一个能实现如下功能的4位带符号位的 补码 ALU:
| 功能选择 | 功能 | 操作 |
|---|---|---|
| 000 | 加法 | A+B |
| 001 | 减法 | A-B |
| 010 | 取反 | Not A |
| 011 | 与 | A and B |
| 100 | 或 | A or B |
| 101 | 异或 | A xor B |
| 110 | 比较大小 | If A<B then out=1; else out=0; |
| 111 | 判断相等 | If A==B then out=1; else out=0; |
ALU进行加减运算时,需要能够判断结果是否为0,是否溢出,是否有进位等。这里,输入的操作数A和B都已经是补码。比较大小请按带符号数的方式设置。
执行逻辑操作时不需要考虑overflow和进位。
由于开发板上输入有限,可以使用SW作为数据输入,button作为选择端。使用SW作选择器。
2. 通过实验的收获
1. 理解ALU 功能单元单元
2. 理解进位和溢出位的区别。进位是加法器每个比特相加过程中的中间结果。而溢出位是最终结果用来判断计算结果是否有效的指示信息。
3. 如何通过C代码读取硬件模块中的值
3. 实现过程
1. 新增 alu_bit4.v 模块文件
利用组合逻辑实现计算,利用case语句实现对溢出位的判断。下面是实验中的部分代码。
  // 预计算所有可能的操作结果
    assign not_A     = ~A;
    assign and_result = A & B;
    assign or_result  = A | B;
    assign xor_result = A ^ B;
    assign add_result = {1'b0, A} + {1'b0, B};  // 扩展为5位进行加法
    assign sub_result = {1'b0, A} - {1'b0, B};  // 扩展为5位进行减法

    // 根据opcode选择执行的操作
    always @(*) begin
        case (opcode)
            3'b000: begin  // 加法
                result  = add_result[3:0];
                carry   = add_result[4];  // 进位为最高位
                overflow = (A[3] == B[3]) && (result[3] != A[3]); // 符号相同但结果符号不同
            end

            3'b001: begin  // 减法
                result  = sub_result[3:0];
                carry   = ~sub_result[4];  // 减法的借位取反
                overflow = (A[3] != B[3]) && (result[3] != A[3]); // 符号不同但结果符号异常
            end
2.修改top.v文件
例化ALU模块,同时将计算结果的变量添加到输出端口,方便main.cpp进行访问
module top(
    input clk,
    input rst,
    input [4:0] btn,
    input [15:0] sw,
    input ps2_clk,
    input ps2_data,
    input uart_rx,
    output uart_tx,
    output [15:0] ledr,
    output VGA_CLK,
    output VGA_HSYNC,
    output VGA_VSYNC,
    output VGA_BLANK_N,
    output [7:0] VGA_R,
    output [7:0] VGA_G,
    output [7:0] VGA_B,
    output [7:0] seg0,
    output [7:0] seg1,
    output [7:0] seg2,
    output [7:0] seg3,
    output [7:0] seg4,
    output [7:0] seg5,
    output [7:0] seg6,
    output [7:0] seg7,
    output [3:0] result, //实验三:简易4bit ALU
    output zero, //实验三:简易4bit ALU
    output overflow,//实验三:简易4bit ALU
    output carry //实验三:简易4bit ALU
);

//实验三:简易4bit ALU


// output declaration of module alu_4bit


alu_4bit u_alu_4bit(
    .A        	(sw[3:0]        ),
    .B        	(sw[7:4]        ),
    .opcode   	(sw[10:8]      ),
    .result   	(result    ),
    .zero     	(zero      ),
    .overflow 	(overflow  ),
    .carry    	(carry     )
);
3.修改main.cpp 文件
添加对输出结果的打印
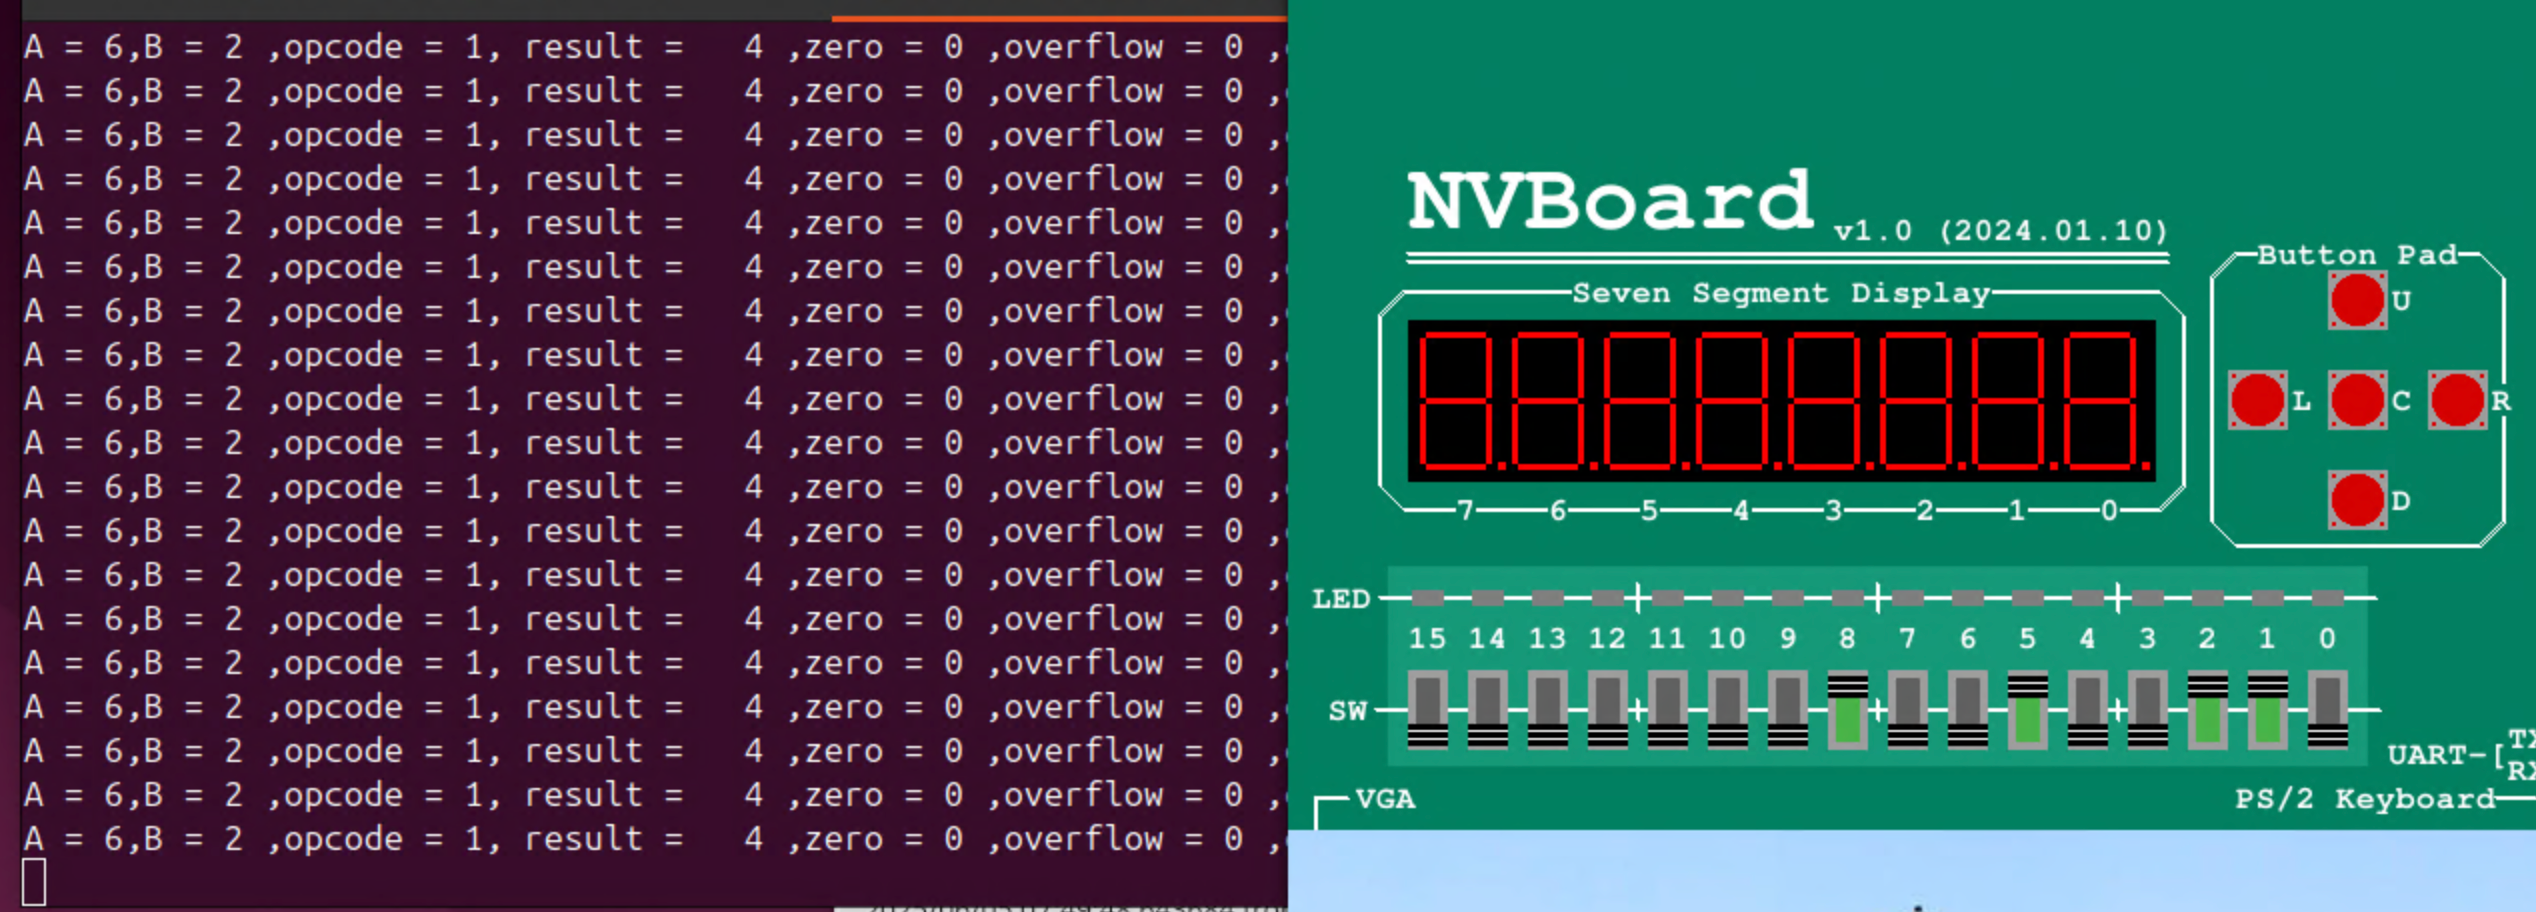
      printf("A = %d,B = %d ,opcode = %b, result = %3d ,zero = %d ,overflow = %d ,carry = %d  \n",
             top->sw & 0x0f,(top->sw >> 4) & 0x0f,(top->sw >> 8) & 0x07, top->result, top->zero, top->overflow, top->carry);
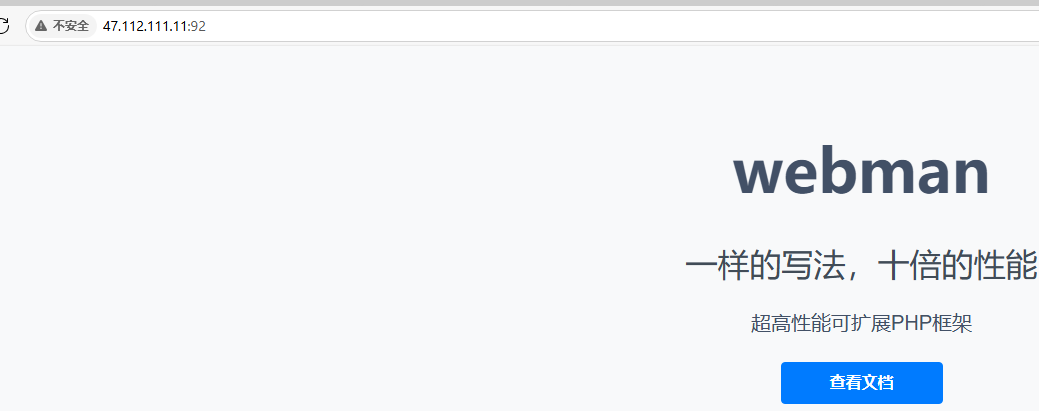
4.运行结果
SW[3:0] 为输入A
SW[7:4] 为输入B
SW[10:8] 为计算选择器
在npc目录下 ,运行make run 可以实验体验
下图位一个 6-2 的实验输出

![[论文阅读] (38)基于大模型的威胁情报分析与知识图谱构建论文总结(读书笔记)](https://i-blog.csdnimg.cn/direct/f33212b2a7404aec8573d2bf5696ea93.png#pic_center)


![BUUCTF[极客大挑战 2019]Secret File 1题解](https://i-blog.csdnimg.cn/direct/4e960ed3ae804fbcba81a699421a7b72.png)