前言
在上一篇文章中—— ck-editor5的研究(1):快速把 CKEditor5 集成到 nuxt 中 ,我仅仅是把 ckeditor5 引入到了 nuxt 中,功能还不算通用。
这一篇内容将会对其进行设计,并封装成可复用的 vue 组件,实现的效果如下:
总共分成了 3 步
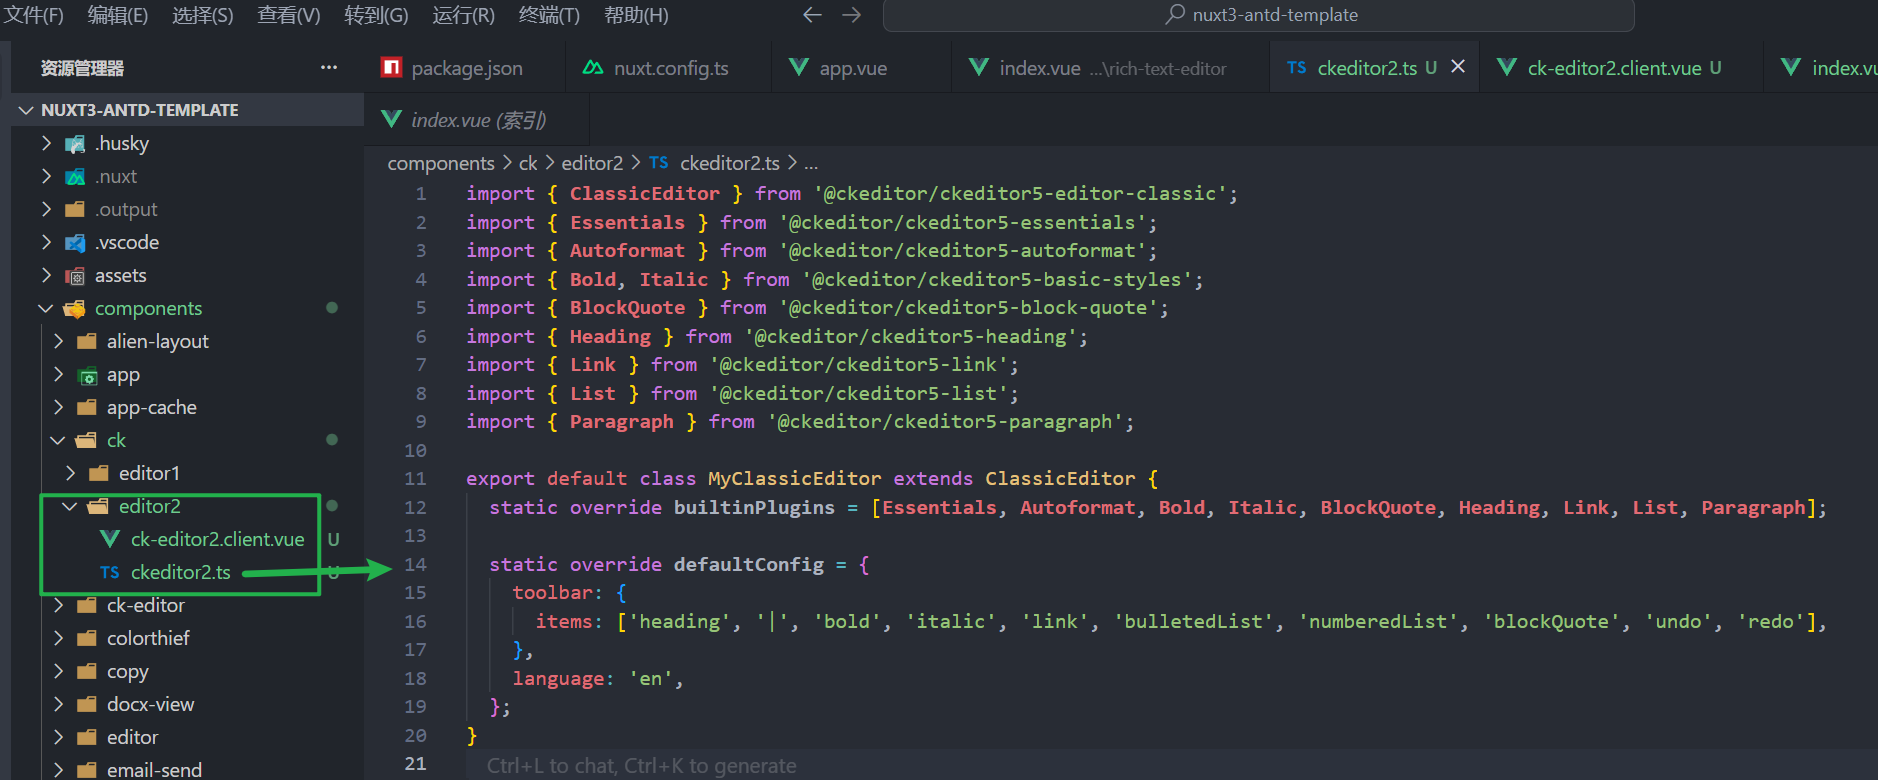
1. 第一步:搭建目录结构 (复用之前的代码)
复用上一篇的 ts 和 vue,如下:

接着,再 pages 中创建一个测试该组件的demo2.vue文件:
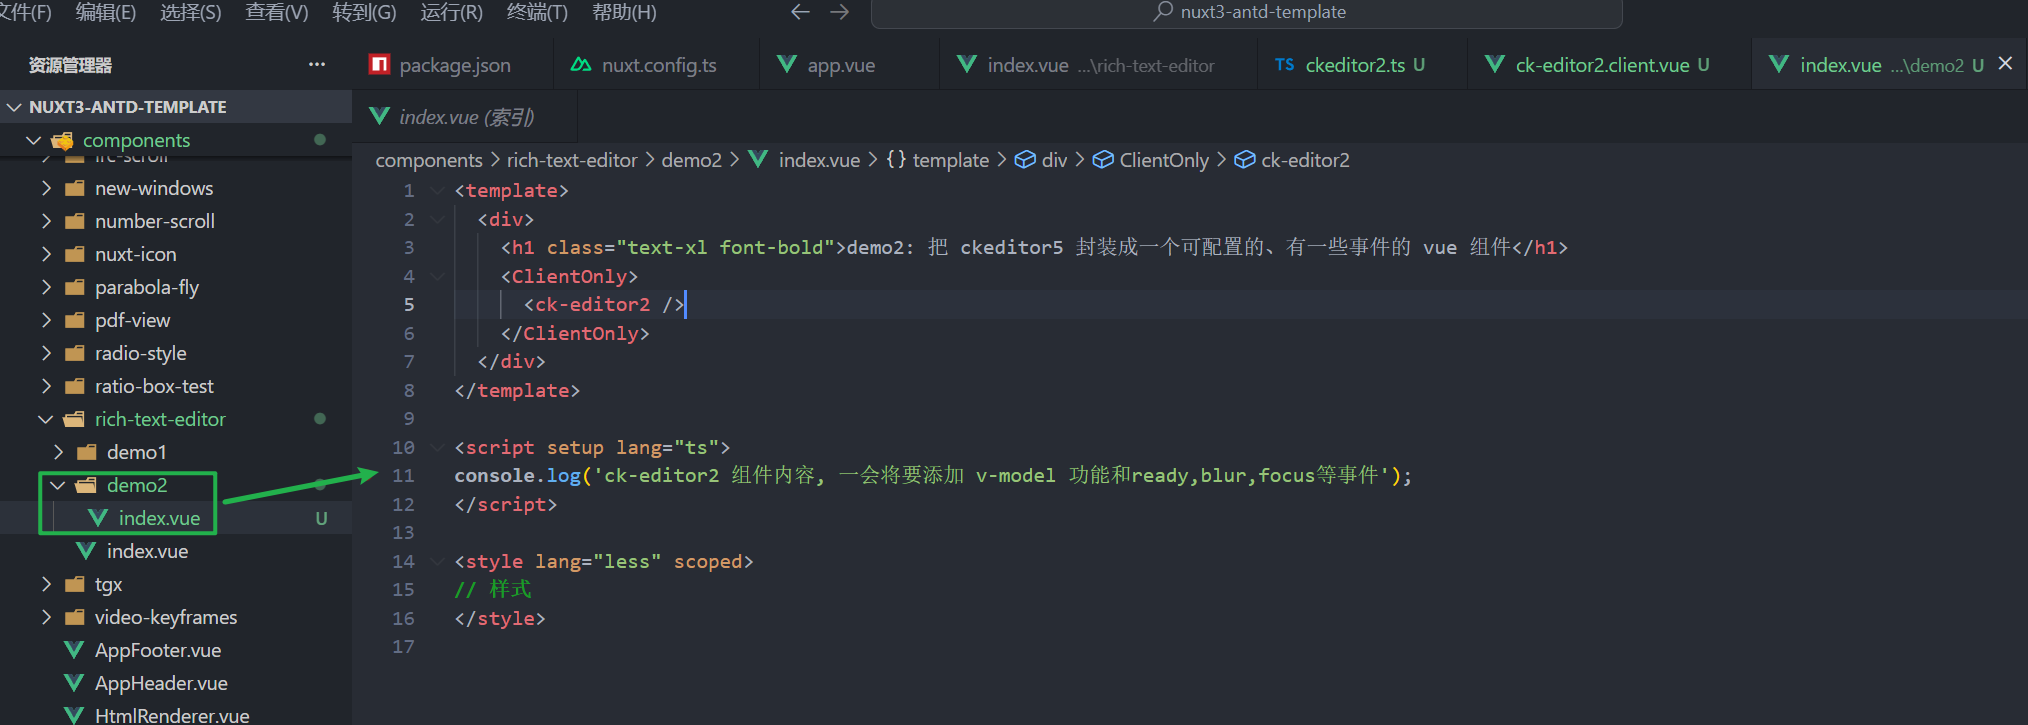
能显示到页面即可,可以看到跟上一篇是完全一样的: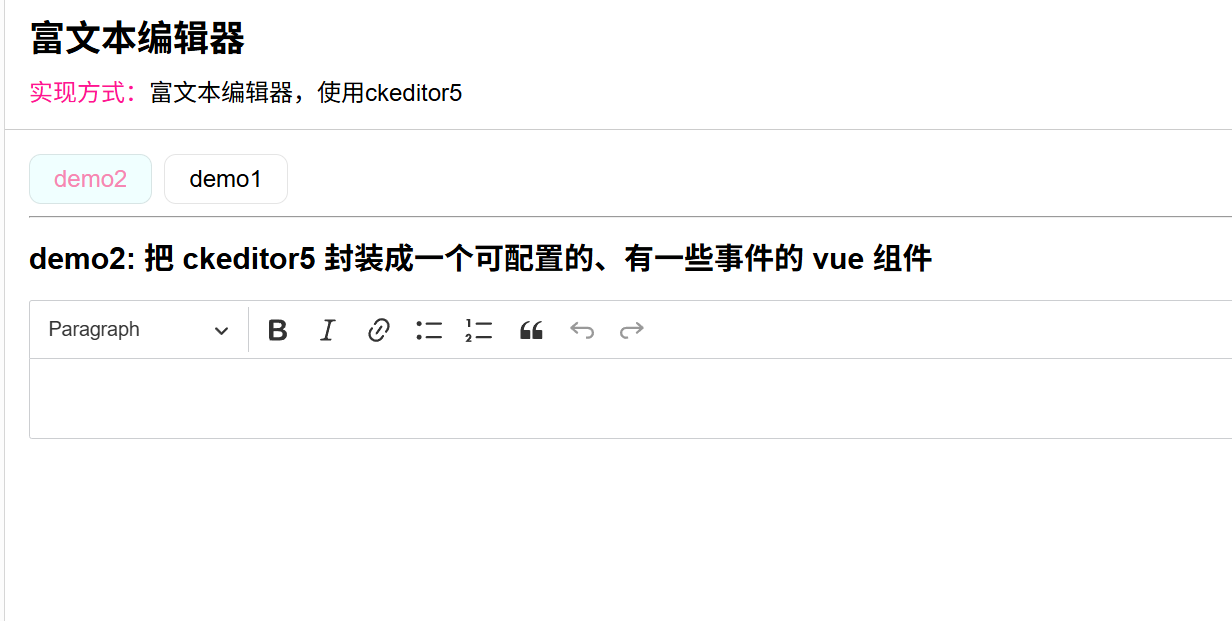
2. 第二步:正式封装组件
既然要变成通用的组件,肯定要接受一些参数,并且需要一个名字,于是我初步设定为这样:
继续思考,大概要做这些事:
- 首先要初始化,也就是创建编辑器实例对象 instance,同时合并传进来的配置项 config。
- 定义一些事件,同时在特定的时机,发出这些 emit 事件。
- 在组件销毁时,清理编辑器实例对象 instance。
- 性能:更改内容的时候,要不断更新,所以考虑使用一个延迟进行优化 (debounce)
- 监听是否被禁用,设置编辑器的状态
为了完善 ts 类型,这里加了2个依赖包:
pnpm add @ckeditor/ckeditor5-utils@37.1.0
pnpm add @ckeditor/ckeditor5-core@37.1.0
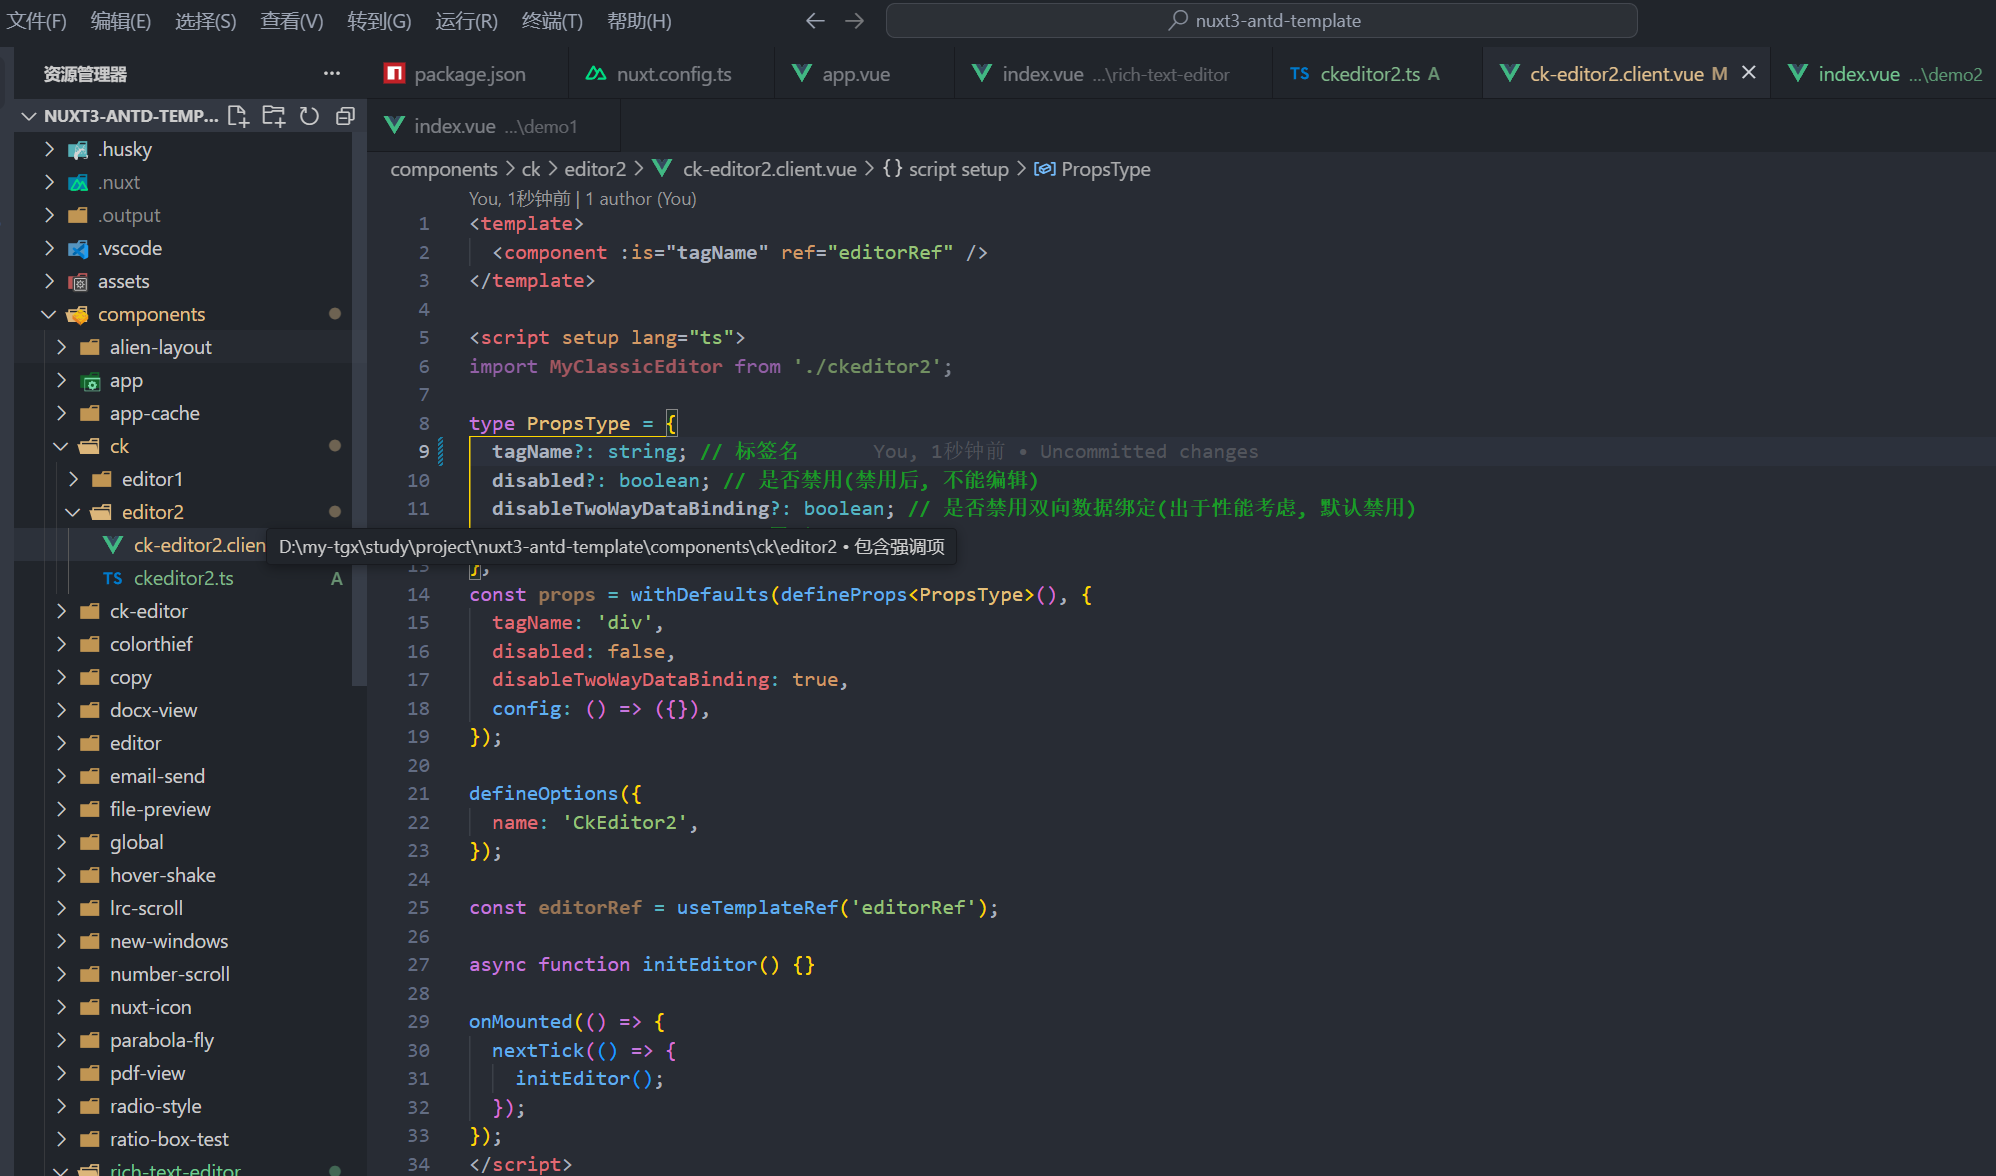
于是,我们就把 ck-editor2.client.vue 改造成以下代码:
<template>
  <component :is="tagName" ref="editorRef" />
</template>

<script setup lang="ts">
import MyClassicEditor, { type EditorConfig, type EventInfo } from './ckeditor2';
import { debounce } from 'lodash-es';

defineOptions({
  name: 'CkEditor2',
});

type PropsType = {
  tagName?: string; // 标签名
  disabled?: boolean; // 是否禁用(禁用后, 不能编辑)
  disableTwoWayDataBinding?: boolean; // 是否禁用双向数据绑定(出于性能考虑, 默认禁用)
  config?: () => {}; // 配置项)
};
const props = withDefaults(defineProps<PropsType>(), {
  tagName: 'div',
  disabled: false,
  disableTwoWayDataBinding: true,
  config: () => ({}),
});
const emit = defineEmits<{
  ready: [editor: MyClassicEditor];
  destroy: [];
  blur: [event: EventInfo, editor: MyClassicEditor];
  focus: [event: EventInfo, editor: MyClassicEditor];
  input: [data: string, event: EventInfo, editor: MyClassicEditor];
  'update:modelValue': [data: string, event: EventInfo, editor: MyClassicEditor];
}>();

const model = defineModel('modelValue', { type: String, default: '' });
// lockId 只读模式锁
const VUE_INTEGRATION_READ_ONLY_LOCK_ID = Symbol('vue-integration-read-only-lock-id');
const editorRef = useTemplateRef('editorRef');
// 编辑器实例
let instance: MyClassicEditor | null = null;
// 上一次的编辑器数据
const lastEditorData = ref('');

// 监听 disabled 变化, 设置只读模式
watch(
  () => props.disabled,
  () => {
    if (props.disabled) {
      instance?.enableReadOnlyMode(VUE_INTEGRATION_READ_ONLY_LOCK_ID);
    } else {
      instance?.disableReadOnlyMode(VUE_INTEGRATION_READ_ONLY_LOCK_ID);
    }
  },
);

// 监听 modelValue 变化, 同步数据
watch(model, (newModel) => {
  if (instance && newModel !== lastEditorData.value) {
    instance.data.set(newModel);
  }
});

/**
 * 初始化编辑器
 */
async function initEditor() {
  try {
    if (!editorRef.value) {
      return;
    }
    // 合并配置对象
    const config: EditorConfig = Object.assign({}, MyClassicEditor.defaultConfig, props.config);
    // 如果 model 有值, 则设置初始数据
    if (model.value) {
      config.initialData = model.value;
    }

    // 创建编辑器实例
    instance = await MyClassicEditor.create(editorRef.value as HTMLElement, config);

    // 设置编辑器事件
    setUpEditorEvents(instance);

    // 同步内容, 如果创建实例期间 modelValue 被改变的话
    if (model.value !== config.initialData) {
      instance.data.set(model.value);
    }

    // 设置禁用状态
    if (props.disabled) {
      instance.enableReadOnlyMode(VUE_INTEGRATION_READ_ONLY_LOCK_ID);
    }

    // 触发 ready 事件
    emit('ready', instance);
  } catch (error: any) {
    console.log('error :>> ', error.stack);
  }
}

/**
 * 设置编辑器事件
 * @param editor 编辑器实例, 自带了一些方法和属性, 可以打印看一看
 *   editor.model: 编辑器模型
 *   editor.model.document.on('change:data', emitDebouncedInputEvent); 表示监听编辑器文档数据变化事件
 *   editor.data.get(): 获取编辑器数据
 *   editor.data.set(): 设置编辑器数据
 *   editor.editing.view.document: 编辑器视图, 也可以监听事件
 *   editor.data.on(): 监听编辑器数据变化
 *   editor.data.off(): 移除编辑器数据变化监听
 *   editor.data.destroy(): 销毁编辑器数据
 *   editor.enableReadOnlyMode(): 设置只读模式
 */
function setUpEditorEvents(editor: MyClassicEditor) {
  // 延迟 300ms 触发更新
  const emitDebouncedInputEvent = debounce(
    (evt: EventInfo) => {
      // 如果禁用双向数据绑定, 则不触发更新
      if (props.disableTwoWayDataBinding) {
        return;
      }
      lastEditorData.value = editor.data.get();
      const data = lastEditorData.value;
      emit('update:modelValue', data, evt, editor);
      emit('input', data, evt, editor);
    },
    300,
    { leading: true },
  );

  // 监听编辑器数据变化, 触发 update:modelValue 和 input 事件
  editor.model.document.on('change:data', emitDebouncedInputEvent);
  editor.editing.view.document.on('focus', (evt: EventInfo) => {
    emit('focus', evt, editor);
  });
  editor.editing.view.document.on('blur', (evt: EventInfo) => {
    emit('blur', evt, editor);
  });
}

// 暴露编辑器实例和上一次的编辑器数据
defineExpose({ instance, lastEditorData });

onMounted(() => {
  nextTick(() => {
    initEditor();
  });
});

onBeforeUnmount(() => {
  if (instance) {
    instance.destroy();
    instance = null;
  }
  emit('destroy');
});
</script>
3. 第三步:改造 demo2.vue 测试文件
把 pages 下的 demo2.vue 文件改造一下,变成可交互式的形式,方便测试 ck-editor2.client.vue 组件:
<template>
  <div class="space-y-4">
    <h1 class="text-xl font-bold">demo2: 把 ckeditor5 封装成一个可配置的、有一些事件的 vue 组件</h1>

    <!-- 测试控制面板 -->
    <div class="bg-gray-50 !mt-0 space-y-2 rounded-lg border p-4">
      <h3 class="m-0 font-medium">事件日志:</h3>
      <div class="bg-white h-32 overflow-y-auto rounded border p-2">
        <div v-for="(log, index) in eventLogs" :key="index" class="text-sm">
          <span class="text-gray-500">{{ log.time }}</span>
          <span class="ml-2 text-blue-600">{{ log.event }}:</span>
          <span class="ml-2">{{ log.message }}</span>
        </div>
      </div>
      <button @click="clearLogs" class="text-white bg-red-500 hover:bg-red-600 rounded px-4 py-1 text-sm">
        清除日志
      </button>
      <div class="flex flex-col gap-2">
        <label class="flex items-center gap-2">
          <span class="text-sm font-medium">编辑器内容:</span>
          <input type="text" v-model="model" class="rounded border px-3 py-1" />
          <button
            @click="setRandomContent"
            class="text-white cursor-pointer rounded border-none bg-blue-500 px-4 py-1 text-sm text-[#fff] outline-none hover:bg-blue-600">
            设置随机内容
          </button>
        </label>
        <label for="disabled" class="flex items-center gap-2">
          <span class="text-sm font-medium">是否禁用:</span>
          <input type="checkbox" id="disabled" v-model="disabled" class="rounded border px-3 py-1" />
        </label>
        <label for="disableTwoWayDataBinding" class="flex items-center gap-2">
          <span class="text-sm font-medium">是否禁用双向数据绑定:</span>
          <input
            type="checkbox"
            id="disableTwoWayDataBinding"
            v-model="disableTwoWayDataBinding"
            class="rounded border px-3 py-1" />
        </label>
      </div>
    </div>

    <!-- 编辑器组件 -->
    <ClientOnly>
      <ck-editor2
        v-model="model"
        :disabled="disabled"
        :disableTwoWayDataBinding="disableTwoWayDataBinding"
        @ready="onEditorReady"
        @focus="onEditorFocus"
        @blur="onEditorBlur"
        @input="onEditorChange" />
    </ClientOnly>
  </div>
</template>

<script setup lang="ts">
const model = ref('初始化的值');
const eventLogs = ref<Array<{ time: string; event: string; message: string }>>([]);
const disabled = ref(false);
const disableTwoWayDataBinding = ref(false);

// 添加事件日志
const addLog = (event: string, message: string) => {
  const now = new Date().toLocaleTimeString();
  eventLogs.value.unshift({
    time: now,
    event,
    message,
  });
};

// 清除日志
const clearLogs = () => {
  eventLogs.value = [];
};

// 编辑器事件处理
const onEditorReady = () => {
  addLog('ready', '编辑器初始化完成');
};

const onEditorFocus = () => {
  addLog('focus', '编辑器获得焦点');
};

const onEditorBlur = () => {
  addLog('blur', '编辑器失去焦点');
};

const onEditorChange = (event: any) => {
  addLog('change', `内容已更改: ${model.value.slice(0, 50)}...`);
};

// 设置随机内容
const setRandomContent = () => {
  const contents = [
    '<h1>标题内容</h1><p>这是一段测试文字</p>',
    '<p>Hello, CKEditor!</p>',
    '<blockquote>这是一段引用文字</blockquote>',
    '<ul><li>列表项 1</li><li>列表项 2</li></ul>',
    '<a href="https://www.baidu.com">百度</a>',
    '<h1>标题1</h1><h2>标题2</h2><h3>标题3</h3><h4>标题4</h4><h5>标题5</h5><h6>标题6</h6>',
    '<p>Hello, CKEditor! 这是一段测试文字</p>',
  ];
  const randomIndex = Math.floor(Math.random() * contents.length);
  model.value = contents[randomIndex];
};
</script>

<style lang="less" scoped>
// 样式
</style>
最终测试效果
可以看到事件日志、变更属性,以及 v-model 都可起作用的:

到此为止,这个组件已经完成了,并且我们可以拿到数据,再恰当的时间发起请求,保存数据。
不容易啊!
本来以为写文章很快,随意讲一下即可,没想到竟花了我端午节一整天时间…
这让我想起了凯奇演的一部电影里面的一句话。 “成年人的世界里,没有容易二字”。
马马虎虎,不仅做不成事,浪费了时间,还会把生活搞得一团糟。不妨把节奏放慢点,也算是一种成长的体验。


![[MySQL初阶]MySQL(7) 表的内外连接](https://i-blog.csdnimg.cn/direct/d7158761e5f4465c81ae59cdc52428af.png#pic_center)