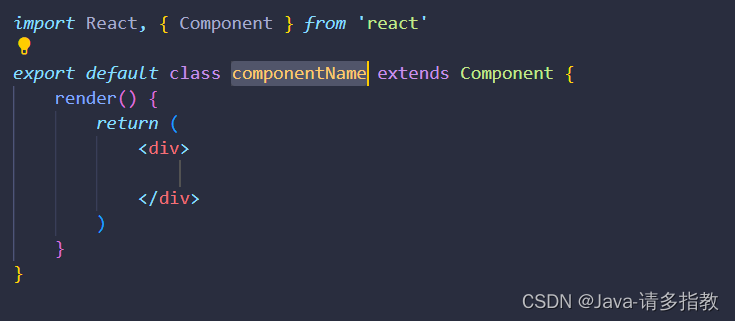
题外话:vscode有个插件可以很方便的快速写代码

输入rcc回车

1.组件嵌套
import React, { Component } from 'react'


class Navbar extends Component{

    render(){
        return <div>Navbar</div>
    }
}


const Swiper=()=>{
    return <div>Swiper</div>
}


const Tabbar=()=>{
    return <div>Tabbar</div>
}


export default class App extends Component {
    render() {
        return (
            <div>
               <Navbar></Navbar>
               <Swiper></Swiper>
               <Tabbar></Tabbar>
            </div>
        )
    }
}

如果想要继续嵌套 比如在NavBar组件中加入其它组件
错误的做法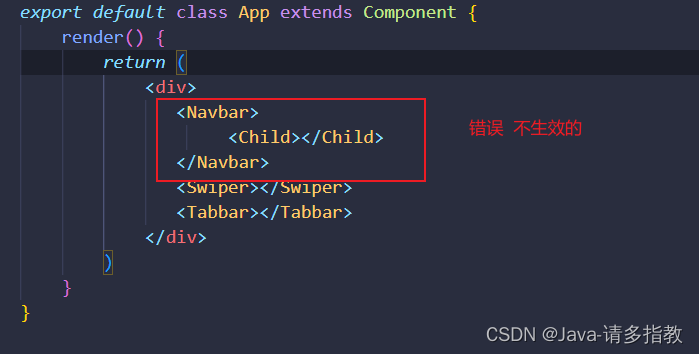
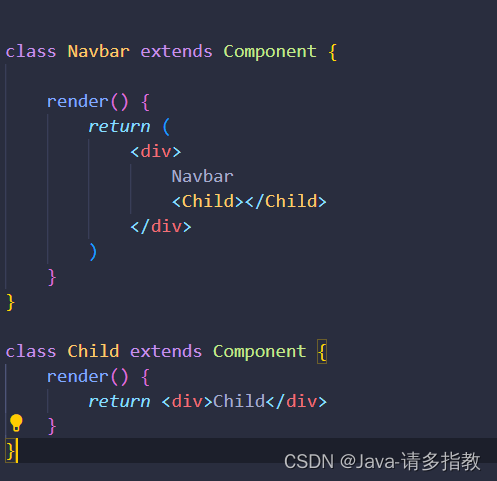
正确的做法
既然你说在Navbar组件里面 那就去这个组件里面加

2.组件的样式

import React, { Component } from 'react'
export default class StyleApp extends Component {
render() {
var name="zhangsan";
return (
<section>
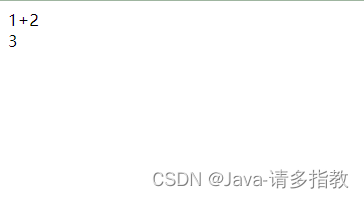
<div>1+2</div>
<div>{1+2}</div>
<div>{10>20? name:'lisi'}</div>
</section>
)
}
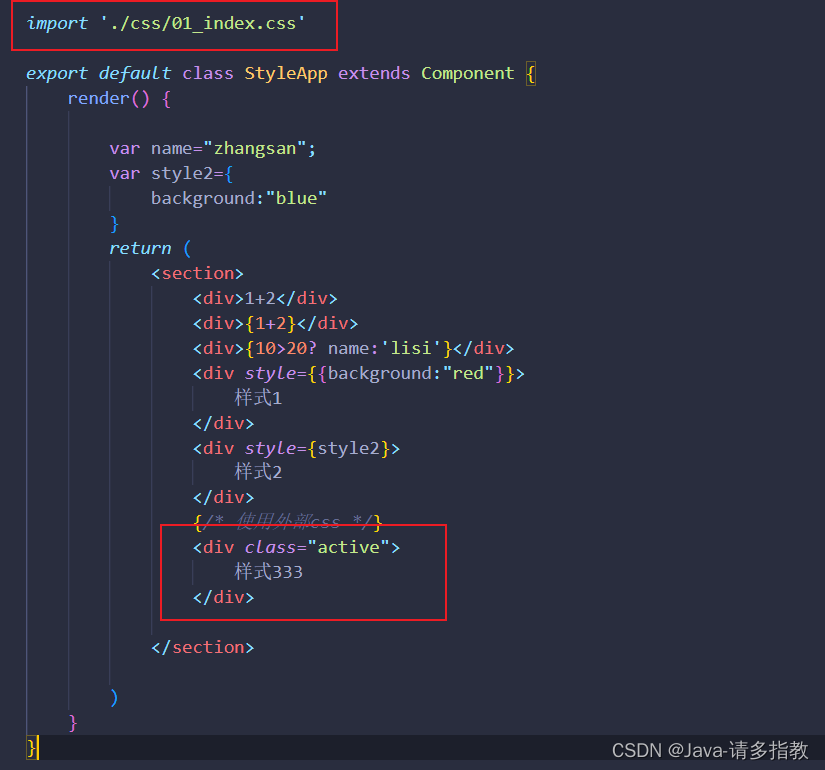
}引入变量 执行表达式运算 使用{ }括起来
当我们给div加style样式的时候,一般我们是
<div style="background:red">样式</div>但是放在react这里会报错

The `style` prop expects a mapping from style properties to values, not a string. For example, style={{marginRight: spacing + 'em'}} when using JSX.
“style”道具需要从样式属性到值的映射,而不是字符串。例如,当使用JSX时,style={{marginRight:spaceing+'em'}}。
也就是说我们需要使用{{ }} 或者 定义个对象传入
import React, { Component } from 'react'

export default class StyleApp extends Component {
    render() {

        var name="zhangsan";
        var style2={
            background:"blue"
        }
        return (
            <section>
                <div>1+2</div>
                <div>{1+2}</div>
                <div>{10>20? name:'lisi'}</div>
                <div style={{background:"red"}}>
                    样式1
                </div>
                <div style={style2}>
                    样式2
                </div>
            </section>

        )
    }
}
也可以引入自己写的css文件 就在js中引入 不要去html引入 不会热加载
.active{
    background-color: rgb(0, 255, 98);
}
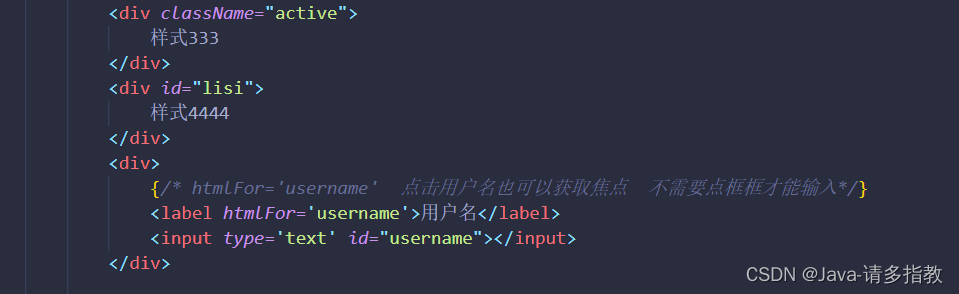
可以将class改为className

总结两种方式:
1.行内样式
// 注意这里的两个括号,第一个表示我们在要JSX里插入JS了,第二个是对象的括号
<p style={{color:'red', fontSize:'14px'}}>Hello world</p>
2.使用class
React推荐我们使用行内样式,因为React觉得每一个组件都是一个独立的整体
其实我们大多数情况下还是大量的在为元素添加类名,但是需要注意的是, class 需要写成 className (因为毕竟是在写类js代码,会收到js规则的现在,而 class 是关键字)
3.事件绑定处理
3.1 绑定事件
采用on+事件名的方式来绑定一个事件,注意,这里和原生的事件是有区别的,原生的事件全是小写 onclick , React里的事件是驼峰 onClick ,React的事件并不是原生事件,而是合成事件。
onClick onMouseOver .......
 <button onClick={()=>{
     console.log("开始");
 }}>添加</button>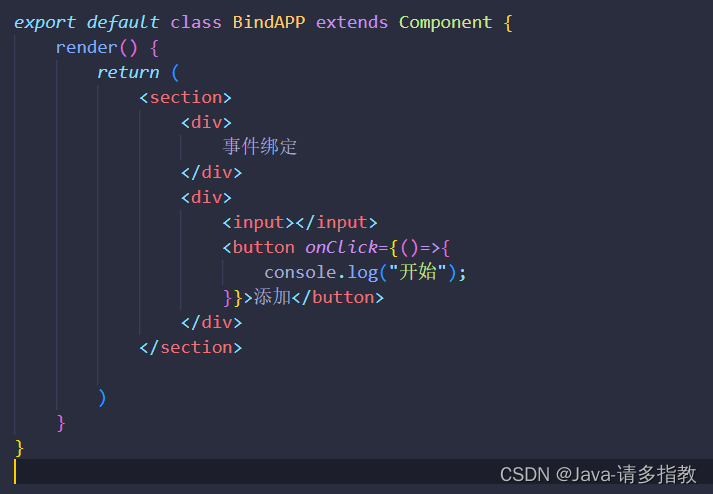
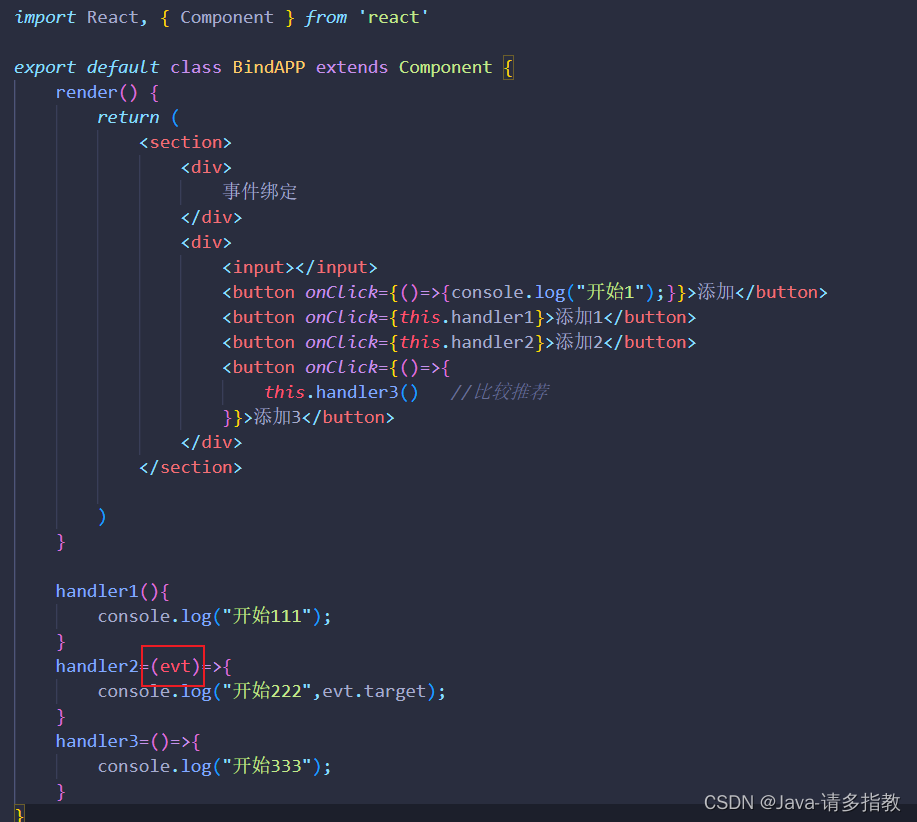
3.2 事件handler的写法
1.直接在render里写行内的箭头函数(不推荐)
2.在组件内使用箭头函数定义一个方法(推荐)
3.直接在组件内定义一个非箭头函数的方法,然后在render里直接使用 onClick= {this.handleClick.bind(this)} (不推荐)
4.直接在组件内定义一个非箭头函数的方法,然后在constructor里bind(this)(推荐)
bind(this) 修正this指向
import React, { Component } from 'react'
export default class BindAPP extends Component {
render() {
return (
<section>
<div>
事件绑定
</div>
<div>
<input></input>
<button onClick={()=>{console.log("开始1");}}>添加</button>
<button onClick={this.handler1}>添加1</button> //不推荐
<button onClick={this.handler1.bind(this)}>添加1</button> //不推荐
<button onClick={this.handler2}>添加2</button>
<button onClick={()=>{
this.handler3() //比较推荐
}}>添加3</button>
</div>
</section>
)
}
handler1(){
console.log("开始111");
}
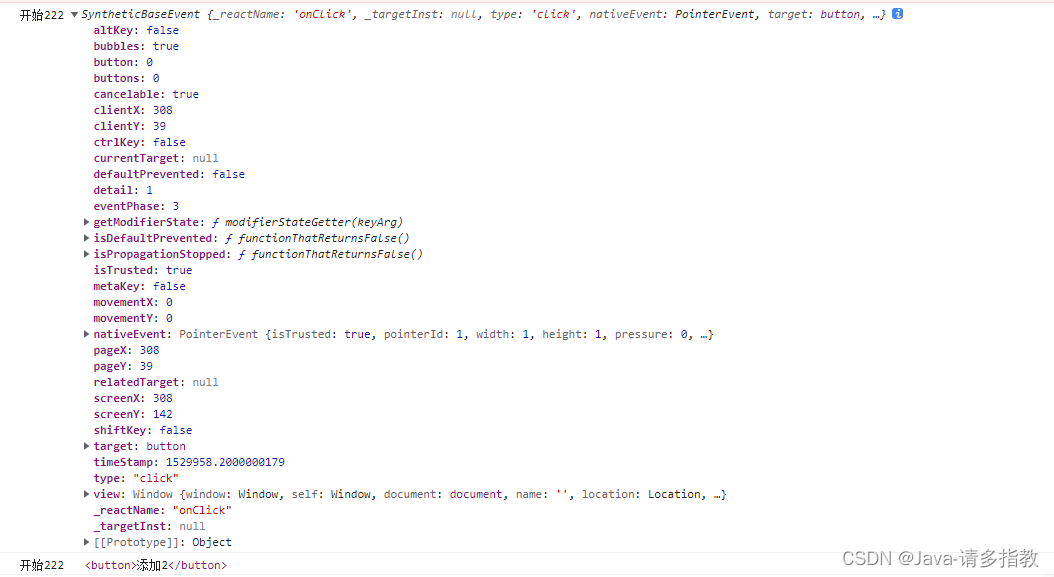
handler2=()=>{
console.log("开始222");
}
handler3=()=>{
console.log("开始333");
}
}注意:前面两种不要自作主张this.handler加括号 this.handler() 错误错误!!!!!
如果this.handler()会自动执行 由于该方法里面没有写返回值 导致执行一次之后就是undefined
导致onclick点击是没反应的
3.3 Event 对象
和普通浏览器一样,事件handler会被自动传入一个 event 对象,这个对象和普通的浏览器 event 对 象所包含的方法和属性都基本一致。不同的是 React中的 event 对象并不是浏览器提供的,而是它自 己内部所构建的。它同样具有 event.stopPropagation 、 event.preventDefault 这种常用的方法。
4.ref的应用
4.1给标签设置ref="username" (不推荐)
通过这个获取this.refs.username , ref可以获取到应用的真实dom
 <input ref="username"></input>
 <button onClick={()=>{
        console.log("开始1",this.refs.username);
  }}>添加</button>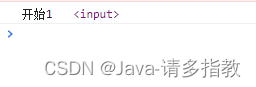
所以获取输入框的值可以 this.refs.username.value
 <button onClick={()=>{
       console.log("开始1",this.refs.username.value);
   }}>添加</button>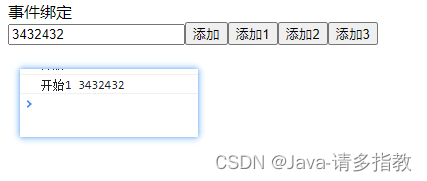
4.2 新的写法 (推荐)
React.createRef()
export default class BindAPP extends Component {

    myref=React.createRef();
    render() {
        return (
            <section>
                <div>
                    事件绑定
                </div>
                <div>
                    <input ref={this.myref}></input>

                    <button onClick={() => {
                        console.log("开始1", this.myref);
                    }}>添加</button>

                </div>
            </section>

        )
    }


}

input对象在current 因此 可以通过 this.myref.current.value 获取输入框的值
5.组件的数据挂载方式
5.1 状态state初体验
状态就是组件描述某种显示情况的数据,由组件自己设置和更改,也就是说由组件自己维护,使用状态 的目的就是为了在不同的状态下使组件的显示不同(自己管理)
错误写法:一般我们会想到定义一个变量 然后使用这个变量 然后点击按钮触发 修改这个变量的值
import React, { Component } from 'react'

export default class App extends Component {

    render() {
        var text="收藏";

        return (
            <div>
                <h1>欢迎来到react世界</h1>
                <button onClick={()=>{
                    text="取消收藏"
                }}>{text}</button>
            </div>
        )
    }
}
前台显示我们会发现并没有起作用
需要使用state状态 和setState
import React, { Component } from 'react'

export default class App extends Component {

    state={
        text:"收藏"
    }

    render() {
        // var text="收藏";

        return (
            <div>
                <h1>欢迎来到react世界</h1>
                <button onClick={()=>{
                    this.setState({
                        text:"取消收藏"
                    })
                }}>{this.state.text}</button>
            </div>
        )
    }
}
import React, { Component } from 'react'

export default class App extends Component {

    state={
        myshow:true
    }

    render() {
        // var text="收藏";

        return (
            <div>
                <h1>欢迎来到react世界</h1>
                <button onClick={()=>{
                    this.setState({
                        myshow: !this.state.myshow
                    })
                    if(this.state.myshow){//收藏
                        //执行收藏的逻辑  比如给后端发请求保存收藏的状态值
                    }
                }}>{this.state.myshow?"收藏":"取消收藏"}</button>
            </div>
        )
    }
}
另一种写法constructor()
import React, { Component } from 'react'

export default class App extends Component {

    // state={
    //     myshow:true
    // }

    constructor(){
        super();
        this.state={
            myshow:true
        }
    }

    render() {
        // var text="收藏";

        return (
            <div>
                <h1>欢迎来到react世界</h1>
                <button onClick={()=>{
                    this.setState({
                        myshow: !this.state.myshow
                    })
                    if(this.state.myshow){//收藏
                        //执行收藏的逻辑  比如给后端发请求保存收藏的状态值
                    }
                }}>{this.state.myshow?"收藏":"取消收藏"}</button>
            </div>
        )
    }
}
5.2 列表渲染
import React, { Component } from 'react'

export default class App extends Component {

    state={
        list:["111","222","333"]
    }

    render() {
        return (
            <div>
                <ul>
                    {
                        this.state.list.map(item=><li>{item}</li>)
                    }

                </ul>
            </div>
        )
    }
}

成功渲染列表 但是会有一个警告 在列表中的每一个孩子应该有一个不同的key属性
设置key的原因是让react精准知道操作哪个
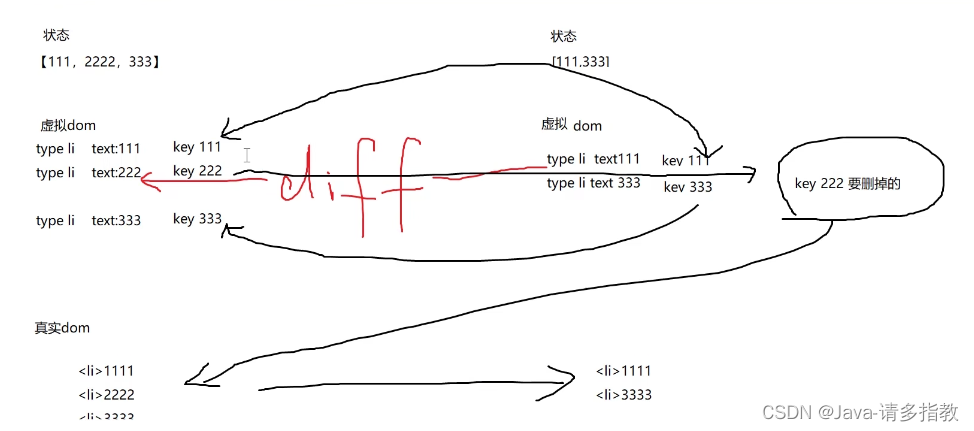
为了列表的复用和重排,设置key值,提高性能
理想的key是独一无二的 一般设置为对象中的id
import React, { Component } from 'react'

export default class App extends Component {

    state={
        // list:["111","222","333"]
        list:[
            {
                id:1,
                text:"111"
            },
            {
                id:2,
                text:"222"
            },
            {
                id:3,
                text:"333"
            },
        ]
    }

    render() {
        return (
            <div>
                <ul>
                    {
                        this.state.list.map(item=>
                        <li key={item.id}>{item.text}</li>)
                    }

                </ul>
            </div>
        )
    }
}
当然,如果只是为了将列表进行渲染显示,不需要进行增删,可以使用index
import React, { Component } from 'react'

export default class App extends Component {

    state={
        // list:["111","222","333"]
        list:[
            {
                id:1,
                text:"111"
            },
            {
                id:2,
                text:"222"
            },
            {
                id:3,
                text:"333"
            },
        ]
    }

    render() {
        return (
            <div>
                <ul>
                    {
                        this.state.list.map((item,index)=>
                        <li key={index}>{item.text}-----{index}</li>)
                    }

                </ul>
            </div>
        )
    }
}
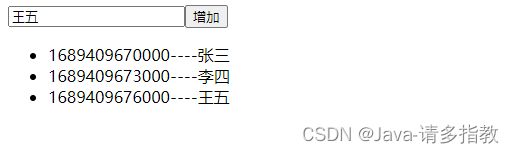
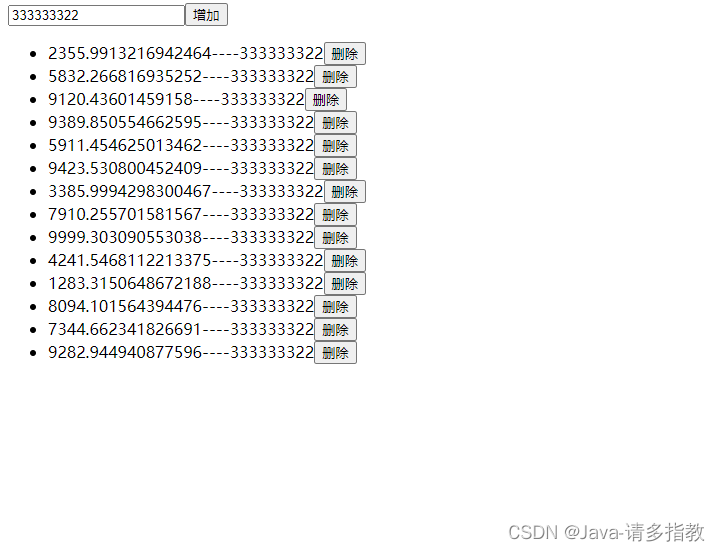
6.案例tolist增加和删除
6.1 增加
import React, { Component } from 'react'

export default class App extends Component {

    constructor() {
        super();
        this.state = {
            addList: [
                {
                    id: Date.parse(new Date()), title: "张三"
                }
            ]
        }

    }

    myref = React.createRef();

    render() {
        return (
            <div>
                <input ref={this.myref}></input>
                <button onClick={() => {
                    this.handler()
                }}>增加</button>
                <ul>
                    {
                        this.state.addList.map((item) =>
                            <li key={item.id}>{item.id}----{item.title}</li>)
                    }
                </ul>
            </div>
        )
    }

    handler = () => {
        let newList = [...this.state.addList]
        newList.push(
            {
                id: Date.parse(new Date()),
                title: this.myref.current.value
            }
        )
        this.setState({
            addList: newList
        })
    }
}
6.2 删除
import React, { Component } from 'react'

export default class App extends Component {

    constructor() {
        super();
        this.state = {
            addList: [
                {
                    id: Math.random()*10000, title: "张三"
                }
            ]
        }

    }

    myref = React.createRef();

    render() {
        return (
            <div>
                <input ref={this.myref}></input>
                <button onClick={() => {
                    this.handler()
                }}>增加</button>
                <ul>
                    {
                        this.state.addList.map((item,index) =>
                            <li key={item.id}>
                                {item.id}----{item.title}
                                <button onClick={()=>{
                                    this.deleteList(index)
                                }}>删除</button>
                            </li>
                            )
                    }
                </ul>
            </div>
        )
    }

    handler = () => {
        let newList = [...this.state.addList]
        newList.push(
            {
                id: Math.random()*10000,
                title: this.myref.current.value
            }
        )
        this.setState({
            addList: newList
        })
    }

    deleteList=(index)=>{
        console.log(index);
        let newList = [...this.state.addList];
        newList.splice(index,1);//从该下标开始删除  删除一个
        this.setState({
            addList: newList
        })
    }
}
优化:
1.输入框输入后,点击按钮, 应该自动清空输入框的值,避免每次重新输入还需要删;
this.myref.current.value=""2.删除到一个都不剩的时候,一片空白,应该显示一个空空如也;
如果为空就..........................
条件渲染
{this.state.addList.length==0 ?<div>暂无待办事项</div>:null}
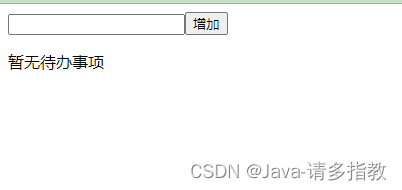
换种写法:(推荐)
{this.state.addList.length===0 && <div>暂无待办事项</div>}条件为真就显示渲染 为假就移除
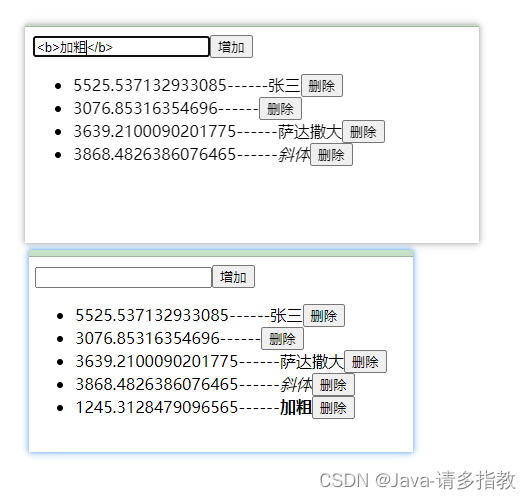
7.dangerouslySetInnerHTML
意思就是输入框中如果输入的是富文本,需要输出并解析
dangerouslySetInnerHTML顾名思义,危险的设置html
固定写法{__html:} 注意是双下划线
  {/* {item.id}----{item.title} */}
  <span dangerouslySetInnerHTML={
       {
           __html:item.id+"------"+item.title
       }
   }></span>
import React, { Component } from 'react'

export default class App extends Component {

    constructor() {
        super();
        this.state = {
            addList: [
                {
                    id: Math.random()*10000, title: "张三"
                }
            ]
        }

    }

    myref = React.createRef();

    render() {
        return (
            <div>
                <input ref={this.myref}></input>
                <button onClick={() => {
                    this.handler()
                }}>增加</button>
                <ul>
                    {
                        this.state.addList.map((item,index) =>
                            <li key={item.id}>
                                {/* {item.id}----{item.title} */}
                                <span dangerouslySetInnerHTML={
                                    {
                                        __html:item.id+"------"+item.title
                                    }
                                }></span>

                                <button onClick={()=>{
                                    this.deleteList(index)
                                }}>删除</button>
                            </li>
                            )
                    }
                </ul>
                {/* {this.state.addList.length===0 ?<div>暂无待办事项</div>:null} */}
                {this.state.addList.length===0 && <div>暂无待办事项</div>}
            </div>
        )
    }

    handler = () => {
        let newList = [...this.state.addList]
        newList.push(
            {
                id: Math.random()*10000,
                title: this.myref.current.value
            }
        )
        this.setState({
            addList: newList
        })

        this.myref.current.value=""
    }

    deleteList=(index)=>{
        console.log(index);
        let newList = [...this.state.addList];
        newList.splice(index,1);//从该下标开始删除  删除一个
        this.setState({
            addList: newList
        })
    }
}
![学习babylon.js --- [2] 项目工程搭建](https://img-blog.csdnimg.cn/d2abc129e72c46e3908f73454576b02c.png)