工作中需要使用上传组件,记录一下a-upload部分属性用法
1.showUploadList属性使用
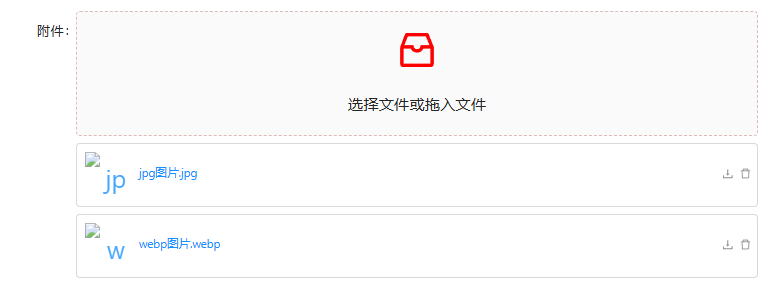
使用:showUploadList="{ showRemoveIcon: true ,showDownloadIcon: true }"属性可控制右侧下载,删除图标
2.如何实现回显功能
使用:defaultFileList="fileList" 格式传入参数实现
在编辑时需要回显附件信息,但是后端传参可能不符合组件标准接参数格式,导致无法回显
// 编辑
modifyFn(row) {
this.fileList == []
this.drawerTitle = "编辑"
console.log(row);
this.form = { ...row };
// 使用 map 方法统一转换为标准的 fileList 格式
const standardFileList = row.attachList.map(item => ({
uid: item.id, // 使用原始数据的 id 作为 uid
name: item.fileName, // 使用原始数据的 fileName 作为文件名称
status: 'done', // 文件状态,已完成
url: item.filePath //`your_base_url/${item.filePath}` // 构建文件的访问 URL,需替换 your_base_url 为实际的文件存储基础 URL
}));
this.fileList = Object.assign([], standardFileList).map(item => {
return Object.assign({}, item)
})
console.log("编辑传参", this.fileList);
this.visible = true;
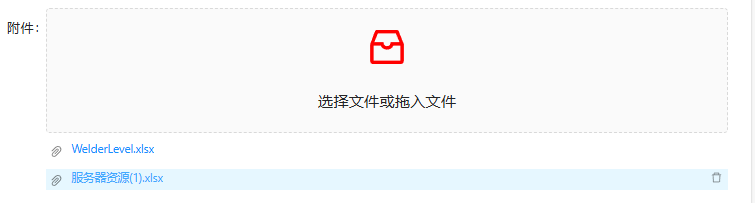
},可拖入上传附件组件代码
 <a-form-model-item
              label="附件"
              :label-col="{ span: 4 }"
              :wrapper-col="{ span: 20 }"
            >
              <a-upload-dragger
              accept = "image"
                name="files"
               :action="uploadAction"
                listType="picture"
                :defaultFileList="fileList"
                @change="handleChange2"
                :showUploadList="{ showPreviewIcon: true,showRemoveIcon: true ,showDownloadIcon: true }"
              >
                <!-- :multiple="true"   -->
                <p class="ant-upload-drag-icon">
                  <a-icon type="inbox" />
                </p>
                <p class="ant-upload-text">
                  选择文件或拖入文件
                </p>
              </a-upload-dragger>
            </a-form-model-item>
在data中设置上传url地址
data() {
   return {
           uploadAction: "/uploadUrl",
   }
}
在change事件中可对上传文件数据进行操作