目录
- 引言
- 相关阅读
- 项目结构
- 文件组织
- 核心技术实现
- 1. 数据模型设计
- 联系人项目类 (datamodel.h)
- 数据模型类 (datamodel.h)
- 数据模型实现 (datamodel.cpp)
- 2. 主程序入口点 (main.cpp)
- 3. 主界面设计 (Main.qml)
- 4. 联系人对话框 (ContactDialog.qml)
- 5. 自定义组件
- CustomTextField.qml
- CustomButton.qml
- IconButton.qml
- 运行效果
- 总结
- 下载链接
引言
在上一篇中介绍了ListView的数据交互与样式定制后,本文上一点强度,将通过一个联系人管理的案例,详细介绍如何使用QML与C++进行混合开发,充分展示QML的界面设计优势和C++的数据处理能力。该应用基于ListView & Model实现了联系人的增删改查等基本功能,并通过自定义组件提升了用户体验。由于篇幅有限,会省略部分代码,完整代码请看本文最后的下载链接。
下一篇与ListView有关的文章,我将会进一步优化Model的性能。到时候在相关阅读中补上链接。
相关阅读
- 接上篇 —— QML ListView:列表视图的数据交互与样式定制
- 下篇 —— QML与C++:基于ListView调用外部模型进行增删改查(性能优化版)
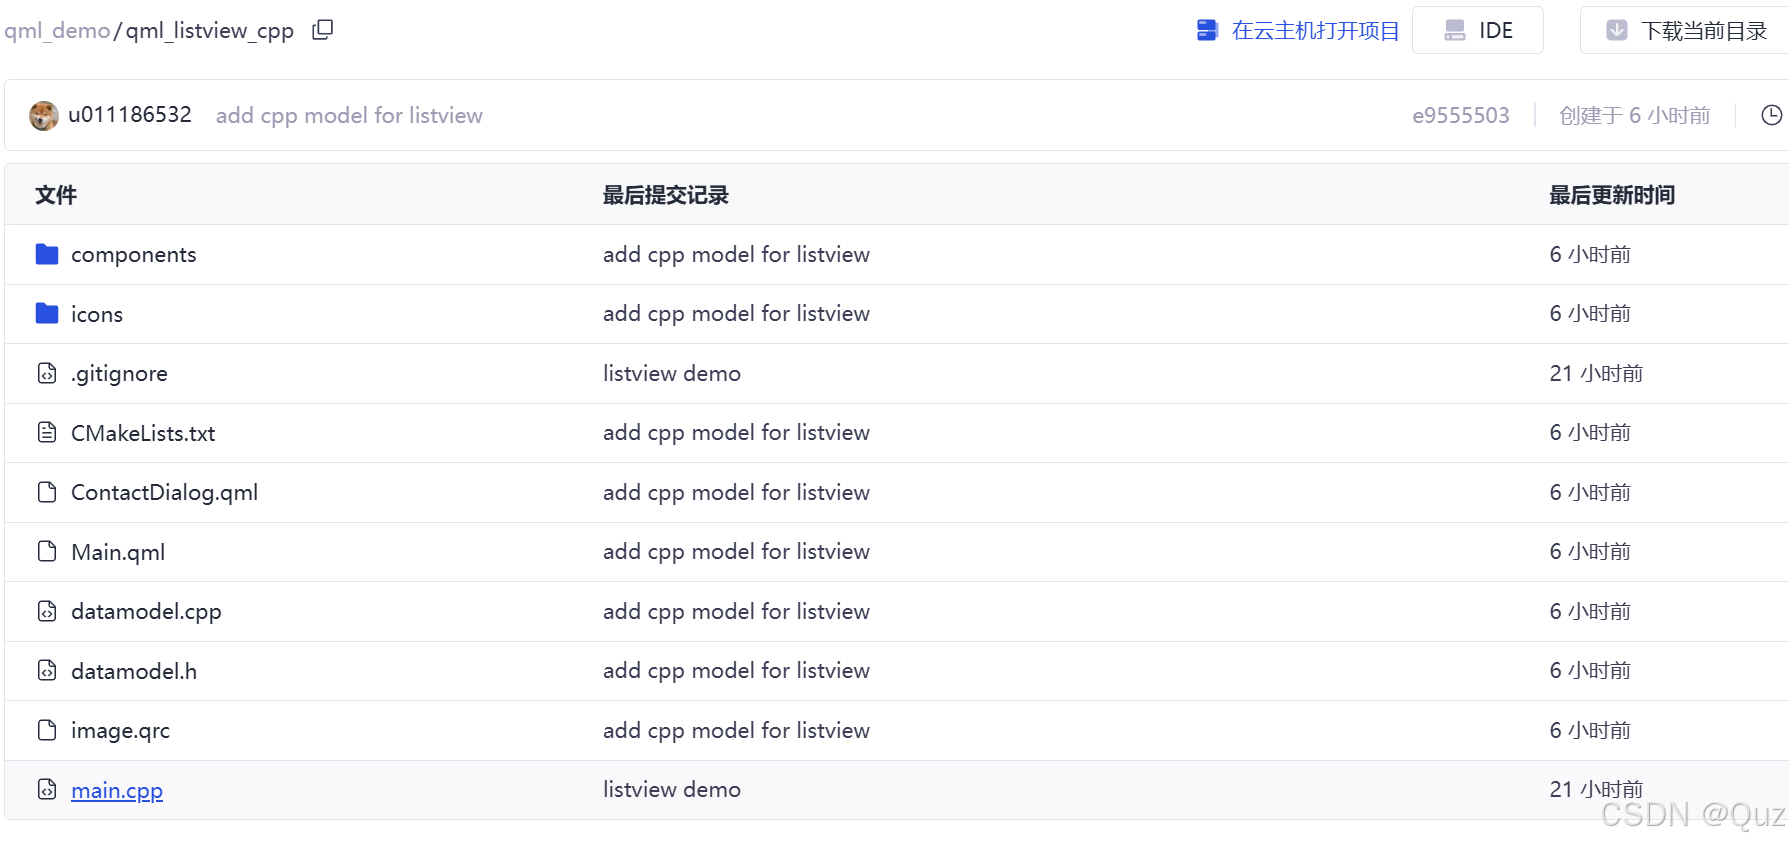
项目结构
以下是本项目的核心结构图:
文件组织
qml_listview_cpp/
├── CMakeLists.txt           # CMake构建配置
├── main.cpp                 # C++主函数
├── datamodel.h              # 数据模型头文件
├── datamodel.cpp            # 数据模型实现
├── Main.qml                 # 主界面QML
├── ContactDialog.qml        # 联系人对话框QML
├── components/              # 自定义组件目录
│   ├── CustomTextField.qml  # 自定义文本输入框
│   ├── CustomButton.qml     # 自定义按钮
│   └── IconButton.qml       # 自定义图标按钮
├── icons/                   # 图标资源目录
│   ├── user.png             # 用户图标
│   ├── add.png              # 添加图标
│   ├── delete.png           # 删除图标
│   ├── edit.png             # 编辑图标
│   ├── find.png             # 搜索图标
│   ├── phone.png            # 电话图标
│   └── clear.png            # 清除图标
└── image.qrc                # Qt资源文件
核心技术实现
1. 数据模型设计
本项目采用了QAbstractListModel作为基类创建自定义数据模型,实现了联系人数据的管理。C++的数据模型为QML提供了高效的数据源。
联系人项目类 (datamodel.h)
class ContactItem {
public:
    ContactItem(const QString &name, const QString &phone)
        : m_name(name), m_phone(phone) {}
    QString name() const { return m_name; }
    QString phone() const { return m_phone; }
    QString firstLetter() const { return m_name.isEmpty() ? "?" : m_name.left(1).toUpper(); }

private:
    QString m_name;
    QString m_phone;
};
ContactItem类定义了联系人的基本属性:姓名和电话。它还提供了一个便利方法firstLetter()用于获取姓名的首字母,这将用于UI中的头像显示。
数据模型类 (datamodel.h)
class DataModel : public QAbstractListModel
{
    Q_OBJECT

public:
    enum Roles {
        NameRole = Qt::UserRole + 1,
        PhoneRole,
        FirstLetterRole
    };

    explicit DataModel(QObject *parent = nullptr);

    int rowCount(const QModelIndex &parent = QModelIndex()) const override;
    QVariant data(const QModelIndex &index, int role = Qt::DisplayRole) const override;
    QHash<int, QByteArray> roleNames() const override;

    // 暴露给QML的方法
    Q_INVOKABLE bool addContact(const QString &name, const QString &phone);
    Q_INVOKABLE bool removeContact(int index);
    Q_INVOKABLE bool editContact(int index, const QString &name, const QString &phone);
    Q_INVOKABLE QVariantList searchContacts(const QString &keyword);
    Q_INVOKABLE void clearSearch();

private:
    QList<ContactItem> m_items;
    QList<ContactItem> m_originalItems; // 用于存储搜索前的原始数据
};
DataModel类继承自QAbstractListModel,实现了必要的虚函数:
rowCount(): 返回模型中的项目数量data(): 根据索引和角色返回项目数据roleNames(): 定义了模型中可用的角色名称,这些名称将在QML中使用
此外,还通过Q_INVOKABLE宏定义了几个可以从QML中直接调用的方法:
addContact(): 添加联系人removeContact(): 删除联系人editContact(): 编辑联系人searchContacts(): 搜索联系人clearSearch(): 清除搜索,恢复原始列表
数据模型实现 (datamodel.cpp)
数据模型的核心实现如下:
DataModel::DataModel(QObject *parent)
    : QAbstractListModel(parent)
{
    // 添加一些示例联系人数据
    m_items.append(ContactItem("张三", "13800138000"));
    m_items.append(ContactItem("李四", "13900139000"));
    m_items.append(ContactItem("王五", "13700137000"));

    // 保存原始数据
    m_originalItems = m_items;
}

QVariant DataModel::data(const QModelIndex &index, int role) const
{
    if (!index.isValid())
        return QVariant();

    if (index.row() >= m_items.count())
        return QVariant();

    const ContactItem &item = m_items.at(index.row());

    switch (role) {
    case NameRole:
        return item.name();
    case PhoneRole:
        return item.phone();
    case FirstLetterRole:
        return item.firstLetter();
    default:
        return QVariant();
    }
}

// 搜索联系人实现
QVariantList DataModel::searchContacts(const QString &keyword)
{
    if (keyword.isEmpty()) {
        beginResetModel();
        m_items = m_originalItems;
        endResetModel();
        return QVariantList();
    }

    QVariantList results;
    beginResetModel();
    m_items.clear();

    for (const ContactItem &item : m_originalItems) {
        if (item.name().contains(keyword, Qt::CaseInsensitive) ||
            item.phone().contains(keyword, Qt::CaseInsensitive)) {
            m_items.append(item);
        }
    }
    endResetModel();
    return results;
}
2. 主程序入口点 (main.cpp)
主函数设置了QML引擎并将C++数据模型暴露给QML:
#include <QGuiApplication>
#include <QQmlApplicationEngine>
#include <QQmlContext>
#include "datamodel.h"

int main(int argc, char *argv[])
{
    QGuiApplication app(argc, argv);

    QQmlApplicationEngine engine;
    QObject::connect(
        &engine,
        &QQmlApplicationEngine::objectCreationFailed,
        &app,
        []() { QCoreApplication::exit(-1); },
        Qt::QueuedConnection);

    // 创建数据模型实例
    DataModel *model = new DataModel(&engine);

    // 将模型暴露给QML
    engine.rootContext()->setContextProperty("dataModel", model);

    engine.loadFromModule("qml_listview_cpp", "Main");

    return app.exec();
}
通过setContextProperty方法,将C++数据模型注册为QML上下文属性,这样在QML代码中就可以直接访问dataModel对象了。
3. 主界面设计 (Main.qml)
主界面采用了QML编写,实现了联系人的列表显示和搜索功能:
import QtQuick
import QtQuick.Window
import QtQuick.Controls
import QtQuick.Layouts
import "./components"  // 导入自定义组件

Window {
    width: 640
    height: 480
    visible: true
    title: "联系人列表"

    // ... 省略部分代码 ...

    ColumnLayout {
        anchors.fill: parent
        anchors.margins: 10
        spacing: 10

        // 顶部工具栏
        Rectangle {
            Layout.fillWidth: true
            height: 50
            color: "#f0f0f0"
            radius: 5

            RowLayout {
                anchors.fill: parent
                anchors.margins: 5
                spacing: 10

                CustomTextField {
                    id: searchField
                    Layout.fillWidth: true
                    placeholderText: "搜索联系人..."
                    leftIcon: "qrc:/icons/find.png"
                    onTextChanged: dataModel.searchContacts(text)
                    onRightIconClicked: {
                        text = ""
                        dataModel.clearSearch()
                    }
                }

                IconButton {
                    text: "添加联系人"
                    iconSource: "qrc:/icons/add.png"
                    showBackground: true
                    backgroundColor: "#BBDEFB"
                    onClicked: addContactDialog.open()
                }
            }
        }

        // 联系人列表
        ListView {
            Layout.fillWidth: true
            Layout.fillHeight: true
            model: dataModel
            spacing: 10
            clip: true

            delegate: Rectangle {
                width: ListView.view.width
                height: 80
                color: "#f0f0f0"
                radius: 5

                // ... 省略部分代码 ...

                RowLayout {
                    anchors.fill: parent
                    anchors.margins: 10
                    spacing: 15

                    // 首字母头像
                    Rectangle {
                        width: 60
                        height: 60
                        radius: width / 2
                        color: {
                            const colors = ["#FF6B6B", "#4ECDC4", "#45B7D1", "#96CEB4", "#FFEEAD", "#D4A5A5", "#9B59B6"]
                            return colors[firstLetter.charCodeAt(0) % colors.length]
                        }

                        Text {
                            anchors.centerIn: parent
                            text: firstLetter
                            color: "white"
                            font.pixelSize: 24
                            font.bold: true
                        }
                    }

                    // 联系人信息
                    ColumnLayout {
                        Layout.fillWidth: true
                        spacing: 5

                        Text {
                            text: name
                            font.bold: true
                            font.pixelSize: 16
                            Layout.fillWidth: true
                        }

                        Text {
                            text: phone
                            color: "#666666"
                            font.pixelSize: 14
                            Layout.fillWidth: true
                        }
                    }

                    // 操作按钮
                    RowLayout {
                        spacing: 10

                        // 编辑按钮
                        IconButton {
                            iconSource: "qrc:/icons/edit.png"
                            onClicked: {
                                currentEditIndex = index
                                editContactDialog.currentName = name
                                editContactDialog.currentPhone = phone
                                editContactDialog.open()
                            }
                        }

                        // 删除按钮
                        IconButton {
                            iconSource: "qrc:/icons/delete.png"
                            onClicked: dataModel.removeContact(index)
                        }
                    }
                }
            }
        }
    }
}
主界面的核心部分是一个ListView,它使用C++提供的dataModel作为数据源。每个联系人项目都显示为一个带有圆形首字母头像、姓名、电话号码以及编辑和删除按钮的矩形卡片。
主界面效果图:

4. 联系人对话框 (ContactDialog.qml)
为了添加和编辑联系人,项目实现了一个模态对话框:
import QtQuick
import QtQuick.Controls
import QtQuick.Layouts
import "./components"

Dialog {
    id: root
    width: 400
    modal: true

    // 属性
    property bool isEdit: false  // 用于区分是编辑还是添加模式
    property string currentName: ""
    property string currentPhone: ""

    // 标题根据模式动态设置
    title: isEdit ? "修改联系人" : "添加新联系人"

    closePolicy: Dialog.NoAutoClose

    // 信号
    signal contactConfirmed(string name, string phone)

    // ... 省略部分代码 ...

    contentItem: ColumnLayout {
        spacing: 20
        anchors.margins: 10

        CustomTextField {
            id: nameField
            Layout.fillWidth: true
            placeholderText: "姓名"
            leftIcon: "qrc:/icons/user.png"
        }

        CustomTextField {
            id: phoneField
            Layout.fillWidth: true
            placeholderText: "电话"
            leftIcon: "qrc:/icons/phone.png"
            validator: RegularExpressionValidator {
                regularExpression: /^[0-9\+\-\s]*$/
            }
        }

        // 按钮区域
        RowLayout {
            Layout.alignment: Qt.AlignRight | Qt.AlignBottom
            spacing: 10

            CustomButton {
                id: confirmButton
                text: isEdit ? qsTr("保存") : qsTr("确定")
                enabled: nameField.text.length > 0 && phoneField.text.length > 0
                onClicked: root.accept()
            }

            CustomButton {
                id: cancelButton
                text: qsTr("取消")
                bgColor: "#f5f5f5"
                textColor: "#333333"
                onClicked: root.reject()
            }
        }
    }
}
这个对话框可以在两种模式下工作:添加新联系人和编辑现有联系人。它包含两个自定义文本输入字段用于输入姓名和电话号码,以及确认和取消按钮。
对话框效果图:

5. 自定义组件
为了提升UI的美观度和复用性,项目定义了几个自定义组件:
CustomTextField.qml
此处代码省略…
这个自定义文本输入框增强了标准的TextField,添加了左侧图标、右侧图标或清除按钮等功能。如果所示:

CustomButton.qml
此处代码省略…
自定义按钮组件提供了更灵活的外观定制,包括背景色、文本色以及悬停效果。
主要在对话窗中使用了CustomButton:
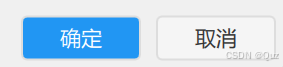
IconButton.qml
此处代码省略…
图标按钮组件实现了一个可以显示图标和文本的自定义按钮,提供了丰富的自定义选项,如图标大小、边框、背景色等。
在列表中使用了IconButton:

在添加联系人按钮上使用了IconButton:
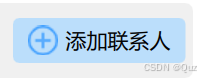
只需要设置背景色和文字即可实现不同的样式效果。
运行效果
查找联系人:
修改联系人:
新增/删除联系人:
总结
本文介绍了一个基于Qt/QML与C++混合开发的联系人管理应用。通过这个示例,我们展示了:
- QML与C++协同工作的模式:QML负责直观高效的UI设计,C++处理数据逻辑和模型。
- 自定义QML组件的实现:通过组件化设计提高代码复用性和可维护性。
- QAbstractListModel的使用:通过继承QAbstractListModel创建自定义数据模型。
- 信号与槽机制:利用Qt的信号与槽机制实现UI与数据模型的解耦。
下载链接
您可以通过以下链接获取完整的源代码:GitCode -> QML -> ListView & Model