今天来实现页面中的国际化
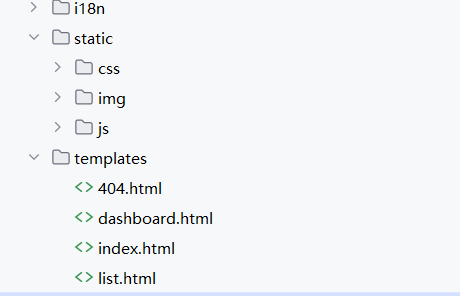
首先,需要创建一个新的spring boot项目,导入前端模板,在我的博客中可以找到,然后将HTML文件放在templates包下,将其他的静态资源放在statics包下,如下图结构
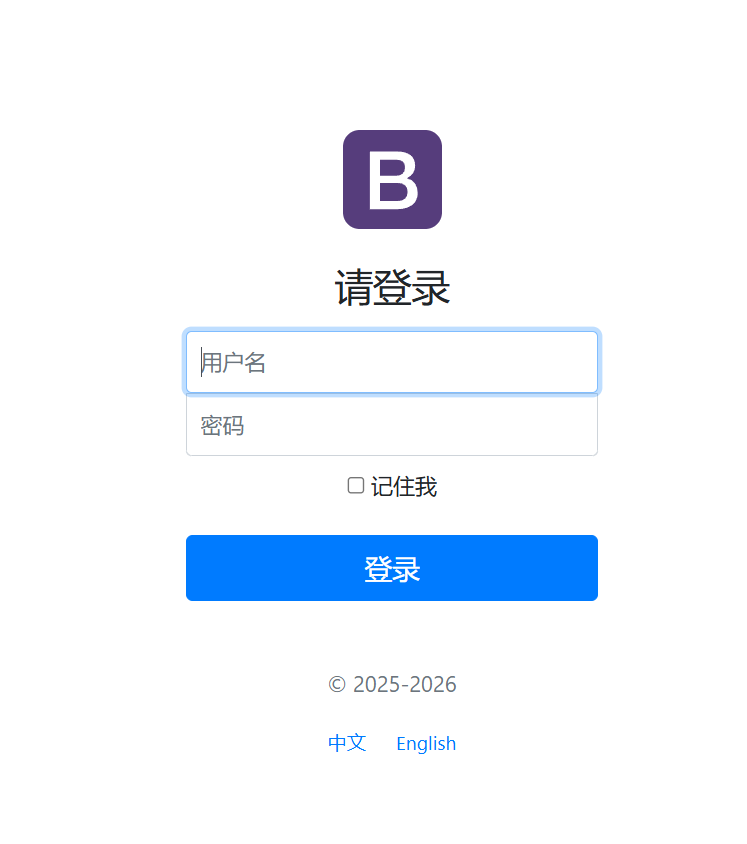
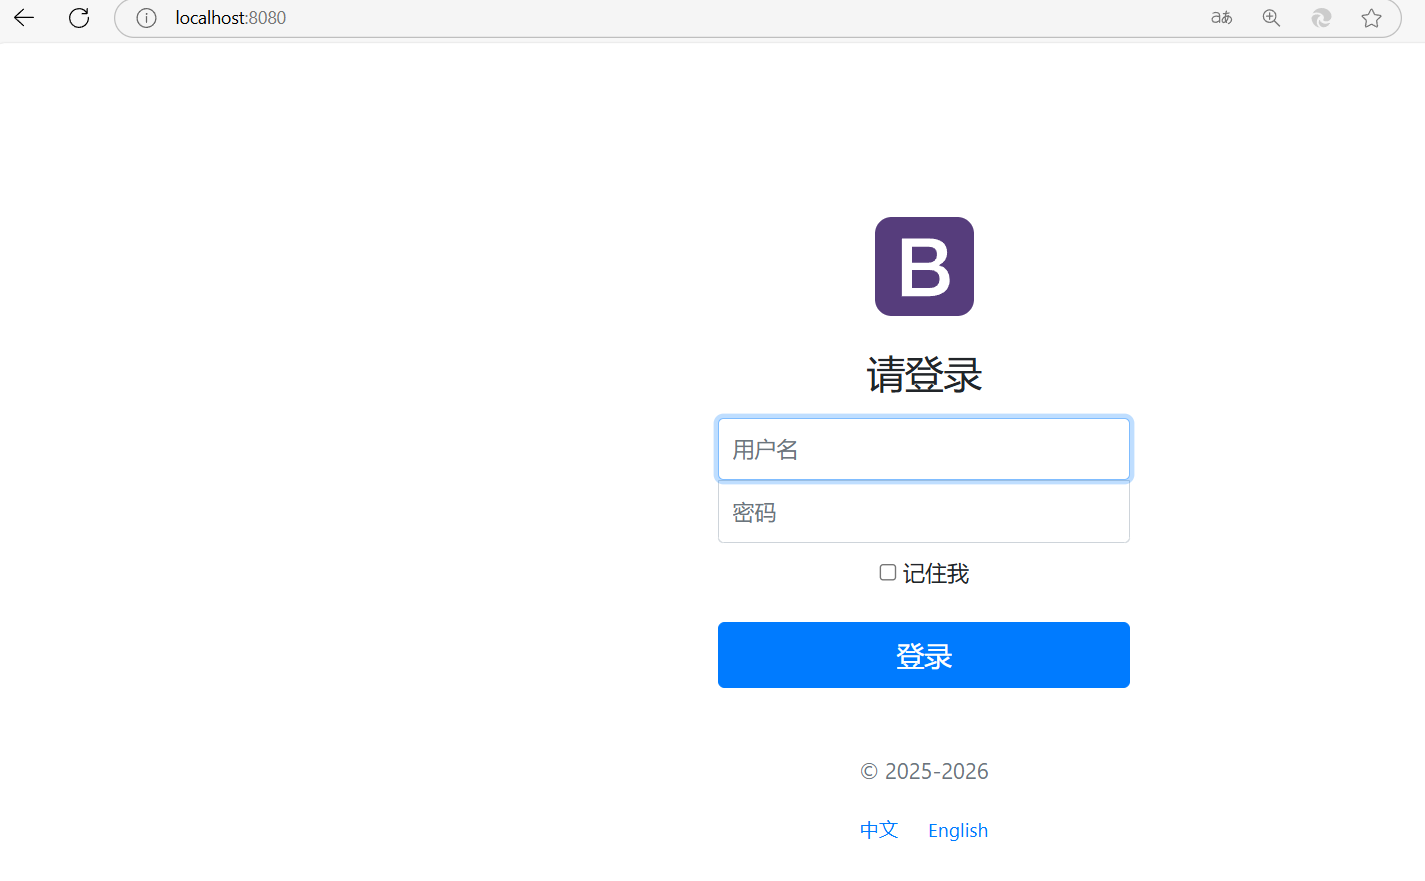
页面的国际化主要在首页,即index.html
<!DOCTYPE html>
<html lang="en">
	<head>
		<meta http-equiv="Content-Type" content="text/html; charset=UTF-8">
		<meta name="viewport" content="width=device-width, initial-scale=1, shrink-to-fit=no">
		<meta name="description" content="">
		<meta name="author" content="">
		<title>Signin Template for Bootstrap</title>
		<!-- Bootstrap core CSS -->
		<link href="asserts/css/bootstrap.min.css" rel="stylesheet">
		<!-- Custom styles for this template -->
		<link href="asserts/css/signin.css" rel="stylesheet">
	</head>

	<body class="text-center">
		<form class="form-signin" action="dashboard.html">
			<img class="mb-4" src="asserts/img/bootstrap-solid.svg" alt="" width="72" height="72">
			<h1 class="h3 mb-3 font-weight-normal">Please sign in</h1>
			<label class="sr-only">Username</label>
			<input type="text" class="form-control" placeholder="Username" required="" autofocus="">
			<label class="sr-only">Password</label>
			<input type="password" class="form-control" placeholder="Password" required="">
			<div class="checkbox mb-3">
				<label>
          <input type="checkbox" value="remember-me"> Remember me
        </label>
			</div>
			<button class="btn btn-lg btn-primary btn-block" type="submit">Sign in</button>
			<p class="mt-5 mb-3 text-muted">© 2017-2018</p>
			<a class="btn btn-sm">中文</a>
			<a class="btn btn-sm">English</a>
		</form>

	</body>

</html>
我们还需要导入thymeleaf启动器(maven依赖)
<dependency>
            <groupId>org.springframework.boot</groupId>
            <artifactId>spring-boot-starter-thymeleaf</artifactId>
        </dependency>
在建立controller层进行页面测试
IndexController.java
package com.lyc.staffing.controller;

import org.springframework.stereotype.Controller;
import org.springframework.web.bind.annotation.RequestMapping;

@Controller
public class IndexController {
    @RequestMapping({"/", "/index"})
    public String index(){
        return "index";
    }
}
测试结果:
还可以自定义视图控制器,建立Config层,编写MyMvcConfig.java
根据官方文档:
If you want to keep those Spring Boot MVC customizations and make more MVC customizations (interceptors, formatters, view controllers, and other features), you can add your own @Configuration class of type WebMvcConfigurer but without @EnableWebMvc.
所以我们建立的类需要设置注解@Configuration,class of type WebMvcConfigurer 说明需要实现WebMvcConfigurer接口,重写内部方法,自定义自己的方法
即定义视图跳转
package com.lyc.staffing.config;

import org.springframework.context.annotation.Bean;
import org.springframework.context.annotation.Configuration;
import org.springframework.web.servlet.LocaleResolver;
import org.springframework.web.servlet.config.annotation.ViewControllerRegistry;
import org.springframework.web.servlet.config.annotation.WebMvcConfigurer;

@Configuration
public class MyMvcConfig implements WebMvcConfigurer {
    // 视图控制器
    @Override
    public void addViewControllers(ViewControllerRegistry registry) {
        registry.addViewController("/").setViewName("index");
        registry.addViewController("/index.html").setViewName("index");
        registry.addViewController("/main.html").setViewName("dashboard");
    }
}
可以达到和controller层一样的效果。
如果要实现国际化,需要利用Thymeleaf模板引擎,先将静态资源导入,这里用到了Thymeleaf的语法,这里建议参考官网文档,
先在首页代码中加上命名空间
<html lang="en" xmlns:th="http://www.thymeleaf.org">然后将导入的静态资源全部用thymeleaf语法引入,即th:href,th:src,等等,因为是url,所以使用@{}
然后需要创建i18n包,里面建立配置文件,login.properties,login_en_US.properties,login_zn_CN.properties,IDEA会自动整合,如下所示
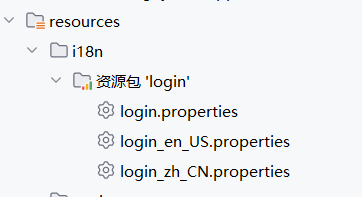
其中配置默认文件,汉语配置文件,英语配置文件
login.properties
login.btn=登录
login.password=密码
login.remember=记住我
login.tip=请登录
login.username=用户名
login_en_US.properties
login.btn=Sign in
login.password=password
login.remember=Remember Me
login.tip=Please Sign In
login.username=Username
login_zn_CN.properties
login.btn=登录
login.password=密码
login.remember=记住我
login.tip=请登录
login.username=用户名
然后用thymeleaf语法将 标签内的元素名替换,如
<h1 class="h3 mb-3 font-weight-normal" th:text="#{login.tip}">Please sign in</h1>
<input type="text" name="username" class="form-control" th:placeholder="#{login.username}" required="" autofocus="">
<input type="password" name="password" class="form-control" th:placeholder="#{login.password}" required="">
<div class="checkbox mb-3">
<label>
<input type="checkbox" value="remember-me"> [[#{login.remember}]]
</label>
</div>
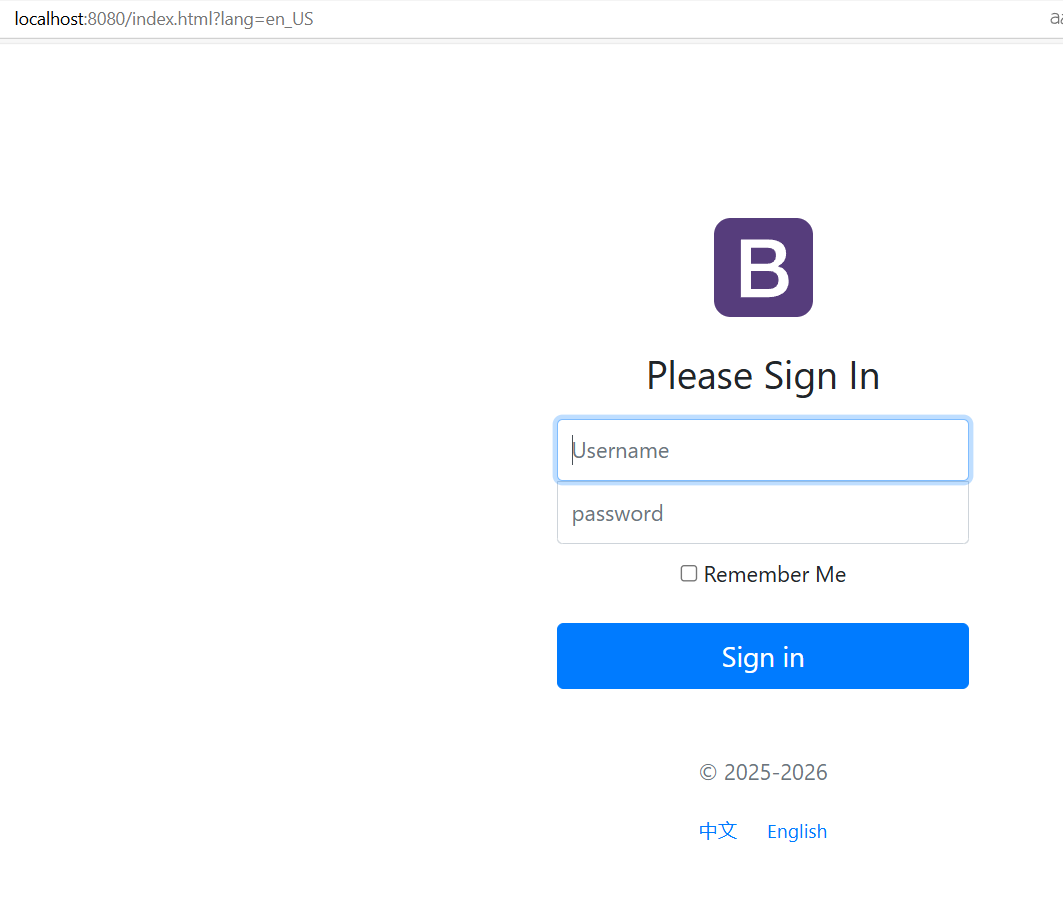
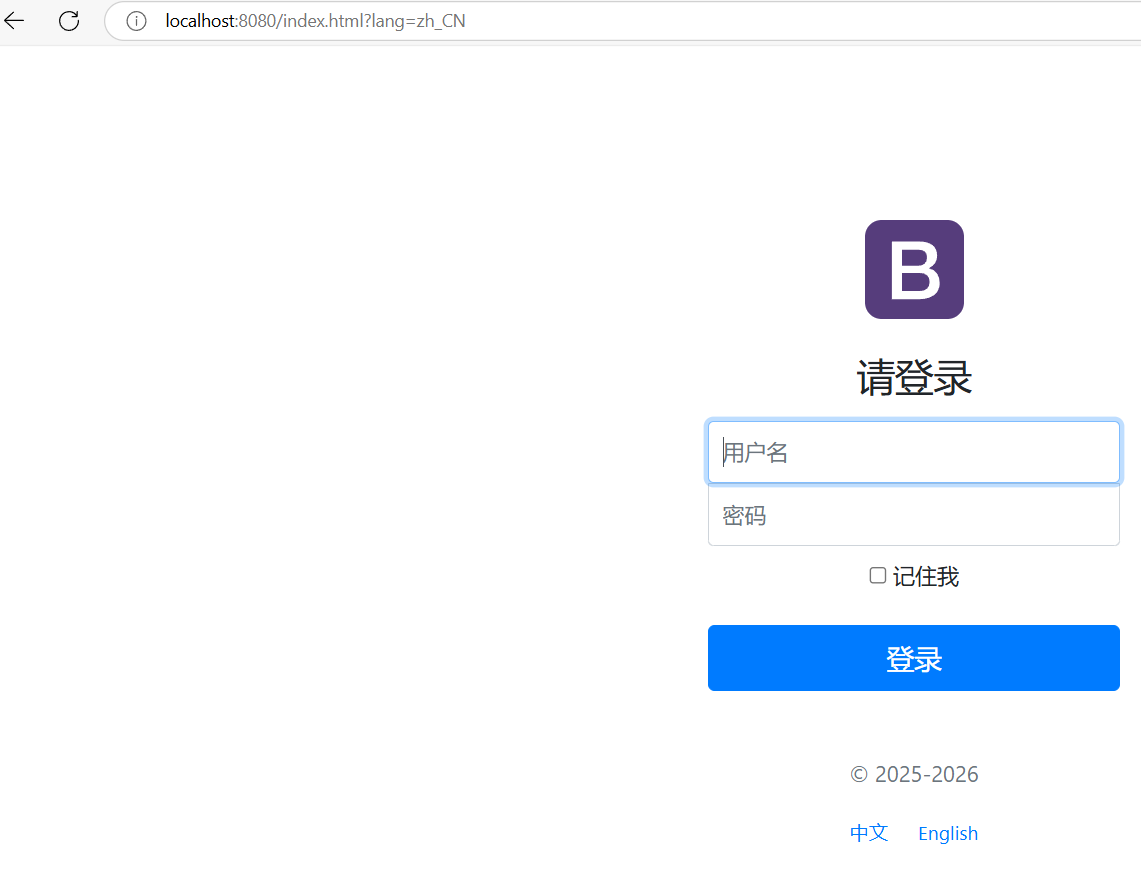
<button class="btn btn-lg btn-primary btn-block" type="submit" th:text="#{login.btn}">Sign in</button>进行测试,这时的中文,与英文还无法转换,这两个a链接,需要绑定index.html,并传参
<a class="btn btn-sm" th:href="@{/index.html(lang='zh_CN')}">中文</a>
			<a class="btn btn-sm" th:href="@{/index.html(lang='en_US')}">English</a>
这是我们需要自己定义一个地区解析器(LocaleResolver),AcceptHeaderLocaleContextResolver
源码中找到resolveLocale方法
	@Override
	public Locale resolveLocale(HttpServletRequest request) {
		Locale defaultLocale = getDefaultLocale();
		if (defaultLocale != null && request.getHeader("Accept-Language") == null) {
			return defaultLocale;
		}
		Locale requestLocale = request.getLocale();
		List<Locale> supportedLocales = getSupportedLocales();
		if (supportedLocales.isEmpty() || supportedLocales.contains(requestLocale)) {
			return requestLocale;
		}
		Locale supportedLocale = findSupportedLocale(request, supportedLocales);
		if (supportedLocale != null) {
			return supportedLocale;
		}
		return (defaultLocale != null ? defaultLocale : requestLocale);
	}
然后我们自定义MyLocaleResolver 实现LocalResolver接口,重写resolveLocale方法,仿造上面源码
package com.lyc.staffing.config;


import jakarta.servlet.http.HttpServletRequest;
import jakarta.servlet.http.HttpServletResponse;
import org.springframework.web.servlet.LocaleResolver;
import org.thymeleaf.util.StringUtils;

import java.util.Locale;


//自定义地区解析器
public class MyLocaleResolver implements LocaleResolver {

    //解析请求
    @Override
    public Locale resolveLocale(HttpServletRequest request) {
        //获取请求中的语言参数
        String lang = request.getParameter("lang");
        System.out.println("lang ====》 " + lang);
        Locale locale = Locale.getDefault();
        //判断是否为空,如果请求的连接携带了国际化的参数
        if(!StringUtils.isEmpty(lang)){
            //如果不为空就获取参数进行分割 zh_CN
            String[] split = lang.split("_");
            //国家,地区
           locale = new Locale(split[0], split[1]);
        }
    return locale;
    }

    @Override
    public void setLocale(HttpServletRequest request, HttpServletResponse response, Locale locale) {

    }
}
然后再我们的MyMvcConfig中添加LocaleResolver组件
   // 自定义国际化组件
    @Bean
    public LocaleResolver localeResolver(){
        return new MyLocaleResolver();
    }
    //为什么类名是localeResolver,因为在WebMvcAutoConfiguration中的EnableWebMvcConfiguration(自动配置)里的localeResolver方法上的注解
    //是@ConditionalOnMissingBean(name = DispatcherServlet.LOCALE_RESOLVER_BEAN_NAME),再往里剖析得@ConditionalOnMissingBean(localeResolver)
    //public static final String LOCALE_RESOLVER_BEAN_NAME = "localeResolver";
    //因此,自动配置类中的地区解析器失效,则会使用我们自定义的组件
index.html代码展示:
<!DOCTYPE html>
<html lang="en" xmlns:th="http://www.thymeleaf.org">
	<head>
		<meta http-equiv="Content-Type" content="text/html; charset=UTF-8">
		<meta name="viewport" content="width=device-width, initial-scale=1, shrink-to-fit=no">
		<meta name="description" content="">
		<meta name="author" content="">
		<title>Signin Template for Bootstrap</title>
		<!-- Bootstrap core CSS -->
		<link th:href="@{/css/bootstrap.min.css}" rel="stylesheet">
		<!-- Custom styles for this template -->
		<link th:href="@{/css/signin.css}" rel="stylesheet">
	</head>

	<body class="text-center">
		<form class="form-signin" th:action="@{/user/login}">
			<img class="mb-4" th:src="@{/img/bootstrap-solid.svg}" alt="" width="72" height="72">
			<h1 class="h3 mb-3 font-weight-normal" th:text="#{login.tip}">Please sign in</h1>
			<input type="text" name="username" class="form-control" th:placeholder="#{login.username}" required="" autofocus="">
			<input type="password" name="password" class="form-control" th:placeholder="#{login.password}" required="">
			<div class="checkbox mb-3">
				<label>
          <input type="checkbox" value="remember-me"> [[#{login.remember}]]
        </label>
			</div>
			<button class="btn btn-lg btn-primary btn-block" type="submit" th:text="#{login.btn}">Sign in</button>
			<p class="mt-5 mb-3 text-muted">© 2025-2026</p>
			<a class="btn btn-sm" th:href="@{/index.html(lang='zh_CN')}">中文</a>
			<a class="btn btn-sm" th:href="@{/index.html(lang='en_US')}">English</a>
		</form>

	</body>

</html>
启动项目,进行测试
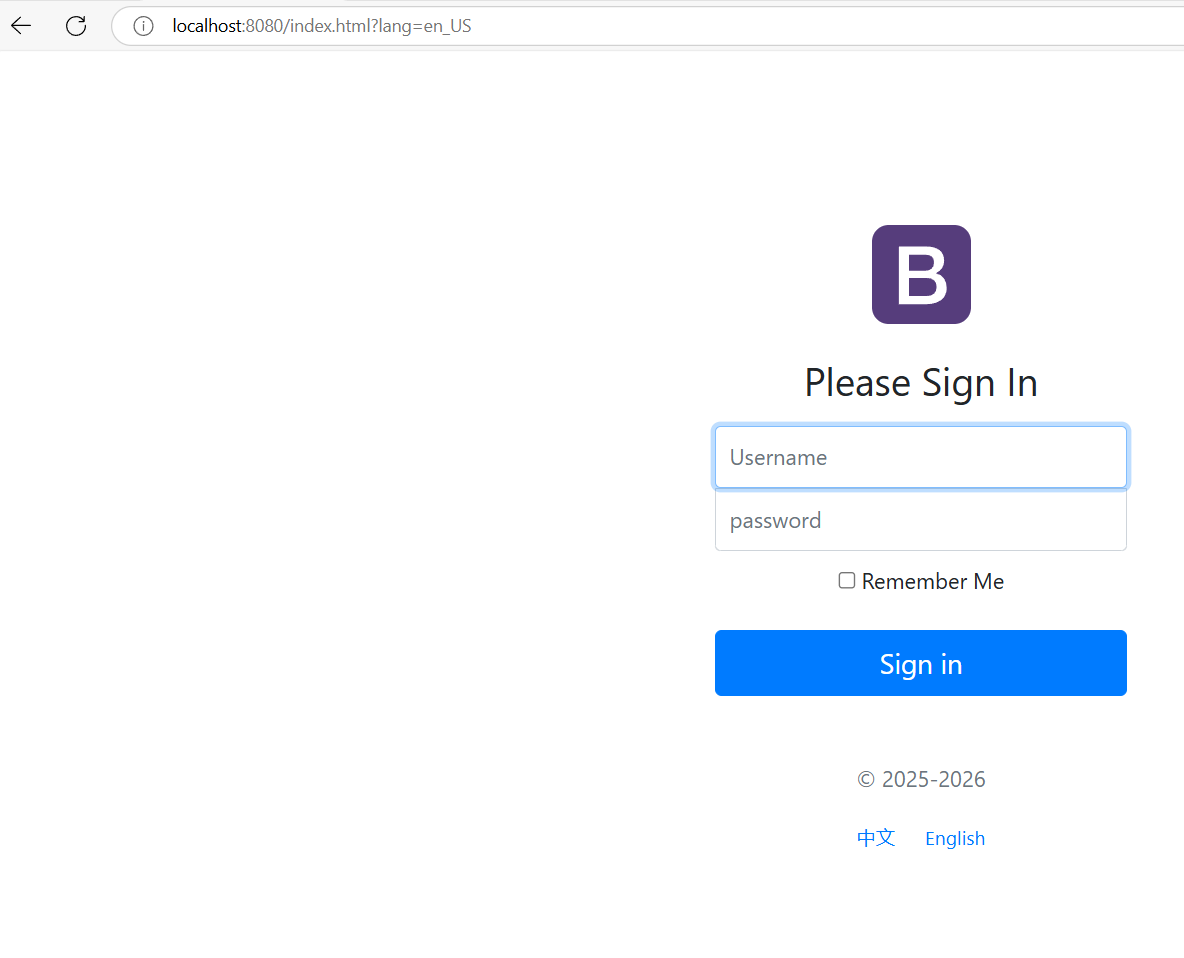
至此,页面国际化完成
结论:spring boot为我们封装了大量的配置文件,我们需要做的事情很少,但是还是需要了解原理的,建议大家可以多分析分析源码,希望能帮助到大家