资料
- https://aws.amazon.com/cn/blogs/china/teach-you-how-to-handle-kubeflow-on-eks-2/
- https://hub.docker.com/r/jupyterhub/singleuser
在部署kubeflow的过程中意识到在jupyter中能够运行外部指令,如果在其中集成一个kubectl,就可以实现命令的重用,并且能够使用jupyter的功能来生成文档。
在docker hub搜索jupyter可以找到很多images,这里使用jupyterhub/singleuser
在docker上查看image的基本信息:
- 通过环境变量指定用户
- 入口为tini
- 暴露端口默认为8888
查看image基本信息
在docker上运行测试,默认用户为jovyan,需要修改为root
docker run -d -p 8888:8888 --name mynote -u root jupyterhub/singleuser
查看log并使用token登录即可
docker logs mynote
我们只需要在容器运行之后安装kubectl即可, 但是要确保pod具有权限访问集群中的资源
部署jupyterhub
创建所需的clusterrole,或者使用集群的cluster-admin。自定义角色可以按需控制权限
注意:需要在kube-system中部署,否则会报错没有权限(很奇怪)
apiVersion: v1
kind: ServiceAccount
metadata:
  name: mynote-sa
  namespace: kube-system
---
apiVersion: rbac.authorization.k8s.io/v1
kind: ClusterRole
metadata:
  name: mynote-clusterrole
rules:
- apiGroups:
  - "*"
  resources:
  - "*"
  verbs:
  - "*"
---
apiVersion: rbac.authorization.k8s.io/v1
kind: ClusterRoleBinding
metadata:
  name: mynote-clusterrolebinding
roleRef:
  apiGroup: rbac.authorization.k8s.io
  kind: ClusterRole
  name: cluster-admin
subjects:
- kind: ServiceAccount
  name: mynote-sa
  namespace: kube-system
创建deployment,需要注意:在args中开启root运行,["start-notebook.sh","--allow-root"]
apiVersion: apps/v1
kind: Deployment
metadata:
  name: mynote
  namespace: kube-system
spec:
  selector:
    matchLabels:
      app: jupyter
  replicas: 1
  template:
    metadata:
      labels:
        app: jupyter
    spec:
      serviceAccountName: mynote-sa
      containers:
      - name: jupyter
        env:
        - name: NB_USER
          value: root
        - name: NB_UID
          value: "0"
        - name: NB_GID
          value: "0"
        securityContext:
          runAsUser: 0
        args: ["start-notebook.sh","--allow-root"]
        image: jupyterhub/singleuser
        imagePullPolicy: IfNotPresent
暴露服务,方便起见,使用NodePort访问
kind: Service
apiVersion: v1
metadata:
  name: mynote
  namespace: kube-system
spec:
  selector:
    app: jupyter
  ports:
  - port: 8888
    targetPort: 8888
  type: NodePort
在pod上手动安装kubectl,也可以自己封装image简化这步
#!/bin/bash
set -x
wget https://s3.cn-north-1.amazonaws.com.cn/amazon-eks/1.23.7/2022-06-29/bin/linux/amd64/kubectl
chmod +x kubectl
mv kubectl /usr/bin
部署完成后,同样查看log日志找到token 52fd2867b168fc63f252f5e2731f41258ce8bbce258d2063
mynote-659948574c-cn4bq     To access the server, open this file in a browser:                      mynote-659948574c-cn4bq         file:///root/.local/share/jupyter/runtime/jpserver-18-open.html mynote-659948574c-cn4bq     Or copy and paste one of these URLs:                                       mynote-659948574c-cn4bq         http://mynote-659948574c-cn4bq:8888/labtoken=52fd2867b168fc63f252f5e2731f41258ce8bbce258d2063
mynote-659948574c-cn4bq      or http://127.0.0.1:8888/lab?token=52fd2867b168fc63f252f5e2731f41258ce8bbce258d2063
之后使用该token登录,创建notebook,也可以直接在此运行shell
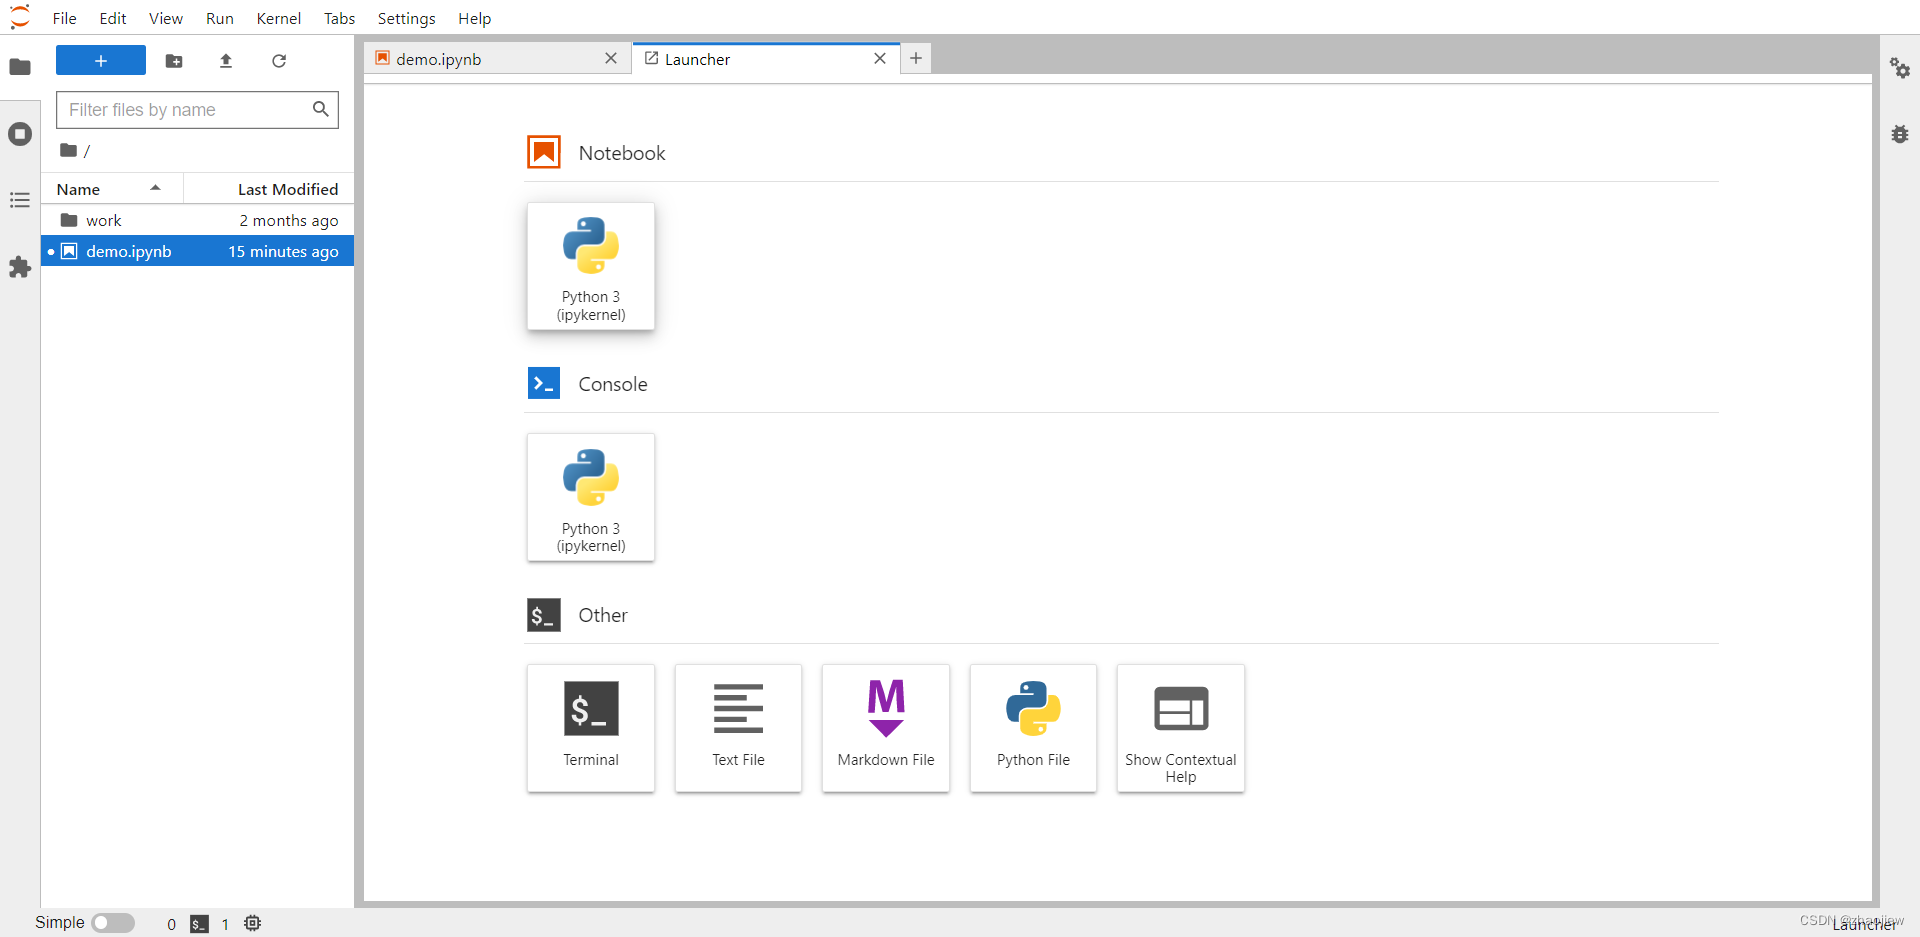
执行测试命令