目录
1.创建Spring项目
(1)创建一个Maven项目
(2)添加 Spring 框架支持(spring-context、spring-beans)
(3)添加启动类
2.存储 Bean 对象
(1)创建 Bean
(2)将Bean注册到容器
3.获取并使用Bean对象
(1)创建Spring上下文
(2)获取指定Bean对象
(3)使用对象
1.创建Spring项目
创建一个Spring项目,分为3步:
(1)创建一个普通Maven项目
(2)添加 Spring 框架支持(spring-context、spring-beans)
(3)添加启动类
(1)创建一个Maven项目
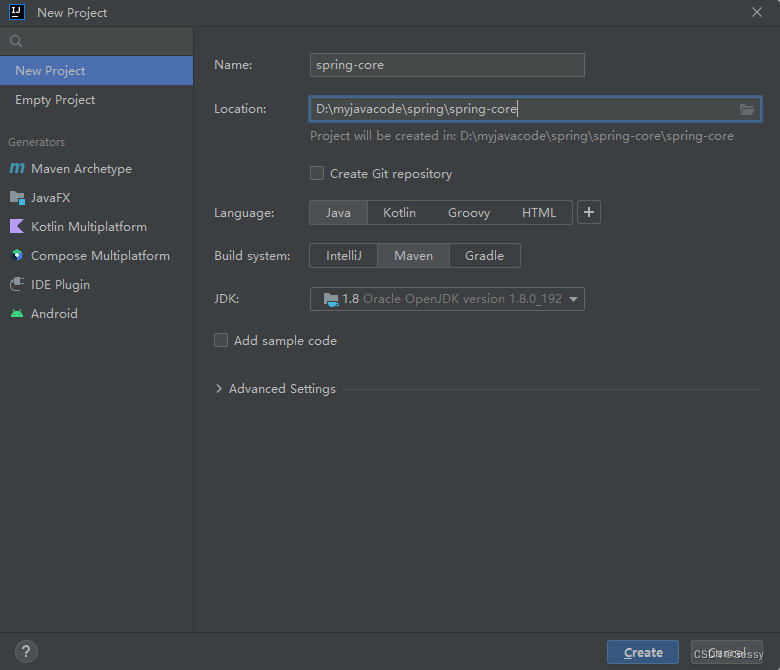
看好保存路径
(2)添加 Spring 框架支持(spring-context、spring-beans)
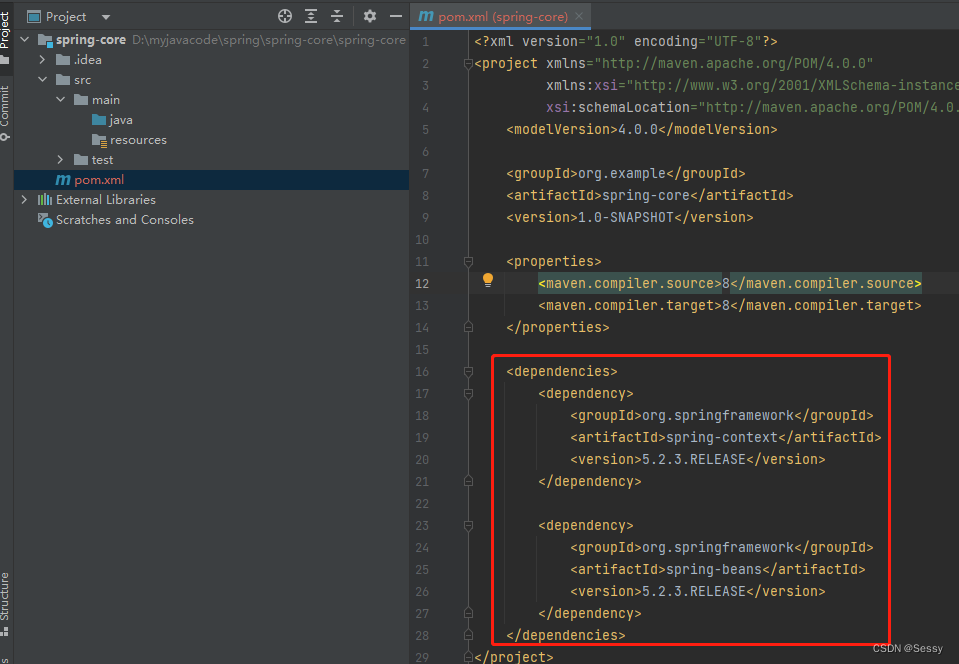
源码:
    <dependencies>
        <dependency>
            <groupId>org.springframework</groupId>
            <artifactId>spring-context</artifactId>
            <version>5.2.3.RELEASE</version>
        </dependency>

        <dependency>
            <groupId>org.springframework</groupId>
            <artifactId>spring-beans</artifactId>
            <version>5.2.3.RELEASE</version>
        </dependency>
    </dependencies>
(3)添加启动类
在java文件夹下创建一个启动类
public class App {
    public static void main(String[] args) {

    }
}
2.存储 Bean 对象
存储Bean对象分为2步:
(1)创建Bean对象
(2)将创建的 Bean 注册到 Spring 容器中
(1)创建 Bean
Bean就是java中一个普通对象
public class User {
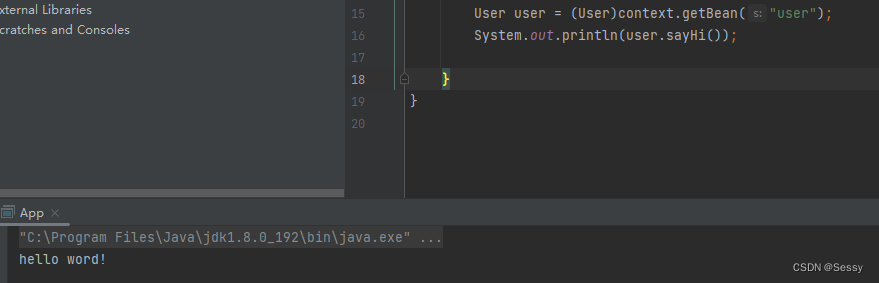
public String sayHi(){
return "hello word!";
}
}(2)将Bean注册到容器

源码:
<?xml version="1.0" encoding="UTF-8"?>
<beans xmlns="http://www.springframework.org/schema/beans"
       xmlns:xsi="http://www.w3.org/2001/XMLSchema-instance"
       xmlns:content="http://www.springframework.org/schema/context"
       xsi:schemaLocation="http://www.springframework.org/schema/beans http://www.springframework.org/schema/beans/spring-beans.xsd http://www.springframework.org/schema/context https://www.springframework.org/schema/context/spring-context.xsd">
    <content:component-scan base-package="com.bit.service"></content:component-scan>

        <bean id="user" class="User"></bean>//注册对象
</beans>
3.获取并使用Bean对象
获取并使用Bean对象分为3步:
(1)得到Spring上下文对象
(2)通过Spring上下文,获取某一个指定Bean对象
(3)使用Bean对象
(1)创建Spring上下文
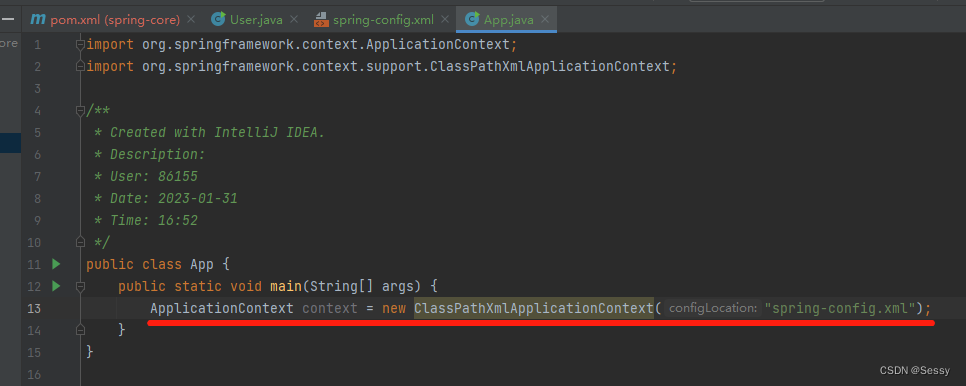
(2)获取指定Bean对象
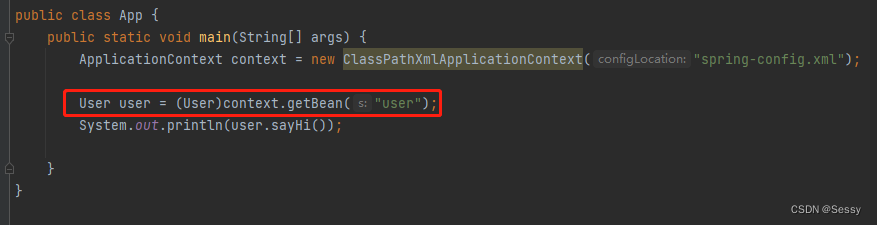
(3)使用对象
TODO:ApplicationContext VS BeanFactory
getBean 方法的更多用法