0. 环境
●OrangePi AIpro
●windows电脑
●路由器
之前我已经对OrangePi AIpro进行了些嵌入式基本操作的评测。接下来进行AI部分。来看看华为昇腾的特别之处。
1.普通CPU和AI CPU
这里请提前用调试串口或者ssh到板子上,记得用户名和密码,分别是HwHiAiUser,Mind@123。串口波特率是115200.
1.1 npu-smi info
npu-smi info
(base) HwHiAiUser@orangepiaipro:~$ npu-smi info
+--------------------------------------------------------------------------------------------------------+
| npu-smi 23.0.0                                   Version: 23.0.0                                       |
+-------------------------------+-----------------+------------------------------------------------------+
| NPU     Name                  | Health          | Power(W)     Temp(C)           Hugepages-Usage(page) |
| Chip    Device                | Bus-Id          | AICore(%)    Memory-Usage(MB)                        |
+===============================+=================+======================================================+
| 0       310B4                 | Alarm           | 0.0          45                15    / 15            |
| 0       0                     | NA              | 0            1564 / 7545                             |
+===============================+=================+======================================================+
(base) HwHiAiUser@orangepiaipro:~$
1.2 npu-smi info -t cpu-num-cfg
说实话,我也不太会看。只知道是8G,7545表示8GB内存。然后默认4核中,3个核是普通CPU,1个是AI CPU,平时AI CPU占用率是0%的。
这个操作可以查看到目前CPU情况。
(base) HwHiAiUser@orangepiaipro:~$ npu-smi info -t cpu-num-cfg -i 0 -c 0
        Current AI CPU number          : 1
        Current control CPU number     : 3
        Current data CPU number        : 0
(base) HwHiAiUser@orangepiaipro:~$
这个是查看利用率。
(base) HwHiAiUser@orangepiaipro:~$ npu-smi info -t usages -i 0 -c 0
        Memory Capacity(MB)            : 7545
        Memory Usage Rate(%)           : 21
        Hugepages Total(page)          : 15
        Hugepages Usage Rate(%)        : 100
        Aicore Usage Rate(%)           : 0
        Aicpu Usage Rate(%)            : 0
        Ctrlcpu Usage Rate(%)          : 2
        Memory Bandwidth Usage Rate(%) : 1
(base) HwHiAiUser@orangepiaipro:~$
然后参考说明书,这个指令还可以设置AI CPU为普通CPU,不过我暂时不操作了。
2.AI Demo
看用户手册,这里的demo是需要先运行Jupyter Lab的。这距离实际部署又差了一段距离。不过对于新手还是比较友好的,多了图形界面。
2.1 运行 Jupyter Lab
运行这个 Jupyter需要命令行执行:
cd ~/samples/notebooks
./start_notebook.sh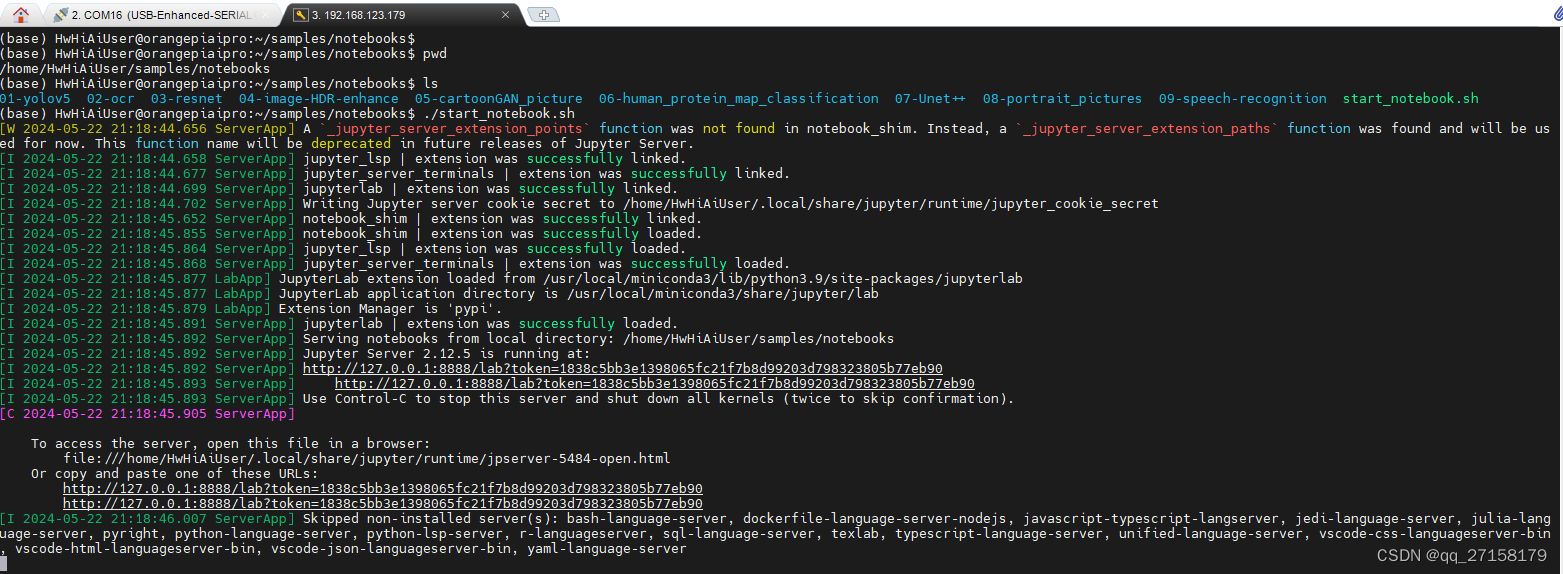
看这里的链接,是无法通过局域网访问的。
我想要通过局域网访问:
jupyter lab --ip 192.168.123.179 --port 5678 --allow-root --no-browser
注意这里192.168.123.179是OrangePi AIpro的ip,和windows电脑处于同一个路由器下。
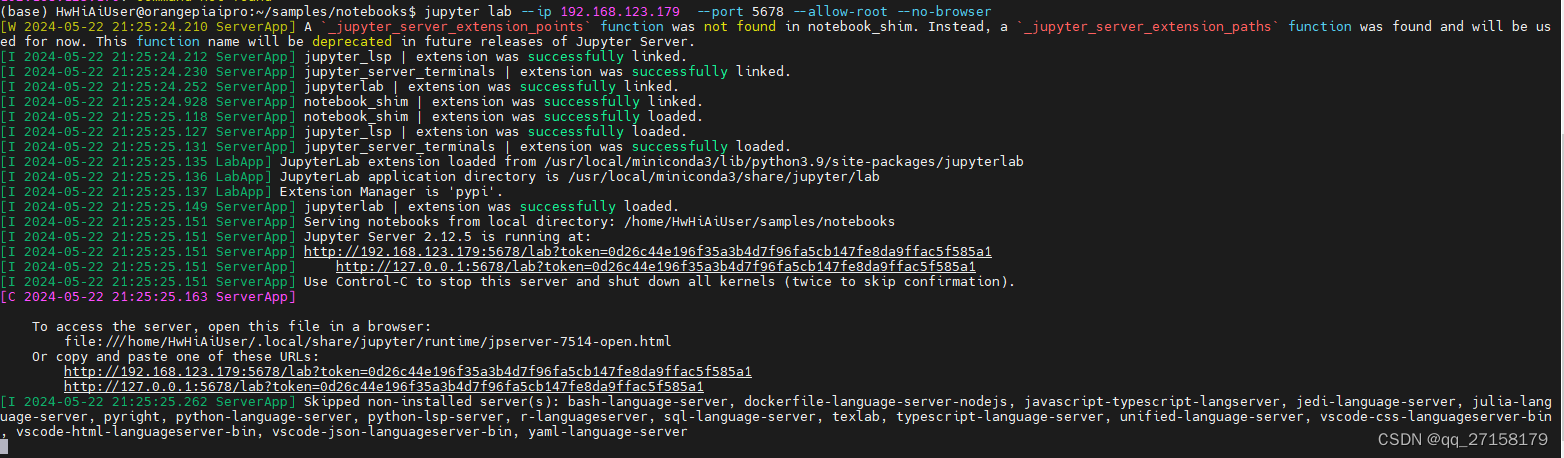
电脑可以访问了:
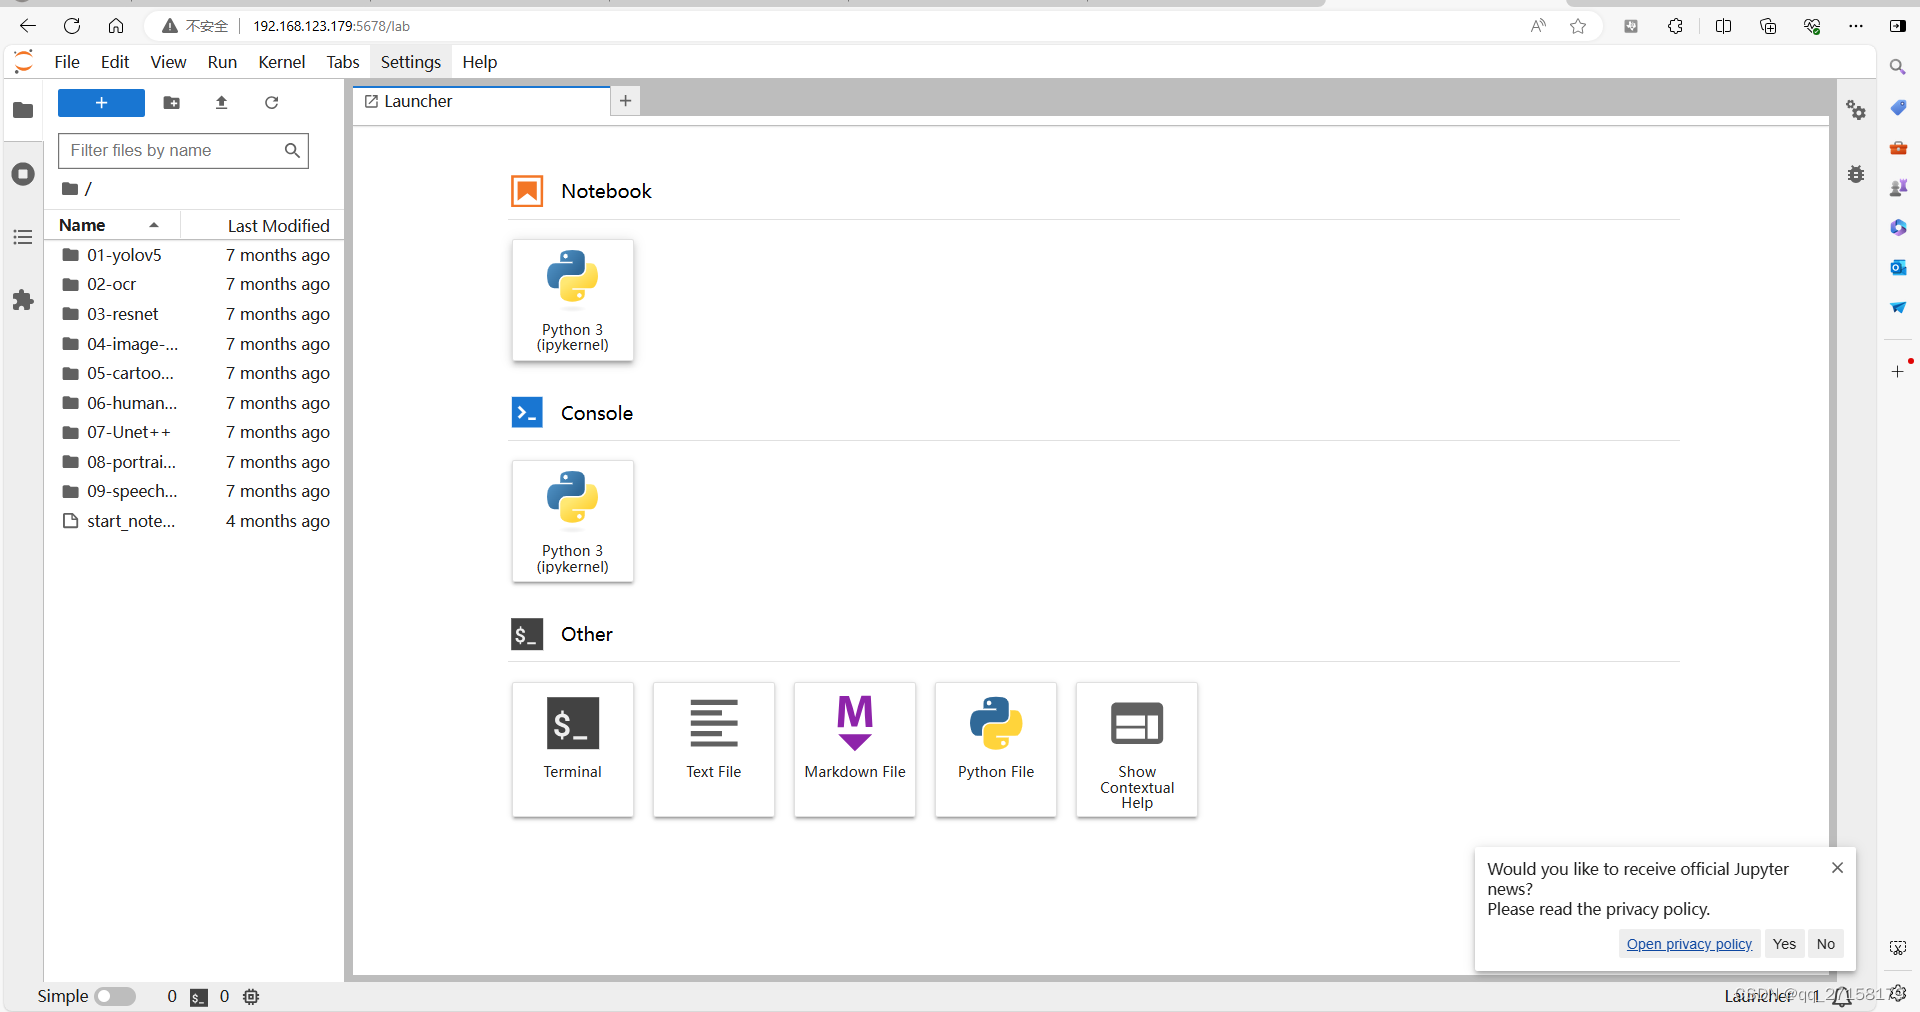
2.2 运行yolov5 demo
我也不是很熟悉Jupyter,最开始是在百度Ai Studio类似的工具中看到的,按播放可以运行一个个代码块。
打开 yolov5下的main.ipynb。这个格式的文件都需要用Jupyter打开才可以的,不能直接用python运行的。不便于部署,但是便于入门,也可以带有很多注释。带有注释就弥补了很多python库缺少文档的缺点。c/c++的开源库,往往编程基础扎实,也能输出文档。python的库没那么多规矩。
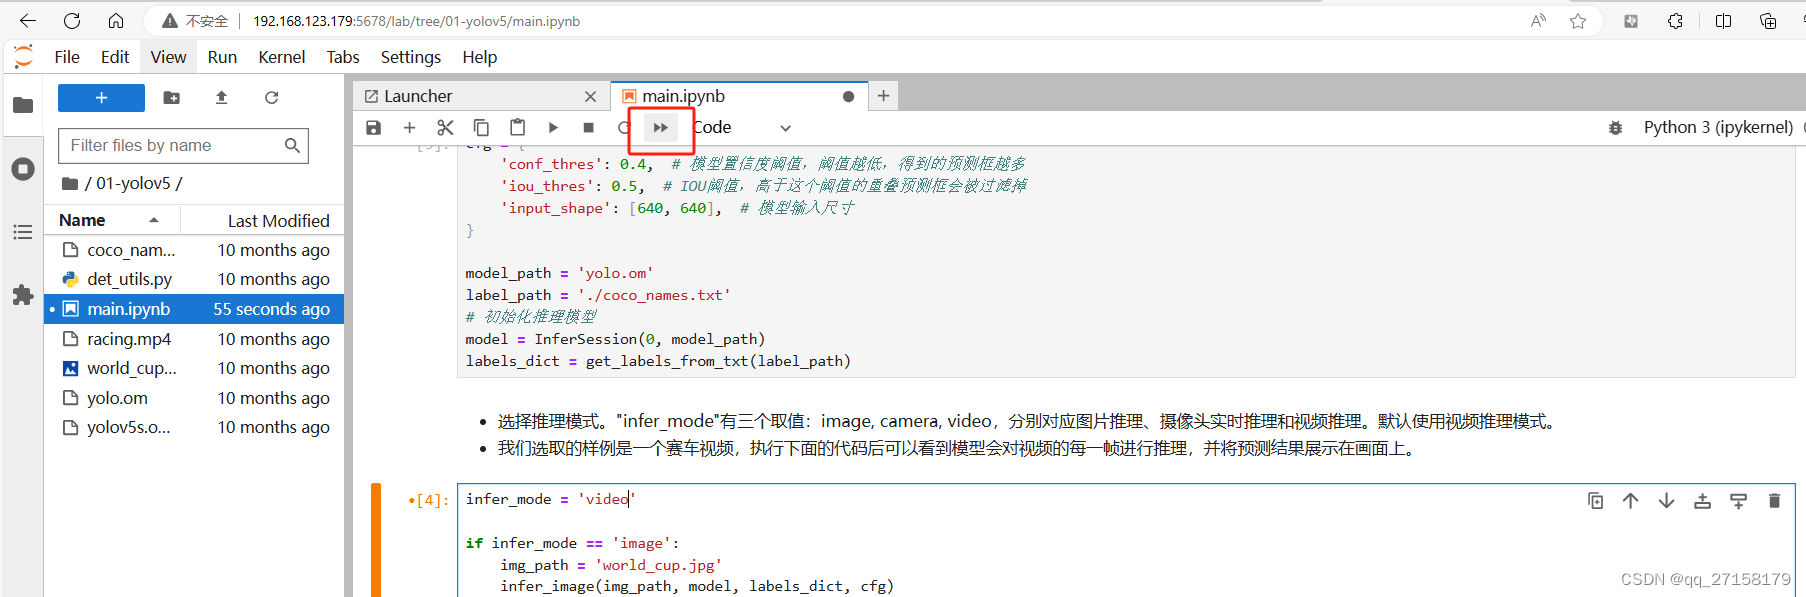
打开 main.ipynb后,点击>>重新运行。
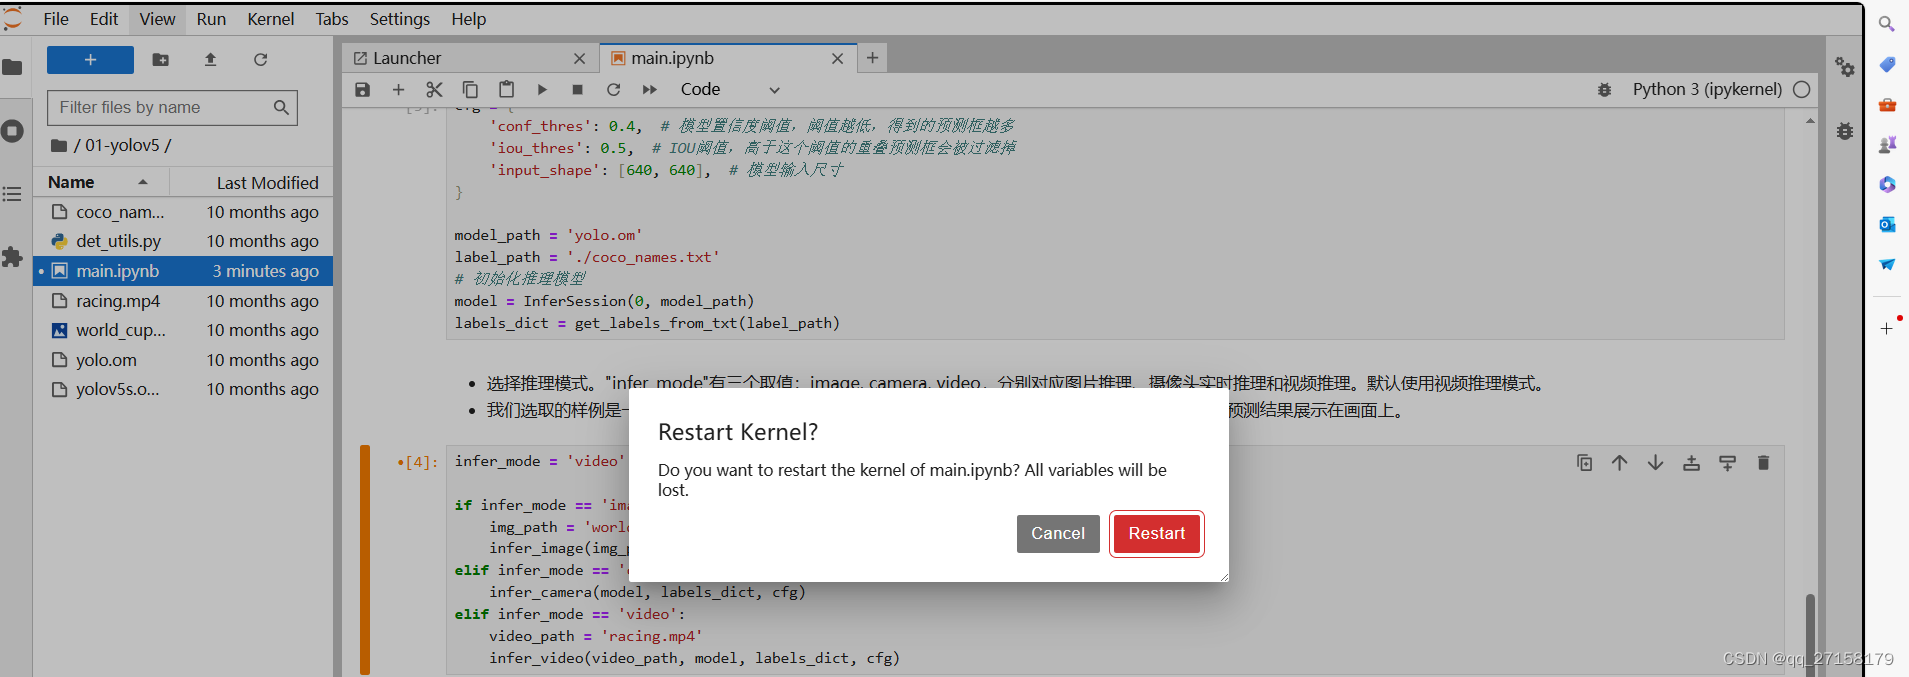
随后等待一段时间,就会有视频输出了。这个demo未修改下,是处理video的。
Jupyter不错,可以显示处理结果。图片和视频都可以。
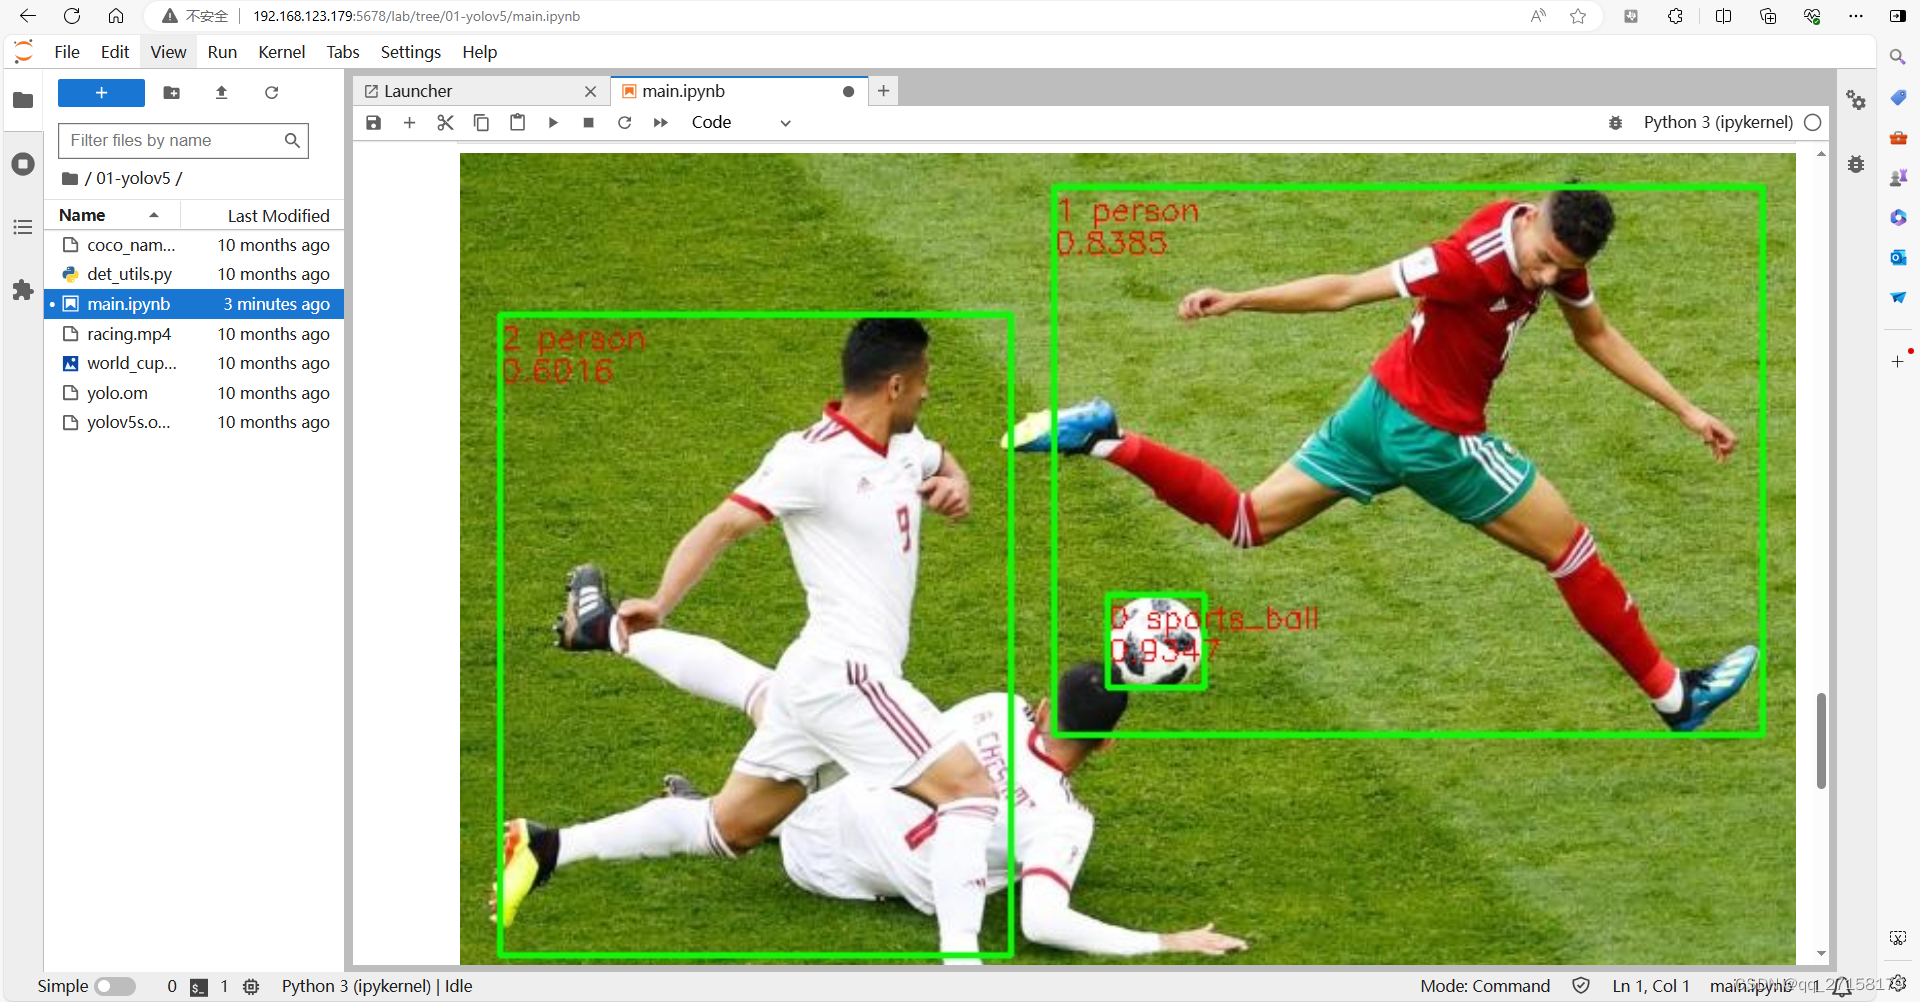
根据用户手册,这个demo还可以处理图像。修改第4个代码块中的infer_mode,修改为image,再次执行。
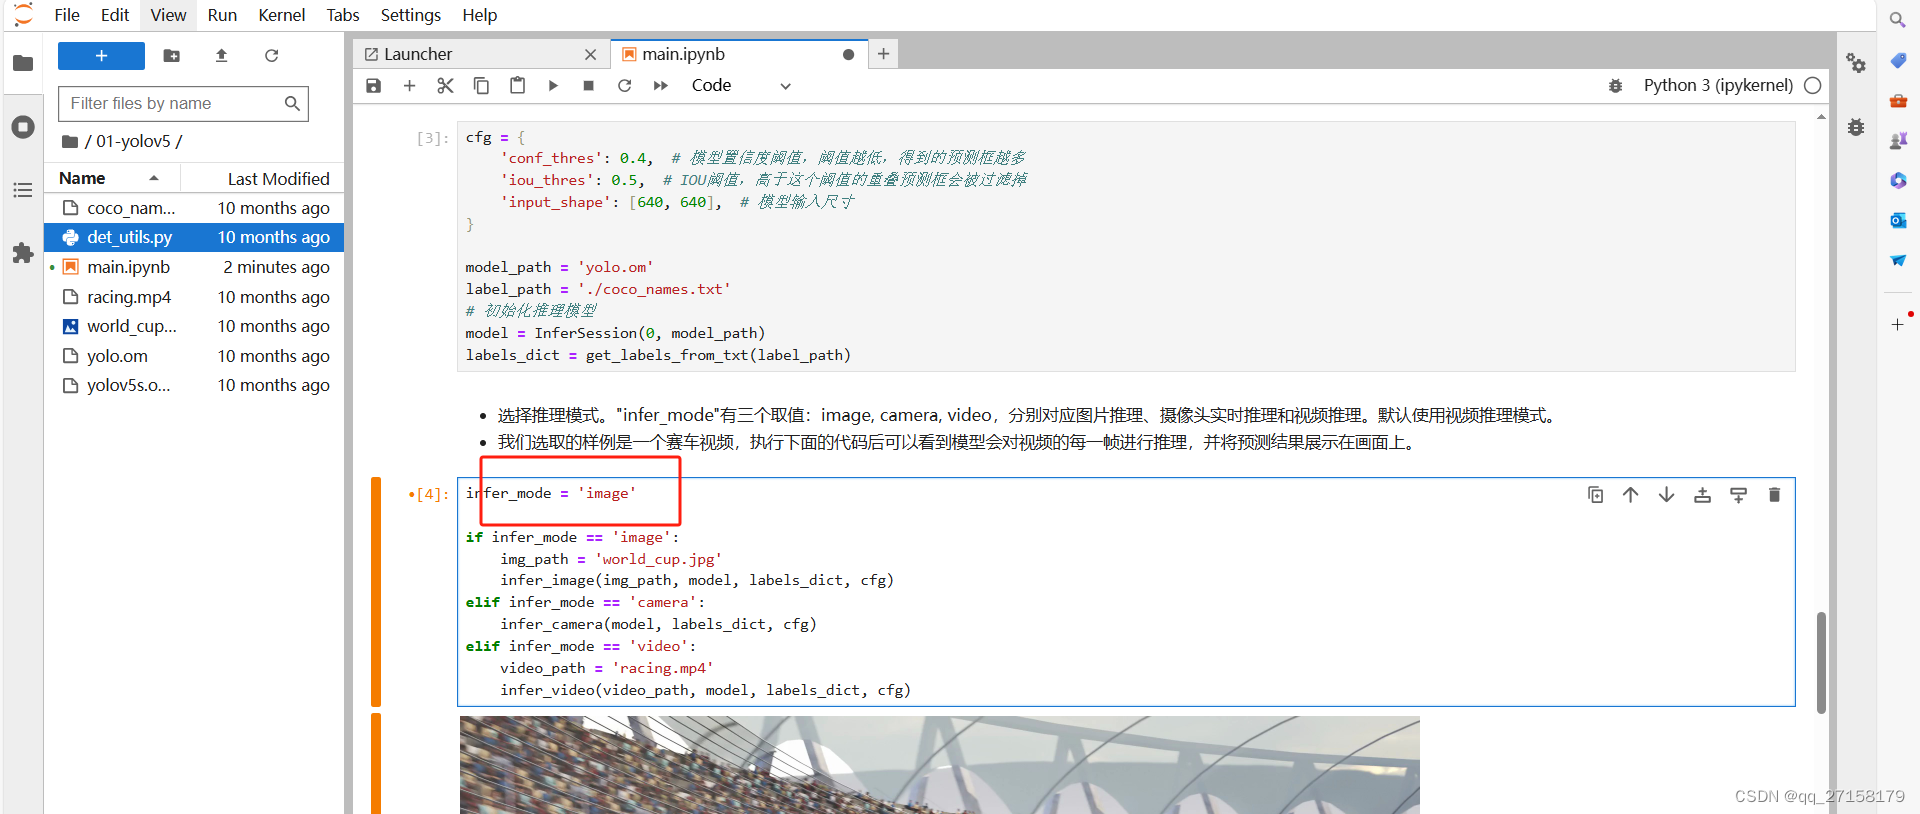
会输出结果:
到这里就运行了第一个demo。本demo其实还可以调用摄像头进行识别。不过我暂时未接入摄像头。
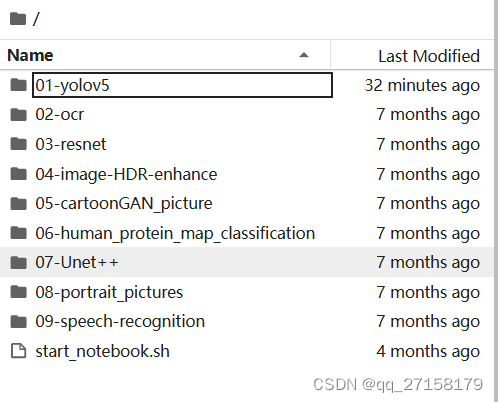
其余的demo用同样的方法就可以执行。目前有这几个demo,只要适当修改,就可以直接应用于特定场景当中。
demo还是做得挺完善的,有图像视频处理、文本、图像HDR、语音分类等。其实实际部署到板卡的AI模型,难点在于基本都是在英伟达的GPU中训练,然后再经过模型转换后放到板子上运行的。我以前在电脑中训练过微小模型(LeNet),用的是Tensorflow+Keras,部署到英伟达的GPU、Jetson都很方便,但是要移植到别的AI板卡,就卡在自己不会算子这里。
3.还原为脚本
我还是偏爱脚本,后续可以直接命令行运行。
切换目录:
cd ~/samples/notebooks/01-yolov5
创建文件:
vim main.py
添加内容:
# 导入代码依赖
import cv2
import numpy as np
import ipywidgets as widgets
from IPython.display import display
import torch
from skvideo.io import vreader, FFmpegWriter
import IPython.display
from ais_bench.infer.interface import InferSession

from det_utils import letterbox, scale_coords, nms

def preprocess_image(image, cfg, bgr2rgb=True):
    """图片预处理"""
    img, scale_ratio, pad_size = letterbox(image, new_shape=cfg['input_shape'])
    if bgr2rgb:
        img = img[:, :, ::-1]
    img = img.transpose(2, 0, 1)  # HWC2CHW
    img = np.ascontiguousarray(img, dtype=np.float32)
    return img, scale_ratio, pad_size


def draw_bbox(bbox, img0, color, wt, names):
    """在图片上画预测框"""
    det_result_str = ''
    for idx, class_id in enumerate(bbox[:, 5]):
        if float(bbox[idx][4] < float(0.05)):
            continue
        img0 = cv2.rectangle(img0, (int(bbox[idx][0]), int(bbox[idx][1])), (int(bbox[idx][2]), int(bbox[idx][3])),
                             color, wt)
        img0 = cv2.putText(img0, str(idx) + ' ' + names[int(class_id)], (int(bbox[idx][0]), int(bbox[idx][1] + 16)),
                           cv2.FONT_HERSHEY_SIMPLEX, 0.5, (0, 0, 255), 1)
        img0 = cv2.putText(img0, '{:.4f}'.format(bbox[idx][4]), (int(bbox[idx][0]), int(bbox[idx][1] + 32)),
                           cv2.FONT_HERSHEY_SIMPLEX, 0.5, (0, 0, 255), 1)
        det_result_str += '{} {} {} {} {} {}\n'.format(
            names[bbox[idx][5]], str(bbox[idx][4]), bbox[idx][0], bbox[idx][1], bbox[idx][2], bbox[idx][3])
    return img0


def get_labels_from_txt(path):
    """从txt文件获取图片标签"""
    labels_dict = dict()
    with open(path) as f:
        for cat_id, label in enumerate(f.readlines()):
            labels_dict[cat_id] = label.strip()
    return labels_dict


def draw_prediction(pred, image, labels):
    """在图片上画出预测框并进行可视化展示"""
    imgbox = widgets.Image(format='jpg', height=720, width=1280)
    img_dw = draw_bbox(pred, image, (0, 255, 0), 2, labels)
    imgbox.value = cv2.imencode('.jpg', img_dw)[1].tobytes()
    display(imgbox)


def infer_image(img_path, model, class_names, cfg):
    """图片推理"""
    # 图片载入
    image = cv2.imread(img_path)
    # 数据预处理
    img, scale_ratio, pad_size = preprocess_image(image, cfg)
    # 模型推理
    output = model.infer([img])[0]

    output = torch.tensor(output)
    # 非极大值抑制后处理
    boxout = nms(output, conf_thres=cfg["conf_thres"], iou_thres=cfg["iou_thres"])
    pred_all = boxout[0].numpy()
    # 预测坐标转换
    scale_coords(cfg['input_shape'], pred_all[:, :4], image.shape, ratio_pad=(scale_ratio, pad_size))
    # 图片预测结果可视化
    draw_prediction(pred_all, image, class_names)


def infer_frame_with_vis(image, model, labels_dict, cfg, bgr2rgb=True):
    # 数据预处理
    img, scale_ratio, pad_size = preprocess_image(image, cfg, bgr2rgb)
    # 模型推理
    output = model.infer([img])[0]

    output = torch.tensor(output)
    # 非极大值抑制后处理
    boxout = nms(output, conf_thres=cfg["conf_thres"], iou_thres=cfg["iou_thres"])
    pred_all = boxout[0].numpy()
    # 预测坐标转换
    scale_coords(cfg['input_shape'], pred_all[:, :4], image.shape, ratio_pad=(scale_ratio, pad_size))
    # 图片预测结果可视化
    img_vis = draw_bbox(pred_all, image, (0, 255, 0), 2, labels_dict)
    return img_vis


def img2bytes(image):
    """将图片转换为字节码"""
    return bytes(cv2.imencode('.jpg', image)[1])


def infer_video(video_path, model, labels_dict, cfg):
    """视频推理"""
    image_widget = widgets.Image(format='jpeg', width=800, height=600)
    display(image_widget)

    # 读入视频
    cap = cv2.VideoCapture(video_path)
    while True:
        ret, img_frame = cap.read()
        if not ret:
            break
        # 对视频帧进行推理
        image_pred = infer_frame_with_vis(img_frame, model, labels_dict, cfg, bgr2rgb=True)
        image_widget.value = img2bytes(image_pred)


def infer_camera(model, labels_dict, cfg):
    """外设摄像头实时推理"""
    def find_camera_index():
        max_index_to_check = 10  # Maximum index to check for camera

        for index in range(max_index_to_check):
            cap = cv2.VideoCapture(index)
            if cap.read()[0]:
                cap.release()
                return index

        # If no camera is found
        raise ValueError("No camera found.")

    # 获取摄像头
    camera_index = find_camera_index()
    cap = cv2.VideoCapture(camera_index)
    # 初始化可视化对象
    image_widget = widgets.Image(format='jpeg', width=1280, height=720)
    display(image_widget)
    while True:
        # 对摄像头每一帧进行推理和可视化
        _, img_frame = cap.read()
        image_pred = infer_frame_with_vis(img_frame, model, labels_dict, cfg)
        image_widget.value = img2bytes(image_pred)

cfg = {
    'conf_thres': 0.4,  # 模型置信度阈值,阈值越低,得到的预测框越多
    'iou_thres': 0.5,  # IOU阈值,高于这个阈值的重叠预测框会被过滤掉
    'input_shape': [640, 640],  # 模型输入尺寸
}

model_path = 'yolo.om'
label_path = './coco_names.txt'
# 初始化推理模型
model = InferSession(0, model_path)
labels_dict = get_labels_from_txt(label_path)


infer_mode = 'image'

if infer_mode == 'image':
    img_path = 'world_cup.jpg'
    infer_image(img_path, model, labels_dict, cfg)
elif infer_mode == 'camera':
    infer_camera(model, labels_dict, cfg)
elif infer_mode == 'video':
    video_path = 'racing.mp4'
    infer_video(video_path, model, labels_dict, cfg)
运行测试:
python3 main.py
这里用脚本调用AI处理器,比上面的Jupyter更利于实际部署。图形界面给学习上手较好,linux服务器还不一定有图形界面。当服务器是后台服务器,没有前端技术,就会只有命令行执行程序。下文还给设备添加HTTP接口,实现命令行被局域网访问。但是如果要执行特定代码,还需要继续开发。
4.如何通过HTTP被调用
假如本板卡不是个大脑,只是个辅助性的AI。那么本板卡需要开发个接口API,给外部调用。虽然SSH也是可以远程执行脚本,不过还是HTTP接口的API比较友好。HTTP形式的,也利于跨平台跨设备进行互相通信。
接下来演示基于python+flask实现的http接口的hello world。
4.1 创建文件 http_api.py
from flask import Flask

app = Flask(__name__)
app.config['JSON_AS_ASCII'] = False  # 禁止中文转义

@app.route('/HelloWorld')
def hello_world():
    return "Hello World!"

if __name__ == "__main__":
    app.run(host="0.0.0.0")
4.2 安装依赖
python3 -m pip install flask4.3 运行
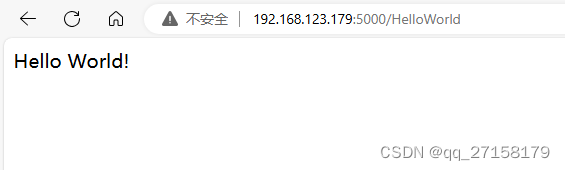
python3 http_api.py4.4 接口测试
浏览器打开 192.168.123.179:5000/HelloWorld
用postman测试http接口:
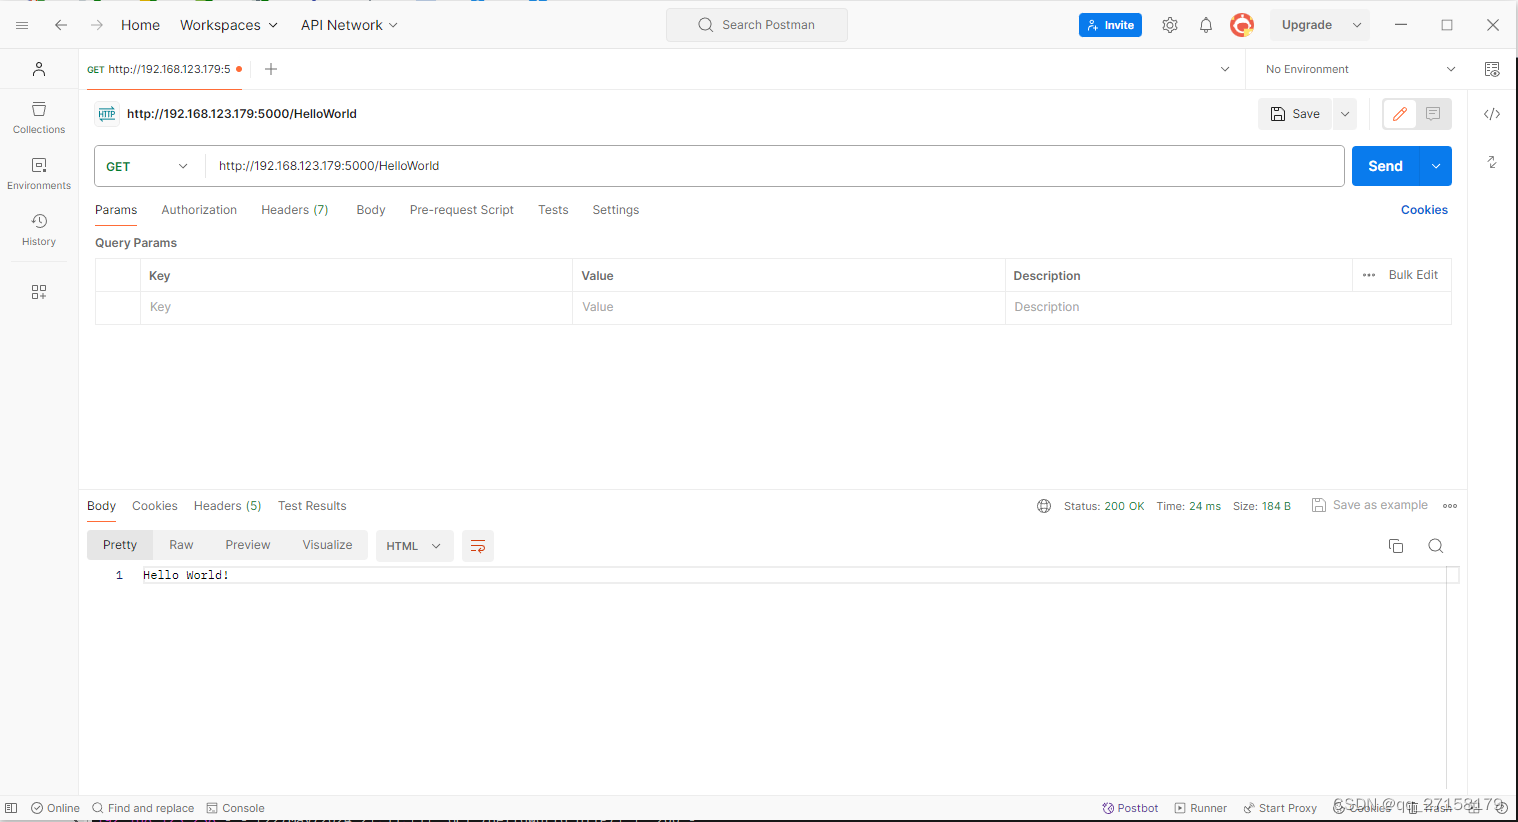
这里用的是Get方式。后续还可以开发HTTP POST接口用以数据交互。比如可以post图像文件到板卡,然后板子用python调用AI处理器进行图像处理。不过本文暂时没有做到那么多。
小结
本人对华为昇腾的AI架构、AI算子等并不熟悉的。只是个门外汉运行下demo,并没有深入到AI部分的开发。本文通过npu-smi这个指令,查看到昇腾的CPU的特别之处,就是这个处理器支持分配CPU核为普通CPU或者AI CPU,这是一大特色。然后参考了用户手册,运行了第一个AI demo。感觉板卡算力还算可以,处理视频也没消耗很多时间就出结果了。记得以前用opencv处理视频的每一帧,CPU模式下1分钟的图片至少也要处理十几分钟。这显得昇腾的AI处理能力在图片、视频方面发挥得还是不错的。最后本文给出了在板子上开发HTTP接口的hello world示例。AI板卡还是需要个方便调用的接口,便于将小AI整进系统中。
参考
[1]OrangePi_AI_Pro_昇腾_用户手册_v0.3.1.pdf
[2]香橙派AIpro学习资源一站式导航,https://www.hiascend.com/forum/thread-0285140173361311056-1-1.html
[3]香橙派AIpro官网资料下载,http://www.orangepi.cn/html/hardWare/computerAndMicrocontrollers/service-and-support/Orange-Pi-AIpro.html