在web开发中,安全性问题比较重要,一般会使用过滤器或者拦截器的方式对权限等进行验证过滤。此博客根据b站up主,使用demo示例进行展示spring-security的一些功能作用。
目 录
1、创建项目
2、编写controller
3、添加spring-security依赖
4、编写spring-security配置类
5、添加thymeleaf-extras-springsecurity5 依赖
6、页面访问测试
先来最终的目录结构

pom文件:springboot版本为 2.0.9.RELEASE
<?xml version="1.0" encoding="UTF-8"?>
<project xmlns="http://maven.apache.org/POM/4.0.0" xmlns:xsi="http://www.w3.org/2001/XMLSchema-instance"
         xsi:schemaLocation="http://maven.apache.org/POM/4.0.0 https://maven.apache.org/xsd/maven-4.0.0.xsd">
    <modelVersion>4.0.0</modelVersion>
    <parent>
        <groupId>org.springframework.boot</groupId>
        <artifactId>spring-boot-starter-parent</artifactId>
        <version>2.0.9.RELEASE</version>
        <relativePath/> <!-- lookup parent from repository -->
    </parent>
    <groupId>com.ljy</groupId>
    <artifactId>test-spring-security</artifactId>
    <version>0.0.1-SNAPSHOT</version>
    <name>test-spring-security</name>
    <description>Demo project for Spring Boot</description>

    <properties>
        <java.version>1.8</java.version>
    </properties>

    <dependencies>

        <!-- https://mvnrepository.com/artifact/org.thymeleaf.extras/thymeleaf-extras-springsecurity4 -->
        <dependency>
            <groupId>org.thymeleaf.extras</groupId>
            <artifactId>thymeleaf-extras-springsecurity5</artifactId>
            <version>3.0.4.RELEASE</version>
        </dependency>

        <dependency>
            <groupId>org.springframework.boot</groupId>
            <artifactId>spring-boot-starter-security</artifactId>
        </dependency>
        <dependency>
            <groupId>org.springframework.boot</groupId>
            <artifactId>spring-boot-starter-thymeleaf</artifactId>
        </dependency>
        <dependency>
            <groupId>org.springframework.boot</groupId>
            <artifactId>spring-boot-starter-web</artifactId>
        </dependency>

        <dependency>
            <groupId>org.springframework.boot</groupId>
            <artifactId>spring-boot-starter-test</artifactId>
            <scope>test</scope>
            <exclusions>
                <exclusion>
                    <groupId>org.junit.vintage</groupId>
                    <artifactId>junit-vintage-engine</artifactId>
                </exclusion>
            </exclusions>
        </dependency>
    </dependencies>

    <build>
        <plugins>
            <plugin>
                <groupId>org.apache.maven.plugins</groupId>
                <artifactId>maven-compiler-plugin</artifactId>
                <version>3.8.1</version>
                <configuration>
                    <source>1.8</source>
                    <target>1.8</target>
                    <encoding>UTF-8</encoding>
                </configuration>
            </plugin>
            <plugin>
                <groupId>org.springframework.boot</groupId>
                <artifactId>spring-boot-maven-plugin</artifactId>
            </plugin>
        </plugins>
    </build>

</project>
1、创建项目
创建项目,并添加web和Thymeleaf依赖
下载静态资源,并进行导入,下载地址为:静态资源地址
2、编写controller
package com.ljy.testspringsecurity.controller;

import org.springframework.stereotype.Controller;
import org.springframework.web.bind.annotation.PathVariable;
import org.springframework.web.bind.annotation.RequestMapping;

/**
 * @Author 不要有情绪的  ljy
 * @Date 2023/1/13 15:23
 * @Description:
 */
@Controller
public class RouterController {
    @RequestMapping({"/", "index"})
    public String index() {
        return "index";
    }

    @RequestMapping({"/toLogin"})
    public String toLogin() {
        return "views/login";
    }

    @RequestMapping("/level1/{id}")
    public String level1(@PathVariable("id") int id) {
        return "views/level1/" + id;
    }

    @RequestMapping("/level2/{id}")
    public String level2(@PathVariable("id") int id) {
        return "views/level2/" + id;
    }

    @RequestMapping("/level3/{id}")
    public String level3(@PathVariable("id") int id) {
        return "views/level3/" + id;
    }
}
3、添加spring-security依赖
    <dependency>
            <groupId>org.springframework.boot</groupId>
            <artifactId>spring-boot-starter-security</artifactId>
    </dependency>
4、编写spring-security配置类
package com.ljy.testspringsecurity.config;

import org.springframework.security.config.annotation.authentication.builders.AuthenticationManagerBuilder;
import org.springframework.security.config.annotation.web.builders.HttpSecurity;
import org.springframework.security.config.annotation.web.configuration.EnableWebSecurity;
import org.springframework.security.config.annotation.web.configuration.WebSecurityConfigurerAdapter;
import org.springframework.security.crypto.bcrypt.BCryptPasswordEncoder;

/**
 * @Author 不要有情绪的  ljy
 * @Date 2023/1/13 15:39
 * @Description:
 */
@EnableWebSecurity
public class SecurityConfig extends WebSecurityConfigurerAdapter {

    //授权认证
    @Override
    protected void configure(HttpSecurity http) throws Exception {
        //定制请求的授权规则    其目的是:告诉有哪些权限的人才可以访问页面
        http.authorizeRequests()
                .antMatchers("/").permitAll()  //首页所有人可以访问
                .antMatchers("/level1/**").hasRole("vip1")
                .antMatchers("/level2/**").hasRole("vip2")
                .antMatchers("/level3/**").hasRole("vip3");

        //开启自动配置的登录功能
        //没有权限默认会到登录页面
        //定制登陆页面("/toLogin")
        //登录认证("/login")
        http.formLogin()
                .usernameParameter("username")
                .passwordParameter("password")
                .loginPage("/toLogin")
                .loginProcessingUrl("/login");


        /*防止网站攻击*/   //也是解决注销报错的方法
        http.csrf().disable();//关闭csrf


        // 开启自动配置的注销的功能
        /*注销成功后跳到首页*/
        http.logout().logoutSuccessUrl("/");


        //记住我功能,自定义接受前端数据
        http.rememberMe().rememberMeParameter("remember");
    }


    //定义认证规则     其目的是:告诉哪些的用户拥有哪些权限,即给用户绑定用户角色
    @Override
    protected void configure(AuthenticationManagerBuilder auth) throws Exception {
        //在内存中定义,也可以在jdbc中去拿
        //Spring security 5.0中新增了多种加密方式,也改变了密码的格式
        //要想我们的项目还能够正常登录,需要修改以下configure中的代码,我们要将前端传过来的密码进行某种方法的加密
        //spring security 官方推荐的是使用bcrypt加密方式。
        auth.inMemoryAuthentication().passwordEncoder(new BCryptPasswordEncoder())
                .withUser("kuangshen").password(new BCryptPasswordEncoder().encode("123456")).roles("vip2", "vip3")
                .and()
                .withUser("root").password(new BCryptPasswordEncoder().encode("123456")).roles("vip1", "vip2", "vip3")
                .and()
                .withUser("guest").password(new BCryptPasswordEncoder().encode("123456")).roles("vip1", "vip2");
    }
}
对以上代码进行简单描述,configure(HttpSecurity http)方法是授权认证,其目的是告诉有哪些权限的人才可以访问哪个页面,configure(AuthenticationManagerBuilder auth)方法是定义认证规则,其目的是定义哪些用户有权限,即给每个用户绑定权限。
5、添加thymeleaf-extras-springsecurity5 依赖
为了在前端实现,动态展示页面的效果,即不同权限看到的页面内容不一样,引入thymeleaf-extras-springsecurity5依赖,即使用 sec:authorize=“isAuthenticated()”;是否认证登录!来显示不同的页面。(前端页面不在描述,可以根据b站视频查看:视频地址)
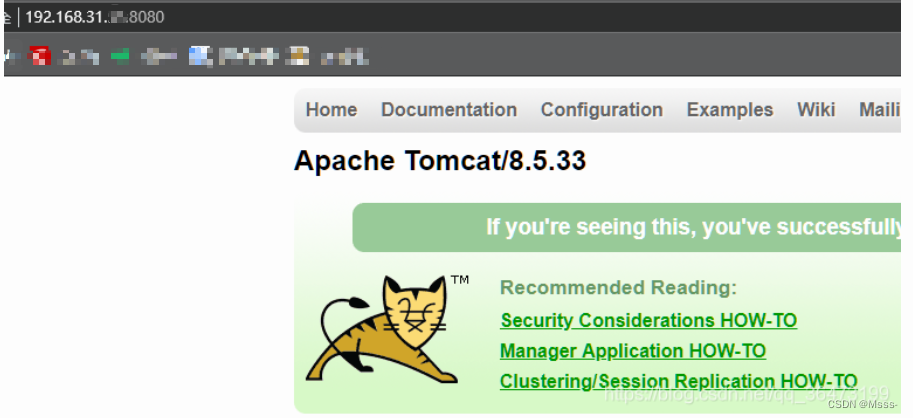
6、页面访问测试
http://localhost:8080/
项目已上传到github上,地址:源码地址
![[拆轮子] PaddleDetection中__shared__、__inject__ 和 from_config 三者分别做了什么](https://img-blog.csdnimg.cn/b9e372fc214c4ff89128210a7661db71.png)