文章目录
- 1、基于session的认证
- 2、Demo
- session实现认证
- session实现授权
1、基于session的认证
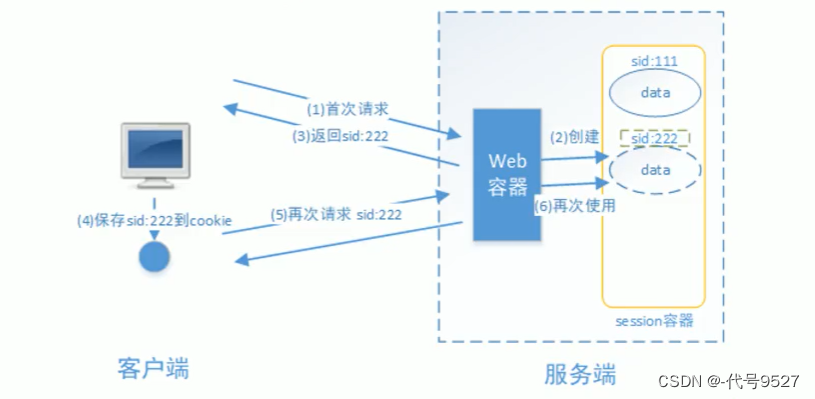
流程:
- 用户认证成功后,服务端生成用户数据保存在session中
- 服务端返回给客户端session id (sid),被客户端存到自己的cookie中
- 客户端下次再请求,就带上sid,服务端校验是否存在对应的session,存在则不要求用户再登录了
2、Demo
基于Session的认证机制由Servlet制定规范,Serlvet容器以实现,HttpSession相关方法:
| 方法 | 用途 |
|---|---|
| HttpSession getSession(Boolean create) | 获取当前HttpSession对象 |
| void setAttribute(String name,Object value) | 向session中存放对象 |
| object getAttribute(String name) | 从session中获取对象 |
| void removeAttribute(String name); | 移除session中对象 |
| void invalidate() | 使HttpSession失效 |
准备实体类:
@Data
public class AuthenticationRequestDto {
    /**
     * 用户名
     */
    private String username;
    /**
     * 密码
     */
    private String password;
}
@Data
@AllArgsConstructor
public class UserVo {

    private String id;
    private String username;
    private String password;
    private String fullname;
    private String mobile;
}
session实现认证
用Map模拟查询数据库,存储用户信息:
@Service
public class AuthenticationServiceImpl implements AuthenticationService {

    private final Map<String, UserVo> userMap = new HashMap<>();

    {
        userMap.put("zhangsan", new UserVo("1010", "zhangsan", "123", "zhangSan", "133443"));
        userMap.put("lisi", new UserVo("1011", "lisi", "456", "liSi", "144553"));
    }

    @Override
    public UserVo auth(AuthenticationRequestDto dto) {

        if (dto == null
                || StringUtils.isEmpty(dto.getUsername())
                || StringUtils.isEmpty(dto.getPassword())) {
            throw new RuntimeException("账户或密码为空");
        }
        //模拟查询数据库
        UserVo vo = getUserVo(dto.getUsername());
        if (null == vo) {
            throw new RuntimeException("用户不存在");
        }
        if (!vo.getPassword().equals(dto.getPassword())) {
            throw new RuntimeException("密码错误");
        }
        return vo;
    }

    public UserVo getUserVo(String username) {
        return userMap.get(username);
    }

}
定义三个接口,登录,服务端保存session,登出,让session失效。以及一个资源接口,查看当前是登录访问资源,还是未登录访问资源
@RestController
public class Controller {
@Resource
private AuthenticationService authenticationService;
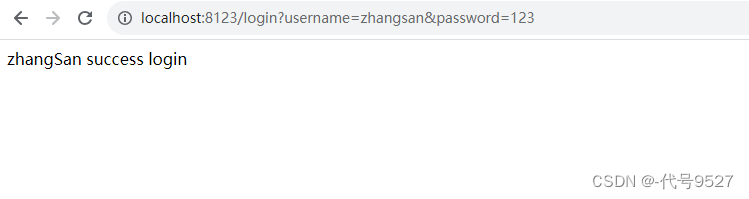
@GetMapping(value = "/login")
public String login(AuthenticationRequestDto dto, HttpSession session) {
UserVo userVo = authenticationService.auth(dto);
//用户信息存入session
session.setAttribute("sid", userVo);
return userVo.getFullname() + " success login";
}
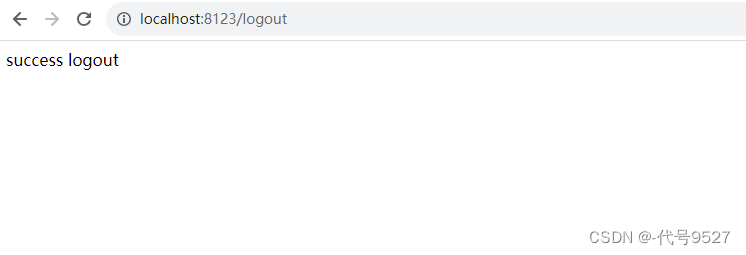
@GetMapping("/logout")
public String logout(HttpSession session) {
//让session失效
session.invalidate();
return " success logout";
}
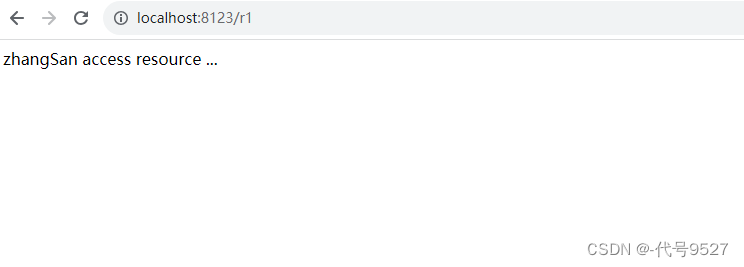
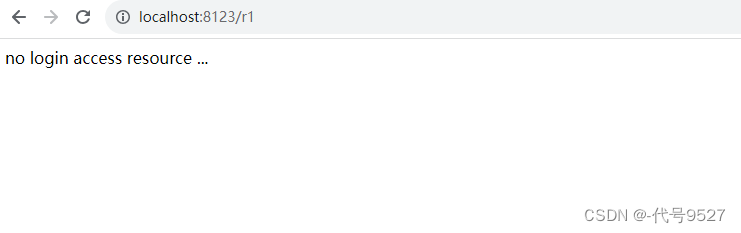
@GetMapping("/r1")
public String resource(HttpSession session) {
String fullName = null;
Object result = session.getAttribute("sid");
if (result != null) {
fullName = ((UserVo) result).getFullname();
} else {
fullName = "no login";
}
return fullName + " access resource ... ";
}
}
测试:
登录后访问资源接口:
退出登录后,再访问资源接口:
session实现授权
修改实体类,加个权限字段,存储用户权限
@Data
@AllArgsConstructor
public class UserVo {

    private String id;
    private String username;
    private String password;
    private String fullname;
    private String mobile;

    /**
     * 用户权限
     */
    private Set<String> authorities;
}
实例代码块创建用户到map的代码做调整:
{
        Set<String> auth1 = new HashSet<>();
        auth1.add("p1");   //对应/r1这个接口资源
        Set<String> auth2 = new HashSet<>();
        auth2.add("p2");   //对应/r2这个接口资源
        userMap.put("zhangsan", new UserVo("1010", "zhangsan", "123", "zhangSan", "133443", auth1));
        userMap.put("lisi", new UserVo("1011", "lisi", "456", "liSi", "144553", auth2));
    }
加个测试资源接口/r2
@GetMapping("/r2")
    public String resource2(HttpSession session) {
        String fullName = null;
        Object result = session.getAttribute("sid");
        if (result != null) {
            fullName = ((UserVo) result).getFullname();
        } else {
            fullName = "no login";
        }
        return fullName + " access resource ... ";
    }
写拦截器:
@ComponentScan
public class SimpleAuthInterceptor implements HandlerInterceptor {

    /**
     * 校验用户请求的url是否在权限范围中
     */
    @Override
    public boolean preHandle(HttpServletRequest request, HttpServletResponse response, Object handler) throws Exception {
		//从http请求中获取session对象,再拿当前HttpSession对象
        Object object = request.getSession().getAttribute("sid");
        //没有认证
        if (object == null) {
            writeContent(response, "请登录");
        }
        UserVo userVo = (UserVo) object;
        //请求的url
        String requestURI = request.getRequestURI();
        assert userVo != null;
        if (userVo.getAuthorities().contains("p1") && requestURI.contains("/r1")) {
            return true;
        }
        if (userVo.getAuthorities().contains("p2") && requestURI.contains("/r2")) {
            return true;
        }
        //拒绝访问
        writeContent(response,"没有权限,拒绝访问");

        return false;
    }

    private void writeContent(HttpServletResponse response, String msg) throws IOException {
        response.setContentType("text/html;charset=utf-8");
        PrintWriter writer = response.getWriter();
        writer.print(msg);
        writer.close();
    }
}
拦截器add并放行/login,只测/r**接口
@Configuration
@EnableWebMvc
public class WebConfig implements WebMvcConfigurer {

    /**
     * 视图解析器
     */
    @Bean
    public InternalResourceViewResolver viewResolver(){
       InternalResourceViewResolver viewResolver = new InternalResourceViewResolver();
       viewResolver.setPrefix("/static/");  //前缀
       viewResolver.setSuffix(".jsp");  //后缀
       return viewResolver;
    }

    @Override
    public void addViewControllers(ViewControllerRegistry registry) {
        registry.addViewController("/").setViewName("login");
    }

    @Override
    public void addInterceptors(InterceptorRegistry registry) {
        registry.addInterceptor(new SimpleAuthInterceptor()).addPathPatterns("/r**");   //新加进来的拦截器只针对r打头的接口,否则login接口也会被拦截要求登录
    }
}
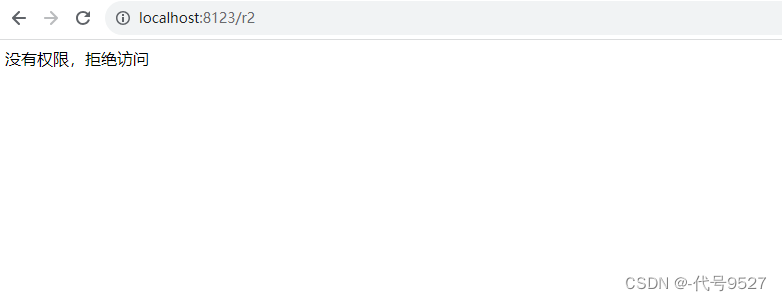
测试,登录zhangsan,其有r1权限,访问r2接口:
![[uni-app] uni.createAnimation动画在APP端无效问题记录](https://img-blog.csdnimg.cn/direct/08ec8d91dd4e4142a75226e74bacc547.png)


![[Qt学习笔记]Qt实现鼠标点击或移动时改变鼠标的样式以及自定义鼠标样式](https://img-blog.csdnimg.cn/img_convert/ba661779f4a02d1daf7d547dba388f3e.webp?x-oss-process=image/format,png)