之前消息模型的实现,都是通过rabbitMQ Management 控制台来手动创建 queue 和 exchange 的
在项目开发中有两种方式通过代码声明 创建
一种是通过 Bean 方式,这种代码量较大 稍繁琐
一种是通过注解的方式声明
先编写消费者代码
通过注解绑定了 消息队列,交换机,还有 routing key, 注解会在启动时根据这些名字自动进行创建
package cn.itcast.mq.lintener;
import lombok.extern.slf4j.Slf4j;
import org.springframework.amqp.core.ExchangeTypes;
import org.springframework.amqp.rabbit.annotation.Exchange;
import org.springframework.amqp.rabbit.annotation.Queue;
import org.springframework.amqp.rabbit.annotation.QueueBinding;
import org.springframework.amqp.rabbit.annotation.RabbitListener;
import org.springframework.stereotype.Component;
@Slf4j
@Component
public class MQListener {
@RabbitListener(bindings = @QueueBinding(
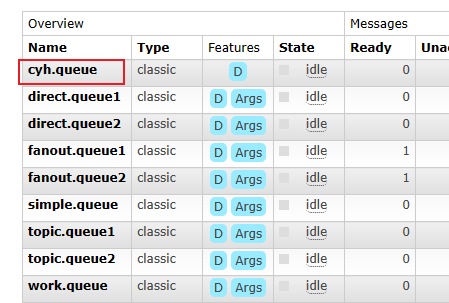
value = @Queue(name = "cyh.queue"),
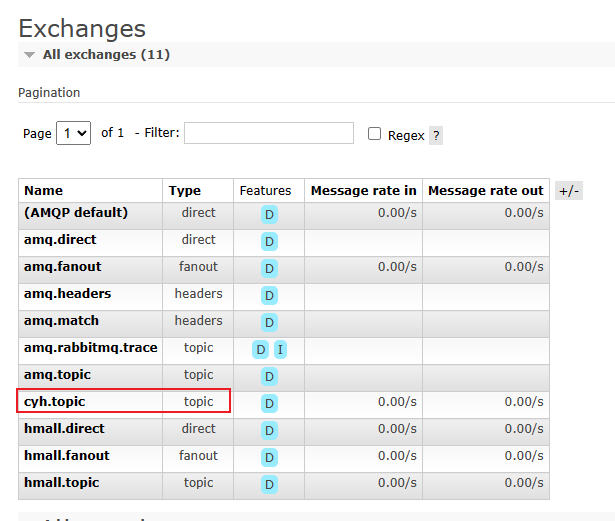
exchange = @Exchange(name = "cyh.topic",type = ExchangeTypes.TOPIC),
key = {"#.com"}
))
public void listenTopicQueue3(String message){
log.info("消费者cyh收到了 : " + message);
}
}编写生产者代码
交换机名要跟 消费者绑定的对应
还有 routing key 规则也要保证相符
package cn.itcast.mq.helloworld;

import org.apache.logging.log4j.message.Message;
import org.junit.jupiter.api.Test;
import org.springframework.amqp.rabbit.core.RabbitTemplate;
import org.springframework.beans.factory.annotation.Autowired;
import org.springframework.boot.test.context.SpringBootTest;
import org.springframework.messaging.converter.StringMessageConverter;

@SpringBootTest
public class SpringAMQPTest {

    @Autowired
    private RabbitTemplate rabbitTemplate;


    //  topic交换机
    @Test
    void testTopicExchange(){
        String exchangeName = "cyh.topic";
        String message = "hello, topic";
        rabbitTemplate.convertAndSend(exchangeName,"china.com",message);
    }

}
最后运行 成功接收到消息
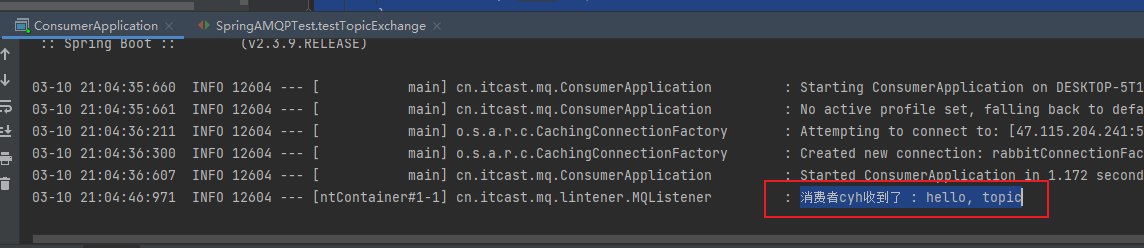
队列 交换机 也自动创建好了