项目地址: https://github.com/zhulf0804/PCReg.PyTorch/tree/main
网络简介: 网络是基于PointNet + Concat + FC的,它没有其它复杂的结构,易于复现。因其简洁性,这里暂且把其称作点云配准的Benchmark。因作者源码中复杂的(四元数, 旋转矩阵, 欧拉角之间)的变换操作和冗余性,且其PyTorch版本的不完整性(缺少评估模型等,最近又更新了),
项目详细介绍: 基于深度学习的点云配准Benchmark
本文方法与常见的图像配准逻辑类似,基于采样与transfrom操作从源点云生成目标点云,然后进行训练与评测。总体看来效果不如open3d自带的fgr方法,可以作为入门级项目进行使用。
1、运行环境安装
1.1 项目下载
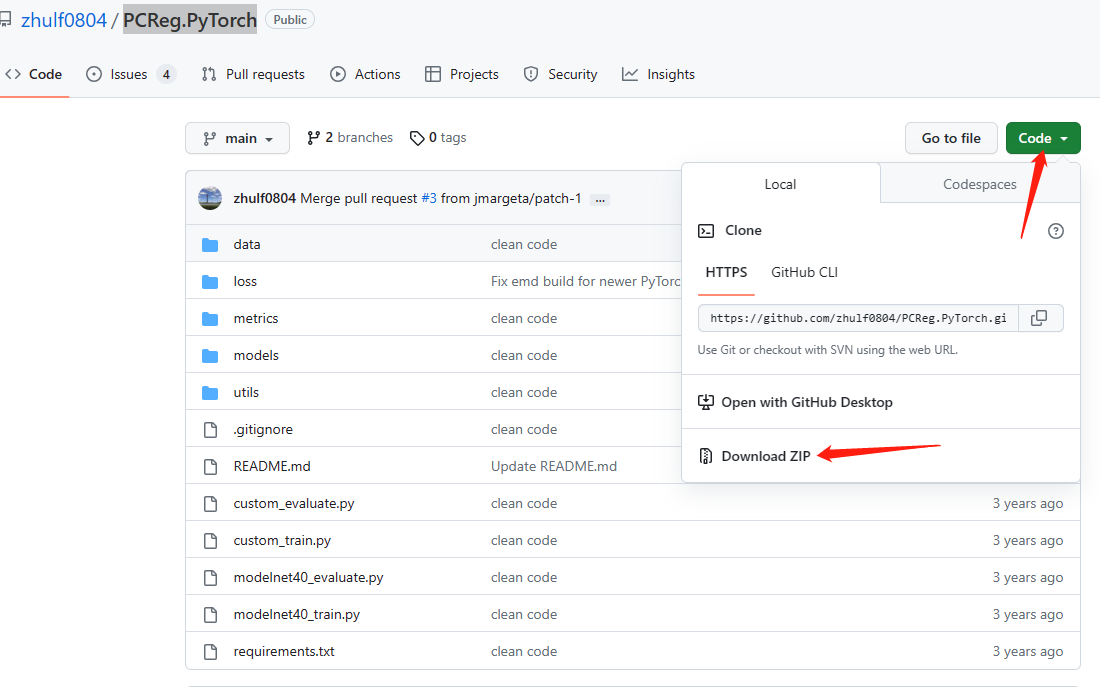
打开https://github.com/zhulf0804/PCReg.PyTorch/tree/main,点Download ZIP然后将代码解压到指定目录下即可。
1.2 依赖项安装
在装有pytorch的环境终端,进入PCReg.PyTorch-main目录,执行以下安装命令:
pip install -r requirements.txt
python -m pip install open3d>=0.9
emd loss编译
如果不做训练使用,可以不用进行emd loss编译。
cd loss/cuda/emd_torch & python setup.py install
在编译过程中,很有可能碰到报错
  File "C:\Users\Administrator\miniconda3\lib\site-packages\torch\utils\cpp_extension.py", line 499, in build_extensions
    _check_cuda_version(compiler_name, compiler_version)
  File "C:\Users\Administrator\miniconda3\lib\site-packages\torch\utils\cpp_extension.py", line 387, in _check_cuda_version
    raise RuntimeError(CUDA_MISMATCH_MESSAGE.format(cuda_str_version, torch.version.cuda))
RuntimeError:
The detected CUDA version (12.1) mismatches the version that was used to compile
PyTorch (11.7). Please make sure to use the same CUDA versions.
这是由于PyTorch 的cuda版本与系统自带的cuda版本不同所导致的,可以先使用一下命令卸载过往的torch版本(慎重操作),然后重新安装torch;也可以在conda环境中重新创建一个符合系统cuda版本的torch环境。
pip uninstall torch torchvision torchaudio
在上述信息输出中,博主的cuda版本为12.1,我们可以打开pytorch官网找打符合自己电脑cuda版本的pytorch安装命令.
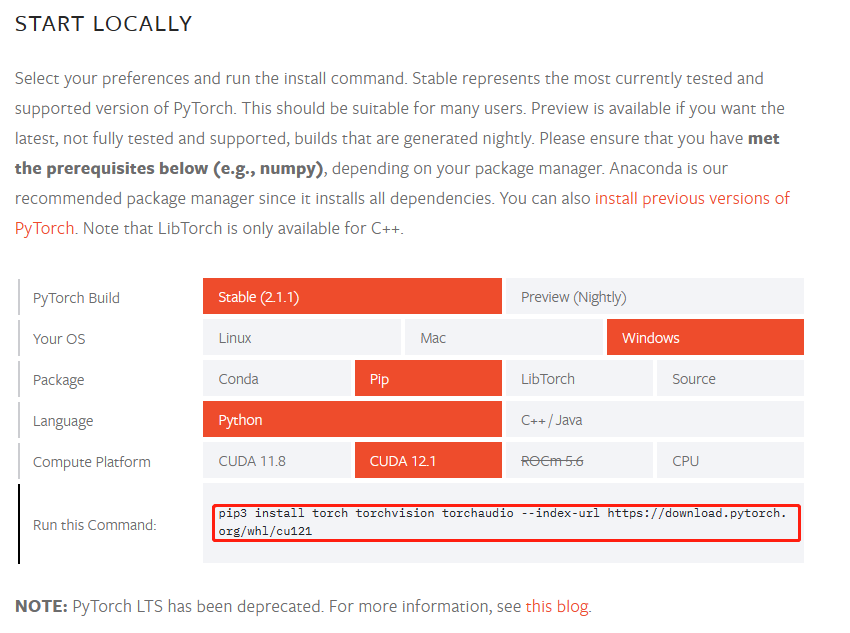
如果cuda版本较早,可以在 https://pytorch.org/get-started/previous-versions/ 中找到安装命令。
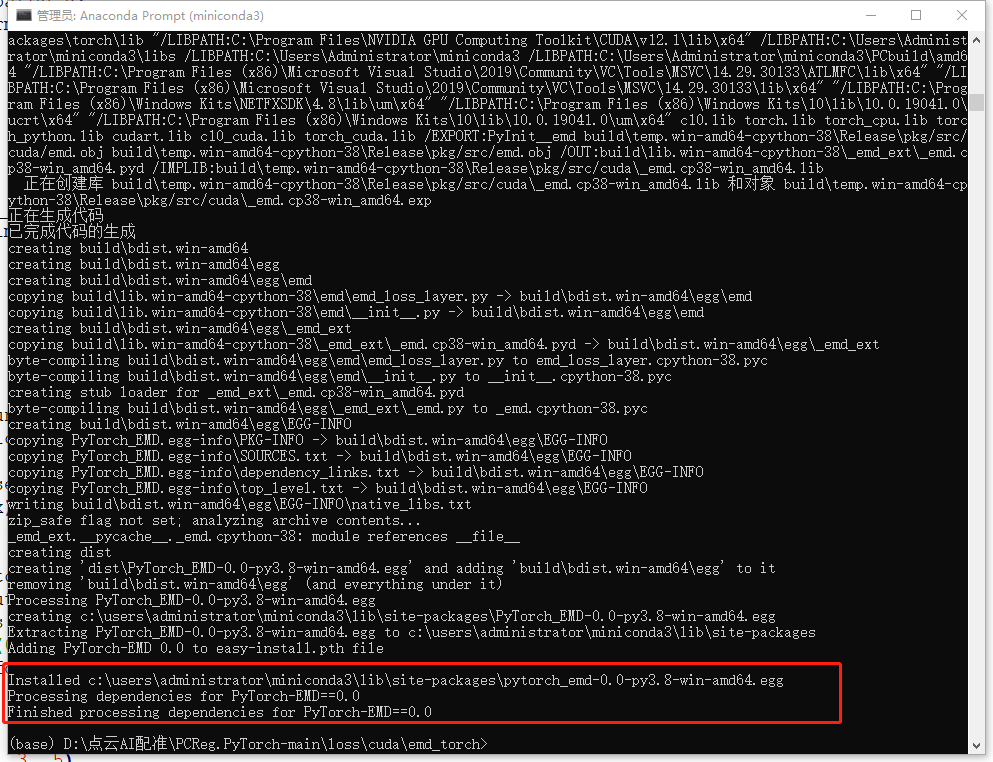
在正确的安装cuda版本后,重新执行命令即可实现emd-loss的安装
1.3 模型与数据下载
-
modelnet40数据集 [here,
435M] -
可用的预训练模型 [Complete, pwd:
c4z7,16.09 M] or [Paritial, pwd:pcno,16.09] first) 模型下载好后将其放置到PCReg.PyTorch项目根路径下即可。
2. 关键代码说明
2.1 数据加载器
在data目录下有CustomData.py和ModelNet40.py两个文件,其中ModelNet40文件对应modelnet40数据集的加载,CustomData文件对应自己个人数据集的加载。从两个文件的__getitem__函数中可以发现,模型不是基于数据对进行训练的。其依据ref_cloud随机采样生成ref_cloud,然后对ref_cloud进行transform操作。具体实例如下所示:
    def __getitem__(self, item):
        file = self.files[item]
        ref_cloud = readpcd(file, rtype='npy')
        ref_cloud = random_select_points(ref_cloud, m=self.npts)
        ref_cloud = pc_normalize(ref_cloud)
        R, t = generate_random_rotation_matrix(-20, 20), \
               generate_random_tranlation_vector(-0.5, 0.5)
        src_cloud = transform(ref_cloud, R, t)
        if self.train:
            ref_cloud = jitter_point_cloud(ref_cloud)
            src_cloud = jitter_point_cloud(src_cloud)
        return ref_cloud, src_cloud, R, t
在以上代码中需要注意的是,所有的点云都进行了坐标值的归一化处理
2.2 模型结构
在model目录下有benchmark.py、fgr.py、icp.py,分别为模型配准,fgr配准,icp配准方法。其中fgr配准与icp配准方法是使用open3d库实现。
benchmark
benchmark为本文模型,其是基于PointNet所实现的一个孪生网络,核心代码如Benchmark类所示。其基于encoder提取2个点云的特征,然后简单的使用全连接层将两个点云的特征进行交互,然后再输出两个点云的特征。在这里最为重要的是loss的设计,即如何设计优化目标,使模型参数以点云配准为优化方向
class Benchmark(nn.Module):
    def __init__(self, gn, in_dim1, in_dim2=2048, fcs=[1024, 1024, 512, 512, 256, 7]):
        super(Benchmark, self).__init__()
        self.in_dim1 = in_dim1
        self.encoder = PointNet(in_dim=in_dim1, gn=gn)
        self.decoder = nn.Sequential()
        for i, out_dim in enumerate(fcs):
            self.decoder.add_module(f'fc_{i}', nn.Linear(in_dim2, out_dim))
            if out_dim != 7:
                if gn:
                    self.decoder.add_module(f'gn_{i}',nn.GroupNorm(8, out_dim))
                self.decoder.add_module(f'relu_{i}', nn.ReLU(inplace=True))
            in_dim2 = out_dim

    def forward(self, x, y):
        x_f, y_f = self.encoder(x), self.encoder(y)
        concat = torch.cat((x_f, y_f), dim=1)
        out = self.decoder(concat)
        batch_t, batch_quat = out[:, :3], out[:, 3:] / torch.norm(out[:, 3:], dim=1, keepdim=True)
        batch_R = batch_quat2mat(batch_quat)
        if self.in_dim1 == 3:
            transformed_x = batch_transform(x.permute(0, 2, 1).contiguous(),
                                            batch_R, batch_t)
        elif self.in_dim1 == 6:
            transformed_pts = batch_transform(x.permute(0, 2, 1)[:, :, :3].contiguous(),
                                            batch_R, batch_t)
            transformed_nls = batch_transform(x.permute(0, 2, 1)[:, :, 3:].contiguous(),
                                              batch_R)
            transformed_x = torch.cat([transformed_pts, transformed_nls], dim=-1)
        else:
            raise ValueError
        return batch_R, batch_t, transformed_x


class IterativeBenchmark(nn.Module):
    def __init__(self, in_dim, niters, gn):
        super(IterativeBenchmark, self).__init__()
        self.benckmark = Benchmark(gn=gn, in_dim1=in_dim)
        self.niters = niters

    def forward(self, x, y):
        transformed_xs = []
        device = x.device
        B = x.size()[0]
        transformed_x = torch.clone(x)
        batch_R_res = torch.eye(3).to(device).unsqueeze(0).repeat(B, 1, 1)
        batch_t_res = torch.zeros(3, 1).to(device).unsqueeze(0).repeat(B, 1, 1)
        for i in range(self.niters):
            batch_R, batch_t, transformed_x = self.benckmark(transformed_x, y)
            transformed_xs.append(transformed_x)
            batch_R_res = torch.matmul(batch_R, batch_R_res)
            batch_t_res = torch.matmul(batch_R, batch_t_res) \
                          + torch.unsqueeze(batch_t, -1)
            transformed_x = transformed_x.permute(0, 2, 1).contiguous()
        batch_t_res = torch.squeeze(batch_t_res, dim=-1)
        #transformed_x = transformed_x.permute(0, 2, 1).contiguous()
        return batch_R_res, batch_t_res, transformed_xs
fgr配准方法
import copy
import open3d as o3d


def fpfh(pcd, normals):
    pcd.normals = o3d.utility.Vector3dVector(normals)
    pcd_fpfh = o3d.registration.compute_fpfh_feature(
        pcd,
        o3d.geometry.KDTreeSearchParamHybrid(radius=0.3, max_nn=64))
    return pcd_fpfh


def execute_fast_global_registration(source, target, source_fpfh, target_fpfh):
    distance_threshold = 0.01
    result = o3d.registration.registration_fast_based_on_feature_matching(
        source, target, source_fpfh, target_fpfh,
        o3d.registration.FastGlobalRegistrationOption(
            maximum_correspondence_distance=distance_threshold))
    transformation = result.transformation
    estimate = copy.deepcopy(source)
    estimate.transform(transformation)
    R, t = transformation[:3, :3], transformation[:3, 3]
    return R, t, estimate


def fgr(source, target, src_normals, tgt_normals):
    source_fpfh = fpfh(source, src_normals)
    target_fpfh = fpfh(target, tgt_normals)
    R, t, estimate = execute_fast_global_registration(source=source,
                                                      target=target,
                                                      source_fpfh=source_fpfh,
                                                      target_fpfh=target_fpfh)
    return R, t, estimate
ICP配准方法
import copy
import numpy as np
import open3d as o3d


def icp(source, target):
    max_correspondence_distance = 2 # 0.5 in RPM-Net
    init = np.eye(4, dtype=np.float32)
    estimation_method = o3d.pipelines.registration.TransformationEstimationPointToPoint()

    reg_p2p = o3d.pipelines.registration.registration_icp(
        source=source,
        target=target,
        init=init,
        max_correspondence_distance=max_correspondence_distance,
        estimation_method=estimation_method
    )

    transformation = reg_p2p.transformation
    estimate = copy.deepcopy(source)
    estimate.transform(transformation)
    R, t = transformation[:3, :3], transformation[:3, 3]
    return R, t, estimate
3.基本使用
modelnet40数据集的评测及训练可以使用一下代码实现
    # Iterative Benchmark
    python modelnet40_evaluate.py --root your_data_path/modelnet40_ply_hdf5_2048 --checkpoint your_ckpt_path/test_min_loss.pth --cuda

    # Visualization
    # python modelnet40_evaluate.py --root your_data_path/modelnet40_ply_hdf5_2048 --checkpoint your_ckpt_path/test_min_loss.pth  --show

    # ICP
    # python modelnet40_evaluate.py --root your_data_path/modelnet40_ply_hdf5_2048 --method icp

    # FGR
    # python modelnet40_evaluate.py --root your_data_path/modelnet40_ply_hdf5_2048 --method fgr --normal
-
train
CUDA_VISIBLE_DEVICES=0 python modelnet40_train.py --root your_data_path/modelnet40_ply_hdf5_2048
这里注意讲述训练与评测自己的数据集,其中自己数据集的路径如下所示,里面都是处理好的pcd点云数据。
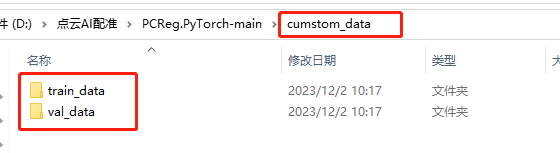
具体格式为:
    |- CustomData(dir)
        |- train_data(dir)
            - train1.pcd
            - train2.pcd
            - ...
        |- val_data(dir)
            - val1.pcd
            - val2.pcd
            - ...
3.1 ICP方法性能评测
可以加上 --show 参数来查看每一个配准的数据
python custom_evaluate.py --root cumstom_data --infer_npts 2048 --method icp --normal
如果出现以下报错,则用open3d.pipelines.registration替换open3d.registration,具体可以用本博文的ICP配准方法替换掉models\icp.py中的内容
Traceback (most recent call last):
  File "custom_evaluate.py", line 142, in <module>
    evaluate_icp(args, test_loader)
  File "custom_evaluate.py", line 98, in evaluate_icp
    R, t, pred_ref_cloud = icp(npy2pcd(src_cloud), npy2pcd(ref_cloud))
  File "D:\点云AI配准\PCReg.PyTorch-main\models\icp.py", line 9, in icp
    estimation_method = o3d.registration.TransformationEstimationPointToPoint()
AttributeError: module 'open3d' has no attribute 'registration'
具体执行输出如下所示:

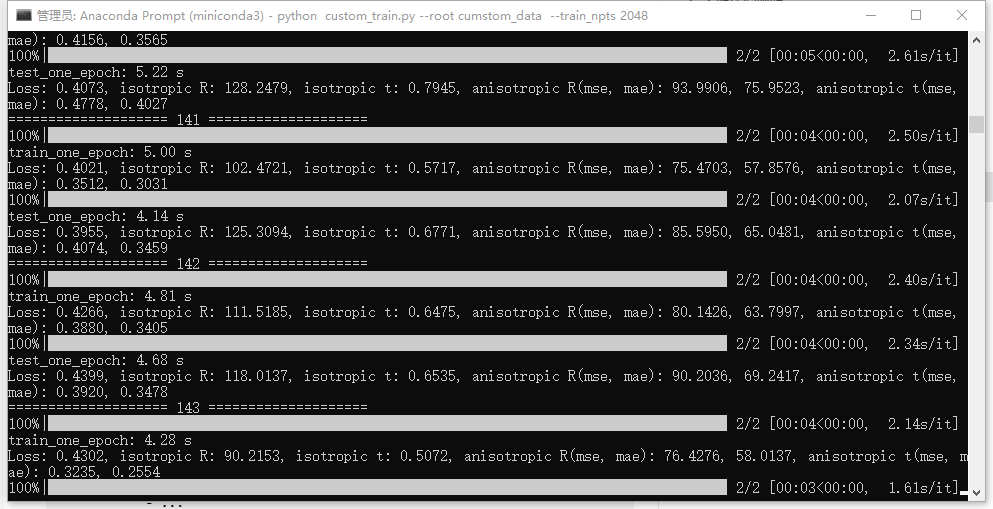
3.2 模型训练
训练命令:
python custom_train.py --root cumstom_data --train_npts 2048
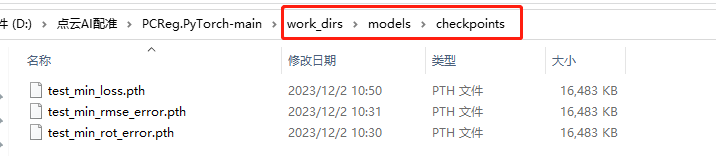
训练好的模型保存在work_dirs\models\checkpoints目录中
评测命令:
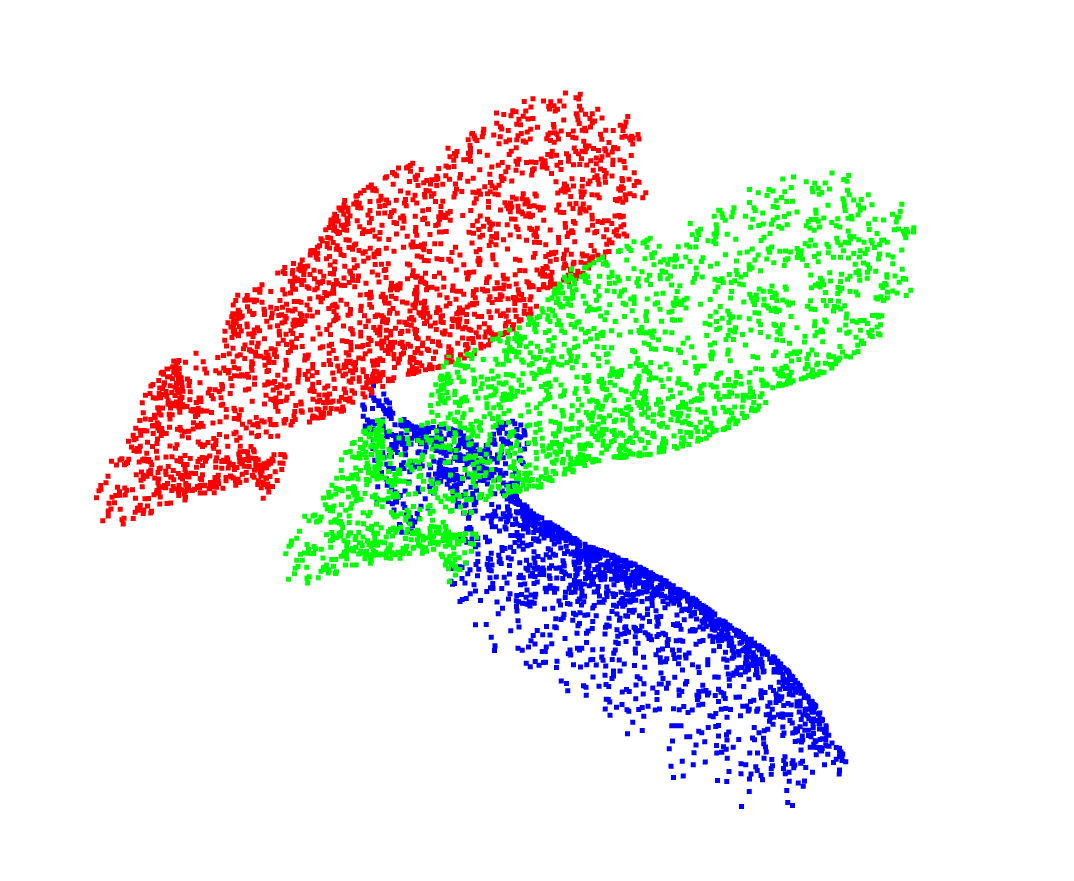
python custom_evaluate.py --infer_npts 2048 --root cumstom_data --checkpoint work_dirs\models\checkpoints\test_min_loss.pth --show
其中绿色点云为源点云,红色点云为参考点云,蓝色点云为配准后的源点云,可以看到蓝色点云与红色点云完全没有对齐,这表明训练效果极其不佳。这或许是训练数据太少所导致的,毕竟本次实验只有18个点云数据。
4、原文效果
下图是作者论文中的配准效果图
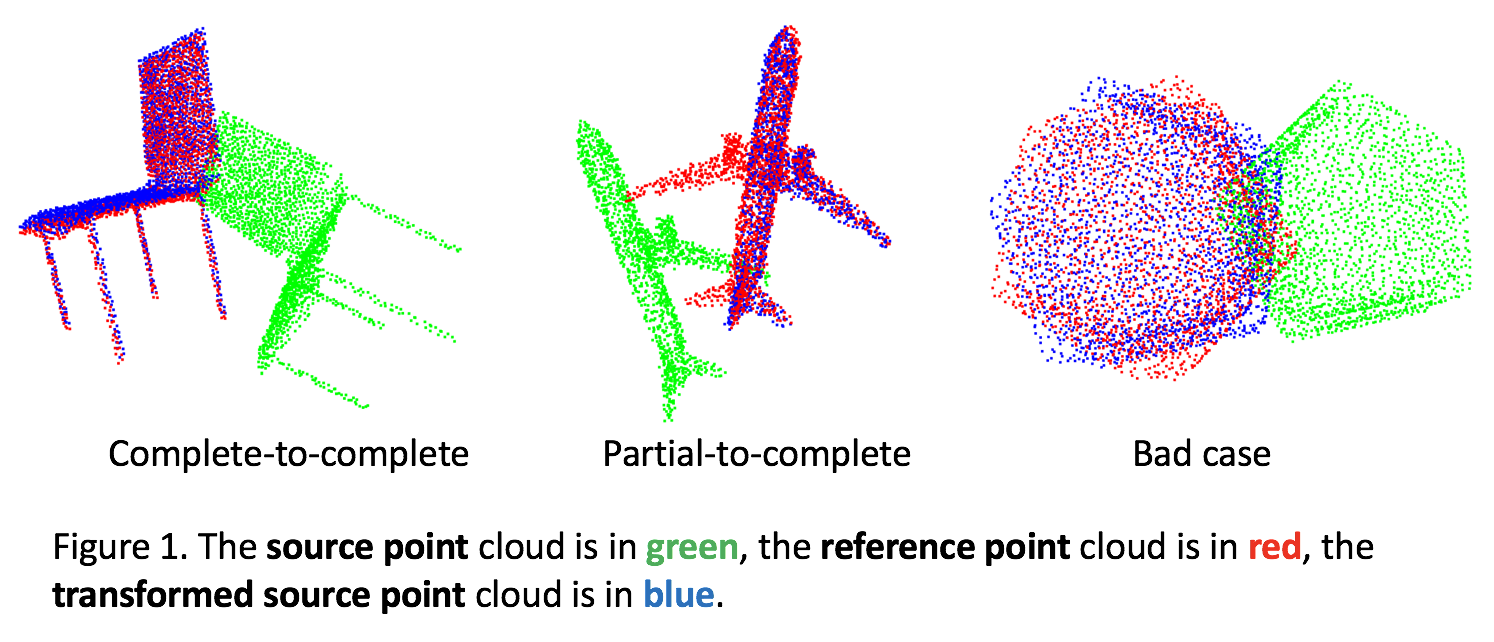
在modelnet40数据集上相关精度信息如下所示,可以确定,本文方法与FGR方法相比没有显著性优势。
- Point-to-Point Correspondences(R error is large due to EMDLoss, see here)
| Method | isotropic R | isotropic t | anisotropic R(mse, mae) | anisotropic t(mse, mae) | time(s) |
|---|---|---|---|---|---|
| ICP | 11.44 | 0.16 | 17.64(5.48) | 0.22(0.07) | 0.07 |
| FGR | 0.01 | 0.00 | 0.07(0.00) | 0.00(0.00) | 0.19 |
| IBenchmark | 5.68 | 0.07 | 9.77(2.69) | 0.12(0.03) | 0.022 |
| IBenchmark + ICP | 3.65 | 0.04 | 9.22(1.66) | 0.11(0.02) |
- Noise Data(infer_npts = 1024)
| Method | isotropic R | isotropic t | anisotropic R(mse, mae) | anisotropic t(mse, mae) |
|---|---|---|---|---|
| ICP | 12.14 | 0.17 | 18.32(5.86) | 0.23(0.08) |
| FGR | 4.27 | 0.06 | 11.55(2.43) | 0.09(0.03) |
| IBenchmark | 6.25 | 0.08 | 9.28(2.94) | 0.12(0.04) |
| IBenchmark + ICP | 5.10 | 0.07 | 10.51(2.39) | 0.13(0.03) |
- Partial-to-Complete Registration(infer_npts = 1024)
| Method | isotropic R | isotropic t | anisotropic R(mse, mae) | anisotropic t(mse, mae) |
|---|---|---|---|---|
| ICP | 21.33 | 0.32 | 22.83(10.51) | 0.31(0.15) |
| FGR | 9.49 | 0.12 | 19.51(5.58) | 0.17(0.06) |
| IBenchmark | 15.02 | 0.22 | 15.78(7.45) | 0.21(0.10) |
| IBenchmark + ICP | 9.21 | 0.13 | 14.73(4.43) | 0.18(0.06) |