SpringBoot-Vue项目初始搭建
1、项目搭建
前提:配置过nodejs环境,安装了vue@cli(如果未配置,可以参照此教程:https://www.bilibili.com/video/BV18E411a7mC/ p12)
新建文件夹(最好不要有中文)
打开cmd
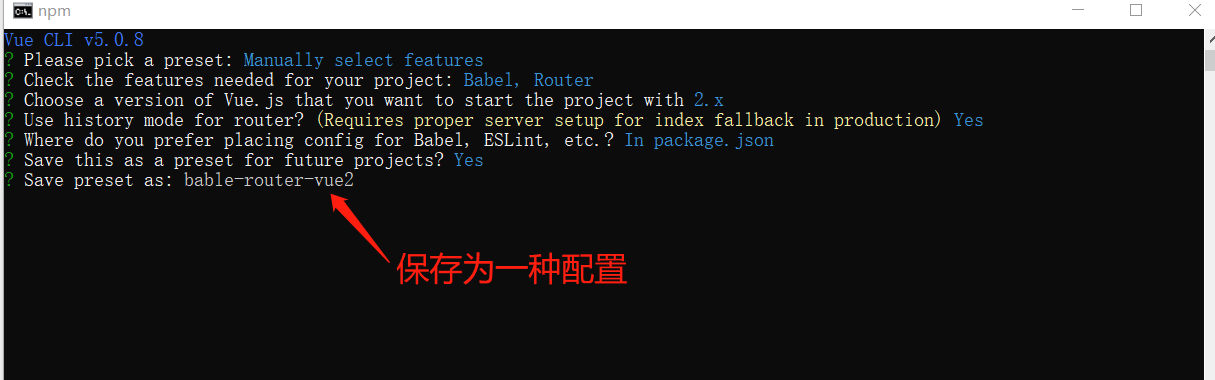
vue create vue
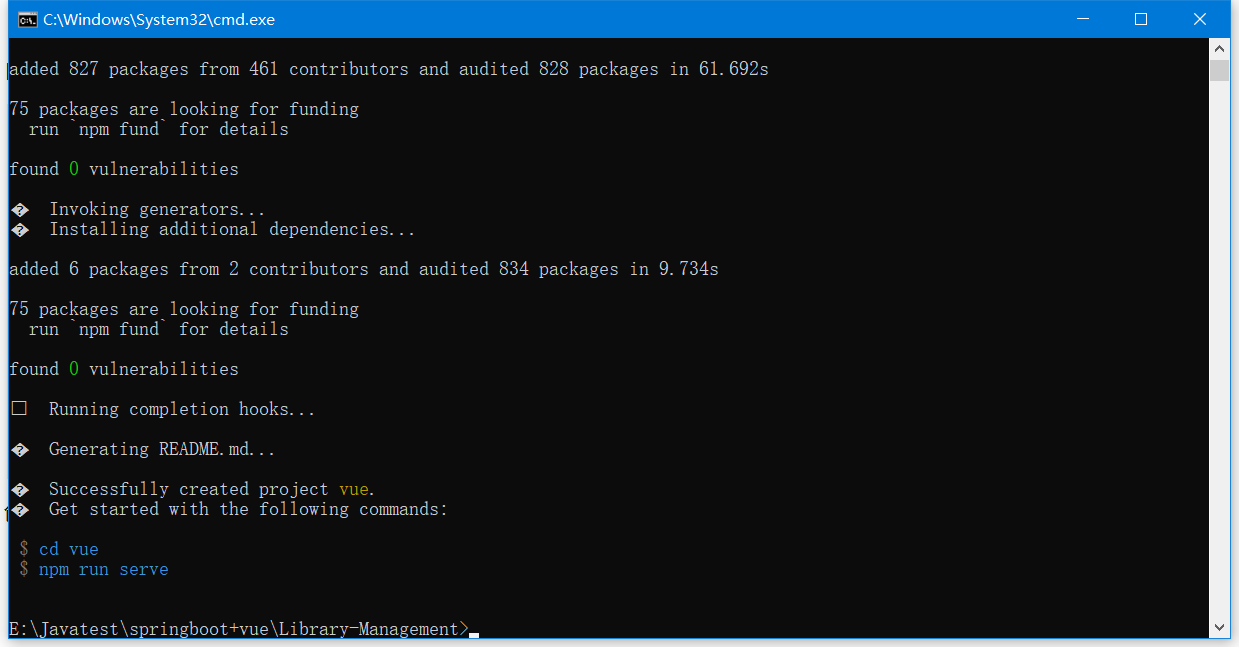
创建vue项目
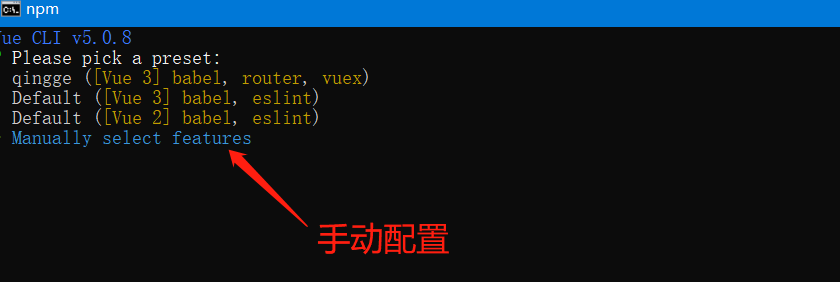
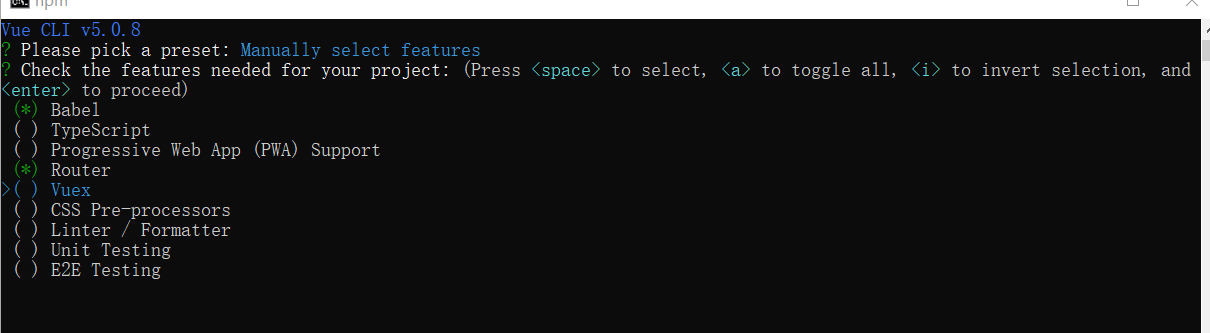
选择自己需要的配置(空格选择,回车下一步)
选择vue版本
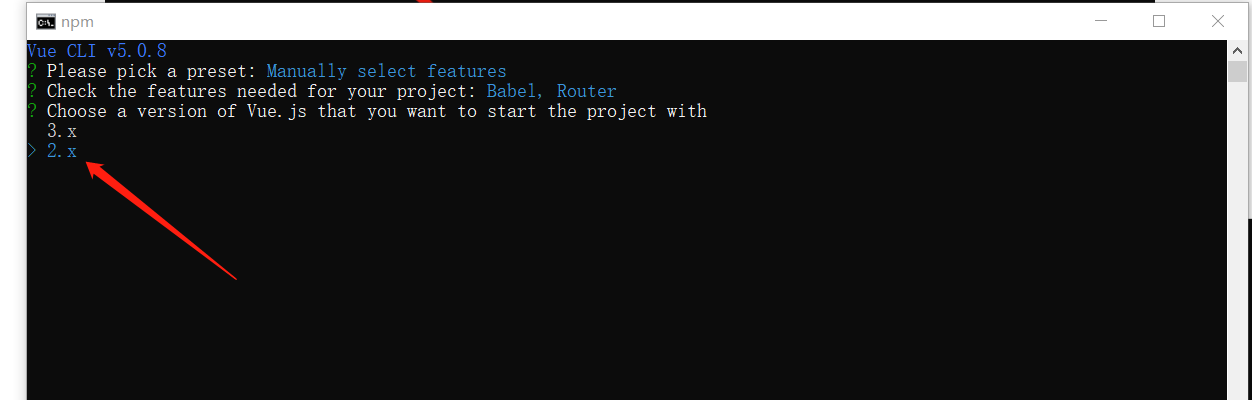
目前(2022-10)vue3很多问题还需要自己想办法解决,推荐vue2
创建完成!
测试一下
cd vue
npm run serve
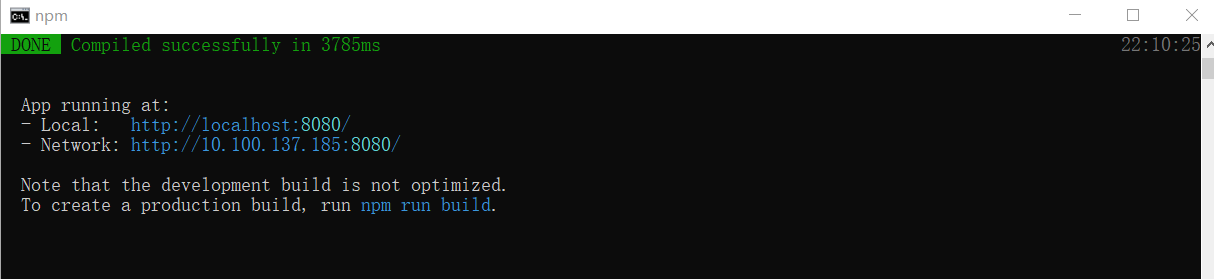
访问localhost:8080
(注意,如果当时8080端口正在被占用,端口会自动切换)
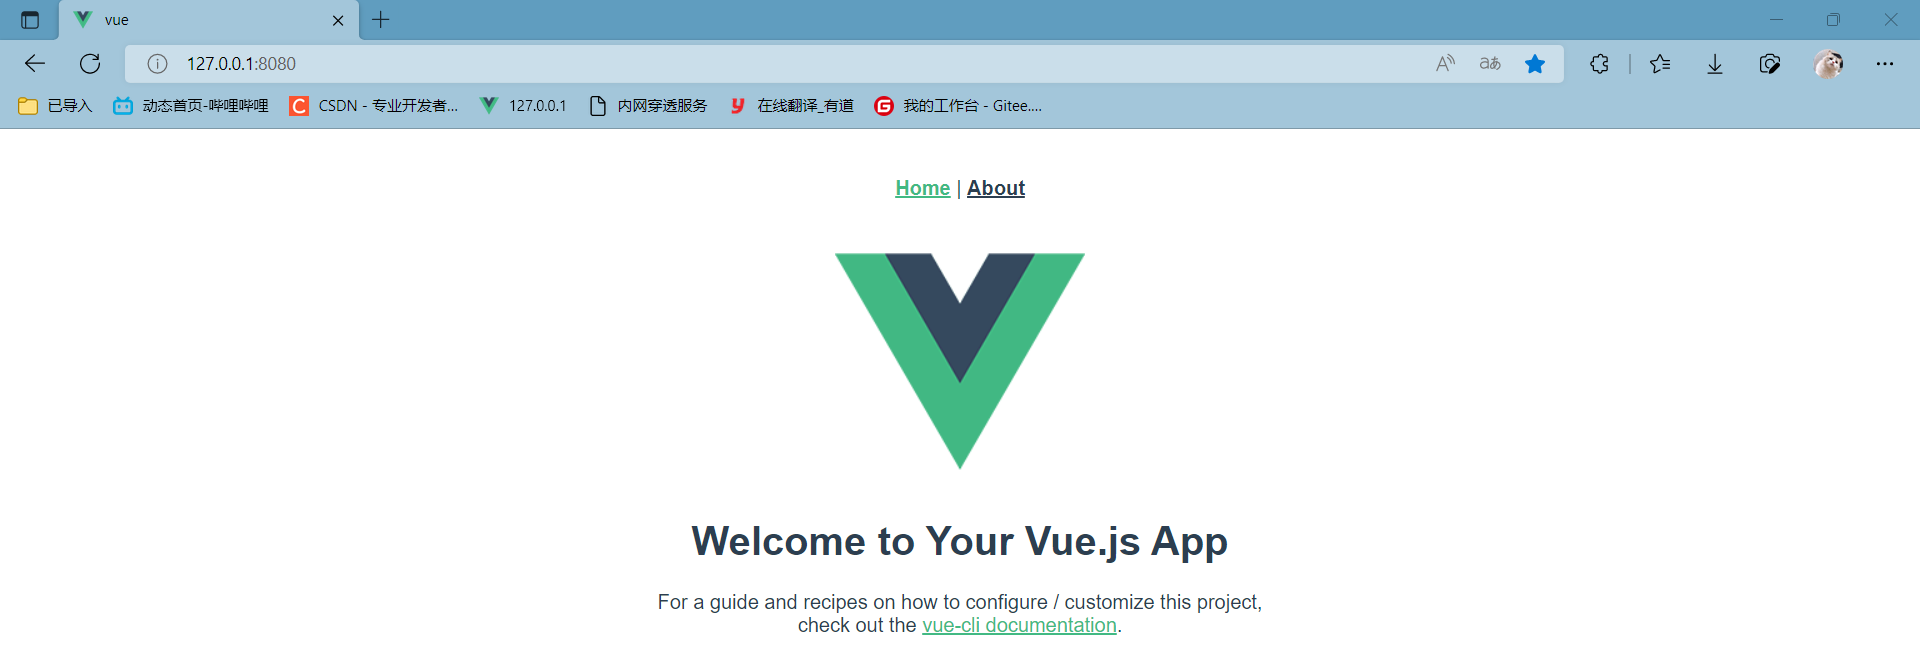
搭建完成!
2、初始化项目
用Idea打开项目
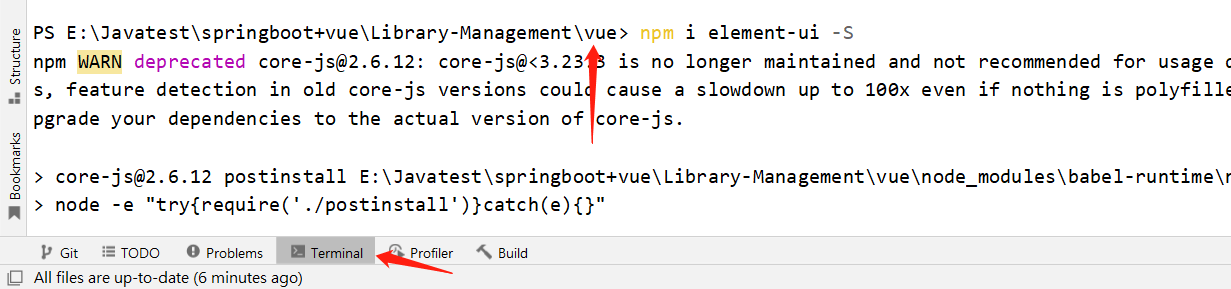
安装Element-ui(注意路径)
npm i element-ui -S
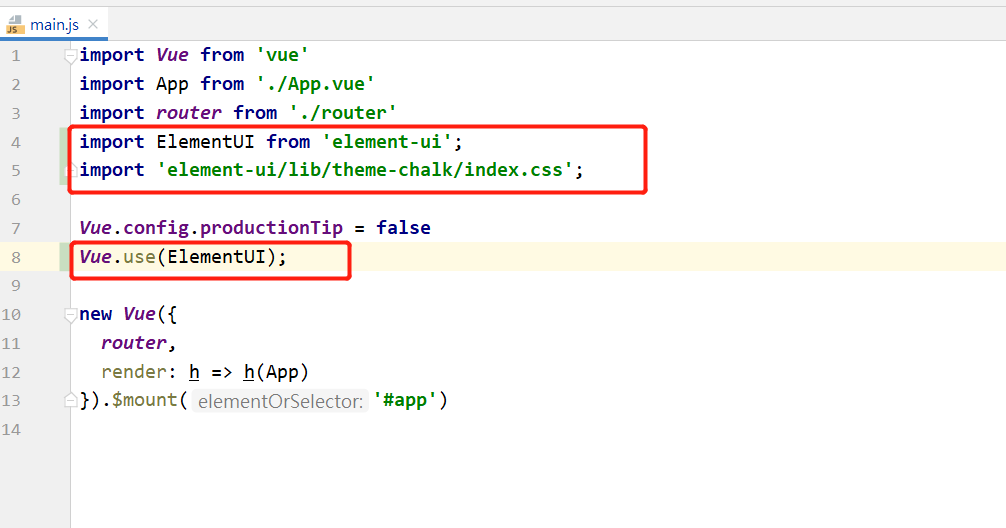
在main.js下集成ElementUI
import ElementUI from 'element-ui';
import 'element-ui/lib/theme-chalk/index.css';

Vue.use(ElementUI)
优化App.vue
<template>
  <div id="app">
    <router-view/>
  </div>
</template>
优化HomeView.vue
增加一个按钮测试ElementUi引入是否正常
<template>
  <div>
    <el-button type="primary">按钮</el-button>
  </div>
</template>

<script>
export default {
  name: 'HomeView'
}
</script>
在Idea中配置vue启动
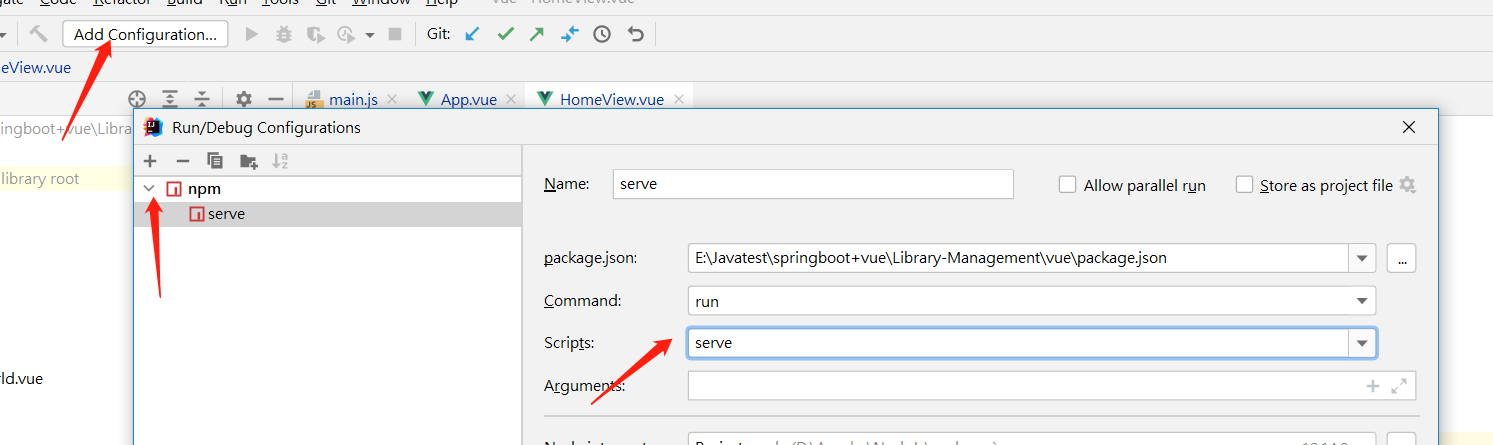
启动项目
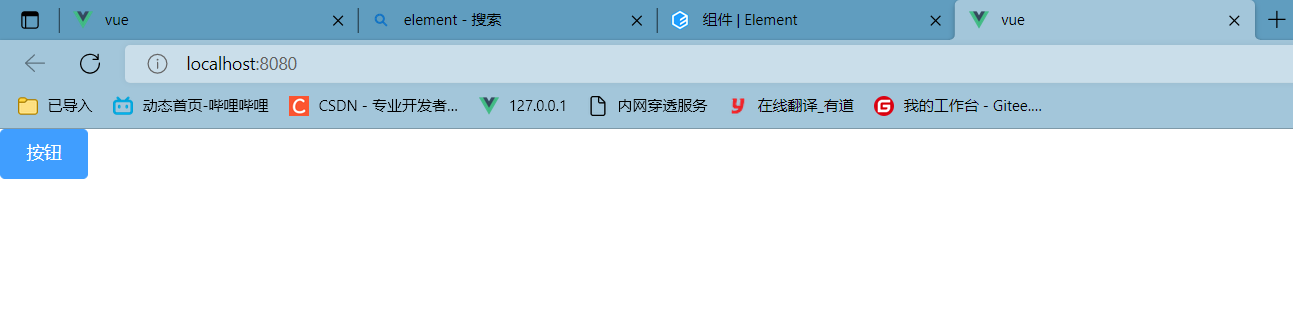
访问localhost:8080测试修改
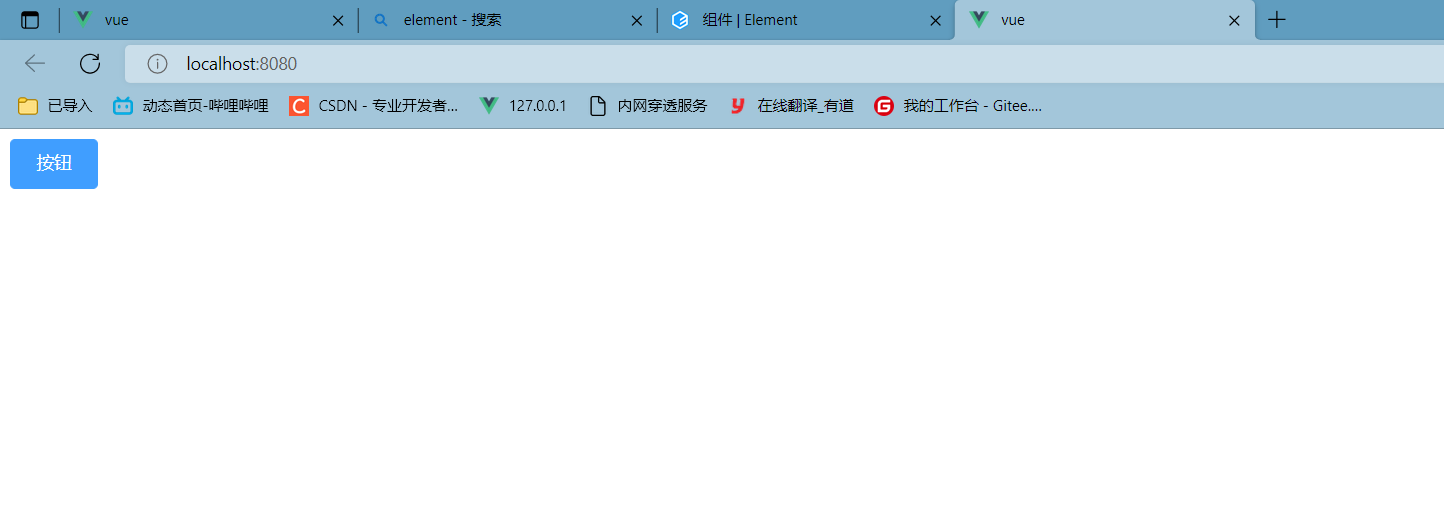
发现我们引入的按钮已经生效了!
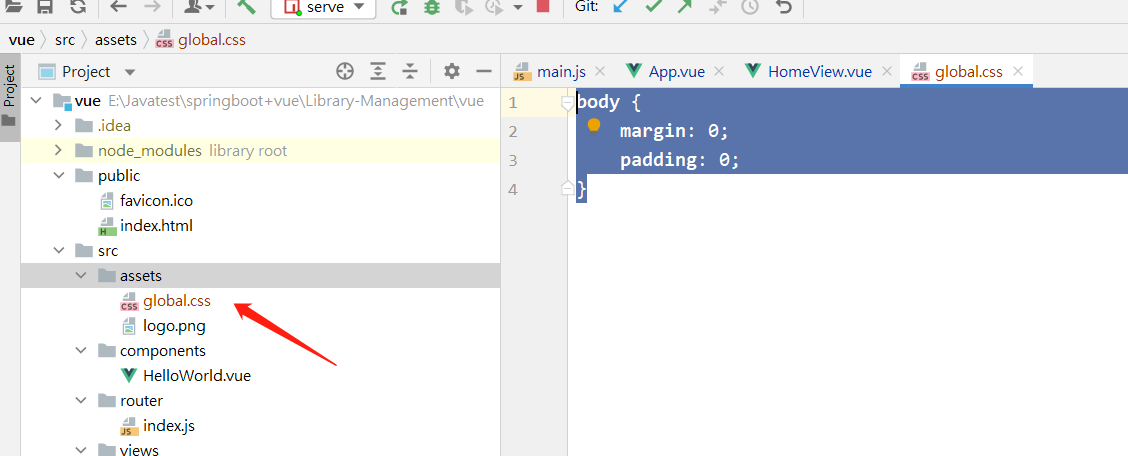
按钮左侧距离边框明显还有一些留白
定义一些全局的css
body {
    margin: 0;
    padding: 0;
    background-color: #eee;
}

* {
    box-sizing: border-box;
}
在main.js中引入
import './assets/global.css';
重新访问8080
可以看到按钮已经与页面无间距了
3、主体布局
这个就是我们的大概布局了

我们要实现的是在点击侧边栏进行功能切换时头部和侧边栏不发生变化,Main区域发生变化
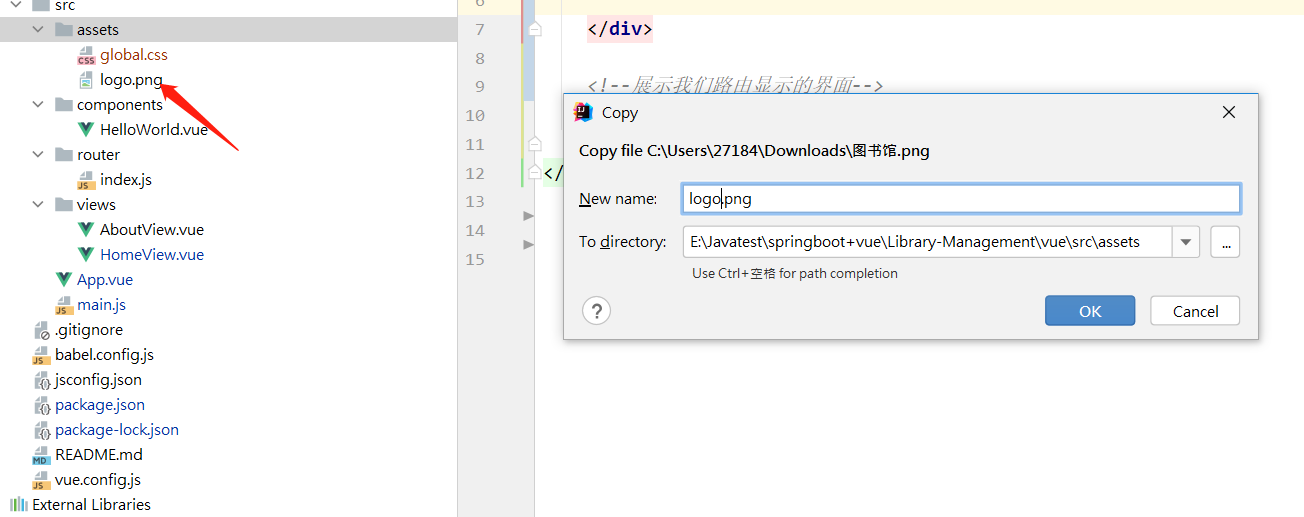
去找一个好看的logo
https://www.iconfont.cn/
复制到assets目录下替换原来的logo
修改App.vue
<template>
  <div id="app">

    <!--头部区域-->
    <div style="height: 60px; line-height: 60px; background-color: white; margin-bottom: 2px">
      <img src="@/assets/logo.png" alt="" style="width: 40px; position: relative; top: 10px; left: 20px">
      <span style="margin-left: 25px; font-size: 24px">图书管理系统</span>
    </div>

    <!--侧边栏和主体-->
    <div style="display: flex">

      <!--左侧侧边栏导航-->
      <div style="width: 200px; min-height: calc(100vh - 62px); overflow: hidden; margin-right: 2px; background-color: white">
        <el-menu :default-active="$route.path" :default-openeds="['/']" router class="el-menu-demo">
          <el-menu-item index="/">
            <i class="el-icon-eleme"></i>
            <span>首页</span>
          </el-menu-item>
          <el-submenu index="/">
            <template slot="title">
              <i class="el-icon-question"></i>
              <span>关于页面</span>
            </template>
            <el-menu-item index="about">
              <span>关于详情</span>
            </el-menu-item>
          </el-submenu>
        </el-menu>
      </div>

      <!--右侧数据的展示-->
      <div style="flex: 1; background-color: white; padding: 10px">
        <!--展示我们路由显示的界面-->
        <router-view/>
      </div>
    </div>

  </div>
</template>
修改HomeView.vue
<template>
  <div>
    <!--搜索框-->
    <div>
      <el-input style="width: 240px" placeholder="请输入名称"></el-input>
      <el-input style="width: 240px; margin-left: 5px" placeholder="请输入联系方式"></el-input>
      <el-button style="margin-left: 5px" type="primary"><i class="el-icon-search"></i>搜索</el-button>
    </div>
    <!--数据-->
    <el-table :data="tableData" stripe>
      <el-table-column prop="name" label="名称"></el-table-column>
      <el-table-column prop="age" label="年龄"></el-table-column>
      <el-table-column prop="address" label="地址"></el-table-column>
      <el-table-column prop="sex" label="性别"></el-table-column>
      <el-table-column prop="phone" label="电话"></el-table-column>
    </el-table>
    <!--分页-->
    <div style="margin-top: 20px">
      <el-pagination
          background
          layout="prev, pager, next"
          :page-size="5"
          :total="100">
      </el-pagination>
    </div>
  </div>
</template>

<script>


export default {
  name: 'HomeView',
  data() {
    return {
      tableData: [
        {name: "张三", age: 20, address: "沈阳市", phone: "13066586531", sex: '男'},
        {name: "张三", age: 20, address: "沈阳市", phone: "13066586531", sex: '男'},
        {name: "张三", age: 20, address: "沈阳市", phone: "13066586531", sex: '女'},
      ]
    }
  }
}
</script>
如果觉得搜索框太大,可以在main.js里可以设置引入的ElementUI的大小
Vue.use(ElementUI,{size: 'small'}); //medium,small,mini
4、后台服务搭建
新建springboot项目,勾选web,mysql,mybatis,lombok,dev-tools依赖
在数据库中新建表
CREATE TABLE `user` (
	`id` INT ( 11 ) NOT NULL AUTO_INCREMENT,
	`name` VARCHAR ( 255 ) DEFAULT NULL COMMENT '姓名',
	`username` VARCHAR ( 255 ) DEFAULT NULL COMMENT '用户名',
	`age` INT ( 4 ) DEFAULT NULL COMMENT '年龄',
	`sex` VARCHAR ( 1 ) DEFAULT NULL COMMENT '性别',
	`phone` VARCHAR ( 255 ) DEFAULT NULL COMMENT '联系方式',
	`address` VARCHAR ( 255 ) DEFAULT NULL COMMENT '住址',
PRIMARY KEY ( `id` )
) ENGINE = INNODB DEFAULT CHARSET = utf8mb4;
修改springboot配置文件
spring:
  datasource:
    driver-class-name: com.mysql.cj.jdbc.Driver
    url: jdbc:mysql://localhost:3306/library-management?serverTimeZone=Asia/Shanghai&useUnicode=true&characterEncoding=utf-8
    username: root
    password: root

server:
  port: 9090
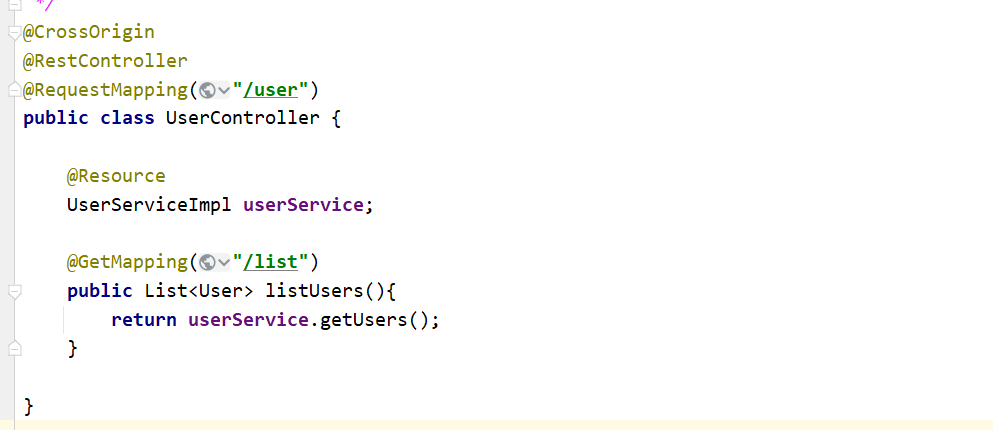
解决跨域问题!
第一种方式:
在controller层的类中加上@CrossOrigin注解
第二种方式:
在config层中创建以下类
import org.springframework.context.annotation.Bean;
import org.springframework.context.annotation.Configuration;
import org.springframework.web.cors.CorsConfiguration;
import org.springframework.web.cors.UrlBasedCorsConfigurationSource;
import org.springframework.web.filter.CorsFilter;

@Configuration
public class CorsConfig {

    // 当前跨域请求最大有效时长。这里默认1天
    private static final long MAX_AGE = 24 * 60 * 60;

    @Bean
    public CorsFilter corsFilter() {
        UrlBasedCorsConfigurationSource source = new UrlBasedCorsConfigurationSource();
        CorsConfiguration corsConfiguration = new CorsConfiguration();
        corsConfiguration.addAllowedOrigin("*"); // 1 设置访问源地址
        corsConfiguration.addAllowedHeader("*"); // 2 设置访问源请求头
        corsConfiguration.addAllowedMethod("*"); // 3 设置访问源请求方法
        corsConfiguration.setMaxAge(MAX_AGE);
        source.registerCorsConfiguration("/**", corsConfiguration); // 4 对接口配置跨域设置
        return new CorsFilter(source);
    }
}
在Resouces目录下新建mapper文件夹
新建UserMapper.xml
<?xml version="1.0" encoding="UTF-8" ?>

<!DOCTYPE mapper
        PUBLIC "-//mybatis.org//DTD Mapper 3.0//EN"
        "http://mybatis.org/dtd/mybatis-3-mapper.dtd">
<mapper namespace="com.zwj.mapper.UserMapper">


</mapper>
在application.yml文件中添加以下部分
mybatis:
  mapper-locations:
    - classpath:mapper/*.xml
  type-aliases-package: com.zwj.pojo

logging:
  level:
    com.zwj.mapper: debug
5、实现分页、模糊查询
编写后端工具类Result,统一返回格式
package com.zwj.utils;

import lombok.Data;

@Data
public class Result {

    private static final String SUCCESS_CODE = "200";
    private static final String ERROR_CODE = "-1";

    private String code;
    private String msg;
    private Object data;

    public static Result success(){
        Result result = new Result();
        result.setCode(SUCCESS_CODE);
        return result;
    }

    public static Result success(Object data){
        Result result = new Result();
        result.setCode(SUCCESS_CODE);
        result.setData(data);
        return result;
    }

    public static Result ERROR(String msg){
        Result result = new Result();
        result.setCode(ERROR_CODE);
        result.setMsg(msg);
        return result;
    }

}
修改/user/list方法和返回结果,这样在写其他类的CRUD时方便复制
@GetMapping("/list")
public Result listUsers(){
    return Result.success(userService.getUsers());
}
引入pagehelper插件
<dependency>
    <groupId>com.github.pagehelper</groupId>
    <artifactId>pagehelper-spring-boot-starter</artifactId>
    <version>1.4.1</version>
</dependency>
构建分页基类
@Data
class BaseRequest {
    private Integer pageNum = 1;
    private Integer pageSize = 10;
}
list查询类
@Data
public class UserPageRequest extends BaseRequest{
    private String name;
    private String phone;
}
接口实现类
@GetMapping("/page")
public Result page(UserPageRequest userPageRequest){
    return Result.success(userService.page(userPageRequest));
}

@Mapper
Object page(UserPageRequest userPageRequest);

@Override
public Object page(UserPageRequest userPageRequest) {
    PageHelper.startPage(userPageRequest.getPageNum(),userPageRequest.getPageSize());
    List<User> users = userMapper.listByCondition(userPageRequest);
    return new PageInfo<>(users);
}
动态sql
<select id="listByCondition" resultType="user">
    select * from user
    <where>
        <if test="name != null and name != ''">
            name like concat('%',#{ name },'%')
        </if>
        <if test="phone != null and phone != ''">
            phone like concat('%',#{ phone },'%')
        </if>
    </where>
</select>
安装axios
cd vue
npm i axios -S
封装request
import axios from 'axios'

const request = axios.create({
    baseURL: 'http://localhost:9090',
    timeout: 5000
});

// request 拦截器
// 可以自请求发送前对请求做一些处理
// 比如统一加token,对请求参数统一加密
request.interceptors.request.use(config => {
    config.headers['Content-Type'] = 'application/json;charset=utf-8';

// config.headers['token'] = user.token;  // 设置请求头

return config;
}, error => {
    return Promise.reject(error)
});

// response 拦截器
// 可以在接口响应后统一处理结果
request.interceptors.response.use(
    response => {
    let res = response.data;
// 如果是返回的文件
if (response.config.responseType === 'blob') {
    return res
}
// 兼容服务端返回的字符串数据
if (typeof res === 'string') {
    res = res ? JSON.parse(res) : res
}
return res;
},
error => {
    console.log('err' + error);
    return Promise.reject(error);
}
);


export default request
请求接口
load() {
    request.get("/user/page", { params: this.params }).then(res => {
    console.log(res);
    if (res.code === '200'){
    	this.tableData = res.data.list;
    	this.total = res.data.total;
    } else {
    	alert(res.msg);
    }
    })
}