什么是路由:管理页面的跳转(vue-router)
官方文档
https://router.vuejs.org/zh/introduction.html
第一步:安装路由后启动项目
npm install --save vue-router
配置独立的路由文件
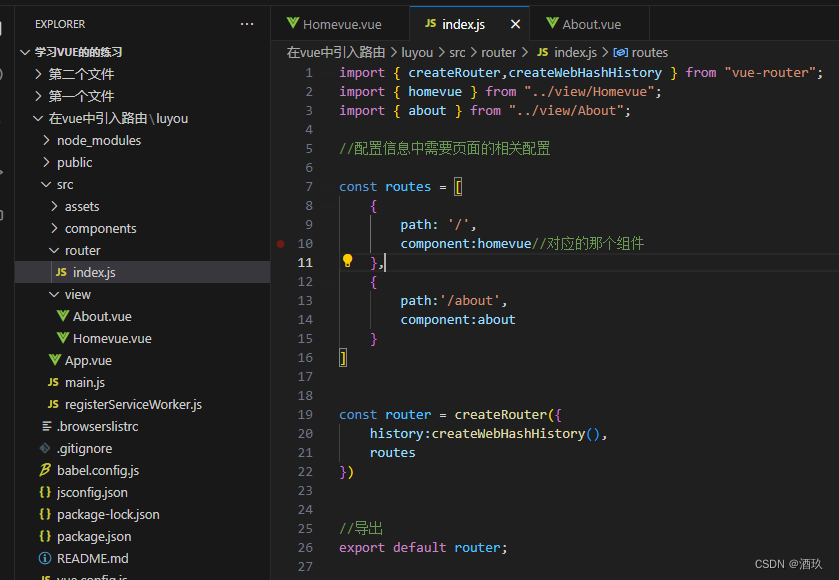
在src目录文件下新建一个文件夹router,新建文件index.js

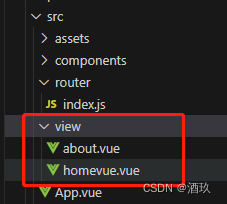
先要有页面,创建两个vue页面,引入到index.js里面
import { createRouter,createWebHashHistory } from "vue-router";
import  homevue  from "../view/Homevue";
import  about  from "../view/About";

//配置信息中需要页面的相关配置

const routes = [
    {
        path: '/',
        component:homevue//对应的那个组件
    },
    {
        path:'/about',
        component:about
    }
]


const router = createRouter({
	// createWebHistory      访问的时候网址是http://localhost:8080/about
    // 此种方式需要后台配合做重定向,否则会出现404问题
    // 原理:HS pushState()


    // createWebHashHistory  访问的时候网址是http://localhost:8080/#/about
    // 原理:a标签的锚点链接
    history:createWebHashHistory(),
    routes
})


//导出
export default router;
引入路由到项目当中
在main.js引入
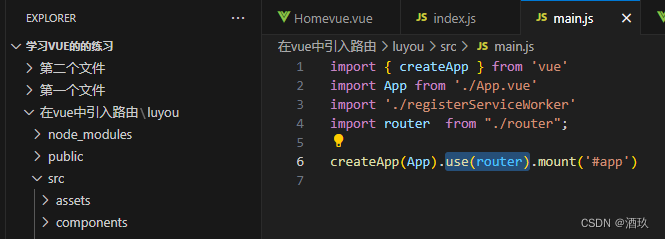
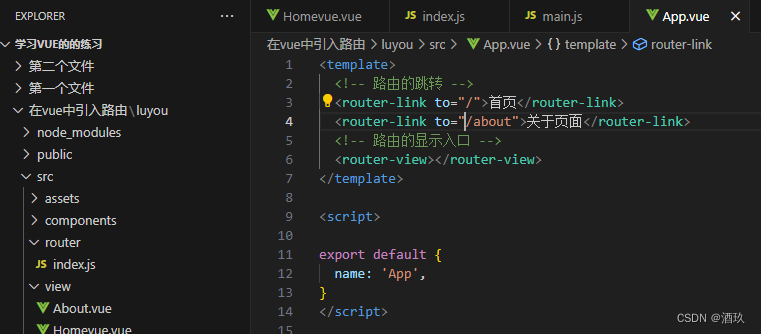
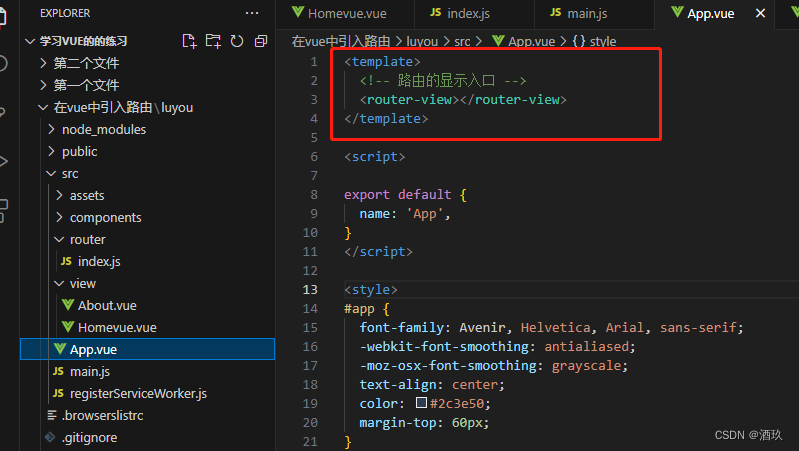
指定路由显示入口 router-view
然后在app.vue页面上显示
实现路由的跳转