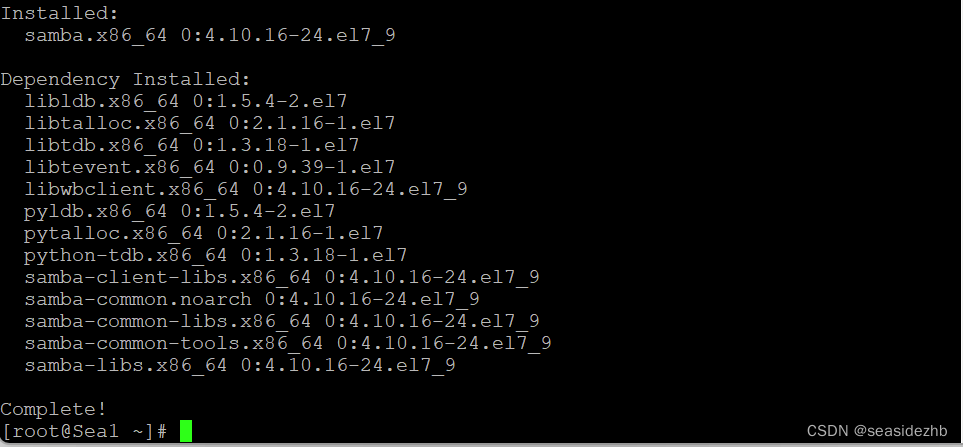
yum install -y samba安装samba。

安装完成如下:
/etc/samba/smb.conf是samba配置文件,内容如下:
# See smb.conf.example for a more detailed config file or
# read the smb.conf manpage.
# Run 'testparm' to verify the config is correct after
# you modified it.

[global]
        workgroup = SAMBA
        security = user

        passdb backend = tdbsam

        printing = cups
        printcap name = cups
        load printers = yes
        cups options = raw

[homes]
        comment = Home Directories
        valid users = %S, %D%w%S
        browseable = No
        read only = No
        inherit acls = Yes

[printers]
        comment = All Printers
        path = /var/tmp
        printable = Yes
        create mask = 0600
        browseable = No

[print$]
        comment = Printer Drivers
        path = /var/lib/samba/drivers
        write list = @printadmin root
        force group = @printadmin
        create mask = 0664
        directory mask = 0775
man smb.conf可以看一下samba配置文件帮助。
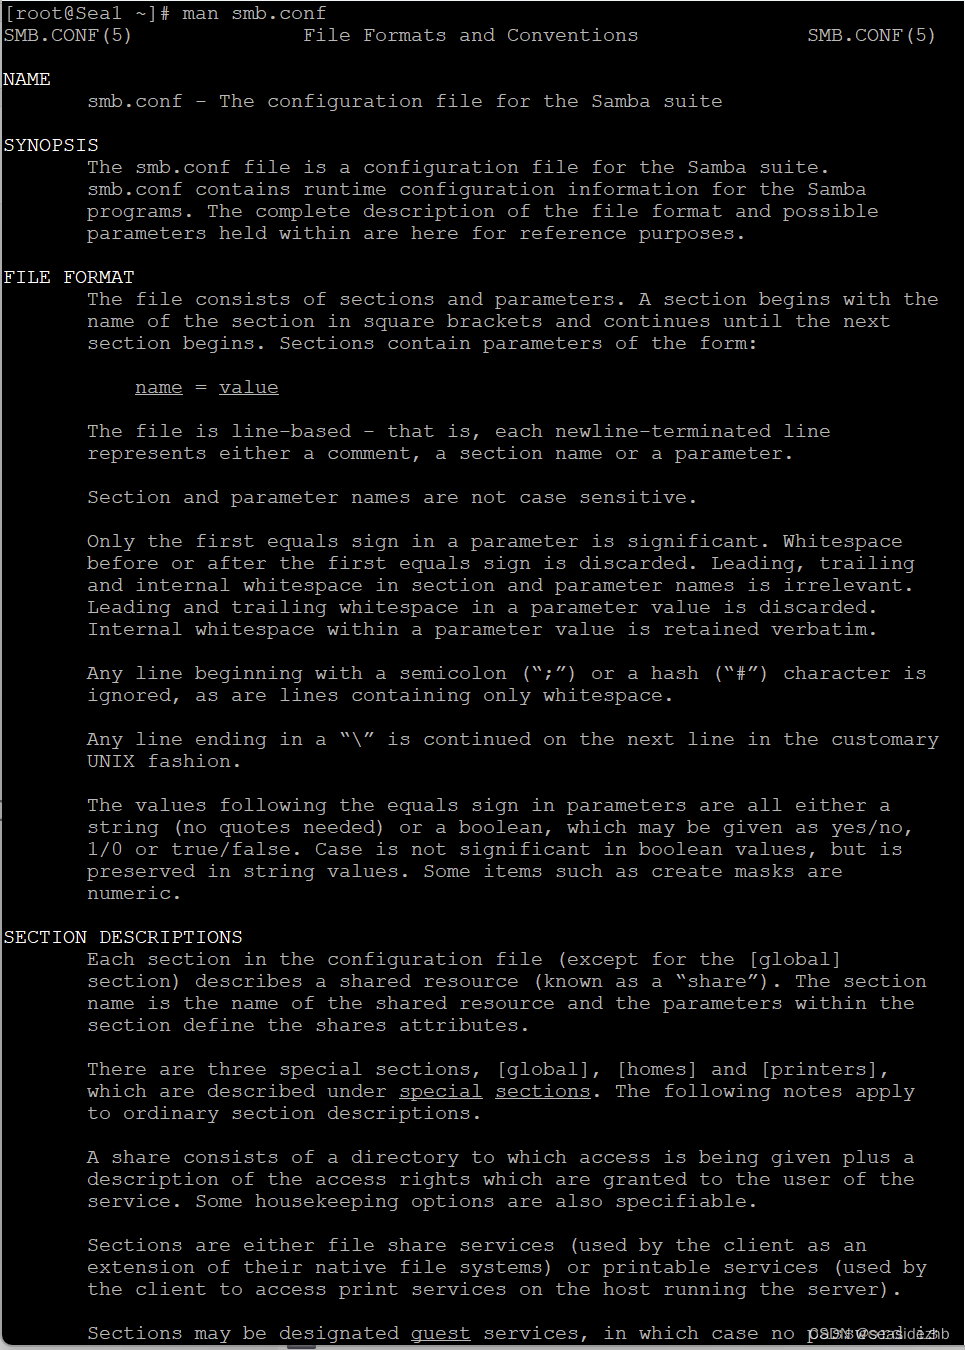
按q退出。

把下边的内容写到/etc/samba/smb.conf文件末尾:
[share]
        comment = my share
        path=/data/share
        read only = No

mkdir -p /data/share创建/data/share目录。

useradd sambatest添加系统用户,smbpasswd -a sambatest为sambatest这个用户在smb里边添加密码。

pdbedit -L可以看一下smb里边的用户。

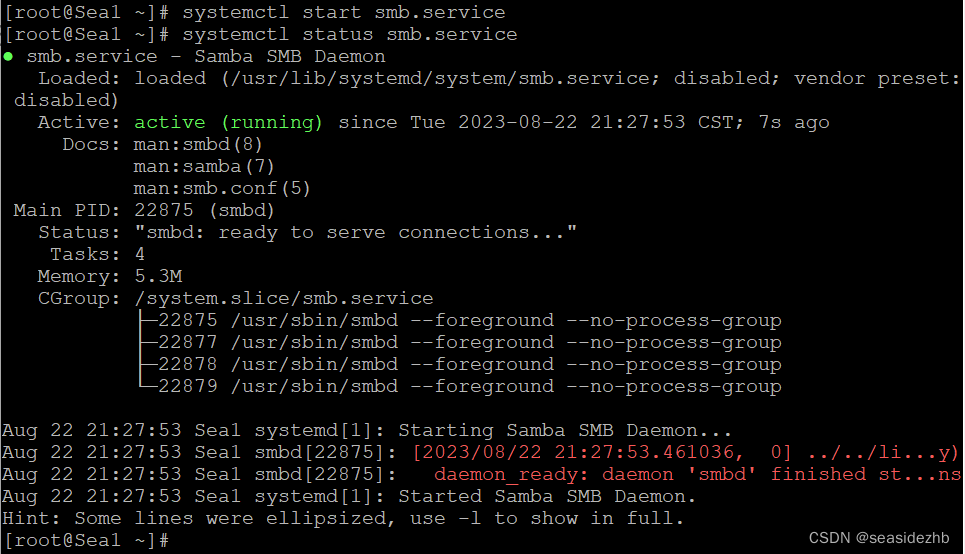
systemctl start smb.service开启smb服务,systemctl status smb.service可以看到smb服务状态为active (running)。
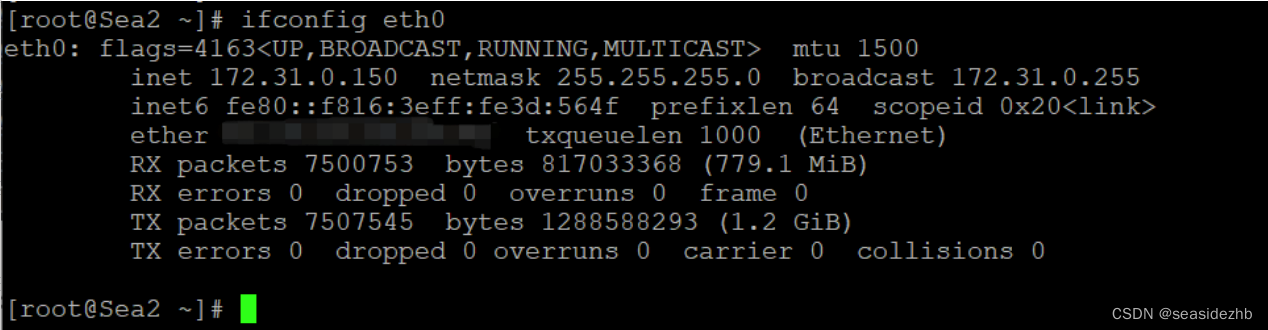
打开另一台主机Sea2,ip为172.31.0.150。
在Sea2上执行mount -t cifs -o username=sambatest //172.31.0.180/sambatest /mnt报错如下:
mount: //172.31.0.180/sambatest is write-protected, mounting read-only
mount: cannot mount //172.31.0.180/sambatest read-only
解决上边问题参考了《Linux上SMB挂载提示mount: block device //xxx.xxx.xx.xx/xx is write-protected, mounting read-only时解决办法》
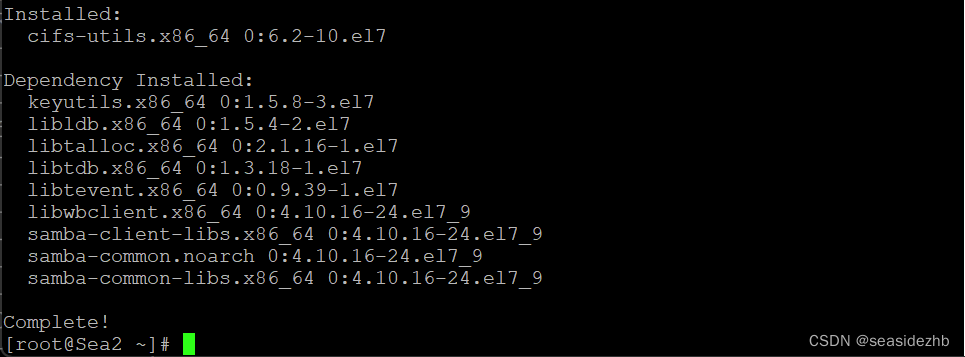
在Sea2执行yum install -y cifs-utils安装软件。
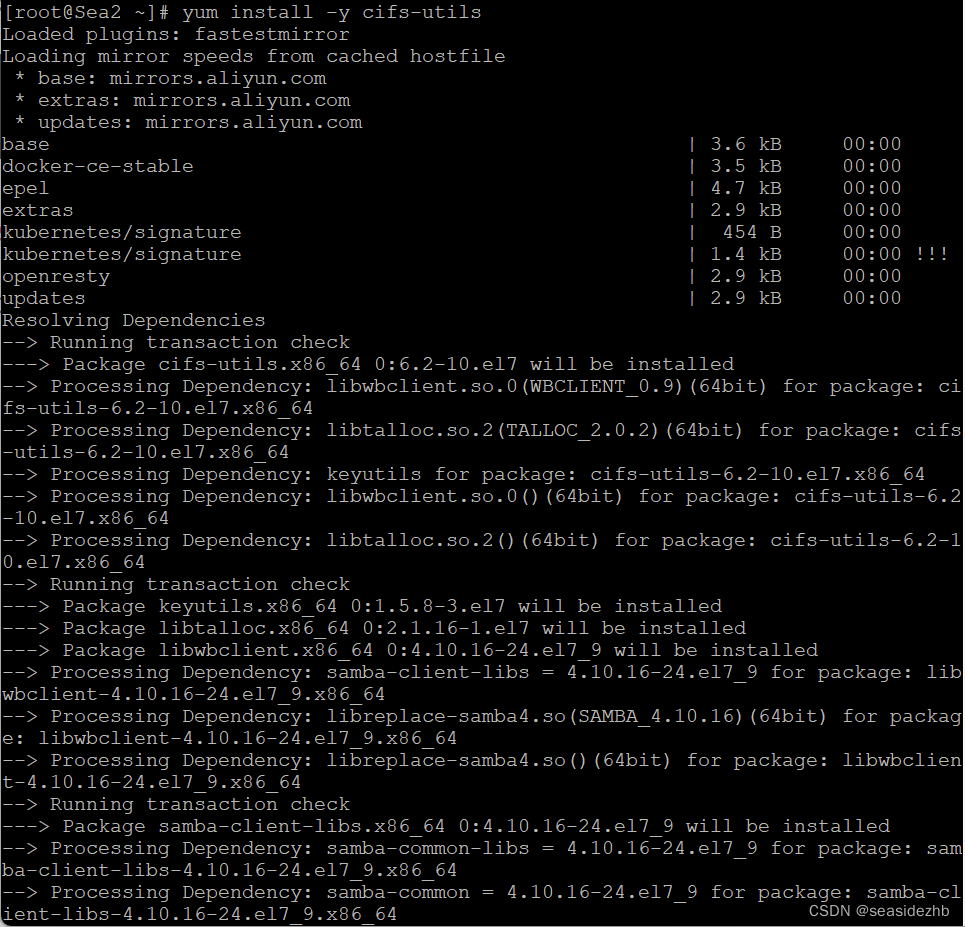
安装完成如下图。
在Sea2上执行mount -t cifs -o username=sambatest //172.31.0.180/sambatest /mnt,然后输入Sea1上边smbpasswd -a sambatest设置的smb密码。

Sea1上echo 'hello world' >> /home/sambatest/hello.txt在/home/sambatest/hello.txt里边写入hello world。

在Sea2上执行ls -l /mnt可以看到hello.txt文件信息,cat /mnt/hello.txt可以看到hello world的内容。

在Sea2上执行cp /mnt/hello.txt /shelllearn/可以把Sea1上的文件拷贝到Sea2的/shelllearn/目录里边。

umount /mnt可以卸掉挂载。

此文章为8月Day 22学习笔记,内容来源于极客时间《Linux 实战技能 100 讲》。