目录
- 前言
- 安装nacos
- 安装步骤1:准备
- 1. 安装docker
- 2. 搜索可以使用的镜像。
- 3. 选择合适的redis镜像。
- 3. 也可从docker hub上搜索镜像。
- 安装步骤2:拉取镜像
- 拉取镜像
- 查看已拉取的镜像
- 安装步骤3:创建容器
- 创建容器方式1:快速创建容器
- 创建容器方式2:快速创建容器+开启验证
- 创建容器方式3:快速创建容器+开启验证+Token
- 安装步骤4:运行容器
- 安装步骤5:检查是否安装成功
- 容器设置
- 容器随 docker 自动启动
- 容器设置IP
- 启用权限认证
- 启用 Nacos 的权限认证
- 其它操作
- 登录容器
- 工作目录/WorkingDir
- 把容器中的 nacos 文件复制出来
- 查看版本
- docker inspect nacos1 : Config
- nacos 配置文件
- `nacos.core.auth.enabled` 配置项
- 查看 nacos config 文件
- 查看 nacos config 文件+认证
- 参考
前言
- CentOS Linux release 7.6.1810 (Core)
- TencentOS Server 3.1
- Docker version 19.03.14, build 5eb3275d40
安装nacos
安装步骤1:准备
1. 安装docker
安装 docker 参考:[【Centos 8】【Centos 7】安装 docker](https://sayyy.blog.csdn.net/article/details/110642416)
2. 搜索可以使用的镜像。
```
shell> docker search nacos
NAME                             DESCRIPTION                                     STARS     OFFICIAL   AUTOMATED
nacos/nacos-server               This project contains a Docker image meant t…   416                  [OK]
nacos/nacos-peer-finder-plugin   scale plugin for nacos k8s                      2
nacos/nacos-mysql-master         nacos-mysql-master                              6
nacos/nacos-mysql-slave                                                          1
nacos/nacos-mysql                                                                7
nacos/nacos-operator                                                             3
```
3. 选择合适的redis镜像。
查找镜像。
| 版本 | 拉取命令 |
|---|---|
| 最新版本 | docker pull nacos/nacos-server 或者 docker pull nacos/nacos-server:latest |
| 2.1.1 | docker pull nacos/nacos-server:v2.1.1 |
| 2.2.1 | docker pull nacos/nacos-server:v2.2.1 |
3. 也可从docker hub上搜索镜像。
[docker hub](https://hub.docker.com),[docker hub-stage](https://hub-stage.docker.com/search?q=)。
安装步骤2:拉取镜像
拉取镜像
shell> docker pull nacos/nacos-server:v2.1.1
查看已拉取的镜像
shell> docker images
安装步骤3:创建容器
创建容器方式1:快速创建容器
shell> docker create -e MODE=standalone -e JVM_XMS=256m -e JVM_XMX=256m -p 8848:8848 \
--name nacos1 nacos/nacos-server:v2.1.1
- v2.1.1可以匿名
创建容器方式2:快速创建容器+开启验证
shell> docker create -e MODE=standalone -e JVM_XMS=256m -e JVM_XMX=256m -p 8848:8848 \
-e NACOS_AUTH_ENABLE=true \
--name nacos1 nacos/nacos-server:v2.1.1
NACOS_AUTH_ENABLE: true 开启验证;false 不开启验证,默认值。-e NACOS_AUTH_ENABLE=true等于nacos.core.auth.enabled=true
创建容器方式3:快速创建容器+开启验证+Token
shell> docker create --privileged=true -e MODE=standalone -e JVM_XMS=256m -e JVM_XMX=256m -p 8848:8848 \
-e PREFER_HOST_MODE=hostname \
-e NACOS_AUTH_ENABLE=true \
-e NACOS_AUTH_TOKEN=SecretKey012345678901234567890123456789012345678901234567890123456789 \
-e NACOS_AUTH_IDENTITY_KEY=serverIdentity \
-e NACOS_AUTH_IDENTITY_VALUE=security \
--name nacos1 nacos/nacos-server:v2.1.1
安装步骤4:运行容器
shell> docker start nacos1
安装步骤5:检查是否安装成功
http://localhost:8848/nacos
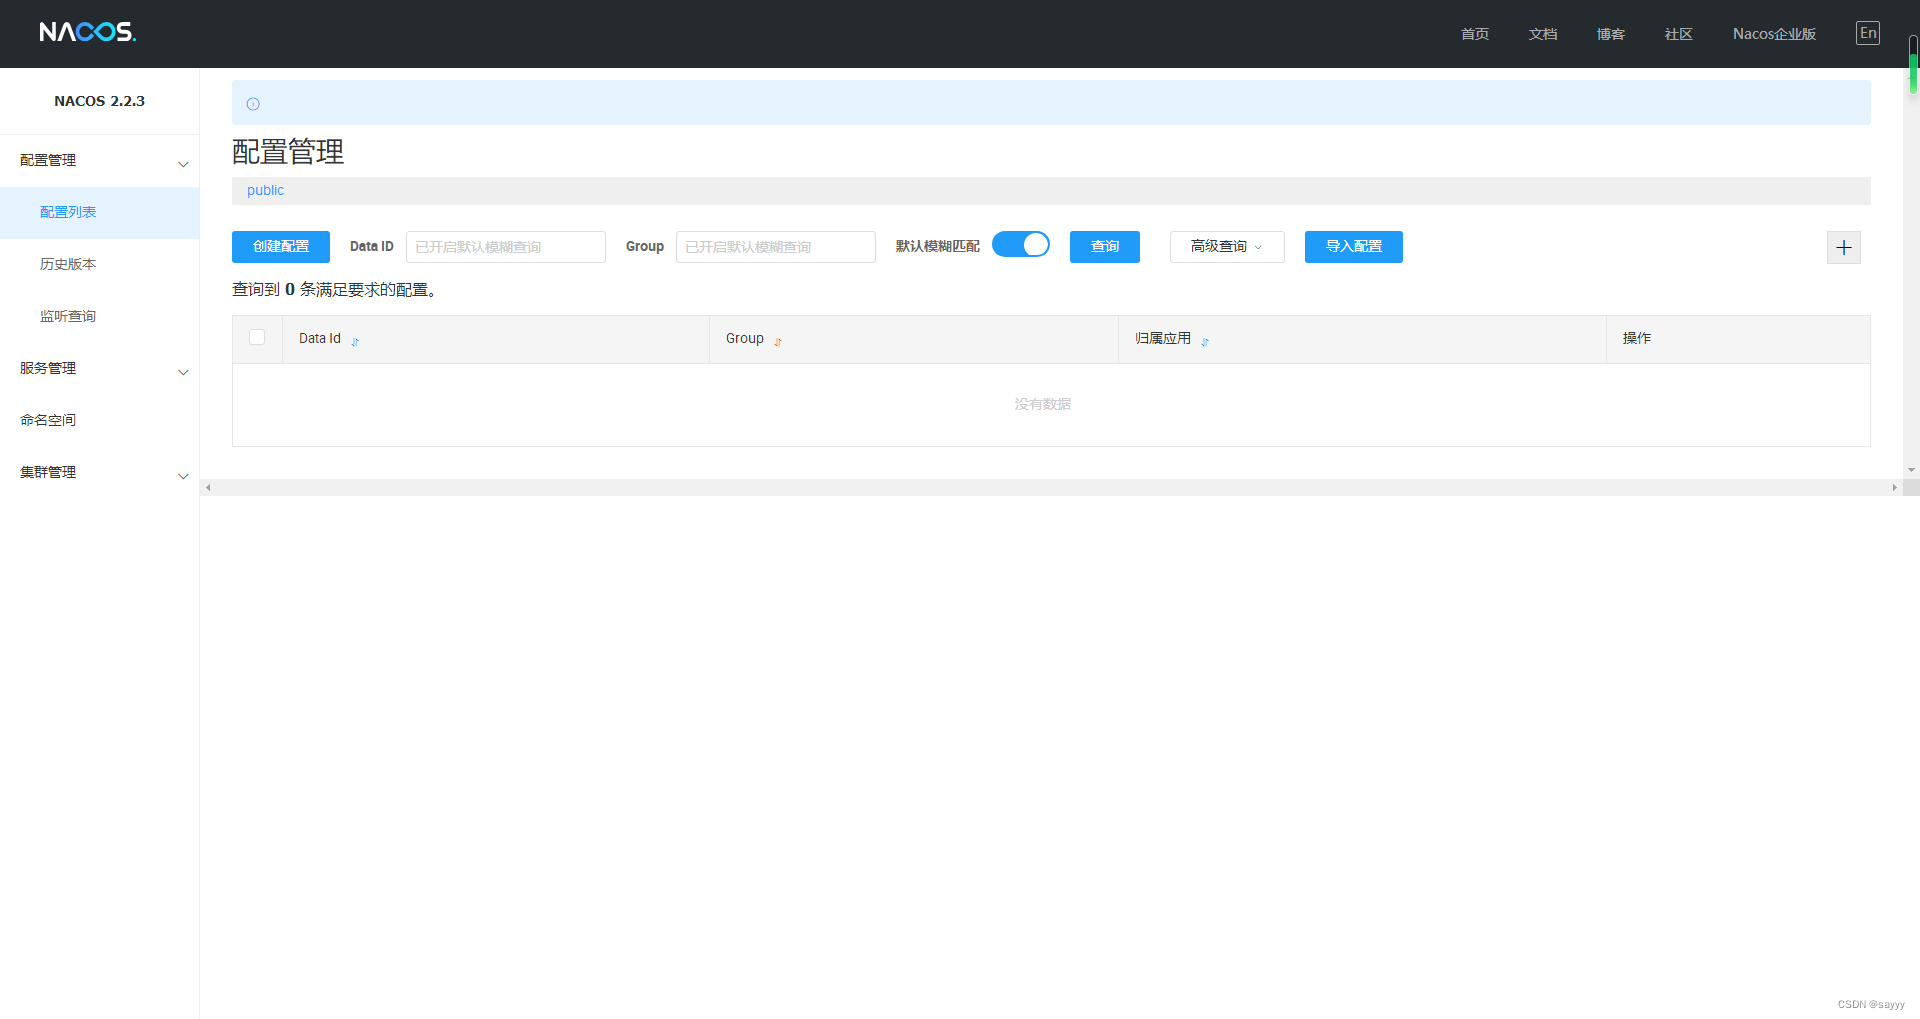
- 默认用户名和密码:nacos
容器设置
容器随 docker 自动启动
设置容器的重启策略
shell> docker update --restart=always nacos1
每次docker启动时,容器也会自动启动
容器设置IP
向网络中添加容器
shell> docker network connect --ip 172.19.0.2 mynetwork nacos1
启用权限认证
启用 Nacos 的权限认证
只要 nacos.core.auth.enabled 设置为 true 就行了:
### If turn on auth system:
nacos.core.auth.enabled=true
其它操作
登录容器
shell> docker exec -it nacos1 /bin/bash
工作目录/WorkingDir
"WorkingDir": "/home/nacos"
把容器中的 nacos 文件复制出来
shell> docker cp -a nacos1:/home/nacos /data/nacos1/eg
查看版本
shell> docker ps | grep nacos1
98718e96f84f   nacos/nacos-server:v2.1.1   "bin/docker-startup.…"   18 minutes ago   Up 18 minutes   0.0.0.0:8848->8848/tcp, :::8848->8848/tcp   nacos1
docker inspect nacos1 : Config
shell> docker inspect nacos1
[
    {
    	...
        "Config": {
            "Hostname": "98718e96f84f",
            "Domainname": "",
            "User": "",
            "AttachStdin": false,
            "AttachStdout": true,
            "AttachStderr": true,
            "ExposedPorts": {
                "8848/tcp": {}
            },
            "Tty": false,
            "OpenStdin": false,
            "StdinOnce": false,
            "Env": [
                "JVM_XMX=256m",
                "NACOS_AUTH_ENABLE=false",
                "MODE=standalone",
                "JVM_XMS=256m",
                "PATH=/usr/local/sbin:/usr/local/bin:/usr/sbin:/usr/bin:/sbin:/bin",
                "PREFER_HOST_MODE=ip",
                "BASE_DIR=/home/nacos",
                "CLASSPATH=.:/home/nacos/conf:",
                "CLUSTER_CONF=/home/nacos/conf/cluster.conf",
                "FUNCTION_MODE=all",
                "JAVA_HOME=/usr/lib/jvm/java-1.8.0-openjdk",
                "NACOS_USER=nacos",
                "JAVA=/usr/lib/jvm/java-1.8.0-openjdk/bin/java",
                "JVM_XMN=512m",
                "JVM_MS=128m",
                "JVM_MMS=320m",
                "NACOS_DEBUG=n",
                "TOMCAT_ACCESSLOG_ENABLED=false",
                "TIME_ZONE=Asia/Shanghai"
            ],
            "Cmd": null,
            "Image": "nacos/nacos-server:v2.1.1",
            "Volumes": null,
            "WorkingDir": "/home/nacos",
            "Entrypoint": [
                "bin/docker-startup.sh"
            ],
            "OnBuild": null,
            "Labels": {
                "org.label-schema.build-date": "20201113",
                "org.label-schema.license": "GPLv2",
                "org.label-schema.name": "CentOS Base Image",
                "org.label-schema.schema-version": "1.0",
                "org.label-schema.vendor": "CentOS",
                "org.opencontainers.image.created": "2020-11-13 00:00:00+00:00",
                "org.opencontainers.image.licenses": "GPL-2.0-only",
                "org.opencontainers.image.title": "CentOS Base Image",
                "org.opencontainers.image.vendor": "CentOS"
            }
        },
        ...
    }
]
nacos 配置文件
找 nacos 配置文件,需要先登录容器:
/home/nacos/bin/docker-startup.sh:有一部分配置在这个文件中/home/nacos/conf/application.properties: 有一部分配置在这个文件中
nacos.core.auth.enabled 配置项
nacos.core.auth.enabled 配置项在 docker-startup.sh 文件中
查看 nacos config 文件
shell> curl -XGET 'http://localhost:8848/nacos/v1/cs/configs?dataId=test.yaml&group=DEFAULT_GROUP'
this config content:Hello World!
windows:
cmd> curl "http://localhost:8848/nacos/v1/cs/configs?dataId=test.yaml&group=DEFAULT_GROUP"
this config content:Hello World!
查看 nacos config 文件+认证
启动认证后,提示403:
shell> curl -XGET 'http://localhost:8848/nacos/v1/cs/configs?dataId=test.yaml&group=DEFAULT_GROUP'
{"timestamp":"2023-08-13T17:23:36.260+08:00","status":403,"error":"Forbidden","path":"/nacos/v1/cs/configs"}
URL中添加认证:
shell> curl -XGET 'http://localhost:8848/nacos/v1/cs/configs?dataId=test.yaml&group=DEFAULT_GROUP&tenant=&username=nacos&password=nacos'
this config content:Hello World!
参考
https://blog.csdn.net/u013305864/article/details/125611099
https://blog.csdn.net/weixin_44155966/article/details/125008267
https://www.cnblogs.com/allennote/articles/12459907.html
https://nacos.io/zh-cn/docs/v2/quickstart/quick-start-docker.html
https://nacos.io/zh-cn/docs/v2/guide/user/auth.html
https://blog.csdn.net/qq_27384769/article/details/124469007


![[C++] 一篇带你了解C++中动态内存管理,new让大家都有对象](https://img-blog.csdnimg.cn/img_convert/ba6b83cd89ebb593c7716103a9c835e7.png)


![[C++ 网络协议编程] TCP/IP协议](https://img-blog.csdnimg.cn/343ca3bde2004853a4bdf2ba96fdf2a2.png)