实现引导页
- 一、ViewPager实现引导页
- 第一步:创建三个xml
- 1.page1.xml
- 2.page2.xml
- 3.page3.xml
- 第二步:创建适配器GuideAdapter
- 第三步:创建引导页原点
- 1.activity_guide.xml
- 2.GuideActivity.java
- 二、 ViewPager(2)实现引导页
- 第一步:创建三个xml
- 1.guid_1.xml
- 2.guid_2.xml
- 3.guid_3.xml
- 4.btn_bg.xml
- 5.guide_bg.xml
- 第二步:创建适配器GuideAdapter
- 第三步:创建圆点页 activity_onboarding.xml
- 第四步:创建圆点页onboarding.Java
有疑问的可在评论区留言 或则加Q 2529165097
一、ViewPager实现引导页
第一步:创建三个xml
图片可以自己替换,因为我这里用的是本地的图片
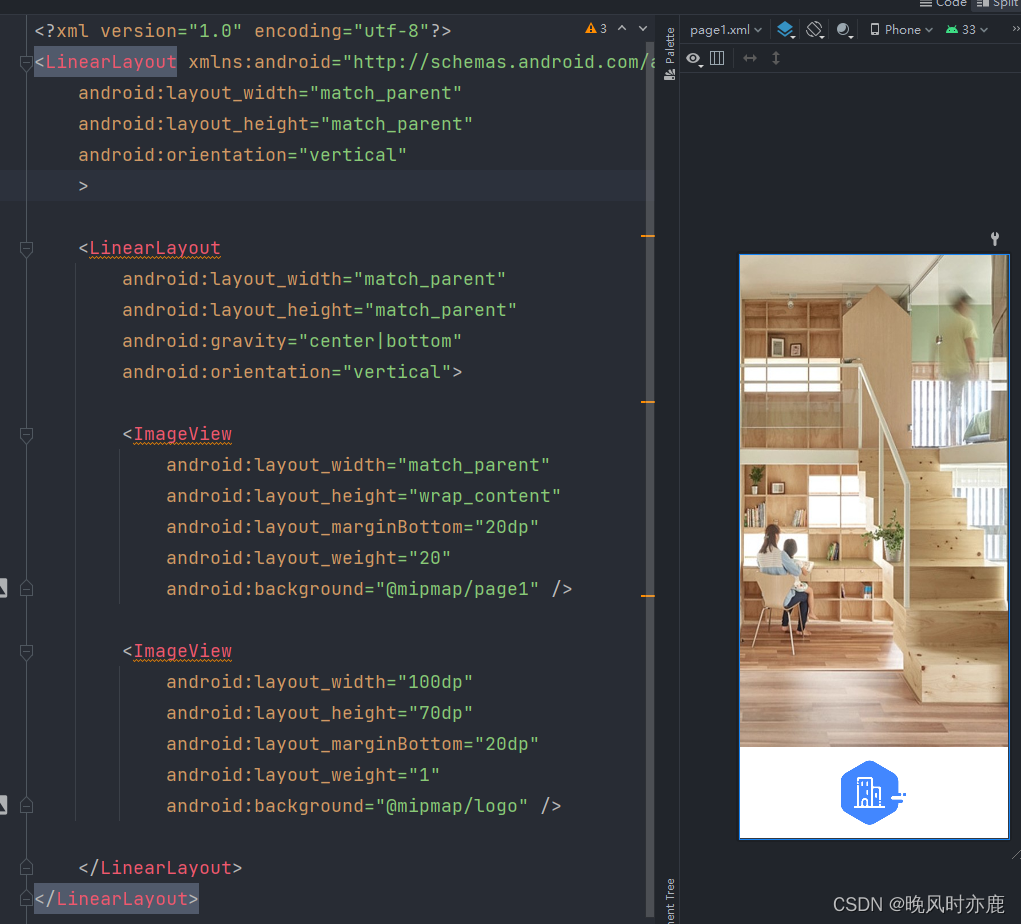
1.page1.xml
<?xml version="1.0" encoding="utf-8"?>
<LinearLayout xmlns:android="http://schemas.android.com/apk/res/android"
    android:layout_width="match_parent"
    android:layout_height="match_parent"
    android:orientation="vertical"
    >

    <LinearLayout
        android:layout_width="match_parent"
        android:layout_height="match_parent"
        android:gravity="center|bottom"
        android:orientation="vertical">

        <ImageView
            android:layout_width="match_parent"
            android:layout_height="wrap_content"
            android:layout_marginBottom="20dp"
            android:layout_weight="20"
            android:background="@mipmap/page1" />

        <ImageView
            android:layout_width="100dp"
            android:layout_height="70dp"
            android:layout_marginBottom="20dp"
            android:layout_weight="1"
            android:background="@mipmap/logo" />

    </LinearLayout>
</LinearLayout>
2.page2.xml
<?xml version="1.0" encoding="utf-8"?>
<LinearLayout xmlns:android="http://schemas.android.com/apk/res/android"
    android:layout_width="match_parent"
    android:layout_height="match_parent"
    android:orientation="vertical"
    >

    <LinearLayout
        android:layout_width="match_parent"
        android:layout_height="match_parent"
        android:gravity="center|bottom"
        android:orientation="vertical">

        <ImageView
            android:layout_width="match_parent"
            android:layout_height="wrap_content"
            android:layout_marginBottom="20dp"
            android:layout_weight="20"
            android:background="@mipmap/page2" />

        <ImageView
            android:layout_width="100dp"
            android:layout_height="70dp"
            android:layout_marginBottom="20dp"
            android:layout_weight="1"
            android:background="@mipmap/logo" />

    </LinearLayout>
</LinearLayout>
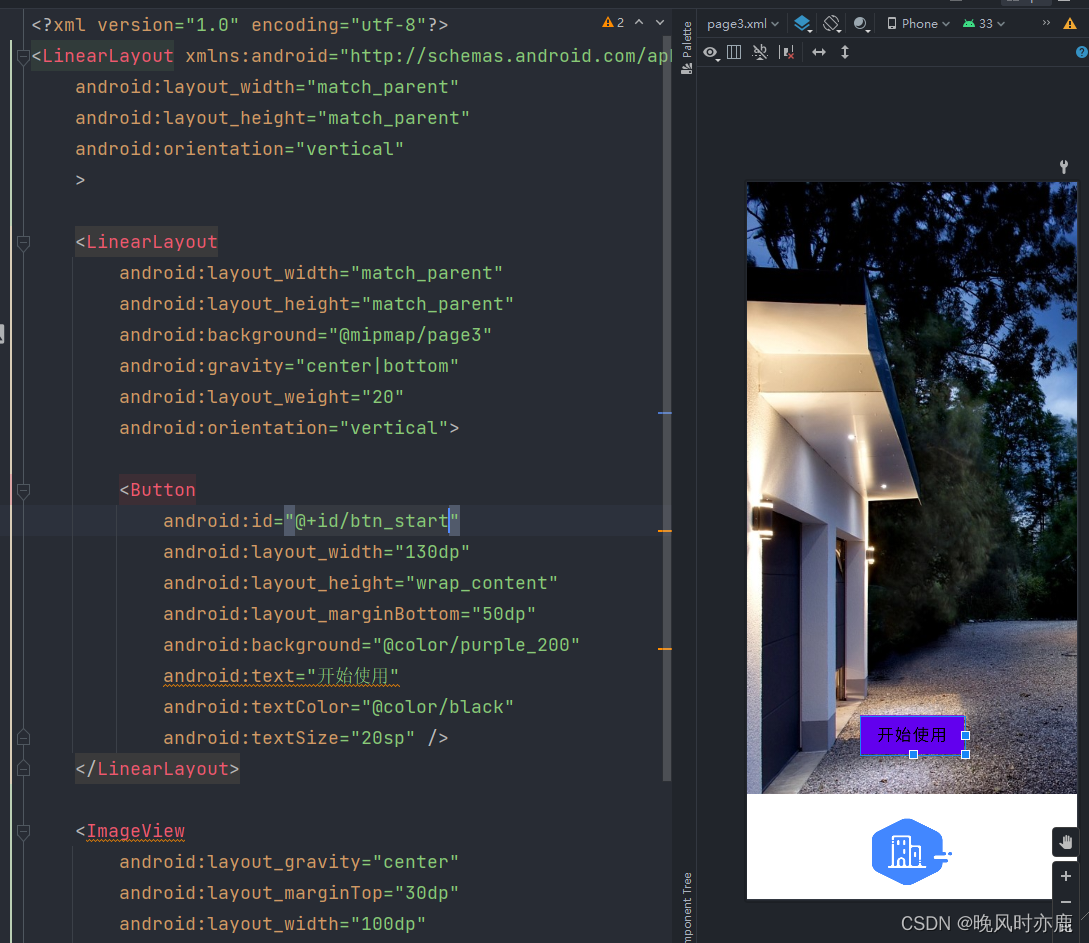
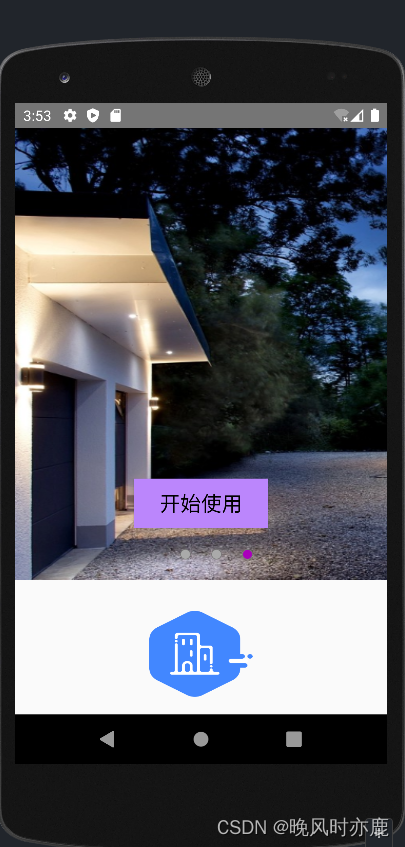
3.page3.xml
<?xml version="1.0" encoding="utf-8"?>
<LinearLayout xmlns:android="http://schemas.android.com/apk/res/android"
    android:layout_width="match_parent"
    android:layout_height="match_parent"
    android:orientation="vertical"
    >

    <LinearLayout
        android:layout_width="match_parent"
        android:layout_height="match_parent"
        android:background="@mipmap/page3"
        android:gravity="center|bottom"
        android:layout_weight="20"
        android:orientation="vertical">

        <Button
            android:id="@+id/btn_start"
            android:layout_width="130dp"
            android:layout_height="wrap_content"
            android:layout_marginBottom="50dp"
            android:background="@color/purple_200"
            android:text="开始使用"
            android:textColor="@color/black"
            android:textSize="20sp" />
    </LinearLayout>

    <ImageView
        android:layout_gravity="center"
        android:layout_marginTop="30dp"
        android:layout_width="100dp"
        android:layout_height="90dp"
        android:layout_marginBottom="17dp"
        android:layout_weight="1"
        android:background="@mipmap/logo" />
</LinearLayout>
第二步:创建适配器GuideAdapter
public class GuideAdapter extends PagerAdapter {
    private Context context;
    private List<View> views;

    public GuideAdapter(Context context, List<View> views) {
        this.context = context;
        this.views = views;
    }

    @Override
    public int getCount() {
        return views.size();
    }

    @Override
    public boolean isViewFromObject(@NonNull View view, @NonNull Object object) {
        return view==object;
    }

    @NonNull
    @Override
    public Object instantiateItem(@NonNull ViewGroup container, int position) {
        View item = views.get(position);
        container.addView(item);
        return item;
    }

    @Override
    public void destroyItem(@NonNull ViewGroup container, int position, @NonNull Object object) {
        ((ViewPager) container).removeView(views.get(position));
    }
}
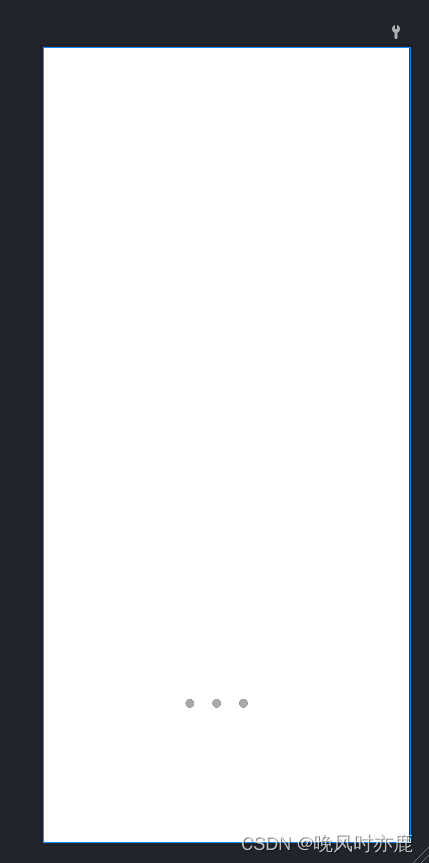
第三步:创建引导页原点
1.activity_guide.xml
<?xml version="1.0" encoding="utf-8"?>
<FrameLayout xmlns:android="http://schemas.android.com/apk/res/android"
    android:layout_width="match_parent"
    android:layout_height="match_parent"
    android:orientation="vertical"
    >

    <androidx.viewpager.widget.ViewPager
        android:id="@+id/pager"
        android:layout_width="match_parent"
        android:layout_height="wrap_content"
        />

    <LinearLayout
        android:layout_width="match_parent"
        android:layout_height="match_parent"
        android:layout_gravity="center"
        android:layout_marginBottom="100dp"
        android:orientation="horizontal"
        >
    <ImageView
        android:layout_gravity="bottom|center"
        android:id="@+id/point1"
        android:layout_width="10dp"
        android:layout_height="10dp"
        android:src="@drawable/shape_point_off"
        android:layout_marginLeft="160dp"
        />
    <ImageView
        android:layout_gravity="bottom|center"
        android:id="@+id/point2"
        android:layout_width="10dp"
        android:layout_height="10dp"
        android:src="@drawable/shape_point_off"
        android:layout_marginLeft="20dp"
        />
    <ImageView
        android:layout_gravity="bottom|center"
        android:id="@+id/point3"
        android:layout_width="10dp"
        android:layout_height="10dp"
        android:src="@drawable/shape_point_off"
        android:layout_marginLeft="20dp"
        />
    </LinearLayout>
</FrameLayout>
- shape_point_off:
- <?xml version="1.0" encoding="utf-8"?>
<shape xmlns:android="http://schemas.android.com/apk/res/android">
    <solid android:color="#aaaaaa"/>
    <corners android:radius="10dp"/>
    <stroke android:width="0.5dp" android:color="#787878"/>
</shape>
- shape_point_on
<?xml version="1.0" encoding="utf-8"?>
<shape xmlns:android="http://schemas.android.com/apk/res/android">
    <solid android:color="#aa00bb"/>
    <corners android:radius="10dp"/>
    <stroke android:width="0.5dp"
        android:color="#787878"/>
</shape>
2.GuideActivity.java
public class GuideActivity extends AppCompatActivity {
    private ViewPager pager;
    private List<View> views=new ArrayList<>();//引导页视图
    private View view1,view2,view3;
    private ImageView point1,point2,point3;
    private Button btnStart;
    private GuideAdapter adapter;

    @Override
    protected void onCreate(Bundle savedInstanceState) {
        super.onCreate(savedInstanceState);
        setContentView(R.layout.activity_guide);

        initView();

        eventHandling();
    }
    private void eventHandling() {
        btnStart.setOnClickListener(new View.OnClickListener() {
            @Override
            public void onClick(View view) {
                Intent intent=new Intent(GuideActivity.this, LoginActivity.class);
                startActivity(intent);
            }
        });

        pager.addOnPageChangeListener(new ViewPager.OnPageChangeListener() {
            @Override
            public void onPageScrolled(int position, float positionOffset, int positionOffsetPixels) {
            }

            @Override
            public void onPageSelected(int position) {
                switch (position){
                    case 0:
                        point1.setImageResource(R.drawable.shape_point_on);
                        point2.setImageResource(R.drawable.shape_point_off);
                        point3.setImageResource(R.drawable.shape_point_off);
                        break;
                    case 1:
                        point1.setImageResource(R.drawable.shape_point_off);
                        point2.setImageResource(R.drawable.shape_point_on);
                        point3.setImageResource(R.drawable.shape_point_off);
                        break;
                    case 2:
                        point1.setImageResource(R.drawable.shape_point_off);
                        point2.setImageResource(R.drawable.shape_point_off);
                        point3.setImageResource(R.drawable.shape_point_on);
                        break;
                }
            }

            @Override
            public void onPageScrollStateChanged(int state) {
            }
        });

    }

    private void initView() {
        point1 = findViewById(R.id.point1);
        point2 = findViewById(R.id.point2);
        point3 = findViewById(R.id.point3);
        pager = findViewById(R.id.pager);

        //获取引导页视图
        view1 = LayoutInflater.from(this).inflate(R.layout.page1,null);
        view2 = LayoutInflater.from(this).inflate(R.layout.page2,null);
        view3 = LayoutInflater.from(this).inflate(R.layout.page3,null);

        btnStart = view3.findViewById(R.id.btn_start);

        //添加到引导视图
        views.add(view1);
        views.add(view2);
        views.add(view3);

        adapter = new GuideAdapter(this,views);//传入列表

        pager.setAdapter(adapter);
        point1.setImageResource(R.drawable.shape_point_on);

    }
}
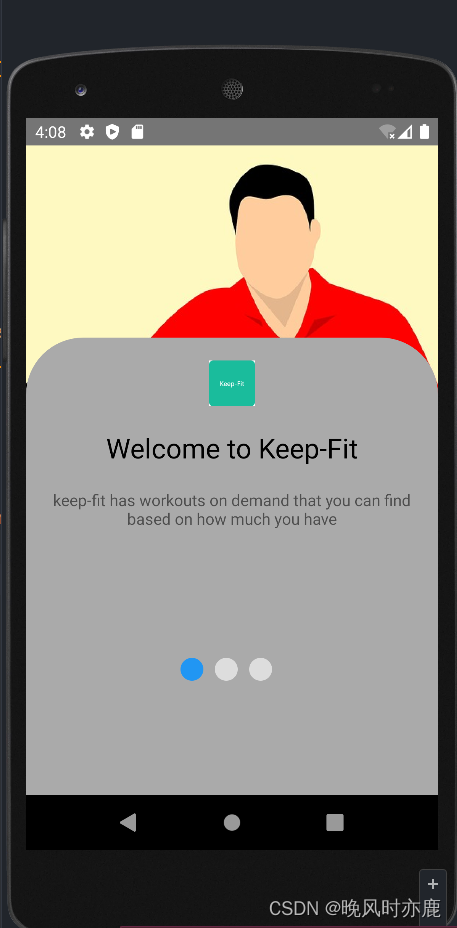
二、 ViewPager(2)实现引导页
第一步:创建三个xml
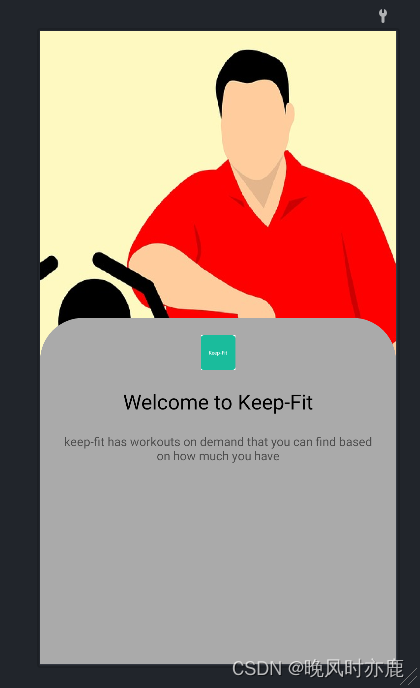
1.guid_1.xml
<?xml version="1.0" encoding="utf-8"?>
<FrameLayout xmlns:android="http://schemas.android.com/apk/res/android"
    xmlns:app="http://schemas.android.com/apk/res-auto"
    xmlns:tools="http://schemas.android.com/tools"
    android:layout_width="match_parent"
    android:layout_height="match_parent"
    android:orientation="vertical"
    android:background="@mipmap/guid3"
    tools:context=".guid.OnboardingActivity">

    <LinearLayout
        android:layout_width="match_parent"
        android:layout_height="400dp"
        android:layout_gravity="bottom"
        android:background="@drawable/guid_bg"
        android:orientation="vertical"
        >
        <ImageView
            android:id="@+id/imageView"
            android:layout_width="match_parent"
            android:layout_height="wrap_content"
            android:layout_marginTop="20dp"
            android:src="@mipmap/logo"/>

        <TextView
            android:id="@+id/textView"
            android:gravity="center"
            android:textSize="24dp"
            android:layout_width="match_parent"
            android:layout_height="wrap_content"
            android:textColor="@color/black"
            android:layout_marginTop="20dp"
            android:text="Welcome to Keep-Fit"/>

        <TextView
            android:id="@+id/textView2"
            android:gravity="center_horizontal"
            android:layout_width="match_parent"
            android:layout_height="wrap_content"
            android:layout_margin="20dp"
            android:text="keep-fit has workouts on demand that you can find based on how much you have"
            />
    </LinearLayout>
    <Button
        android:id="@+id/btn_jump"
        android:layout_gravity="bottom|center_horizontal"
        android:layout_width="wrap_content"
        android:layout_height="wrap_content"
        android:background="@drawable/btn_bg"
        android:textColor="@color/white"
        android:text="Start Training"
        android:layout_marginBottom="20dp"
        android:visibility="invisible"
        android:padding="10dp"
        />
        </FrameLayout>
2.guid_2.xml
<?xml version="1.0" encoding="utf-8"?>
<FrameLayout xmlns:android="http://schemas.android.com/apk/res/android"
    xmlns:app="http://schemas.android.com/apk/res-auto"
    xmlns:tools="http://schemas.android.com/tools"
    android:layout_width="match_parent"
    android:layout_height="match_parent"
    android:orientation="vertical"
    android:background="@mipmap/guid2"
    tools:context=".guid.OnboardingActivity">

   <LinearLayout
       android:layout_width="match_parent"
       android:layout_height="400dp"
       android:layout_gravity="bottom"
       android:background="@drawable/guid_bg"
       android:orientation="vertical">

       <ImageView
           android:layout_marginTop="20dp"
           android:id="@+id/imageView"
           android:layout_width="match_parent"
           android:layout_height="wrap_content"
           android:src="@mipmap/logo"
           />
       <TextView
           android:id="@+id/textView"
           android:layout_width="match_parent"
           android:layout_height="wrap_content"
           android:text="Workout CateGories"
           android:gravity="center"
           android:textSize="24sp"
           android:layout_marginTop="20dp"
           android:textColor="@color/black"
           />
       <TextView
           android:id="@+id/textView2"
           android:layout_width="match_parent"
           android:layout_height="wrap_content"
           android:layout_margin="20dp"
           android:gravity="center_horizontal"
           android:text="workout categories will help you gain strength,get in better shape and embrace"
            />
   </LinearLayout>
    <Button
        android:id="@+id/btn_jump"
        android:layout_width="wrap_content"
        android:layout_height="wrap_content"
        android:layout_gravity="bottom|center_horizontal"
        android:background="@drawable/btn_bg"
        android:layout_marginBottom="20dp"
        android:textColor="@color/white"
        android:text="Start Training"
        android:visibility="invisible"
        android:padding="10dp"
        />
</FrameLayout>
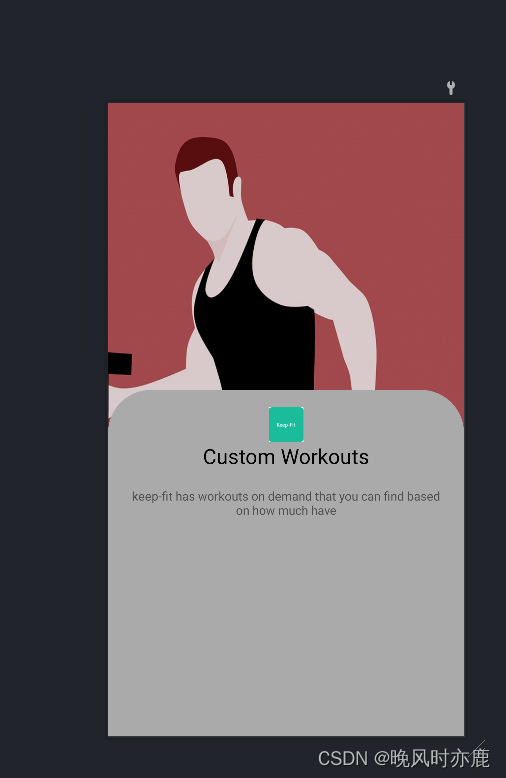
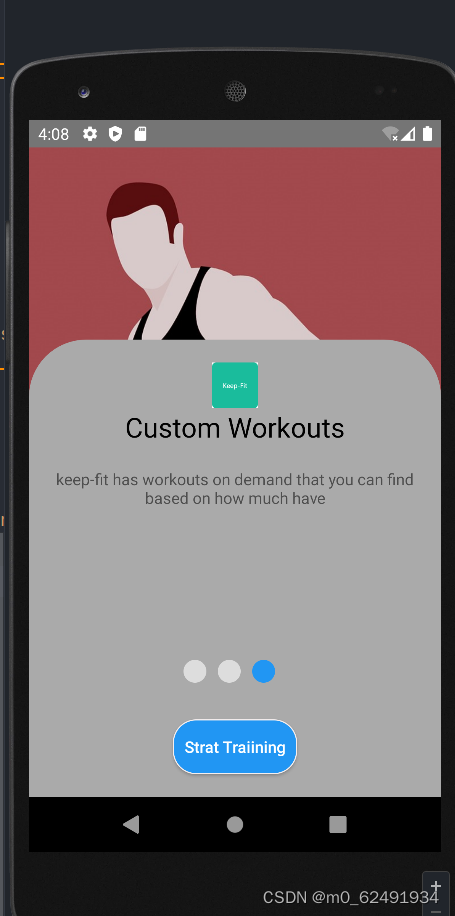
3.guid_3.xml
<?xml version="1.0" encoding="utf-8"?>
<FrameLayout xmlns:android="http://schemas.android.com/apk/res/android"
    android:layout_width="match_parent"
    android:layout_height="match_parent"
    android:orientation="vertical"
    android:background="@mipmap/guid1"
    >
    <LinearLayout
        android:layout_width="match_parent"
        android:layout_height="400dp"
        android:layout_gravity="bottom"
        android:background="@drawable/guid_bg"
        android:orientation="vertical">

        <ImageView
            android:id="@+id/imageView"
            android:layout_width="match_parent"
            android:layout_height="wrap_content"
            android:src="@mipmap/logo"
            android:layout_marginTop="20dp"/>

        <TextView
            android:id="@+id/textView"
            android:layout_width="match_parent"
            android:layout_height="wrap_content"
            android:text="Custom Workouts"
            android:textSize="24sp"
            android:textColor="@color/black"
            android:gravity="center"
            />
        <TextView
            android:id="@+id/textView2"
            android:layout_width="match_parent"
            android:layout_height="wrap_content"
            android:gravity="center_horizontal"
            android:layout_margin="20dp"
            android:text="keep-fit has workouts on demand that you can find based on how much have"
            />
    </LinearLayout>
    <Button
        android:id="@+id/btn_jump"
        android:layout_width="wrap_content"
        android:layout_height="wrap_content"
        android:layout_gravity="bottom|center_horizontal"
        android:layout_marginBottom="20dp"
        android:textColor="@color/white"
        android:background="@drawable/btn_bg"
        android:padding="10dp"
        android:visibility="invisible"
        android:text="Strat Traiining"
        android:textAllCaps="false"/>
</FrameLayout>
4.btn_bg.xml
<?xml version="1.0" encoding="utf-8"?>
<shape xmlns:android="http://schemas.android.com/apk/res/android">
    <corners android:radius="20dp"/>
    <solid android:color="#2196F3"/>
    <stroke android:color="#F4EEEE" android:width="1dp"/>
</shape>
5.guide_bg.xml
<?xml version="1.0" encoding="utf-8"?>
<shape xmlns:android="http://schemas.android.com/apk/res/android">
<corners android:topLeftRadius="50dp" android:topRightRadius="50dp"/>
    <solid android:color="#aaaaaa"/>
</shape>
第二步:创建适配器GuideAdapter
public class GuidePageAdapter extends PagerAdapter {
    private  List<View> viewList;

    public GuidePageAdapter(List<View> viewList) {
        this.viewList = viewList;
    }

    @Override
    public int getCount() {
        return viewList.size();
    }

    @Override
    public boolean isViewFromObject(@NonNull View view, @NonNull Object object) {
        return view==object;
    }

    @NonNull
    @Override
    public Object instantiateItem(@NonNull ViewGroup container, int position) {
        container.addView(viewList.get(position));
        return viewList.get(position);
    }

    @Override
    public void destroyItem(@NonNull ViewGroup container, int position, @NonNull Object object) {
        container.removeView(viewList.get(position));
    }
}
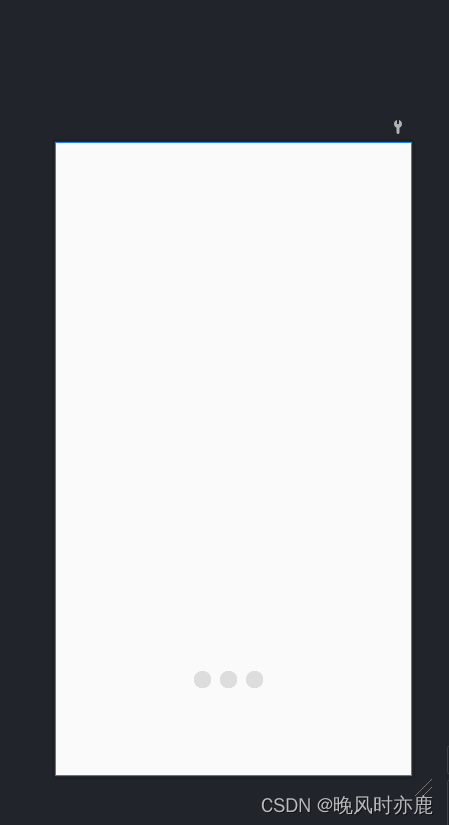
第三步:创建圆点页 activity_onboarding.xml
<?xml version="1.0" encoding="utf-8"?>
<FrameLayout xmlns:android="http://schemas.android.com/apk/res/android"
    xmlns:tools="http://schemas.android.com/tools"
    android:layout_width="match_parent"
    android:layout_height="match_parent"
    tools:context=".guid.OnboardingActivity">

    <androidx.viewpager.widget.ViewPager
        android:id="@+id/vg_pages"
        android:layout_width="match_parent"
        android:layout_height="match_parent"
       />
    <RadioGroup
        android:id="@+id/vg_tags"
        android:layout_width="wrap_content"
        android:layout_height="wrap_content"
        android:layout_gravity="bottom|center_horizontal"
        android:orientation="horizontal"
        android:layout_marginBottom="100dp"
        >
    <RadioButton
        android:id="@+id/radioButton"
        android:layout_width="20dp"
        android:layout_height="20dp"
        android:layout_marginRight="10dp"
        android:background="@drawable/rg_tags_selector"
        android:button="@null"/>

        <RadioButton
            android:id="@+id/radioButton1"
            android:layout_width="20dp"
            android:layout_height="20dp"
            android:layout_marginRight="10dp"
            android:background="@drawable/rg_tags_selector"
            android:button="@null"/>
        <RadioButton
            android:id="@+id/radioButton2"
            android:layout_width="20dp"
            android:layout_height="20dp"
            android:layout_marginRight="10dp"
            android:background="@drawable/rg_tags_selector"
            android:button="@null"/>
    </RadioGroup>
</FrameLayout>
- rg_tags_selector
<?xml version="1.0" encoding="utf-8"?>
<selector xmlns:android="http://schemas.android.com/apk/res/android">
<item android:state_checked="true" android:drawable="@drawable/select_bg"/>
    <item android:drawable="@drawable/normal_bg"/>
</selector>
- normal_bg
<?xml version="1.0" encoding="utf-8"?>
<shape xmlns:android="http://schemas.android.com/apk/res/android"
    android:shape="oval"
    >
    <solid android:color="#DDDDDD"/>
</shape>
第四步:创建圆点页onboarding.Java
public class OnboardingActivity extends AppCompatActivity {
    private List<View> viewList = new ArrayList<>();
    private ViewPager viewPager;
    RadioGroup vg_tags;
    GuidePageAdapter adapter;


    @SuppressLint("MissingInflatedId")
    @Override
    protected void onCreate(Bundle savedInstanceState) {
        super.onCreate(savedInstanceState);
        setContentView(R.layout.activity_onboarding);

        viewPager = findViewById(R.id.vg_pages);
        vg_tags = findViewById(R.id.vg_tags);
        View view = View.inflate(this,R.layout.guid_1,null);
        viewList.add(view);
        view = View.inflate(this,R.layout.guid_2,null);
        viewList.add(view);
        view =View.inflate(this,R.layout.guid_3,null);

        Button btn_jump = view.findViewById(R.id.btn_jump);//得到第三页的视图id
        btn_jump.setVisibility(View.VISIBLE);//在第三页显示按钮
        btn_jump.setOnClickListener(new View.OnClickListener() {//设置按钮的监听事件
            @Override
            //设置引导页只打开一次
            public void onClick(View view) {
               SharedPreferences sharedPreferences = getSharedPreferences("t",MODE_PRIVATE);
               SharedPreferences.Editor editor = sharedPreferences.edit();
               editor.putBoolean("f",false);
               editor.apply();
               Intent intent = new Intent(OnboardingActivity.this,SignInActivity.class);
               startActivity(intent);
            }
        });
        viewList.add(view);
        adapter = new GuidePageAdapter(viewList);
        viewPager.setAdapter(adapter);

        //默认进去为选中状态
        RadioButton radioButton = (RadioButton) vg_tags.getChildAt(0);
        radioButton.setChecked(true);


        viewPager.addOnPageChangeListener(new ViewPager.OnPageChangeListener() {
            @Override
            public void onPageScrolled(int position, float positionOffset, int positionOffsetPixels) {

            }

            @Override
            public void onPageSelected(int position) {
                RadioButton radioButton= (RadioButton) vg_tags.getChildAt(position);
                radioButton.setChecked(true);
            }

            @Override
            public void onPageScrollStateChanged(int state) {

            }
        });
    }
}
![[附源码]Node.js计算机毕业设计电影售票管理系统Express](https://img-blog.csdnimg.cn/cebd50264dde49abb772efd0d12bfdb1.png)