文章目录
- 1. linux 版本:
- 2. 下载地址 Index of /centos-store/7.6.1810/isos/x86_64/ (liu.se)
- 3. 账号密码:root root
- 4.选择nat 模式,勾选 将主机虚拟适配器连接到此网络,勾选 使用本地DHCP服务将iP地址分配给虚拟机
- 5.点击Nat 设置,查看 网关IP
- 6.查看能分配给虚拟机主机的ip 范围段
- 7. 进入 /etc/sysconfig/network-scripts/ 修改 ifcfg-ens33
- 8. 关闭防火墙 systemctl stop firewalld
- 9.禁用防火墙 systemctl disable firewalld
- 10.关闭网络管理服务 systemctl stop NetworkManager
- 11.禁用网络管理服务 systemctl disable NetworkManager
- 12.systemctl restart network
- 13. 打开VMware Virtual Ethernet Adapter for VMnet8
- 14. 点击internat 协议网络版本4
- 15. 指定网关
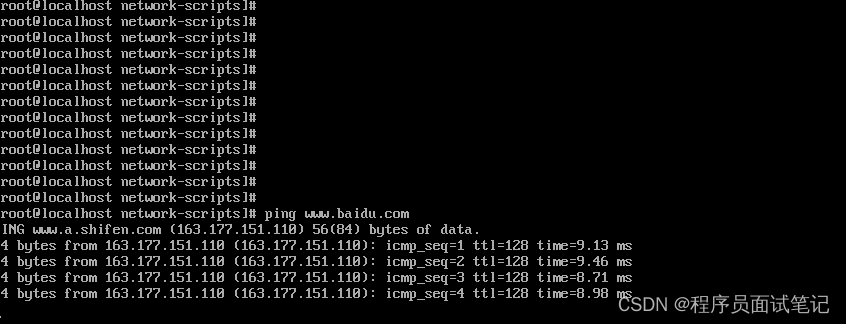
- 16. 内网测试 ping www.baidu.com
- 17. window 本机测试
1. linux 版本:
	LSB Version: :core-4.1-amd64:core-4.1-noarch
	Distributor ID: CentOS
	Description: CentOS Linux release 7.6.1810 (Core)
	Release: 7.6.1810
	Codename: Core
2. 下载地址 Index of /centos-store/7.6.1810/isos/x86_64/ (liu.se)
3. 账号密码:root root
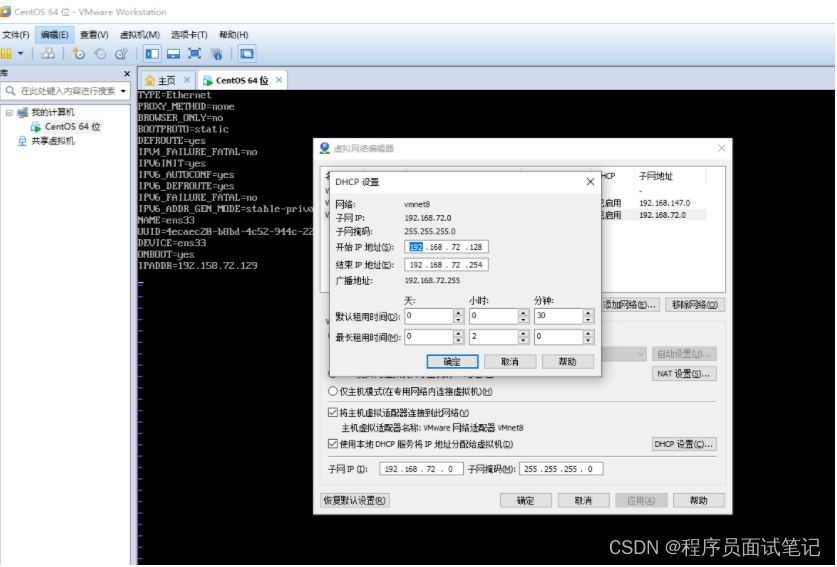
4.选择nat 模式,勾选 将主机虚拟适配器连接到此网络,勾选 使用本地DHCP服务将iP地址分配给虚拟机

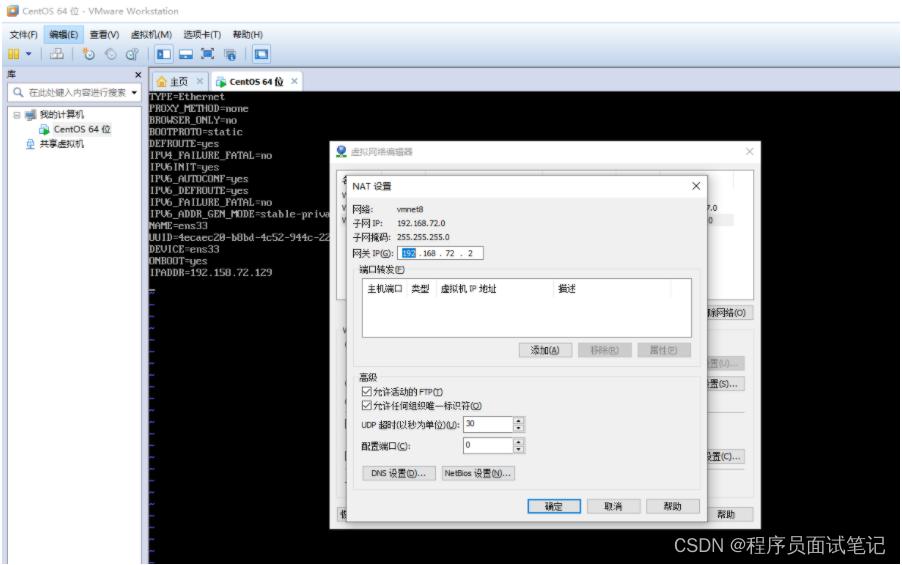
5.点击Nat 设置,查看 网关IP
6.查看能分配给虚拟机主机的ip 范围段
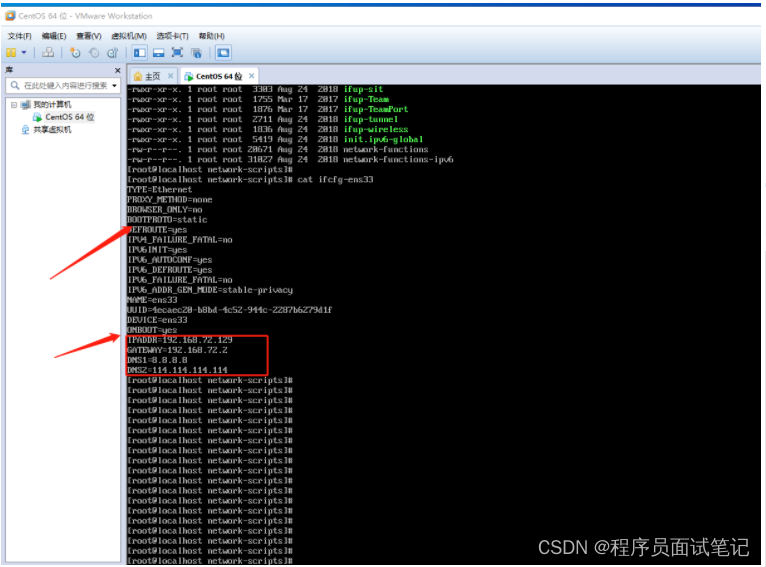
7. 进入 /etc/sysconfig/network-scripts/ 修改 ifcfg-ens33
修改 BOOTPRO=static
ONBOOT=yes
添加
IPADDR=192.168.72.129
GATEWAY=192.168.72.2
DNS1=8.8.8.8
DNS2=114.114.114.114
8. 关闭防火墙 systemctl stop firewalld
9.禁用防火墙 systemctl disable firewalld
10.关闭网络管理服务 systemctl stop NetworkManager
11.禁用网络管理服务 systemctl disable NetworkManager
12.systemctl restart network
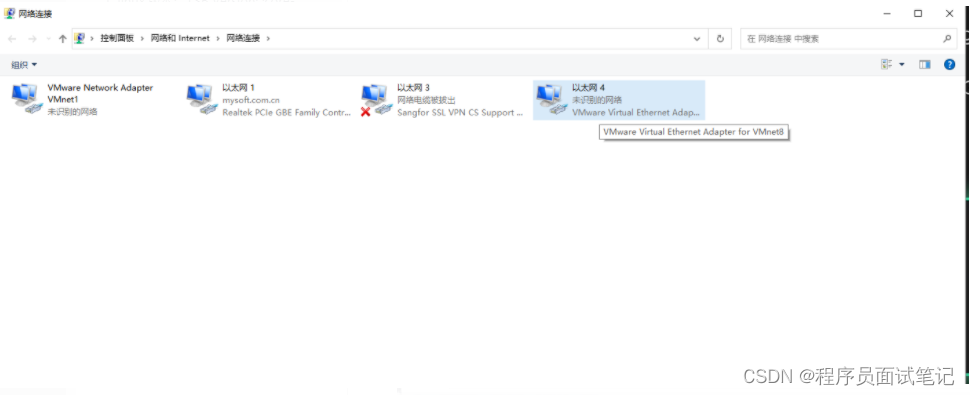
13. 打开VMware Virtual Ethernet Adapter for VMnet8
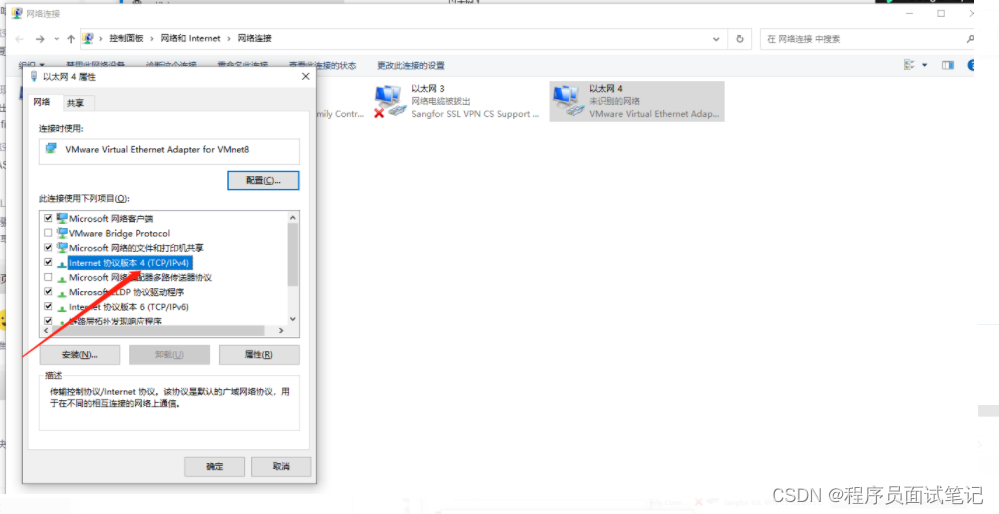
14. 点击internat 协议网络版本4
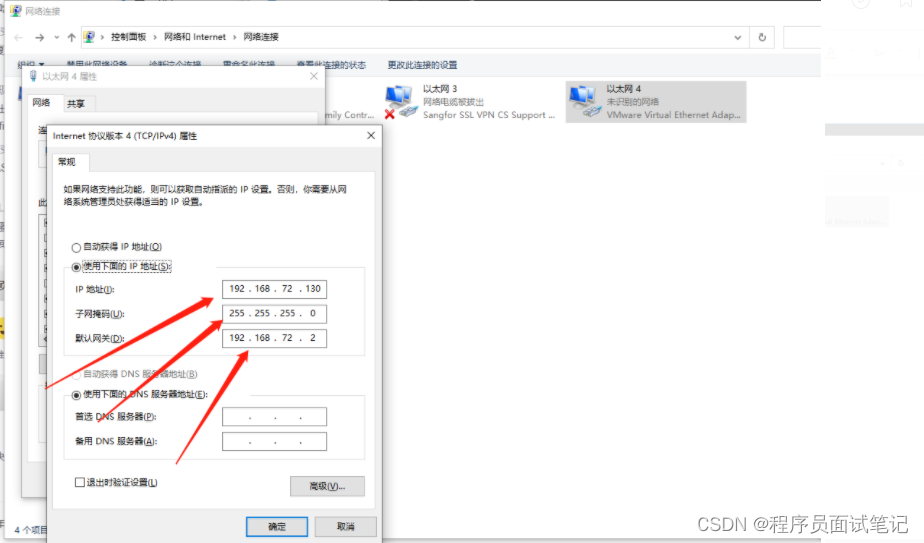
15. 指定网关
16. 内网测试 ping www.baidu.com
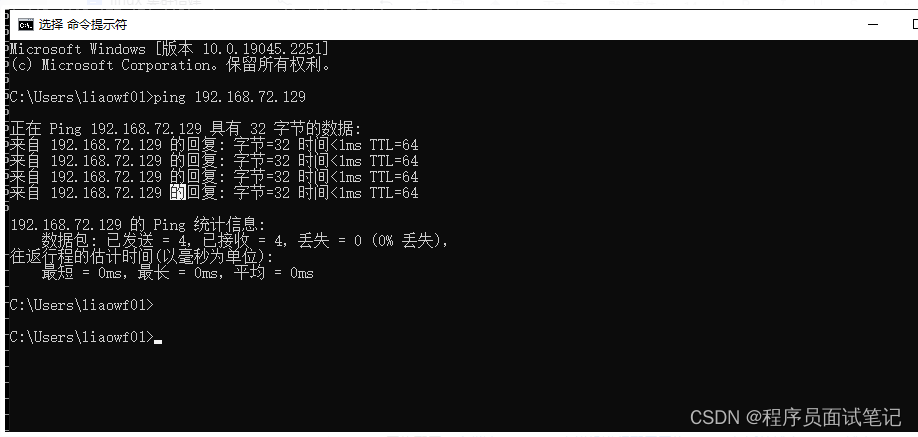
17. window 本机测试