接下来是二次开发的具体环节了,由于存在用户需求,用到ros-mobile不多,更偏向于android开发。
用ppt画了简单的展示界面,与用后交流界面的功能布局。先开发一代简易版本的app,后续可以丰富完善。ctrlc+v上线。
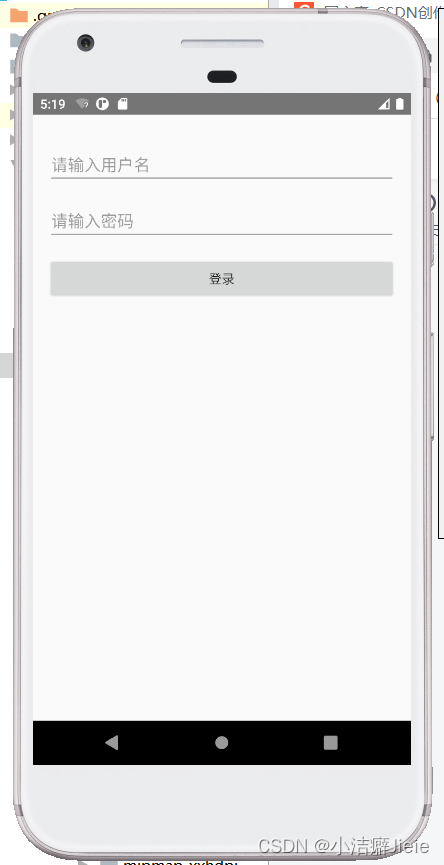
登录界面--在ros-mobile基础上增加登录界面,初代版本只设置登录按钮,账号密码也是固定的,后续完善吧
步骤1:创建登录界面布局
首先,在res/layout文件夹下创建一个新的XML布局文件activity_login.xml,用于呈现登录界面的UI元素。xml文件选择了layout.xml,查询了解到"app actions"文件夹通常用于定义应用的操作和快捷方式,而"values"文件夹用于存放应用中使用的字符串、颜色和其他资源的值。
<?xml version="1.0" encoding="utf-8"?>
<LinearLayout xmlns:android="http://schemas.android.com/apk/res/android"
    android:layout_width="match_parent"
    android:layout_height="match_parent">
    <RelativeLayout
        android:layout_width="match_parent"
        android:layout_height="match_parent"
        android:padding="16dp">

        <EditText
            android:id="@+id/editTextUsername"
            android:layout_width="match_parent"
            android:layout_height="wrap_content"
            android:layout_marginTop="16dp"
            android:hint="请输入用户名"/>

        <EditText
            android:id="@+id/editTextPassword"
            android:layout_width="match_parent"
            android:layout_height="wrap_content"
            android:layout_below="@id/editTextUsername"
            android:layout_marginTop="16dp"
            android:inputType="textPassword"
            android:hint="请输入密码"/>

        <Button
            android:id="@+id/btnLogin"
            android:layout_width="395dp"
            android:layout_height="wrap_content"
            android:layout_below="@id/editTextPassword"
            android:layout_marginTop="16dp"
            android:text="登录" />


    </RelativeLayout>

</LinearLayout>
步骤2:创建登录Activity
在java文件夹下创建一个新的LoginActivity类来管理登录界面的逻辑和交互。路径:ui/activities/LoginActivity.java
package com.schneewittchen.rosandroid.ui.activity;

import android.content.Intent;
import android.os.Bundle;
import android.view.View;
import android.widget.Button;
import android.widget.EditText;
import android.widget.Toast;

import androidx.annotation.Nullable;
import androidx.appcompat.app.AppCompatActivity;

import com.schneewittchen.rosandroid.R;
import com.schneewittchen.rosandroid.ui.activity.MainActivity;

public class LoginActivity extends AppCompatActivity {

    private EditText usernameEditText;
    private EditText passwordEditText;
    private Button loginButton;

    @Override
    protected void onCreate(@Nullable Bundle savedInstanceState) {
        super.onCreate(savedInstanceState);
        setContentView(R.layout.activity_login);

        usernameEditText = findViewById(R.id.editTextUsername);
        passwordEditText = findViewById(R.id.editTextPassword);
        loginButton = findViewById(R.id.btnLogin);

        loginButton.setOnClickListener(new View.OnClickListener() {
            @Override
            public void onClick(View v) {
                // 获取输入的用户名和密码
                String username = usernameEditText.getText().toString();
                String password = passwordEditText.getText().toString();

                // 这里可以添加登录逻辑,例如与服务器进行验证等
                // 假设用户名和密码都是 "robot",登录成功后跳转到主界面
                if (username.equals("robot") && password.equals("robot")) {
                    Toast.makeText(LoginActivity.this, "登录成功", Toast.LENGTH_SHORT).show();

                    // 登录成功后跳转到主界面
                    Intent intent = new Intent(LoginActivity.this, MainActivity.class);
                    startActivity(intent);
                    finish(); // 登录成功后关闭登录界面,防止用户按返回键回到登录界面
                } else {
                    Toast.makeText(LoginActivity.this, "用户名或密码错误", Toast.LENGTH_SHORT).show();
                }
            }
        });
    }
}
步骤3:更新AndroidManifest.xml
在AndroidManifest.xml文件中添加登录Activity的声明。将登录界面作为启动界面。
<?xml version="1.0" encoding="utf-8"?>
<manifest xmlns:android="http://schemas.android.com/apk/res/android"
    xmlns:tools="http://schemas.android.com/tools"
    package="com.schneewittchen.rosandroid">

    <uses-permission android:name="android.permission.INTERNET" />
    <uses-permission android:name="android.permission.ACCESS_NETWORK_STATE" />
    <uses-permission android:name="android.permission.ACCESS_FINE_LOCATION" />
    <uses-permission android:name="android.permission.WRITE_EXTERNAL_STORAGE" />
    <uses-permission android:name="android.permission.ACCESS_WIFI_STATE" />
    <uses-permission android:name="android.permission.SYSTEM_ALERT_WINDOW"/>

    <application
        android:allowBackup="false"
        android:icon="@mipmap/ic_launcher"
        android:label="@string/app_name"
        android:supportsRtl="true"
        android:theme="@style/AppTheme"
        tools:ignore="GoogleAppIndexingWarning"
        tools:replace="android:icon">

        <activity
            android:name=".ui.activity.LoginActivity"
            android:label="@string/login_activity_title"
            android:theme="@style/AppTheme.NoActionBar"
            android:windowSoftInputMode="adjustResize">

            <!-- 设置为启动器 -->
            <intent-filter>
                <action android:name="android.intent.action.MAIN" />
                <category android:name="android.intent.category.LAUNCHER" />
            </intent-filter>

        </activity>

        <activity
            android:name=".ui.activity.MainActivity"
            android:windowSoftInputMode="adjustResize"
            android:screenOrientation="unspecified">

        </activity>

        <service android:name=".model.repositories.rosRepo.node.NodeMainExecutorService">
            <intent-filter>
                <action android:name="org.ros.android.NodeMainExecutorService" />
            </intent-filter>
        </service>
    </application>

</manifest>
string.xml文件:
<string name="login_activity_title">robot</string>styles.xml文件:后续美化在这块添加代码
    <style name="AppTheme.NoActionBar" parent="Theme.AppCompat.Light.NoActionBar">
        <!-- 样式的其他属性 -->
    </style>
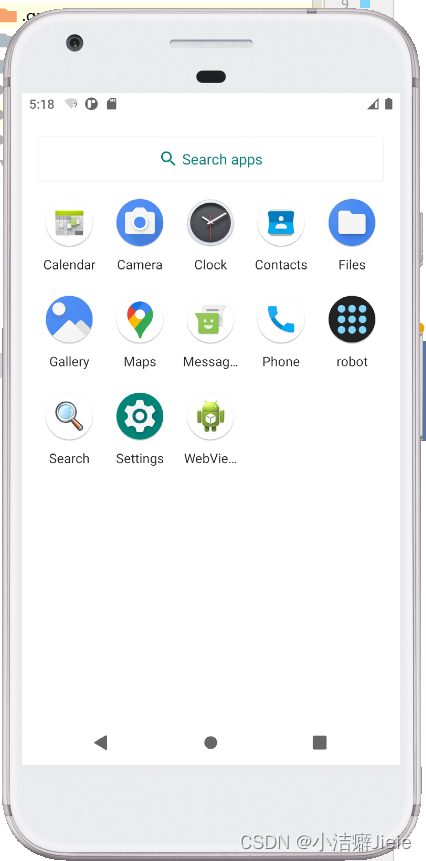
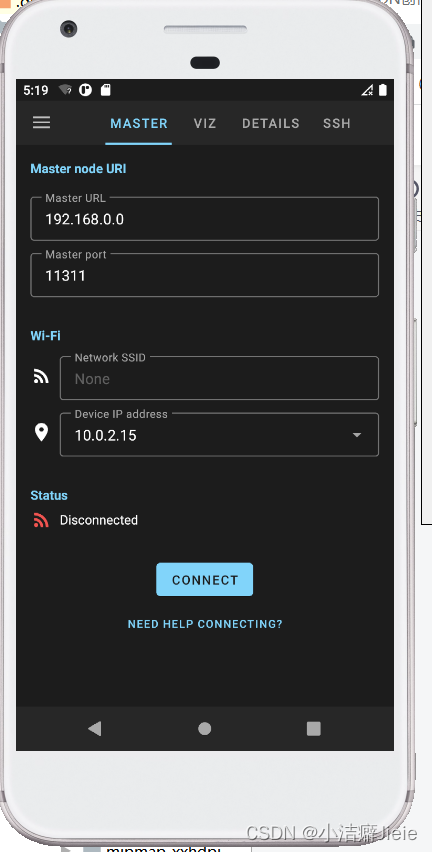
效果展示: