QVariant
- 标准类型
- 构造函数
- 将支持的类型的数据设置到QVariant对象中
- 将QVariant对象转换为实际的数据类型
- 自定义类型
标准类型
构造函数
// 这类转换需要使用QVariant类的构造函数, 由于比较多, 大家可自行查阅Qt帮助文档, 在这里简单写几个
QVariant::QVariant(int val);
QVariant::QVariant(bool val);
QVariant::QVariant(double val);
QVariant::QVariant(const char *val);
QVariant::QVariant(const QByteArray &val);
QVariant::QVariant(const QString &val);
......
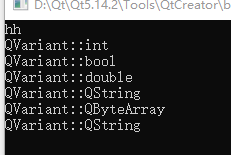
例子:
    QVariant a1(11);
    qDebug()<<a1.type();
    QVariant a2(true);
    qDebug()<<a2.type();
    QVariant a3(11.11);
    qDebug()<<a3.type();
    QVariant a4("hello");
    qDebug()<<a4.type();
    QByteArray b1("11");
    QString b2("22");
    QVariant a5(b1);
    qDebug()<<a5.type();
    QVariant a6(b2);
    qDebug()<<a6.type();
将支持的类型的数据设置到QVariant对象中
// 使用设置函数也可以将支持的类型的数据设置到QVariant对象中
// 这里的 T 类型, 就是QVariant支持的类型
void QVariant::setValue(const T &value);
// 该函数行为和 setValue() 函数完全相同
[static] QVariant QVariant::fromValue(const T &value);
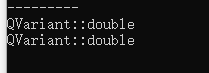
例子:
	QVariant v1;
    v1.setValue(5.5);
    QVariant v2 = QVariant::fromValue(1.1);
    qDebug()<<v1.type();
    qDebug()<<v2.type();
将QVariant对象转换为实际的数据类型
// 如果要实现该操作, 可以使用QVariant类提供的 toxxx() 方法, 全部转换可以参考Qt帮助文档
// 在此举列举几个常用函数:
bool QVariant::toBool() const;
QByteArray QVariant::toByteArray() const;
double QVariant::toDouble(bool *ok = Q_NULLPTR) const;
float QVariant::toFloat(bool *ok = Q_NULLPTR) const;
int QVariant::toInt(bool *ok = Q_NULLPTR) const;
QString QVariant::toString() const;
	QVariant a1(11);
    QVariant a2(true);
    QVariant a3(11.11);
    QVariant a4("hello");

    int i1 = a1.toUInt();
    bool i2 = a2.toBool();
    float i3 = a3.toFloat();
    QString i4 = a4.toString();
    qDebug()<<i1<<" "<<i2<<" "<<i3<<" "<<i4;

例子:
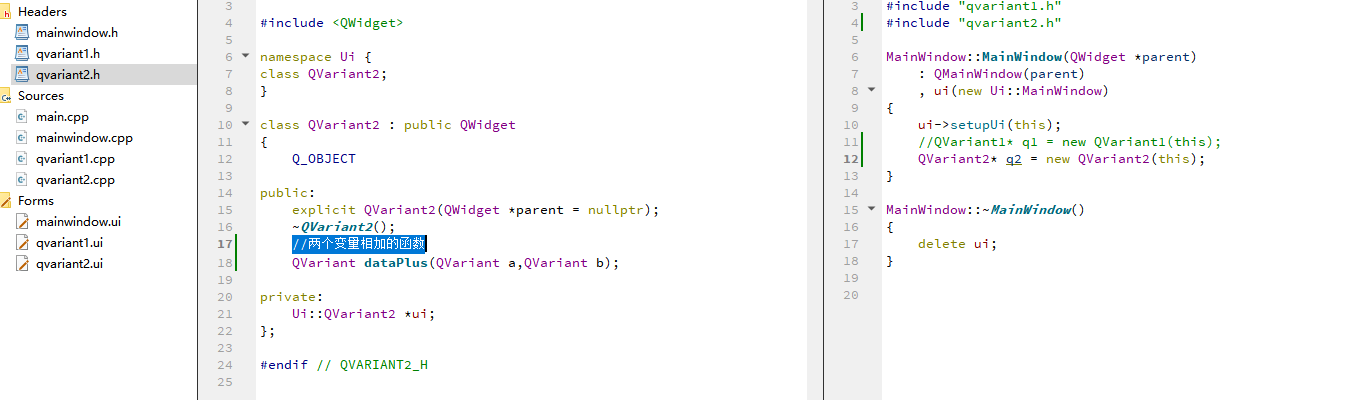

#include "qvariant2.h"
#include "ui_qvariant2.h"
#include "QDebug"
#include "QtCore"
#include "QtGlobal"
#include <iostream>
#include<QVariant>
using namespace std;

QVariant2::QVariant2(QWidget *parent) :
    QWidget(parent),
    ui(new Ui::QVariant2)
{
    ui->setupUi(this);
    QVariant a = "aa";
    QVariant b = "bb";
    qDebug()<<this->dataPlus(a,b);
    qDebug()<<this->dataPlus(11,22);

}

QVariant2::~QVariant2()
{
    delete ui;
}

QVariant QVariant2::dataPlus(QVariant a, QVariant b)
{
    QVariant result;
    //先判断类型,按照不同的类型执行不同的加法运算
    if(a.type()==QVariant::Int&&b.type()==QVariant::Int){
        result = QVariant(a.toInt()+b.toInt());
    }else if(a.type()==QVariant::String&&b.type()==QVariant::String){
        result = QVariant(a.toString().append(b.toString()));
    }else{
        cout<<"数据类型不匹配"<<endl;
    }
    return result;

}
自定义类型
我们自定义的类型也可以使用QVariant类进行封装, 被QVariant存储的数据类型需要有一个默认的构造函数和一个拷贝构造函数
首先必须使用Q_DECLARE_METATYPE()宏。通常会将这个宏放在类的声明所在头文件的下面, 原型为:
Q_DECLARE_METATYPE(Type)
// 如果当前QVariant对象可用转换为对应的模板类型 T, 返回true, 否则返回false
bool QVariant::canConvert() const;
// 将当前QVariant对象转换为实际的 T 类型
T QVariant::value() const;
第一步: 在头文件中声明
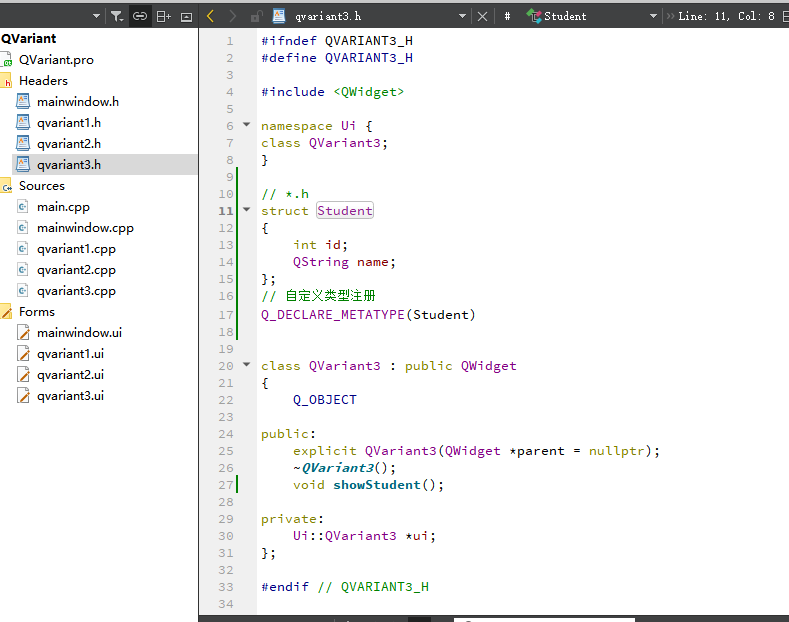
// *.h
struct Student
{
    int id;
    QString name;
};
// 自定义类型注册
Q_DECLARE_METATYPE(Student)
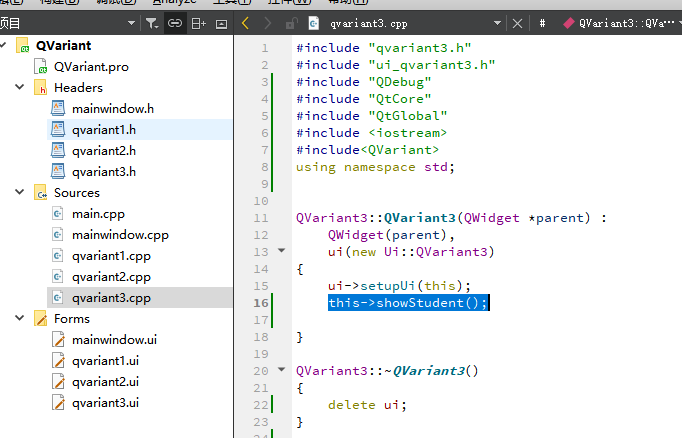
第二步: 在源文件中定义
#include "qvariant3.h"
#include "ui_qvariant3.h"
#include "QDebug"
#include "QtCore"
#include "QtGlobal"
#include <iostream>
#include<QVariant>
using namespace std;
QVariant3::QVariant3(QWidget *parent) :
QWidget(parent),
ui(new Ui::QVariant3)
{
ui->setupUi(this);
this->showStudent();
}
QVariant3::~QVariant3()
{
delete ui;
}
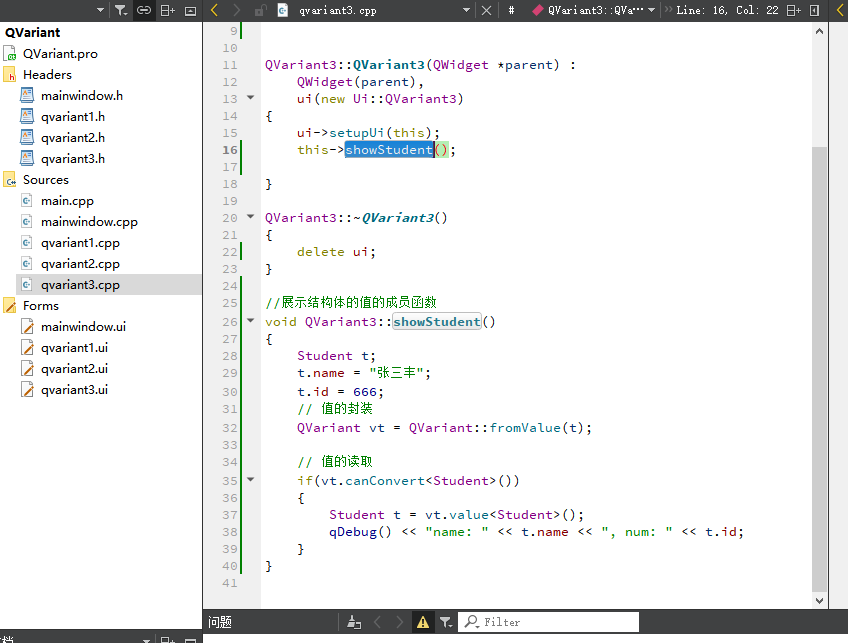
//展示结构体的值的成员函数
void QVariant3::showStudent()
{
Student t;
t.name = "张三丰";
t.id = 666;
// 值的封装
QVariant vt = QVariant::fromValue(t);
// 值的读取
if(vt.canConvert<Student>())
{
Student t = vt.value<Student>();
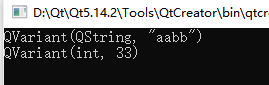
qDebug() << "name: " << t.name << ", num: " << t.id;
}
}
调用函数


![[PAT甲级] 1001 A+B Format [Python3]](https://img-blog.csdnimg.cn/913358b4449540378b8f2c4e9a31a062.png)