下载:
Getting MiKTeX
然后以管理员方式运行安装。
配置VS Code
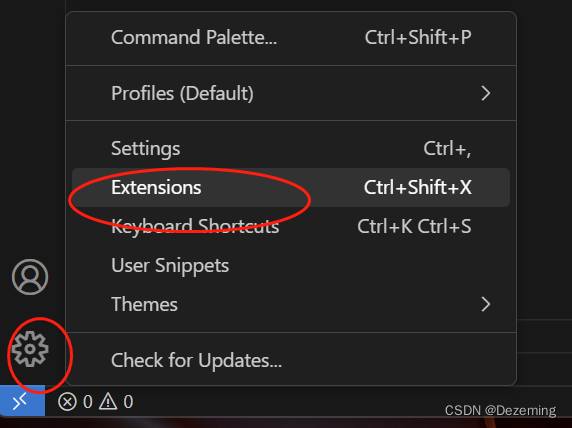
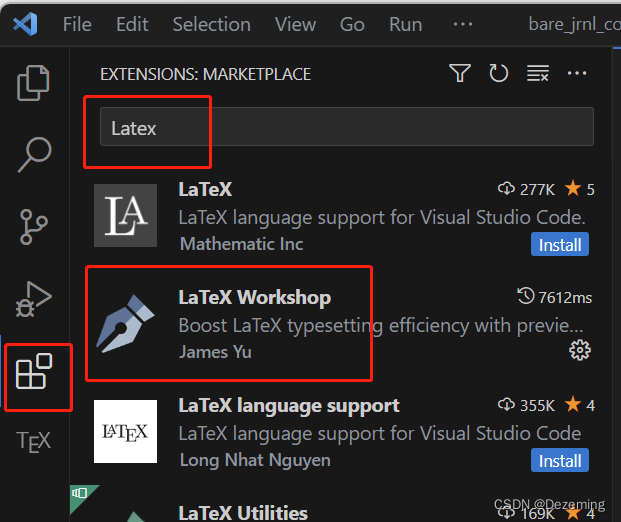
之后配置VS Code,选择扩展(两个位置都可以),然后搜索Latex:
然后打开设置:
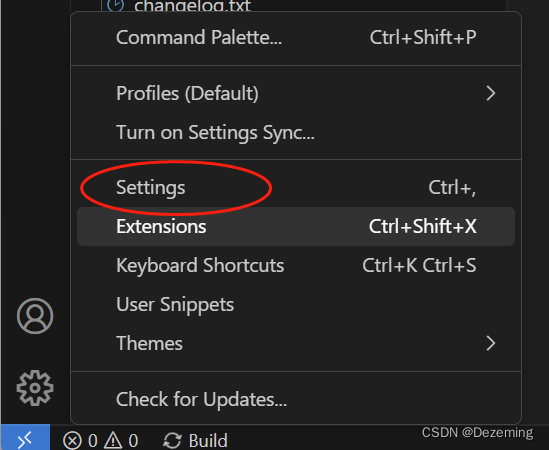

这样就打开了setting.json文件,
然后输入配置:
{
// Latex workshop

"latex-workshop.latex.recipes": [
    {
      "name": "texify",  //放在最前面为默认编译方案, 适用于MikTex
      "tools": [
        "texify"
      ]
    },
	{
        "name": "xelatex",
        "tools": [
            "xelatex"
        ]
    },
    {
        "name": "xe->bib->xe->xe",
        "tools": [
            "xelatex",
            "bibtex",
            "xelatex",
            "xelatex"
        ]
    }
  ],

  "latex-workshop.latex.tools": [
    {
      "name": "texify",
      "command": "texify",
      "args": [
        "--synctex",
        "--pdf",
        "--tex-option=\"-interaction=nonstopmode\"",
        "--tex-option=\"-file-line-error\"",
        "%DOC%.tex"
      ]
    },
	{
        // 编译工具和命令
        "name": "xelatex",
        "command": "xelatex",
        "args": [
            "-synctex=1",
            "-interaction=nonstopmode",
            "-file-line-error",
            "%DOC%"
        ]
    },
    {
        "name": "pdflatex",
        "command": "pdflatex",
        "args": [
            "-synctex=1",
            "-interaction=nonstopmode",
            "-file-line-error",
            "%DOC%"
        ]
    },
    {
        "name": "bibtex",
        "command": "bibtex",
        "args": [
            "%DOCFILE%"
        ]
    }
],
"workbench.colorTheme": "Default Light+ Experimental",
"latex-workshop.latex.clean.enabled": true,
"latex-workshop.view.pdf.viewer": "external",

"latex-workshop.view.pdf.external.command": {
    "command": "C:/Users/RM/AppData/Local/SumatraPDF/SumatraPDF.exe",  //SumatraPDF.exe的实际路径
    "args": [
        "%PDF%"
    ]
}

}
安装。
之后关掉VS Code,重新打开,就可以编译了。
经常会弹出一些框,我们选择安装即可:
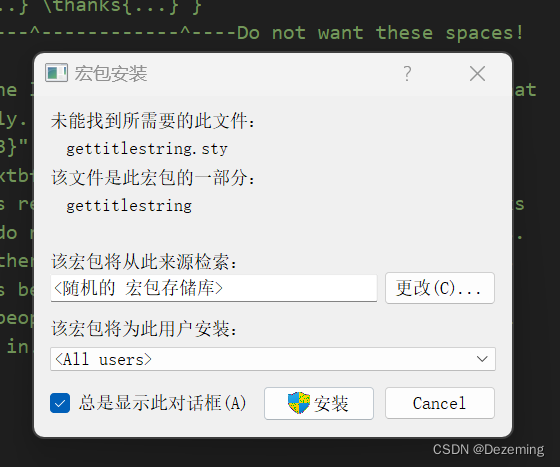
一开始肯定要安装很多宏包。