sentinel控制台安装
下载地址:https://github.com/alibaba/Sentinel/releases
本次版本:1.8.6
后台启动:
nohup java -Dserver.port=7080 -Dcsp.sentinel.dashboard.server=localhost:7080 -Dproject.name=sentinel-dashboard -jar sentinel-dashboard-1.8.6.jar &
日志路径:/Users/weidong/logs/csp/。 /Users/weidong为当前用户路径
${user.home}/logs/csp/sentinel-record.log.xxx
登录:localhost:7080
账号密码:sentinel/sentinel
控制台和项目交互端口:8719
控制台配置的流控是临时的,存储在内存,项目重启后,就没有了
目标
我们先说目标,为各位看官节省不匹配的时间
6、使用sentinel流控中心
1、使用nacos做配置中心
2、使用nacos做注册中心
3、微服务模块化
4、使用dubbo作为服务管理
5、使用springboot做脚手架
版本说明
Dubbo :3.1.0
Springboot:2.3.1.RELEASE
sentinel:1.8.6
Nacos-config:0.2.10
整合说明
pom.xml
        <!-- 客户端核心包 -->
        <dependency>
            <groupId>com.alibaba.csp</groupId>
            <artifactId>sentinel-core</artifactId>
        </dependency>
        <!-- 客户端需要引入 Transport 模块来与 Sentinel 控制台进行通信 -->
        <dependency>
            <groupId>com.alibaba.csp</groupId>
            <artifactId>sentinel-transport-simple-http</artifactId>
        </dependency>
        <!-- 开启注解 -->
        <dependency>
            <groupId>com.alibaba.csp</groupId>
            <artifactId>sentinel-annotation-aspectj</artifactId>
        </dependency>
配置注解拦截
注解使用的话,必须要先初始化配置:
package org.lwd.microservice.boot.plat.controller;

import com.alibaba.csp.sentinel.annotation.aspectj.SentinelResourceAspect;
import org.springframework.context.annotation.Bean;
import org.springframework.context.annotation.Configuration;

/**
 * 注解方式配置
 *
 * @author weidong
 * @version V1.0.0
 * @since 2023/7/14
 */
@Configuration
public class SentinelConfig {
    @Bean
    public SentinelResourceAspect sentinelResourceAspect() {
        return new SentinelResourceAspect();
    }
}
测试controller
可适应controller或者service,关键字在于资源
package org.lwd.microservice.boot.plat.controller;
import com.alibaba.csp.sentinel.annotation.SentinelResource;
import com.alibaba.csp.sentinel.slots.block.BlockException;
import com.alibaba.fastjson2.JSON;
import lombok.extern.slf4j.Slf4j;
import org.springframework.web.bind.annotation.CrossOrigin;
import org.springframework.web.bind.annotation.GetMapping;
import org.springframework.web.bind.annotation.RequestMapping;
import org.springframework.web.bind.annotation.RestController;
/**
* 流量控制-测试控制器
*
* @author weidong
* @version V1.0.0
* @since 2023/7/14
*/
@Slf4j
@RestController
@RequestMapping("/sentinel/")
@CrossOrigin
public class SentinelController {
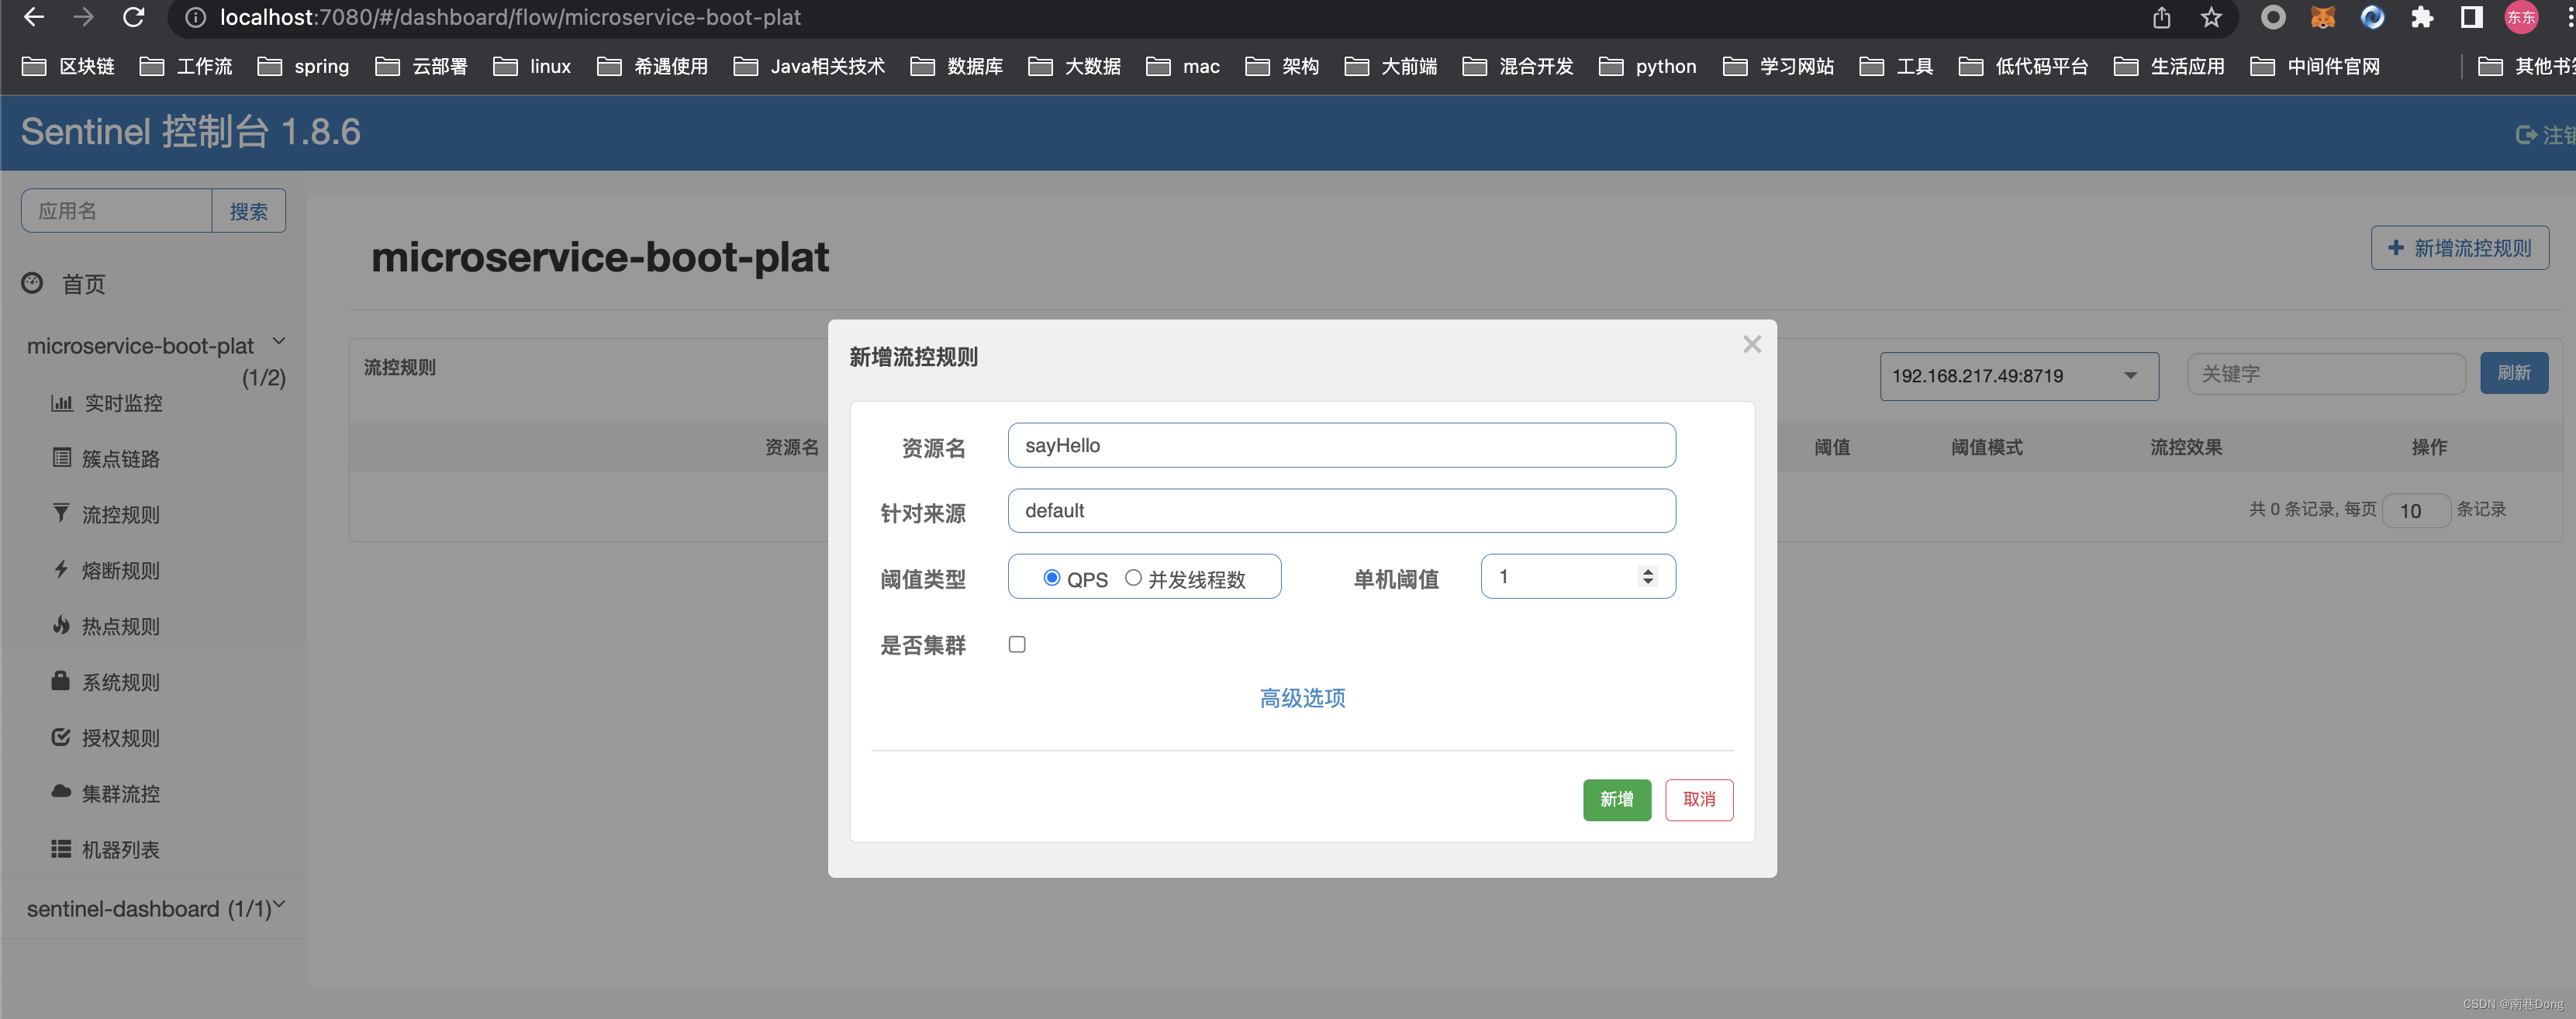
@SentinelResource(value = "sayHello", blockHandler = "sayHelloExceptionHandler")
@GetMapping(value = "/sayHello")
public String testInterGet(String name) {
log.info("----hello sentinel---:{}", name);
return JSON.toJSONString(name);
}
/**
* 熔断降级
* @return
*/
@SentinelResource(value = "circuitBreaker", fallback = "circuitBreakerFallback", blockHandler = "sayHelloExceptionHandler")
public String circuitBreaker(String name){
if ("lwd".equals(name)){
return "hello,"+ name;
}
throw new RuntimeException("发生异常");
}
public String circuitBreakerFallback(String name){
return "服务异常,熔断降级, 请稍后重试!";
}
public String sayHelloExceptionHandler(String name, BlockException ex){
return "访问过快,限流降级, 请稍后重试!";
}
}
客户端接入控制台
启动时加入 JVM 参数 -Dcsp.sentinel.dashboard.server=consoleIp:port 指定控制台地址和端口。更多的参数参见 启动参数文档。
或者我们使用在java中设置启动参数
启动类
package org.lwd.microservice.boot.plat;

import com.alibaba.csp.sentinel.init.InitExecutor;
import org.lwd.microservice.boot.middle.runtime.util.YmlUtils;
import org.springframework.boot.SpringApplication;
import org.springframework.boot.autoconfigure.SpringBootApplication;
import org.springframework.context.ConfigurableApplicationContext;

/**
 * @author weidong
 * @version V1.0.0
 * @description
 * @since 2023/4/7
 */
@SpringBootApplication
public class PlatApplication {

    public static void main(String[] args) {
        System.setProperty("project.name", YmlUtils.getApplicationName());
        ConfigurableApplicationContext context = SpringApplication.run(PlatApplication.class, args);

        // 连接到控制台,与sentinel控制台通信
        //System.setProperty("project.name", context.getEnvironment().getProperty("spring.application.name", "sentinel"));
        //System.setProperty("csp.sentinel.dashboard.server", context.getEnvironment().getProperty("sentinel.dashboard.server", "localhost:7080"));
        //System.setProperty("sentinel.dashboard.app.hideAppNoMachineMillis", "60000");
        //dashboard 地址
        System.setProperty("csp.sentinel.dashboard.server", "localhost:7080");
        //API端口
        System.setProperty("csp.sentinel.api.port", "localhost:8719");
        InitExecutor.doInit();

    }

}
测试
sentinel控制台
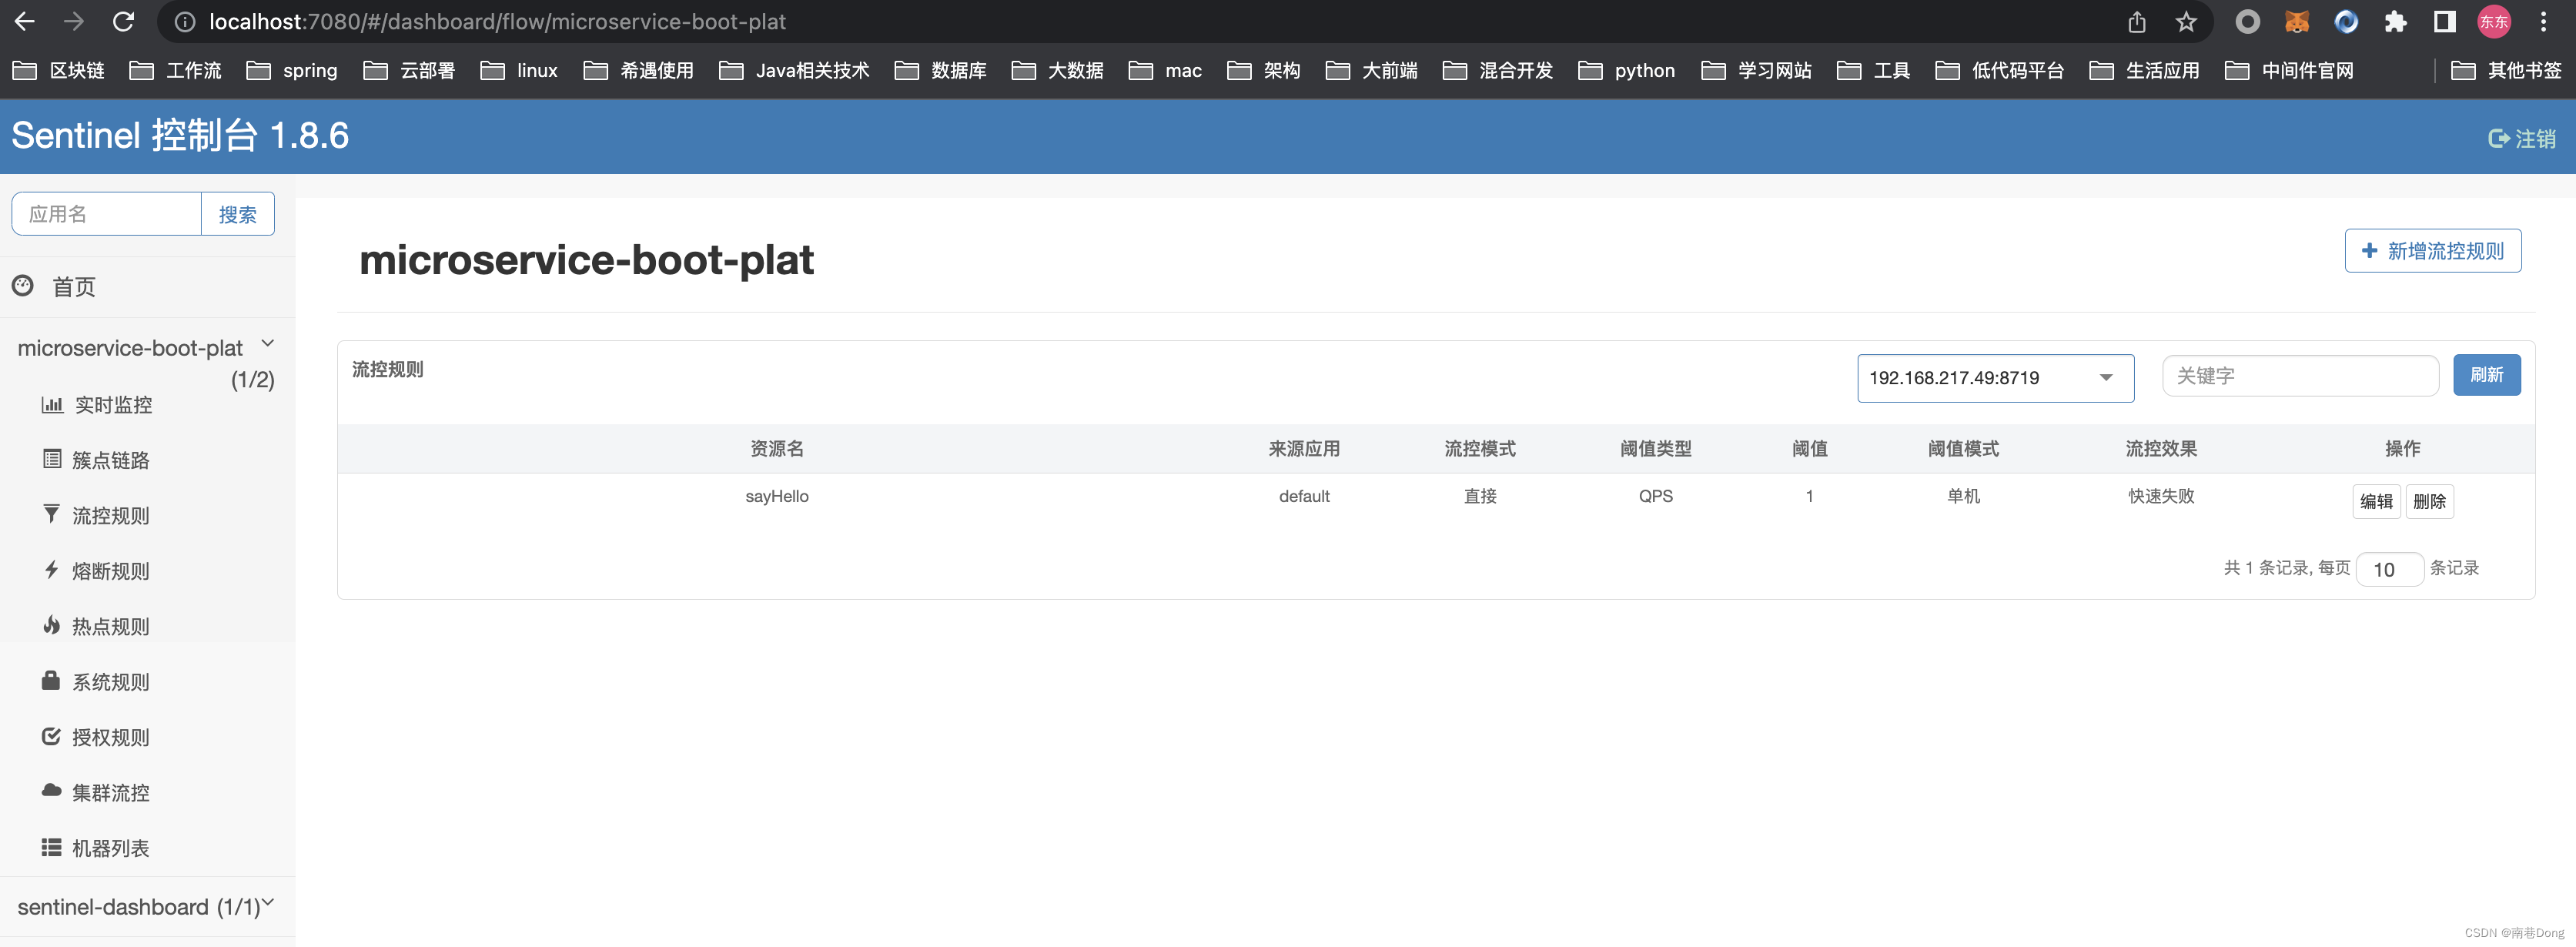
控制台会在左侧显示启动的项目,并新增控制策略【控制台新增策略,生命周期只在客户端项目运行,一旦重启就没有了】
控制台:http://localhost:7080/
测试接口:http://localhost:8022/sentinel/sayHello?name=lwd
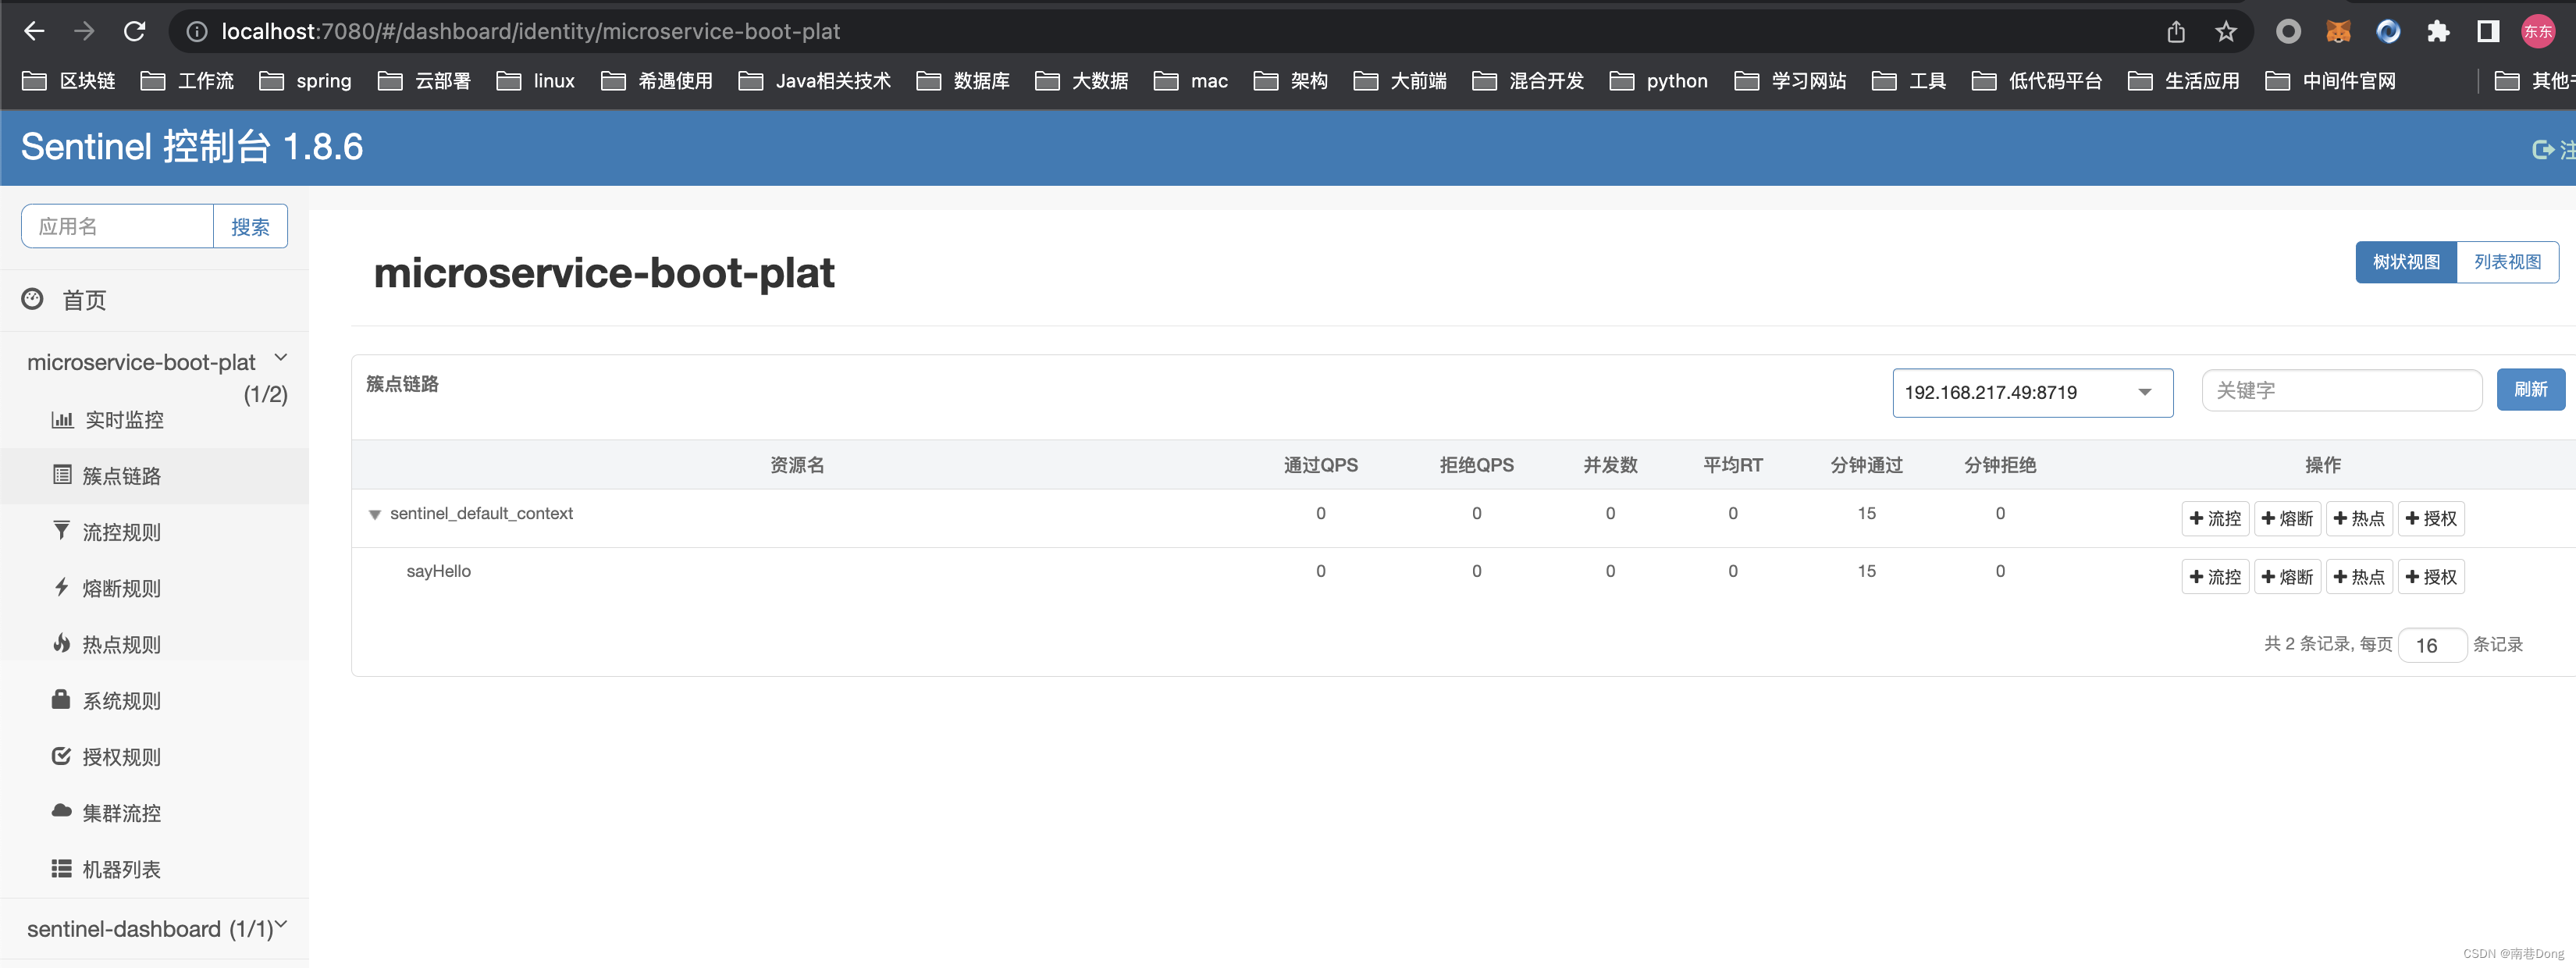
新增流控策略

下一篇:配置持久化策略规则和整合nacos
外传
😜 原创不易,如若本文能够帮助到您的同学
🎉 支持我:关注我+点赞👍+收藏⭐️
📝 留言:探讨问题,看到立马回复
💬 格言:己所不欲勿施于人 扬帆起航、游历人生、永不言弃!🔥


![[Linux笔记]vim基础](https://img-blog.csdnimg.cn/e1712ad3abc640539a0a5820b0e6beca.png#pic_center)