程序示例精选
VS+QT+OpenCV多线程多摄像头视频监控采集窗体
如需安装运行环境或远程调试,见文章底部个人QQ名片,由专业技术人员远程协助!
前言
这篇博客针对<<VS+QT+OpenCV多线程多摄像头视频监控采集窗体>>编写代码,代码整洁,规则,易读。 学习与应用推荐首选。
功能:多摄像头视频非同步播放。
文章目录
一、所需工具软件
二、使用步骤
1. 引入库
2. 代码实现
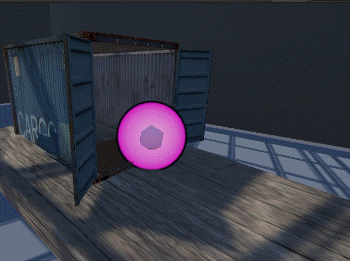
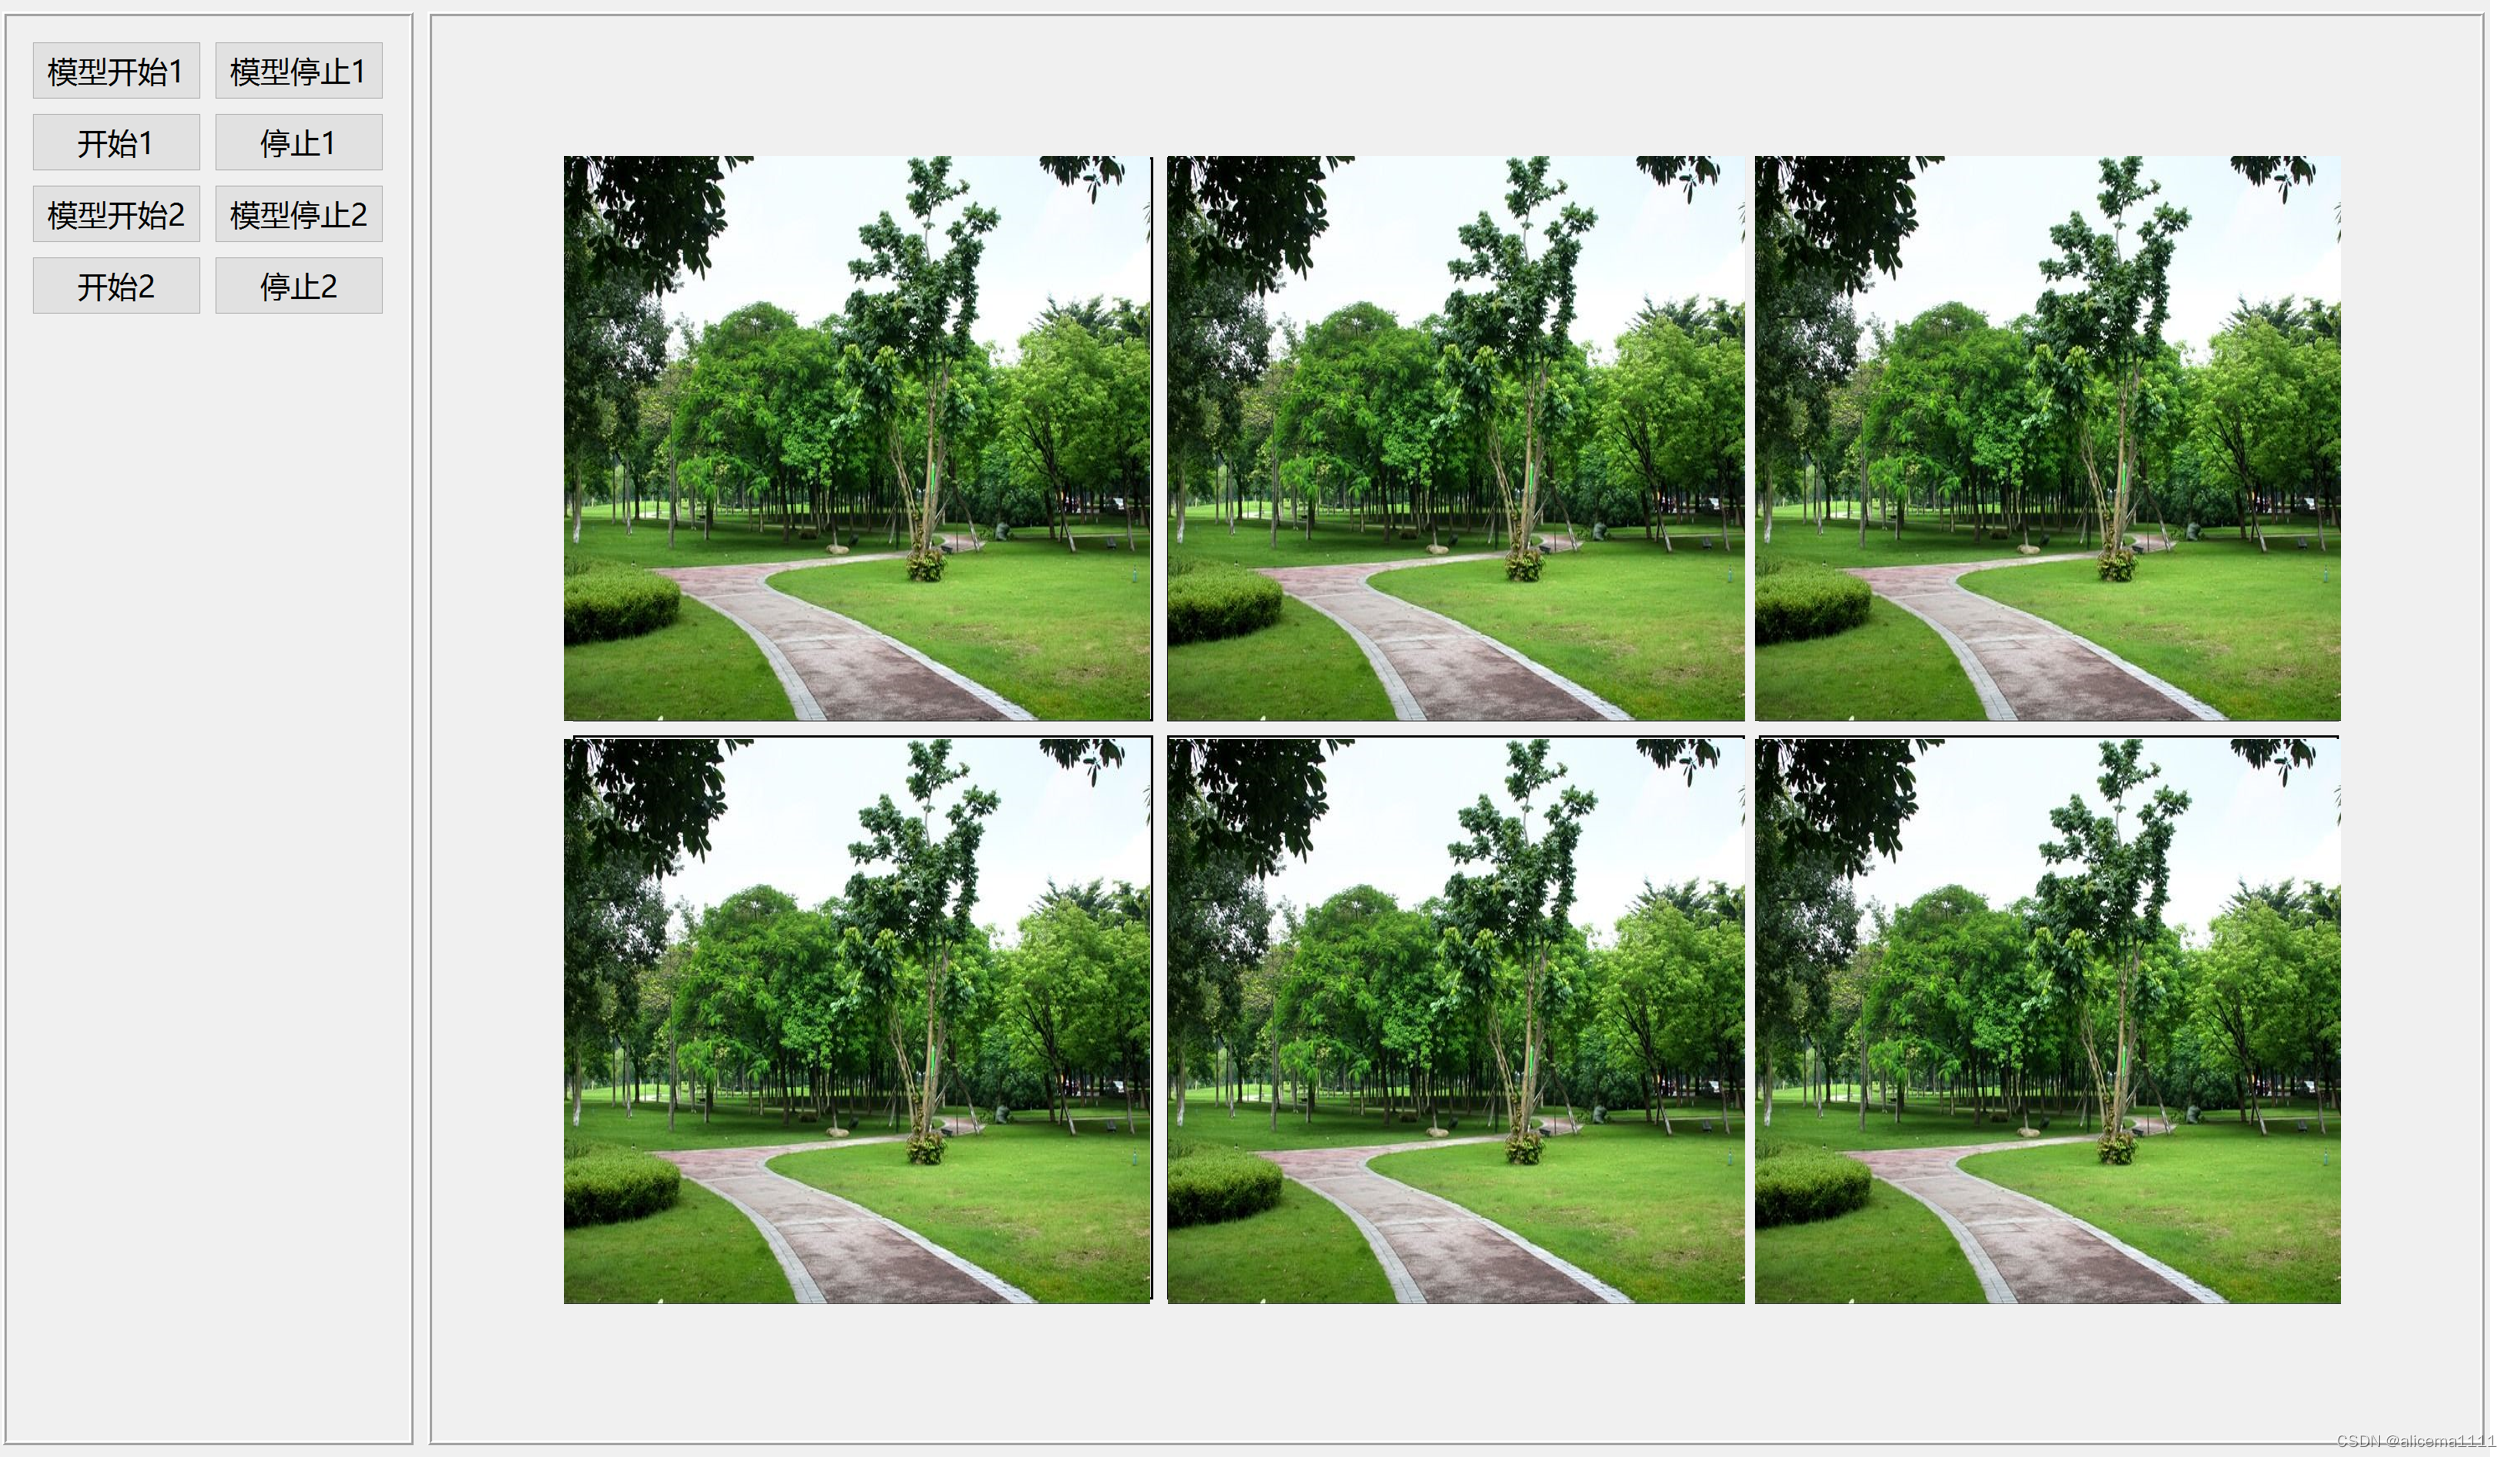
3. 运行结果
三、在线协助
一、所需工具软件
1. VS, Qt
2. OpenCV
二、使用步骤
1.引入库
#include "MainWindow.h"

#include<iostream>
#include <QThread>
#include <thread>
#include <chrono>
#include <QObject>
#include <QThread>
#include <QDebug>
#include <QTimer>
#include <QMutex>
#include <QWaitCondition>
#include<opencv2/opencv.hpp>
#include <QDebug>
2. 代码实现
代码如下:
//.h文件
#pragma once

#include <QtWidgets/QMainWindow>
#include "ui_MainWindow.h"

#include <mutex>

class MainWindow : public QMainWindow
{
	Q_OBJECT

public:
	MainWindow(QWidget *parent = Q_NULLPTR);

private:
	Ui::MainWindowClass ui;

private slots:
	//void modelRun();
	void modelStop();
	void modelRun();
	void videoStart();
	void videoStop();
	void displayFrames();


};

//.cpp文件

MainWindow::MainWindow(QWidget *parent)
	: QMainWindow(parent)
{
	ui.setupUi(this);

	QObject::connect(ui.pushButton, SIGNAL(clicked()), this, SLOT(modelRun()));
    QObject::connect(ui.pushButton_2, SIGNAL(clicked()), this, SLOT(modelStop()));
    QObject::connect(ui.pushButton_3, SIGNAL(clicked()), this, SLOT(videoStart()));
    QObject::connect(ui.pushButton_4, SIGNAL(clicked()), this, SLOT(videoStop()));

}

ThreadOne threadObj;
std::thread thread1;
void MainWindow::modelRun()
{
    std::cout << "modelRun" << std::endl;
    QString buttonText = ui.pushButton->text();
    //std::string buttonText = buttonText2.toLocal8Bit().constData();
    //qDebug() << buttonText;

    if (buttonText == QStringLiteral("模型开始1"))
    {
        std::cout << "模型开始1" << std::endl;
        //ThreadOne threadObj;
        //std::thread thread1(&ThreadOne::sendRun, &threadObj);
        // 如果之前已经启动过线程,则先停止线程,并等待线程执行完毕
        //if (thread1.joinable()) {
        //    thread1.join();
        //}
        thread1 = std::thread(&ThreadOne::sendRun, &threadObj);
        // 不用等待线程执行完成,让它在后台运行
        thread1.detach();

        ui.pushButton->setText(QStringLiteral("暂停模型1"));
    }

    if (buttonText == QStringLiteral("暂停模型1"))
    {
        threadObj.pause();
        ui.pushButton->setText(QStringLiteral("恢复模型1"));
    }

    if (buttonText == QStringLiteral("恢复模型1"))
    {
        threadObj.resume();
        ui.pushButton->setText(QStringLiteral("暂停模型1"));
    }
}

void MainWindow::modelStop()
{
    // 停止远端发送帧线程的逻辑
    threadObj.stop();

    // 停止远端发送帧线程的逻辑
    //if (thread1.joinable()) {
    //    // 发送停止信号给线程
    //    threadObj.stop();
    //    // 等待线程执行完毕
    //    thread1.join();
    //}
}

QTimer* timer = new QTimer(nullptr);
void MainWindow::videoStart()
{
    std::cout << "modelRun" << std::endl;
    QString buttonText = ui.pushButton_3->text();
    //std::string buttonText = buttonText2.toLocal8Bit().constData();
    //qDebug() << buttonText;

    if (buttonText == QStringLiteral("开始1"))
    {
        std::cout << "开始1" << std::endl;
        // 创建Qtimer对象,并设置定时器间隔为1ms
        //QTimer* timer = new QTimer(this);
        connect(timer, SIGNAL(timeout()), this, SLOT(displayFrames()));
        timer->start(100);
        ui.pushButton_3->setText(QStringLiteral("暂停1"));
    }

    if (buttonText == QStringLiteral("暂停1"))
    {
        timer->stop();
        ui.pushButton_3->setText(QStringLiteral("恢复1"));
    }

    if (buttonText == QStringLiteral("恢复1"))
    {
        timer->start(100);
        ui.pushButton_3->setText(QStringLiteral("暂停1"));
    }
}

void MainWindow::videoStop()
{
    // 停止本地接收帧线程的逻辑
    timer->stop();
}


void MainWindow::displayFrames()
{
    std::cout << "test2" << std::endl;

    // 接收帧并显示的逻辑
    if (!frame.empty())
    {
        //std::cout << "frame: " << frame << std::endl;
        //ui.label->clear(); //这个代码必须的,如没有会卡住
        //cvtColor(frame, frame, COLOR_RGB2BGR);
        //QImage img = QImage((const unsigned char*)(frame.data), frame.cols, frame.rows, frame.cols * frame.channels(), QImage::Format_RGB888);
        //ui.label->setPixmap(QPixmap::fromImage(img));
        //ui.label->update();

        cv::cvtColor(frame, frame, cv::COLOR_BGR2RGB); // 将图像转换为RGB格式
        int bytesPerLine = bytesPerComponent *width;
        QImage q_image(frame.data, width, height, bytesPerLine, QImage::Format_RGB888);
        q_image = q_image.scaled(ui.label->width() * 0.8, ui.label->height() * 0.6);
        ui.label->setPixmap(QPixmap::fromImage(q_image));
        update();
    }
}
3. 运行结果
三、在线协助:
如需安装运行环境或远程调试,见文章底部个人 QQ 名片,由专业技术人员远程协助!
1)远程安装运行环境,代码调试
2)Qt, C++, Python入门指导
3)界面美化
4)软件制作
当前文章连接:Python+Qt桌面端与网页端人工客服沟通工具_alicema1111的博客-CSDN博客
博主推荐文章:python人脸识别统计人数qt窗体-CSDN博客
博主推荐文章:Python Yolov5火焰烟雾识别源码分享-CSDN博客
Python OpenCV识别行人入口进出人数统计_python识别人数-CSDN博客
个人博客主页:alicema1111的博客_CSDN博客-Python,C++,网页领域博主
博主所有文章点这里:alicema1111的博客_CSDN博客-Python,C++,网页领域博主