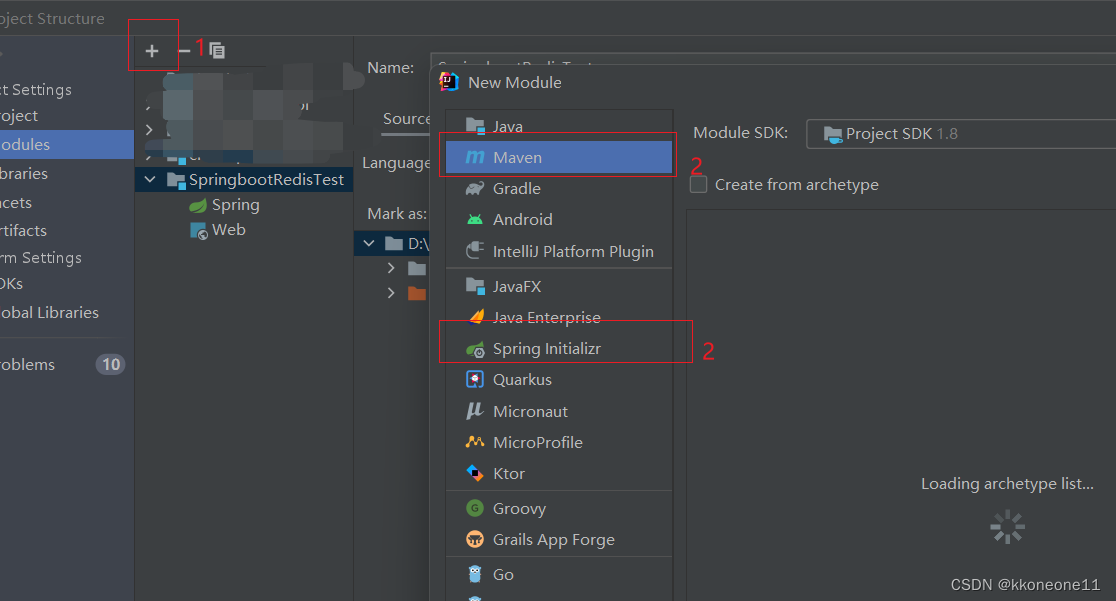
先简单创建一个项目,可以是Maven也可以是Spring Initializr,如果是 Maven则需要自己配置启动类
按照目录路径创建controller类

package com.cloud.SR.controller;
import org.springframework.beans.factory.annotation.Autowired;
import org.springframework.data.redis.core.StringRedisTemplate;
import org.springframework.web.bind.annotation.RequestMapping;
import org.springframework.web.bind.annotation.RestController;
/**
* @Author:kkoneone11
* @name:TestConrtoller1
* @Date:2023/7/10 12:13
*/
@RestController
public class TestConrtoller1 {
@Autowired
StringRedisTemplate stringRedisTemplate;
@RequestMapping("/buy")
public String shopping(){
// String result = stringRedisTemplate.opsForValue().get("goods:001");
// int total = result == null ? 0 : Integer.parseInt(result);
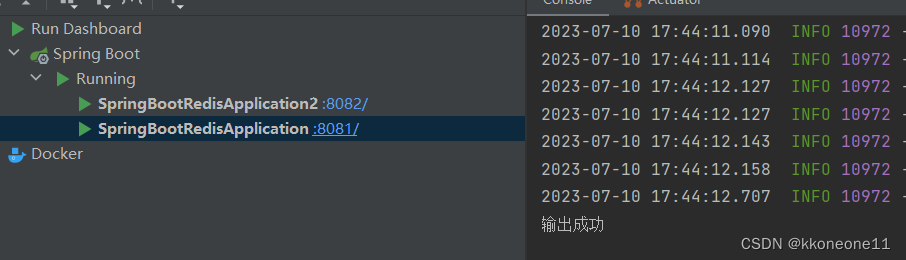
System.out.println("输出成功");
return "ok";
}
}

启动后,在下面找到Services栏
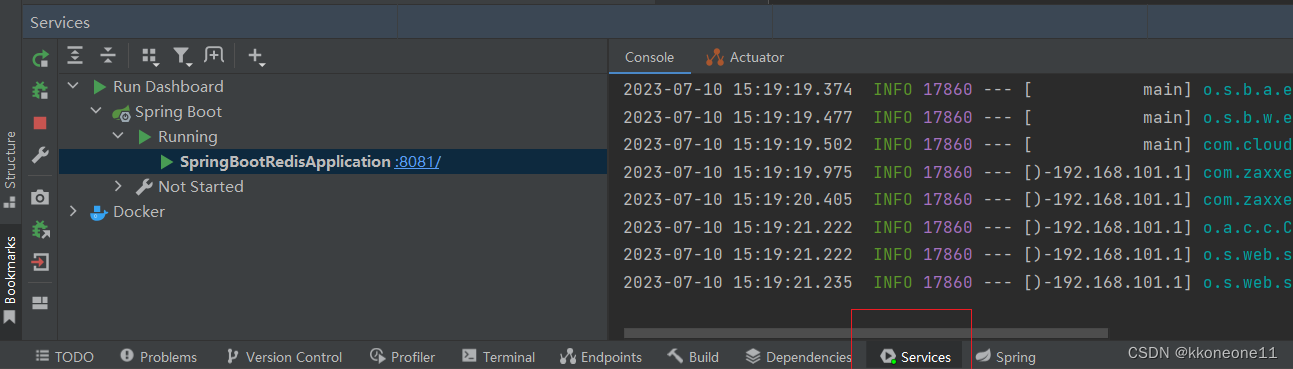
然后找到对应的启动类按下ctrl+D就会弹出这个,就相当于是复制了另一份JVM,相当于两台主机。同时要注意在JVM处要修改对应的端口用-Dserver.port=命令

可以看到成功创建

然后下载nginx到本机,记住对应路径,地址如下:nginx: download
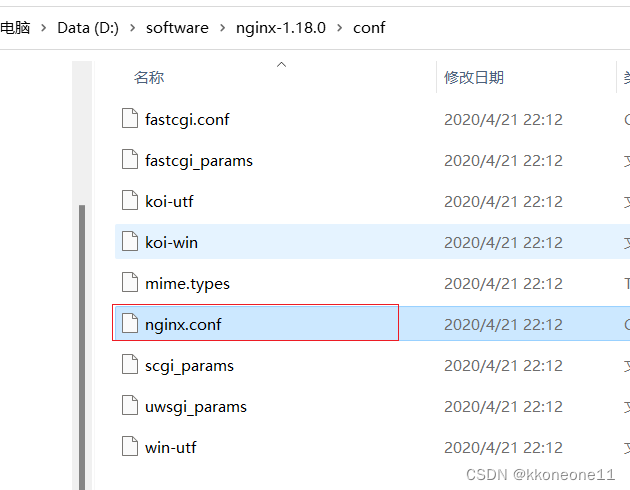
进入到conf目录修改nginx的配置文件nginx.conf
#user nobody;
worker_processes 1;
#error_log logs/error.log;
#error_log logs/error.log notice;
#error_log logs/error.log info;
#pid logs/nginx.pid;
events {
worker_connections 1024;
}
http {
include mime.types;
default_type application/json;
sendfile on;
keepalive_timeout 65;
server {
listen 8080;
server_name localhost;
#指定前端项目所在位置
location / {
root html;
index index.html index.htm;
}
error_page 500 502 503 504 /50x.html;
location = /50x.html {
root html;
}
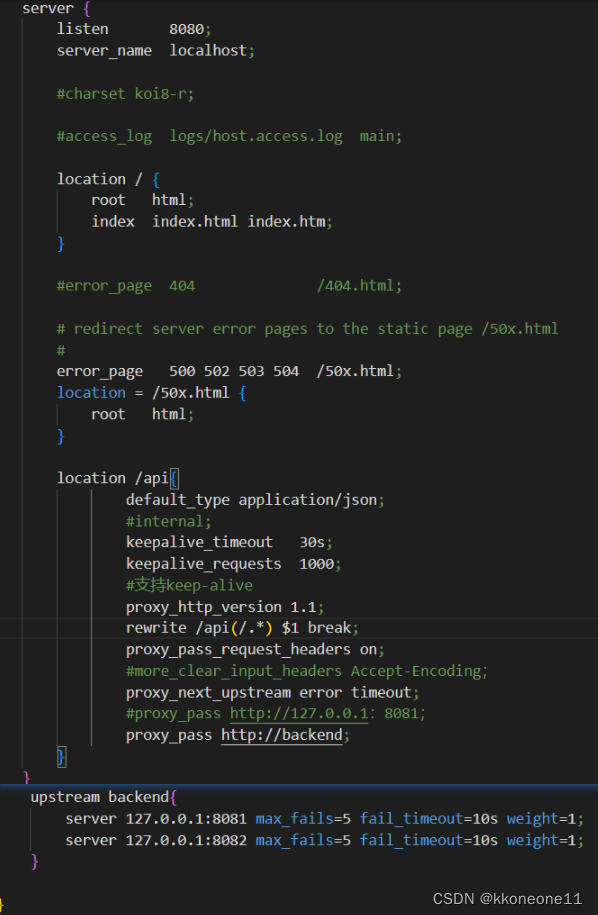
location /api {
default_type application/json;
#internal;
keepalive_timeout 30s;
keepalive_requests 1000;
#支持keep-alive
proxy_http_version 1.1;
rewrite /api(/.*) $1 break;
proxy_pass_request_headers on;
#more_clear_input_headers Accept-Encoding;
proxy_next_upstream error timeout;
#proxy_pass http://127.0.0.1:8081;
proxy_pass http://backend;
}
}
upstream backend {
server 127.0.0.1:8081 max_fails=5 fail_timeout=10s weight=1;
server 127.0.0.1:8082 max_fails=5 fail_timeout=10s weight=1;
}
}
这里的意思是:发送请求的时候nginx会先监听8080端口,如果有请求发到8080端口然后会把请求转到api路径,然后传输到proxy_pass代理的http://backend,然后再传到下方的uperstream backend进行端口地址的分配进行轮询。
先启动nginx
start nginx查看是否有对应进程
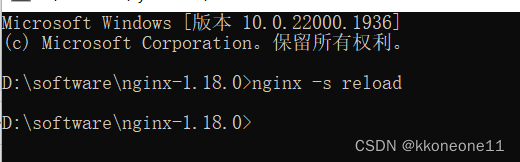
tasklist /fi "imagename eq nginx.exe"重启nginx
nginx -s reload
查看nginx修改是否正确(注意是要完整的Nginx路径),正确会有successful显示
nginx -t -c D:/software/nginx-1.18.0/conf/nginx.conf

停止nginx
nginx -s stop
正确关闭nginx
nginx -s quit重新启动集群

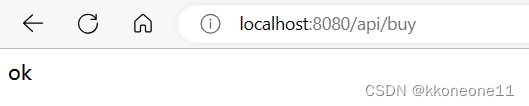
浏览器输入 localhost:8080/api/buy
结果如下则成功完成集群


![[C++] C++11新特性分析介绍(1): 列表初始化、右值引用、完美转发、移动语义...](https://img-blog.csdnimg.cn/img_convert/c5f098e2b64a2404529d3996e1d0e659.png)

![[Android 13]Binder系列--获取服务](https://img-blog.csdnimg.cn/cb3b4b19308b4a6aa59abbdef3372f29.png#pic_center)

