Vue脚手架开发入门
安装脚手架及初始化项目
略过
后续使用的项目就是新搭建的一个项目
组件间的通信
父传子
查看《Vue初始化项目加载逻辑》这篇文章即可
父组件
子组件
子传父
场景:例如你的购物车,里面有很多商品,每个商品是一个小组件,每个组件都有价钱这个元素,每个组件之间是不清楚其他小组件的价钱的,我现在要算总价,购物车总价是在购物车这个大组件里的,那我现在要把每个小组件的价钱这个值传给购物车这个大组件中来
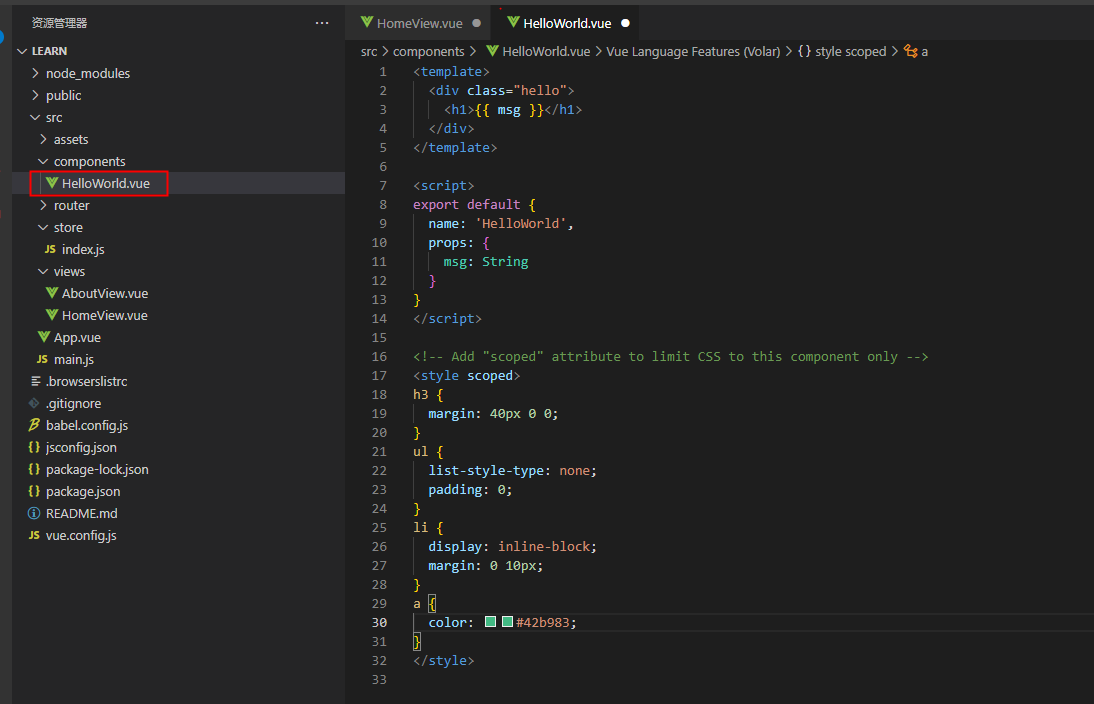
我们举例子就用新建项目的HelloWorld即可,将一些其他乱七八糟的删除掉
子组件的操作
<template>
  <div class="hello">
    <!--点击按钮,触发方法,方法里有自定义事件-->
    <button @click="handler">按钮</button>
  </div>
</template>

<script>
export default {
  name: 'HelloWorld',
  props: {
    msg: String
  },
  data(){
    return{
      childCount:0 //没有特殊含义,只是用来标识这个值来自于子类,见名知意,后续将这个值传给父组件
    }
  },
  methods:{
    handler(){
      this.childCount++
      this.$emit('child-count-change',this.childCount)  //子传父,需要通过自定义事件来处理,这里就是自定义事件设置,通过this.$emit()来触发自定义事件
      //第一个参数,我们先随便编造一个事件,就叫child-count-change
      //第二个参数,就是事件要传入的数据
      //总结一下,就是只要一触发child-count-change事件,就会将this.childCount传入进去
      //那这个时间由谁来做一个响应的处理呢,就需要去父组件里进行一个监听
    }
  }
}
</script>

<style scoped>
h3 {
  margin: 40px 0 0;
}
ul {
  list-style-type: none;
  padding: 0;
}
li {
  display: inline-block;
  margin: 0 10px;
}
a {
  color: #42b983;
}
</style>
父组件的操作
<template>
<div class="home">
<img alt="Vue logo" src="../assets/logo.png">
<HelloWorld
msg="Welcome to Your Vue.js App"
@child-count-change="handlerFather"
></HelloWorld>
<!--1、这里的@child-count-change,就是我们在子组件里的自定义实践,绑定到了handlerFather这个方法上,在methods里实现-->
<p>父组件中接受的插值是: {{childData}}</p>
<!--3、用来展示从子组件传递过来的值,只是方便观察-->
</div>
</template>
<script>
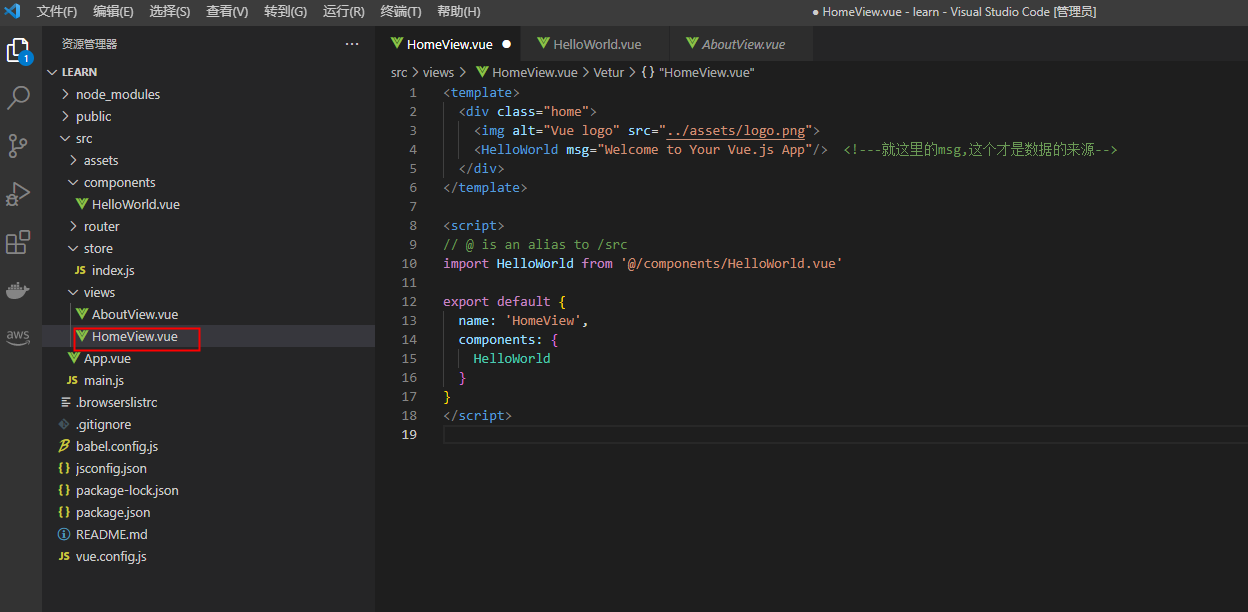
import HelloWorld from '@/components/HelloWorld.vue'
export default {
name: 'HomeView',
data(){
return{
childData: 0 //2、定义一个响应式数据,之后用来承接子组件传过来的值
}
},
components: {
HelloWorld
},
methods:{
//4、还记得我们在子组件里将childCount这个值传进来了
handlerFather(childCount){
this.childData=childCount //5、将子组件传进来的值复制给父组件的响应式数据,按常理这里一定是更复杂的操作,例如求和等等,这样写只是为了方便而已
}
}
}
</script>
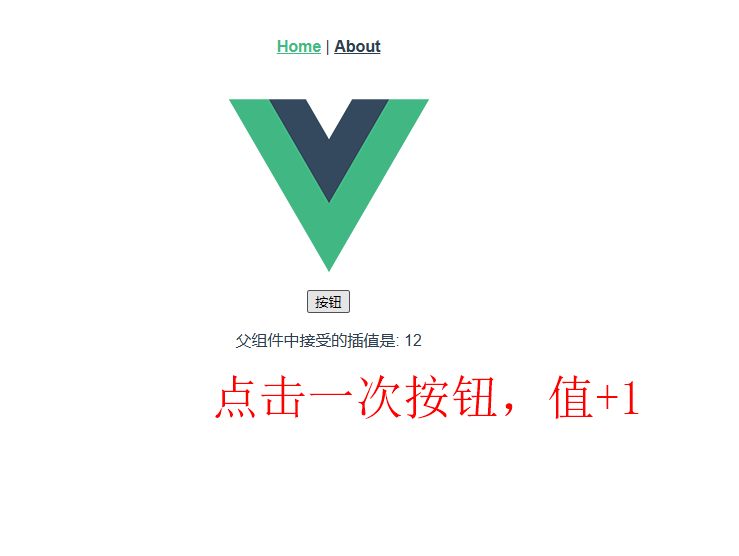
结果展示
按钮是子组件的,文案是父组件的
组件插槽
比如说现在helloworld组件里只有一个按钮了,是它的核心功能,但是比如说我们想要每次在使用这个组件的时候,有不一样的呈现的话
默认插槽
子组件原来的样子
<template>
  <div class="hello">
    <button @click="handler">按钮</button>
  </div>
</template>
父组件的内容
<template>
  <div class="home">
    <img alt="Vue logo" src="../assets/logo.png">
    <HelloWorld
    msg="Welcome to Your Vue.js App"
    @child-count-change="handlerFather"
    ></HelloWorld>
    <p>{{childData}}</p>
    <!--1、多写几个helloworld组件,想要展示有所不同,像下面再双标签中间写的内容就是给插槽的内容,可以在子组件中规定你给插槽的内容在哪里去展示-->
    <HelloWorld>这是默认内容1</HelloWorld>
    <HelloWorld>这是默认内容2</HelloWorld>
    <HelloWorld>这是默认内容3</HelloWorld>
    <HelloWorld></HelloWorld>

  </div>
</template>

<script>
import HelloWorld from '@/components/HelloWorld.vue'

export default {
  name: 'HomeView',
  data(){
    return{
      childData: 0
    }
  },
  components: {
    HelloWorld
  },
  methods:{

    handlerFather(childCount){
        this.childData=childCount
    }
  }
}
</script>
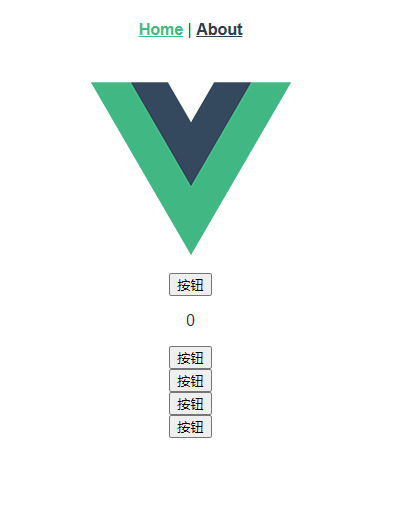
现在页面成这个样子了
接下来在子组件中定义插槽的内容
<template>
  <div class="hello">
    <!--1、比如我想要将父组件传进来的值放在前面,这个slot并不是一个真正的标签,如果父组件给值了,那就展示父组件的值,没给值,那就展示我们给的默认的-->
    <slot>基础的默认内容</slot>
    <button @click="handler">按钮</button>
  </div>
</template>

<script>
export default {
  name: 'HelloWorld',
  props: {
    msg: String
  },
  data(){
    return{
      childCount:0
    }
  },
  methods:{
    handler(){
      this.childCount++
      this.$emit('child-count-change',this.childCount)
    }
  }
}
</script>

<style scoped>
h3 {
  margin: 40px 0 0;
}
ul {
  list-style-type: none;
  padding: 0;
}
li {
  display: inline-block;
  margin: 0 10px;
}
a {
  color: #42b983;
}
</style>
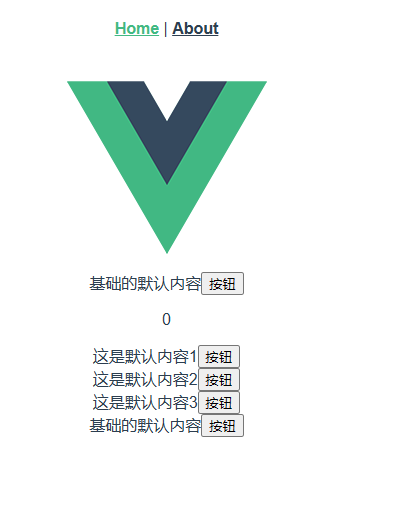
比props的方式更简单,还可以将“这是默认内容”写成html