前言
spring boot security默认配置有一个登录页面,当采用前后端分离的场景下,需要解决两个问题:
- 前端有自己的登录页面,不需要使用spring boot security默认的登录页面
- 登录相关接口允许匿名访问
因此需要自定义相关实现。
自定义配置
自定义配置的核心实现如下:
@Component
public class WebSecurityConfigurer extends WebSecurityConfigurerAdapter {

    @Override
    protected void configure(HttpSecurity http) throws Exception {
        // 在这里自定义配置
    }
}
如上示例代码,关键是重写这个方法,spring boot security的扩展方法不只这一种,化繁为简,尽量采用最简单直白的方式。
认证失败自定义处理
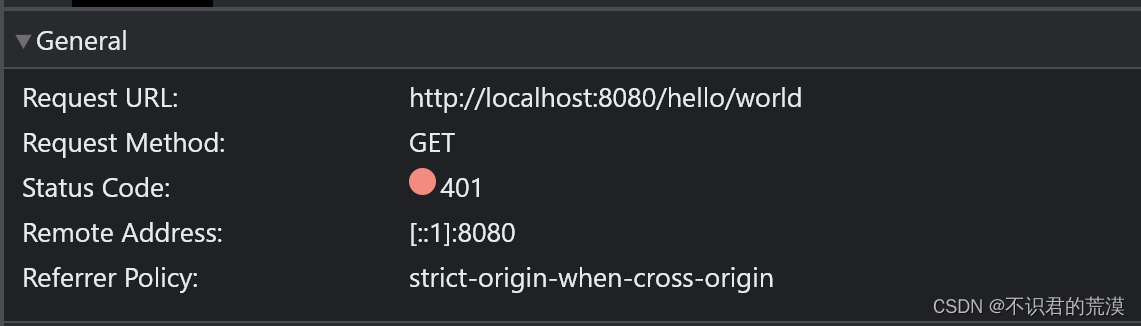
当请求认证失败的时候,可以返回一个401的状态码,这样前端页面可以根据响应做相关处理,而不是出现默认的登录页面或者登录表单:
    @Override
    protected void configure(HttpSecurity http) throws Exception {
        // 在这里自定义配置
        http.authorizeRequests()
                .anyRequest()
                .authenticated()
                .and()
                .exceptionHandling()
                // 认证失败返回401状态码,前端页面可以根据401状态码跳转到登录页面
                .authenticationEntryPoint((request, response, authException) ->
                        response.sendError(HttpStatus.UNAUTHORIZED.value(), HttpStatus.UNAUTHORIZED.getReasonPhrase()))
                .and().cors()
                // csrf是否决定禁用,请自行考量
                .and().csrf().disable()
//                .antMatcher("/**")
                // 采用http 的基本认证.
                .httpBasic();
    }
登录相关接口匿名访问
登录接口或者验证码需要匿名访问,不应该被拦截。
如下,提供获取验证码和登录的接口示例:
@RequestMapping("/login")
@RestController
public class LoginController {

    @PostMapping()
    public Object login() {
        return "login success";
    }

    @GetMapping("/captcha")
    public Object captcha() {
        return "1234";
    }
}
配置允许访问这部分接口:
    @Override
    protected void configure(HttpSecurity http) throws Exception {
        // 在这里自定义配置
        http.authorizeRequests()
                // 登录相关接口都允许访问
                .antMatchers("/login/**").permitAll()
                // 还有其它接口就这样继续写
                .antMatchers("/other/**").permitAll()
                .anyRequest()
                .authenticated()
				... 省略下面的
    }
前置文章
spring boot security快速使用示例