目录
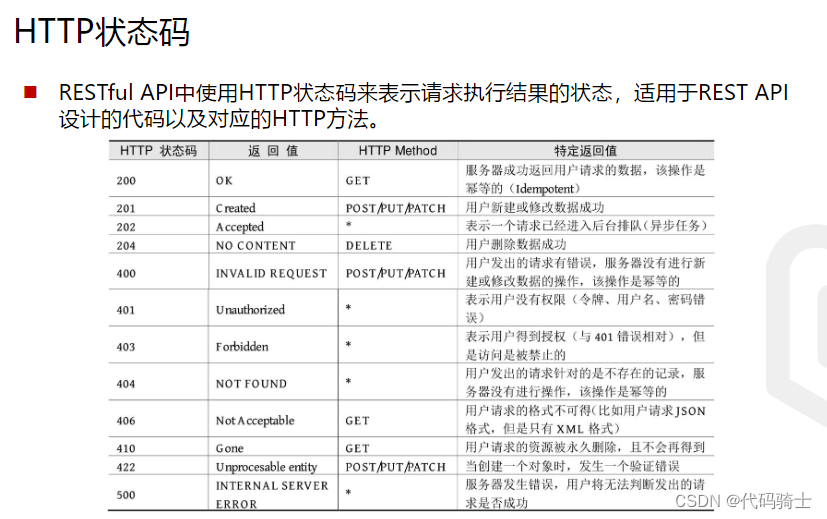
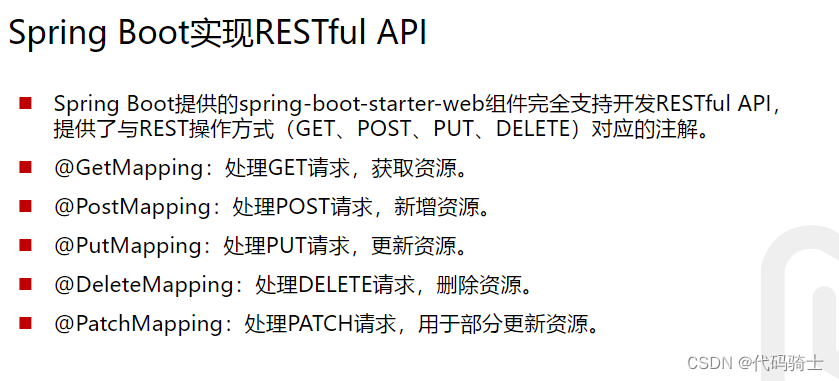
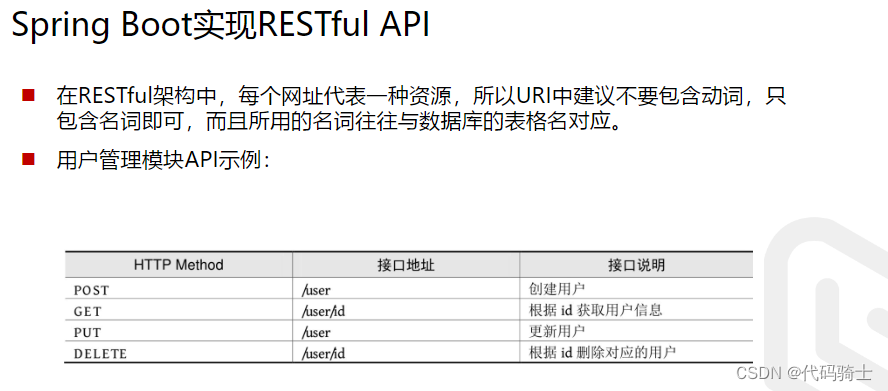
一、RESTful风格介绍
1、知识轰炸
2、代码演练
(1)测试get接口
(2)测试Post接口
(3)测试Put接口
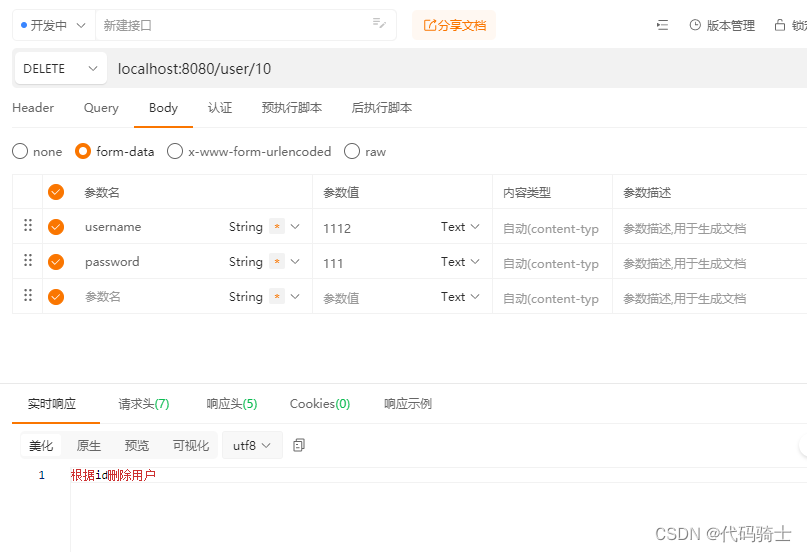
(4)测试delete接口
二、Swagger介绍
1、知识轰炸
2、实操演练
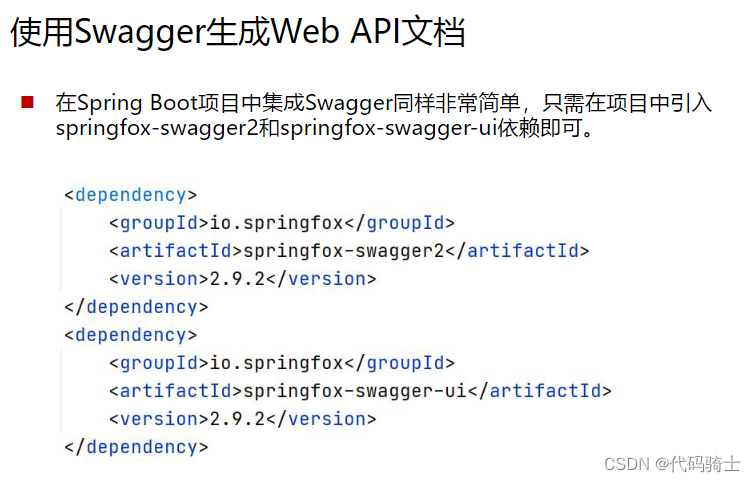
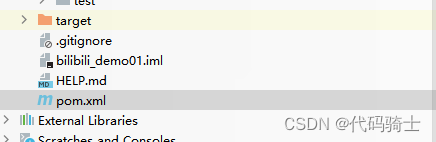
(1)在pom.xml中新添依赖
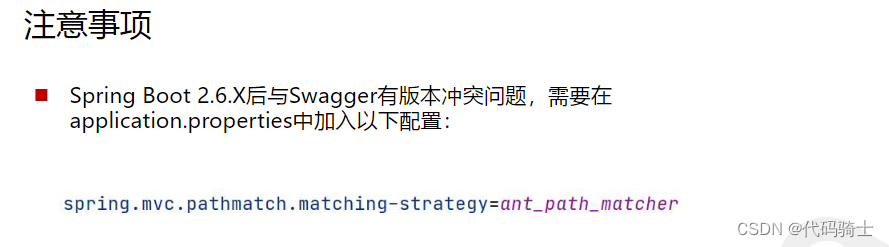
(2) application.properties中添加代码,避免版本冲突
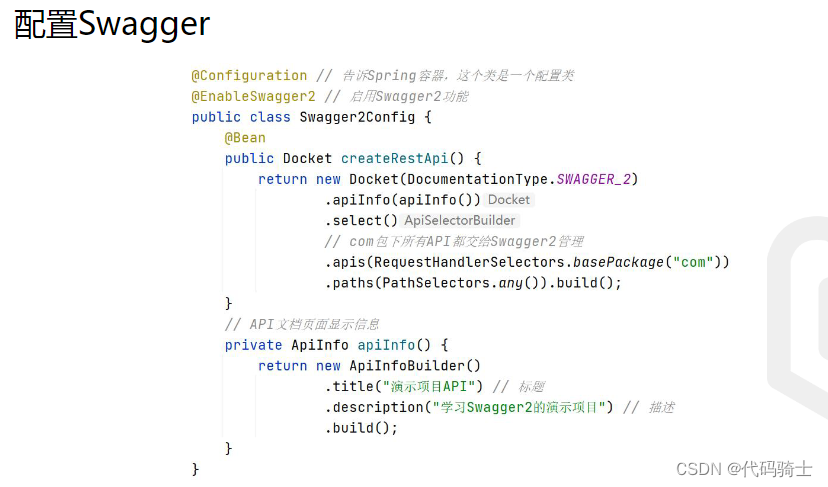
(3)创建Swagger配置类
(4)访问网址:http://localhost:8080/swagger-ui.html#/user-controller
资源分享
一、RESTful风格介绍
1、知识轰炸

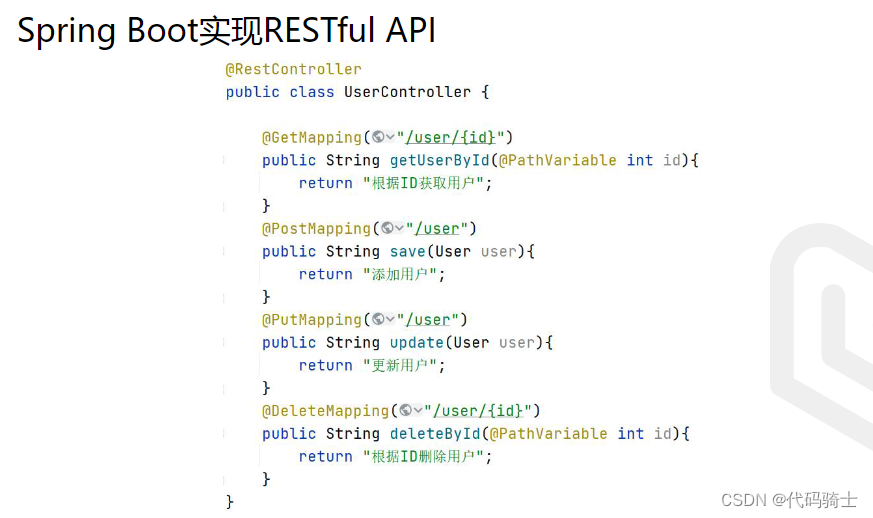
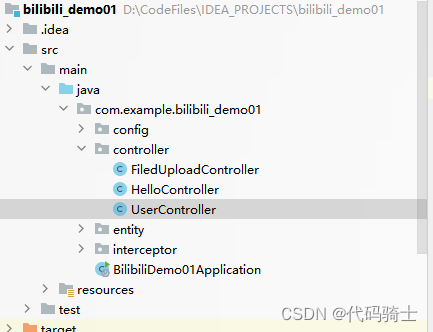
2、代码演练
创建UserController类
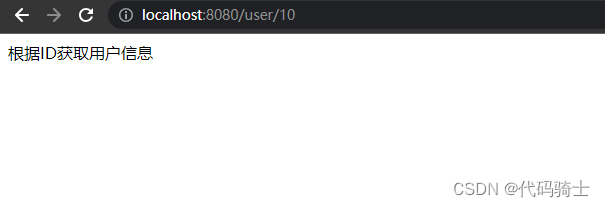
(1)测试get接口
通过url参数绑定访问页面
package com.example.bilibili_demo01.controller;

import org.springframework.web.bind.annotation.GetMapping;
import org.springframework.web.bind.annotation.PathVariable;
import org.springframework.web.bind.annotation.RestController;

@RestController
public class UserController {
    @GetMapping("/user/{id}")
    public String getUserById(@PathVariable int id){//@PathVariable 映射 URL 绑定的占位符
        //通过 @PathVariable 可以将 URL 中占位符参数绑定到控制器处理方法的入参中:URL 中的 {xxx} 占位符可以通过
        //@PathVariable(“xxx”) 绑定到操作方法的入参中。
        System.out.println(id);
        return "根据ID获取用户信息";
    }
}
(2)测试Post接口
 @PostMapping("/user")
    public String save(User user){return "添加用户";}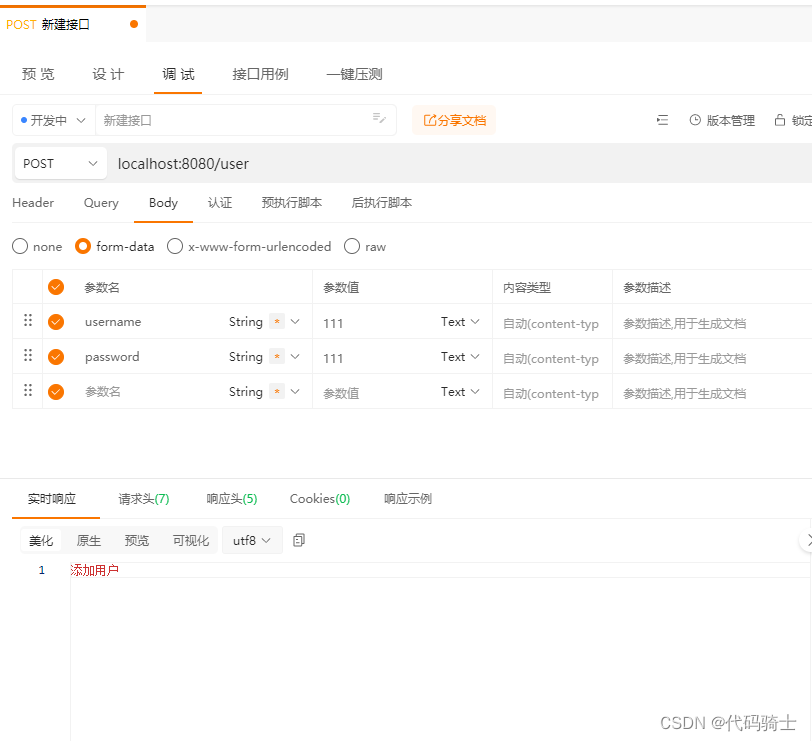
(3)测试Put接口
 @PutMapping("/user")
public String update(User user){return "更新用户";} 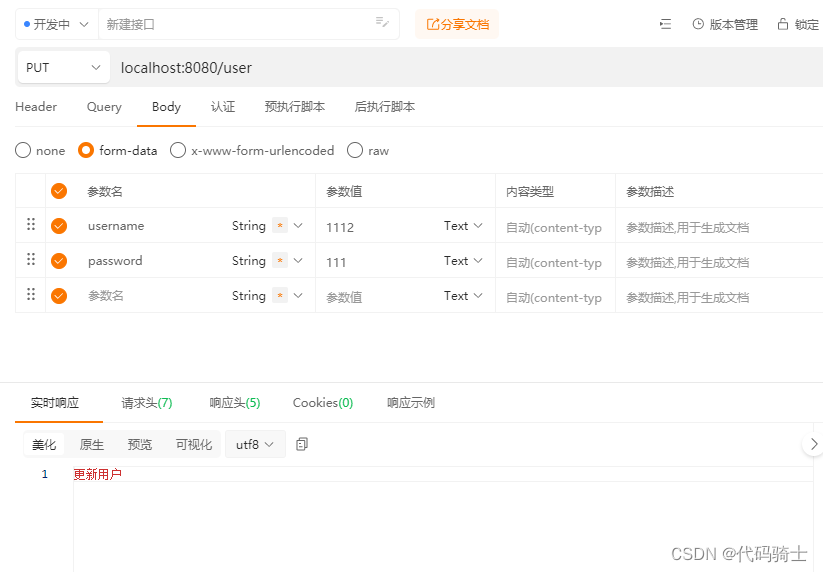
(4)测试delete接口
@DeleteMapping("/user/{id}")
    public String deleteById(@PathVariable int id){
        System.out.println(id);
        return "根据id删除用户";
} 
二、Swagger介绍
1、知识轰炸


2、实操演练
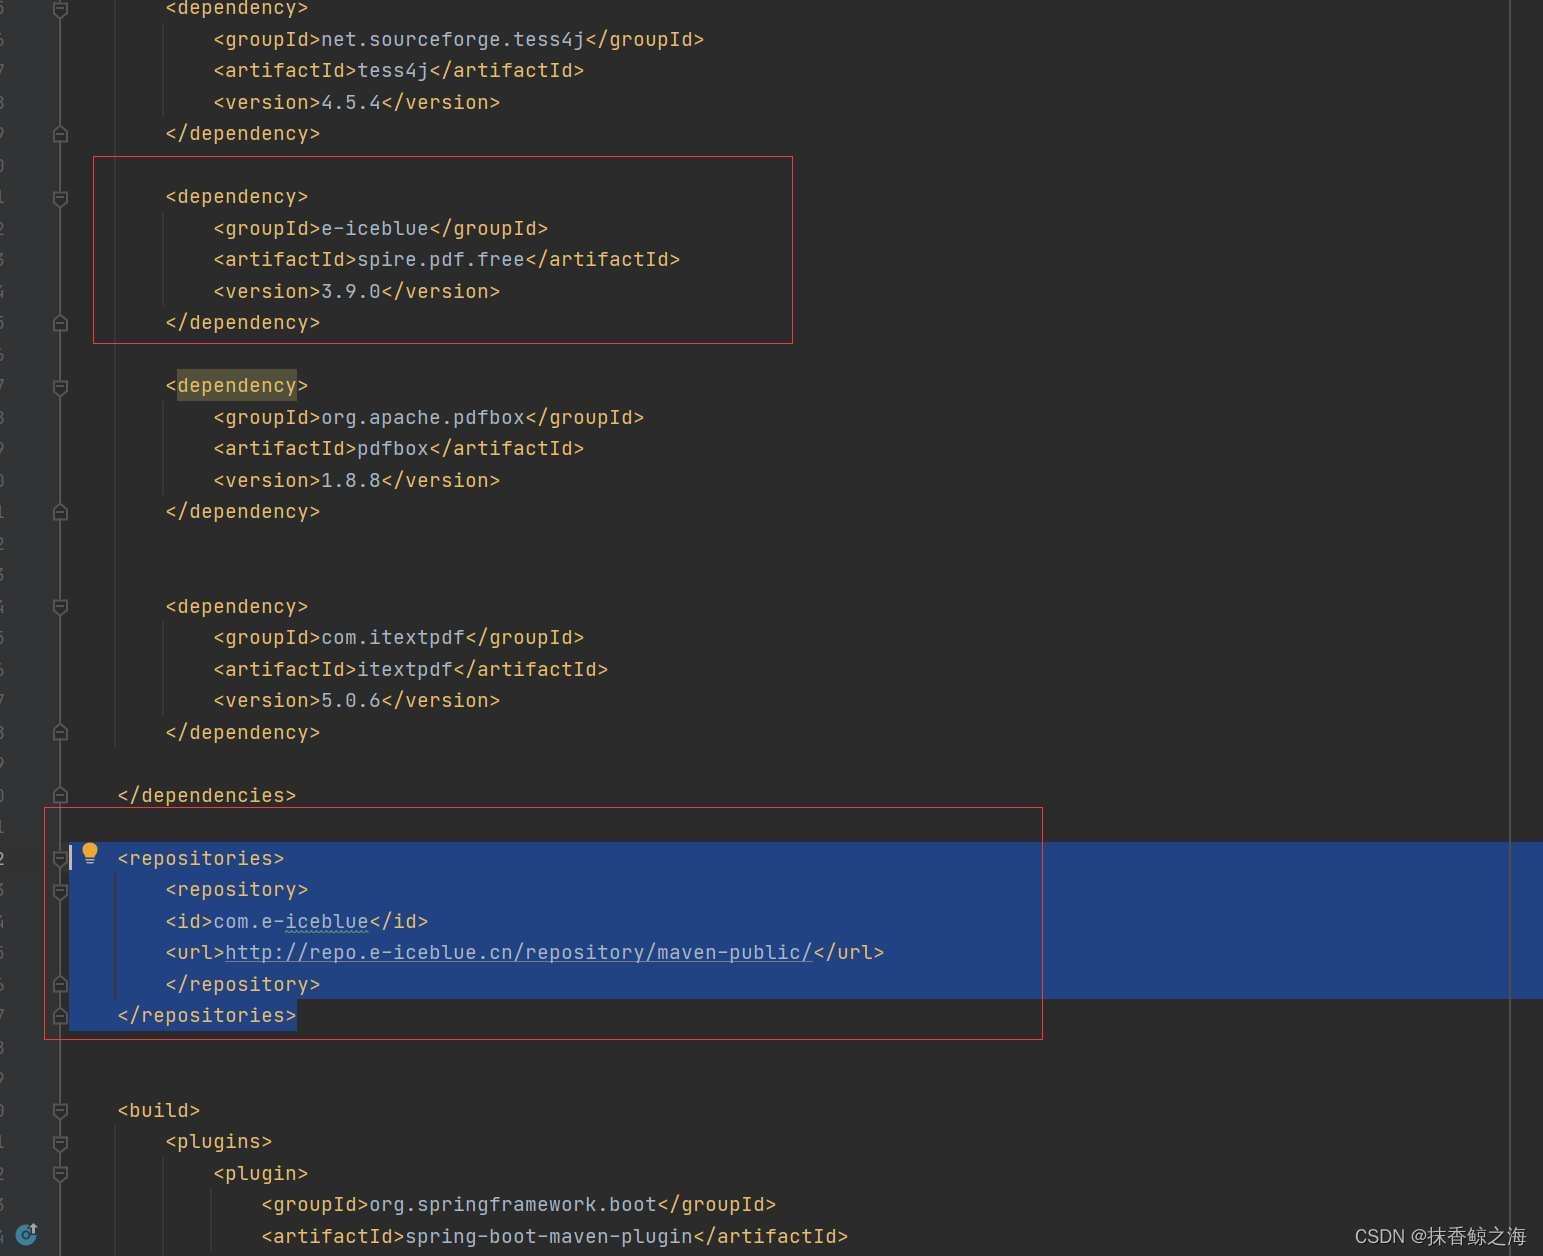
(1)在pom.xml中新添依赖
<!-- Swagger -->
<dependency>
<groupId>io.springfox</groupId>
<artifactId>springfox-swagger2</artifactId>
<version>2.9.2</version>
</dependency>
<dependency>
<groupId>io.springfox</groupId>
<artifactId>springfox-swagger-ui</artifactId>
<version>2.9.2</version>
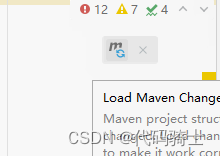
</dependency>复制粘贴代码,点击刷新
(2) application.properties中添加代码,避免版本冲突
spring.mvc.pathmatch.matching-strategy=ant_path_matcher(3)创建Swagger配置类
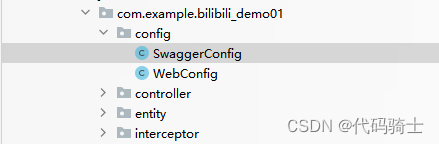
package com.example.bilibili_demo01.config;
import org.springframework.context.annotation.Bean;
import org.springframework.stereotype.Controller;
import org.springframework.web.servlet.config.annotation.EnableWebMvc;
import org.springframework.web.servlet.config.annotation.ResourceHandlerRegistry;
import org.springframework.web.servlet.config.annotation.WebMvcConfigurer;
import springfox.documentation.builders.ApiInfoBuilder;
import springfox.documentation.builders.PathSelectors;
import springfox.documentation.builders.RequestHandlerSelectors;
import springfox.documentation.service.ApiInfo;
import springfox.documentation.spi.DocumentationType;
import springfox.documentation.spring.web.plugins.Docket;
import springfox.documentation.swagger2.annotations.EnableSwagger2;
@Controller
@EnableSwagger2
@EnableWebMvc
public class SwaggerConfig implements WebMvcConfigurer {
@Override
public void addResourceHandlers(ResourceHandlerRegistry registry){
registry.addResourceHandler("/**").addResourceLocations(
"classpath:/static/");
registry.addResourceHandler("swagger-ui.html").addResourceLocations(
"classpath:/META-INF/resources/");
registry.addResourceHandler("/webjars/**").addResourceLocations(
"classpath:/META-INF/resources/webjars/");
WebMvcConfigurer.super.addResourceHandlers(registry);
}
@Bean
public Docket createRestApi() {
return new Docket(DocumentationType.SWAGGER_2)
.apiInfo(apiInfo())
.select()
// com包下所有API都交给Swagger2管理
.apis(RequestHandlerSelectors.basePackage("com"))
.paths(PathSelectors.any()).build();
}
API文档页面显示信息
private ApiInfo apiInfo() {
return new ApiInfoBuilder()
.title("演示项目")
.description("学习")
.build();
}
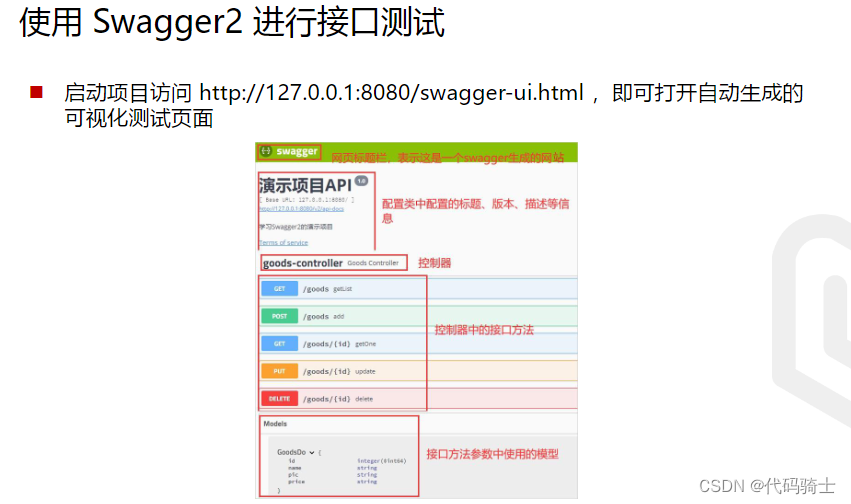
}
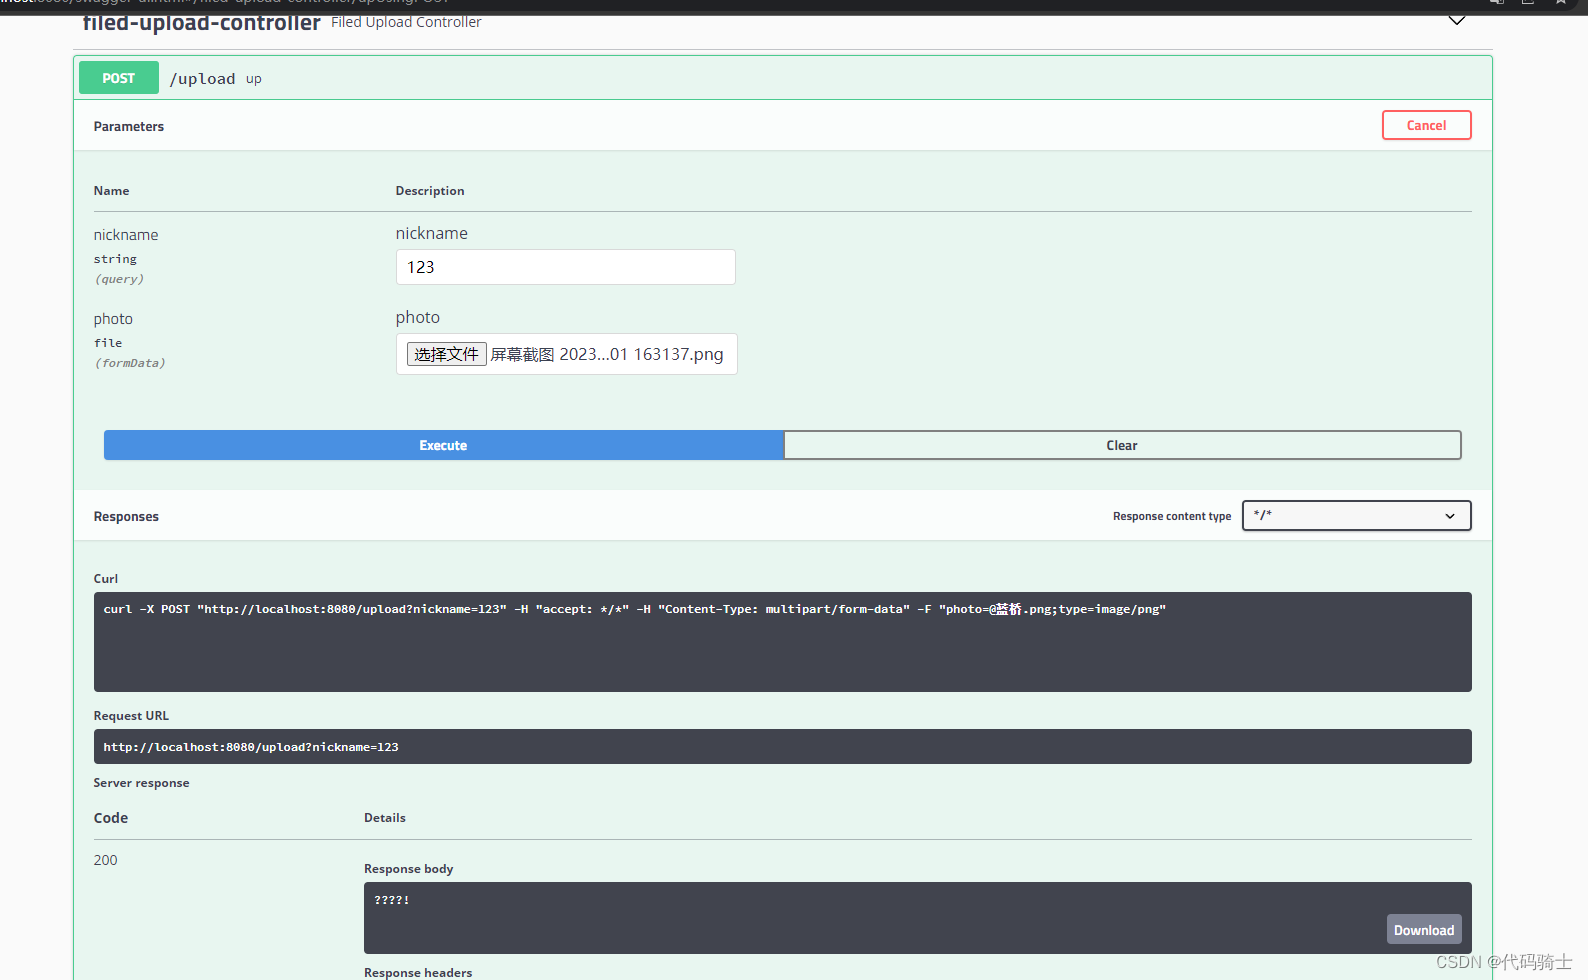
(4)访问网址:http://localhost:8080/swagger-ui.html#/user-controller
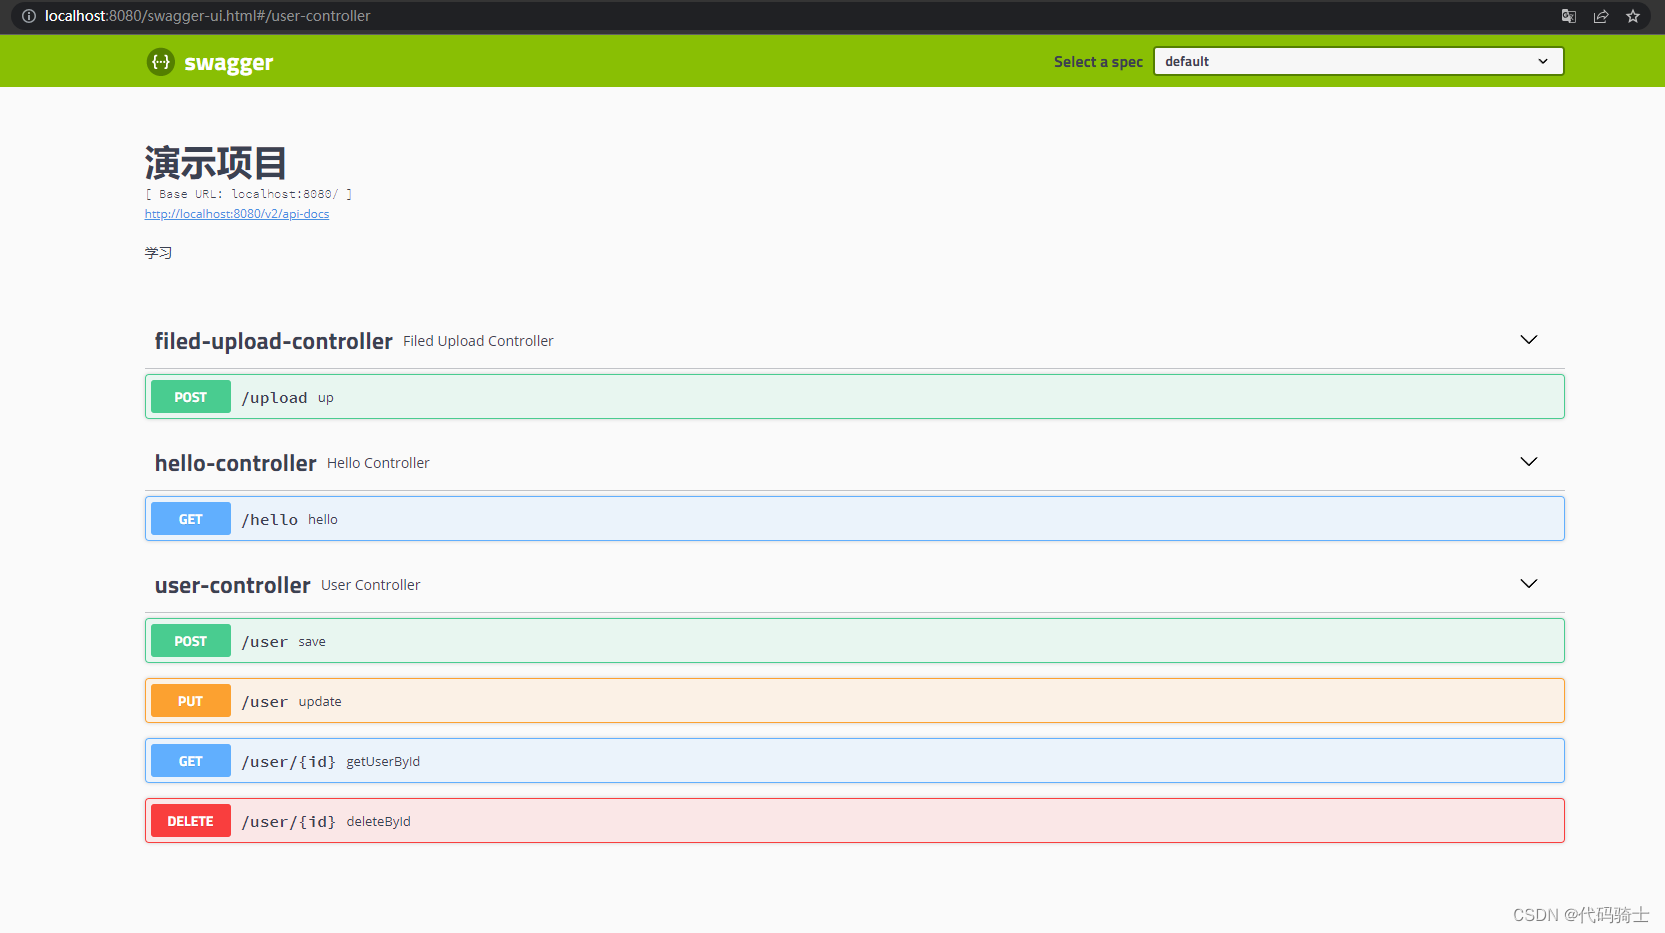
非常方便测试接口,非常好用!
还可以给接口添加注释
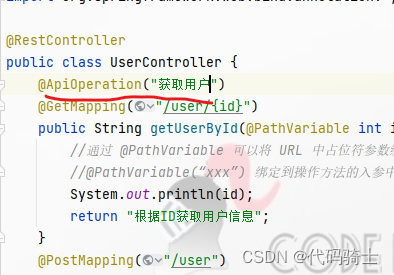
@ApiOperation("获取用户")
资源分享
Notion – The all-in-one workspace for your notes, tasks, wikis, and databases.
5.RESTful服务+Swagger_哔哩哔哩_bilibili