使用cat /etc/redhat-release看到操作系统是CentOS Linux 7.6,使用uname -r看到内核是3.10.0-957.el7.x86_64。

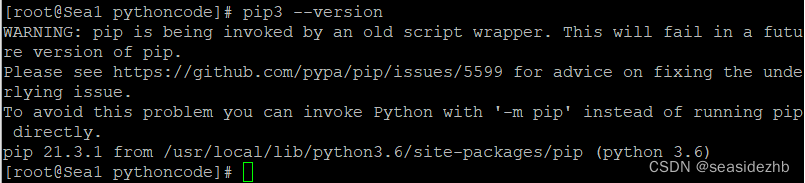
python3 --version看一下python的版本,pip3 --version看一下pip的版本,这是我CentOS 7默认安装好的。

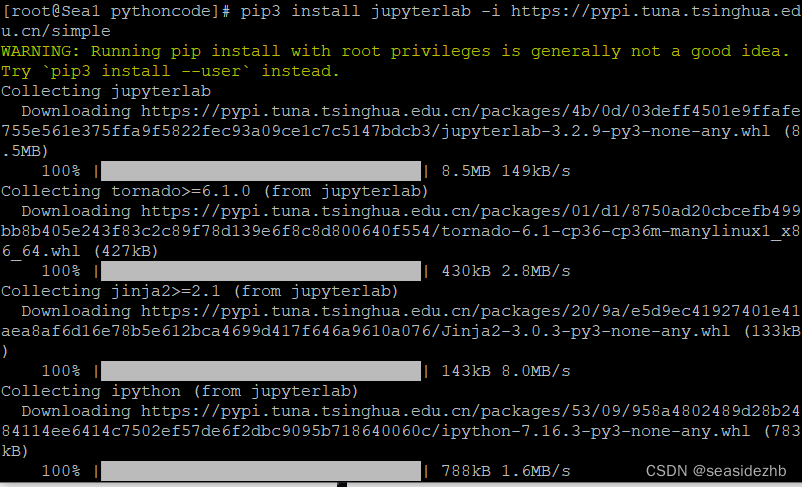
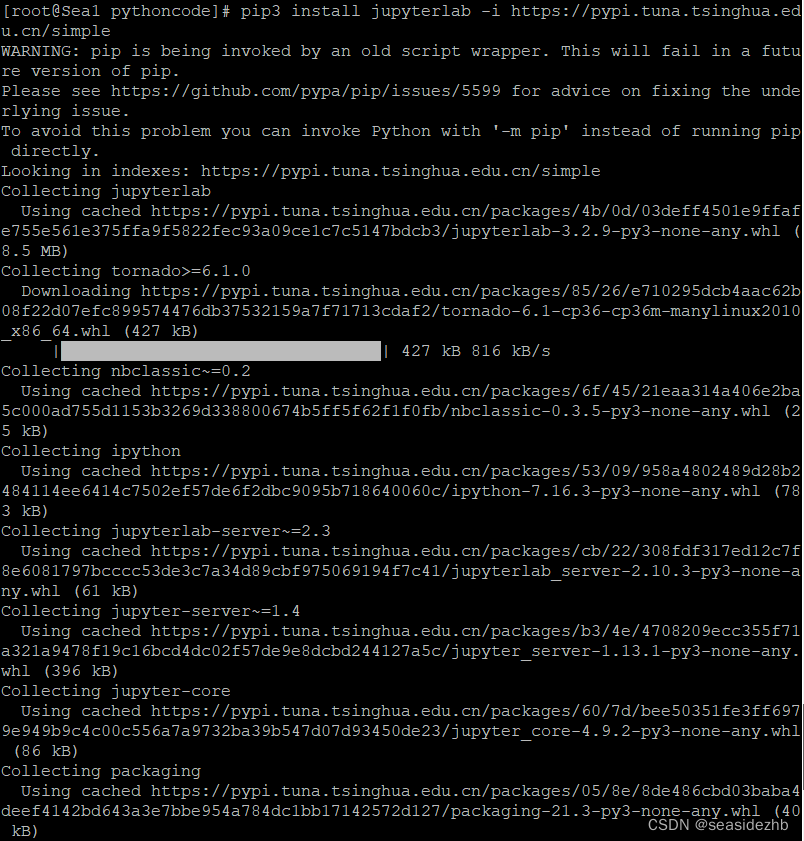
pip3 install jupyterlab -i https://pypi.tuna.tsinghua.edu.cn/simple安装jupyterlab。
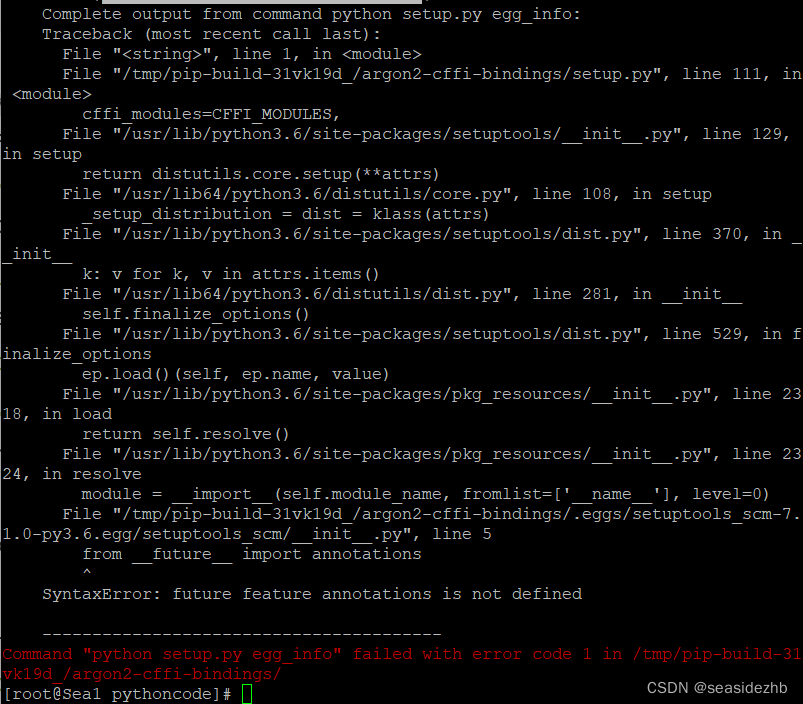
发现报错如下:
Complete output from command python setup.py egg_info:
    Traceback (most recent call last):
      File "<string>", line 1, in <module>
      File "/tmp/pip-build-31vk19d_/argon2-cffi-bindings/setup.py", line 111, in <module>
        cffi_modules=CFFI_MODULES,
      File "/usr/lib/python3.6/site-packages/setuptools/__init__.py", line 129, in setup
        return distutils.core.setup(**attrs)
      File "/usr/lib64/python3.6/distutils/core.py", line 108, in setup
        _setup_distribution = dist = klass(attrs)
      File "/usr/lib/python3.6/site-packages/setuptools/dist.py", line 370, in __init__
        k: v for k, v in attrs.items()
      File "/usr/lib64/python3.6/distutils/dist.py", line 281, in __init__
        self.finalize_options()
      File "/usr/lib/python3.6/site-packages/setuptools/dist.py", line 529, in finalize_options
        ep.load()(self, ep.name, value)
      File "/usr/lib/python3.6/site-packages/pkg_resources/__init__.py", line 2318, in load
        return self.resolve()
      File "/usr/lib/python3.6/site-packages/pkg_resources/__init__.py", line 2324, in resolve
        module = __import__(self.module_name, fromlist=['__name__'], level=0)
      File "/tmp/pip-build-31vk19d_/argon2-cffi-bindings/.eggs/setuptools_scm-7.1.0-py3.6.egg/setuptools_scm/__init__.py", line 5
        from __future__ import annotations
        ^
    SyntaxError: future feature annotations is not defined

    ----------------------------------------
Command "python setup.py egg_info" failed with error code 1 in /tmp/pip-build-31vk19d_/argon2-cffi-bindings/
pip3 install --upgrade pip更新一下pip。
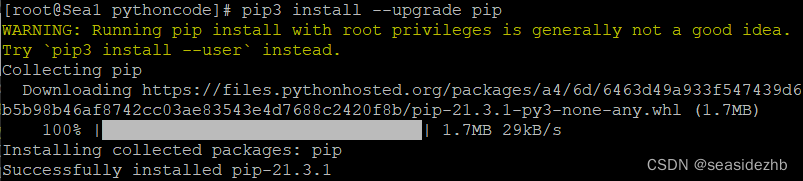
pip3 --version看一下更新后的版本。
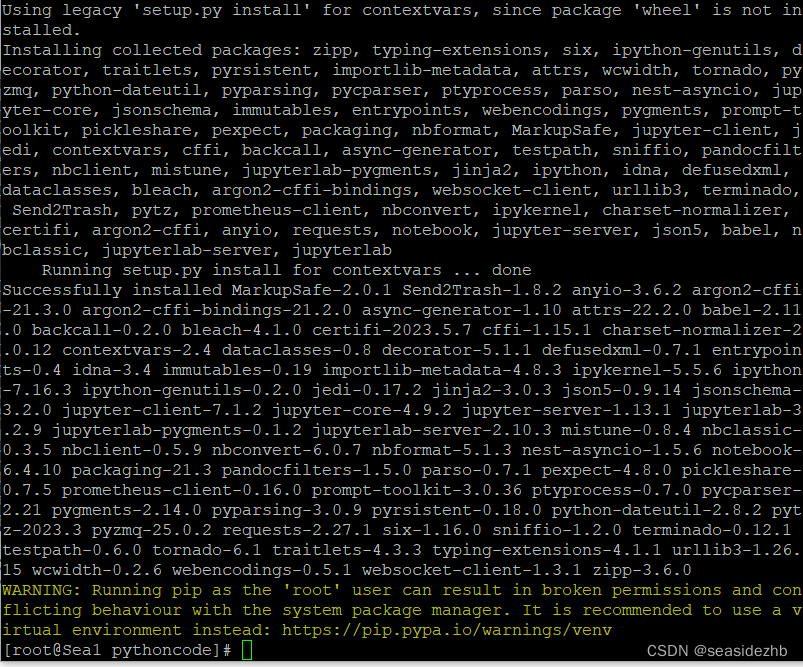
再次安装pip3 install jupyterlab -i https://pypi.tuna.tsinghua.edu.cn/simple安装jupyterlab。
安装成功如下:
ipython按下回车键。

然后输入from jupyter_server.auth import passwd; passwd()按下回车键,之后连续输入两次密码,需要一致。

把'argon2:$argon2id$v=19$m=10240,t=10,p=qPXelaVw1qGRQu78QgT2i3Oz5pSCoru6WDl098qKygE'整个字符串都保存起来,然后输入exit()按下回车退出ipython。

jupyter-lab --generate-config生成jupyter 的配置文件。

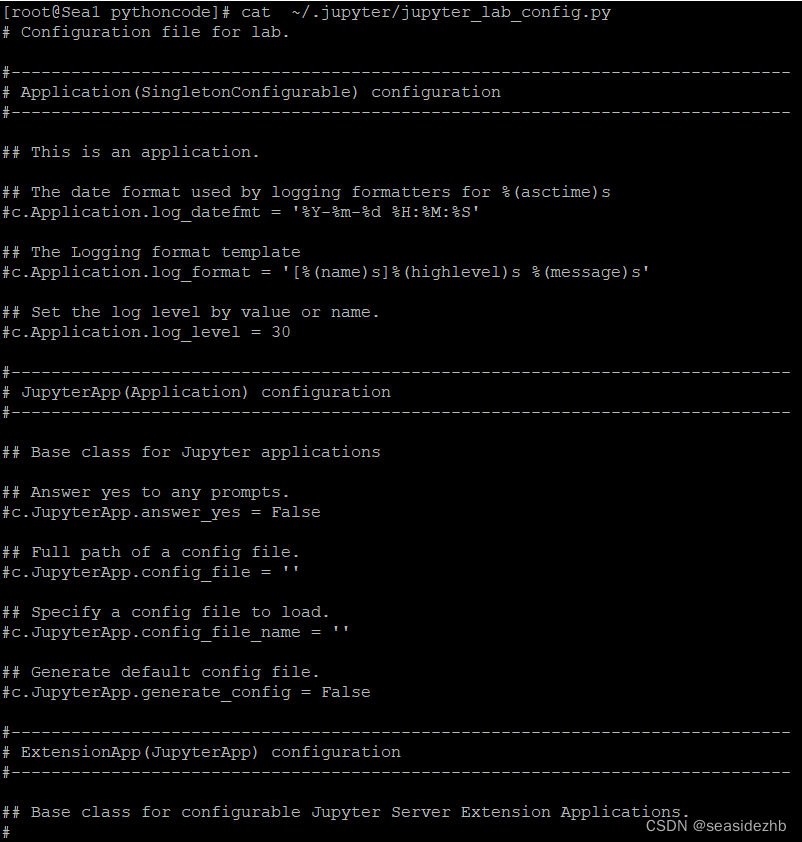
cat ~/.jupyter/jupyter_lab_config.py看一下所有内容,发现都是一些注释掉的信息。
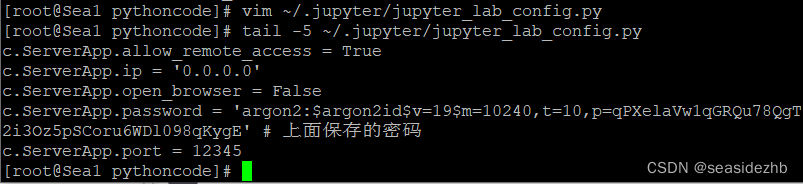
vim ~/.jupyter/jupyter_lab_config.py,把下边的内容保存到这个文件里边。
c.ServerApp.allow_remote_access = True
c.ServerApp.ip = '0.0.0.0'
c.ServerApp.open_browser = False
c.ServerApp.password = 'argon2:$argon2id$v=19$m=10240,t=10,p=qPXelaVw1qGRQu78QgT2i3Oz5pSCoru6WDl098qKygE' # 上面保存的密码
c.ServerApp.port = 12345 # 服务器的端口号,下边需要使用这个端口号
nohup jupyter lab --allow-root &超级管理员root后台挂起启动,然后按一下Enter。

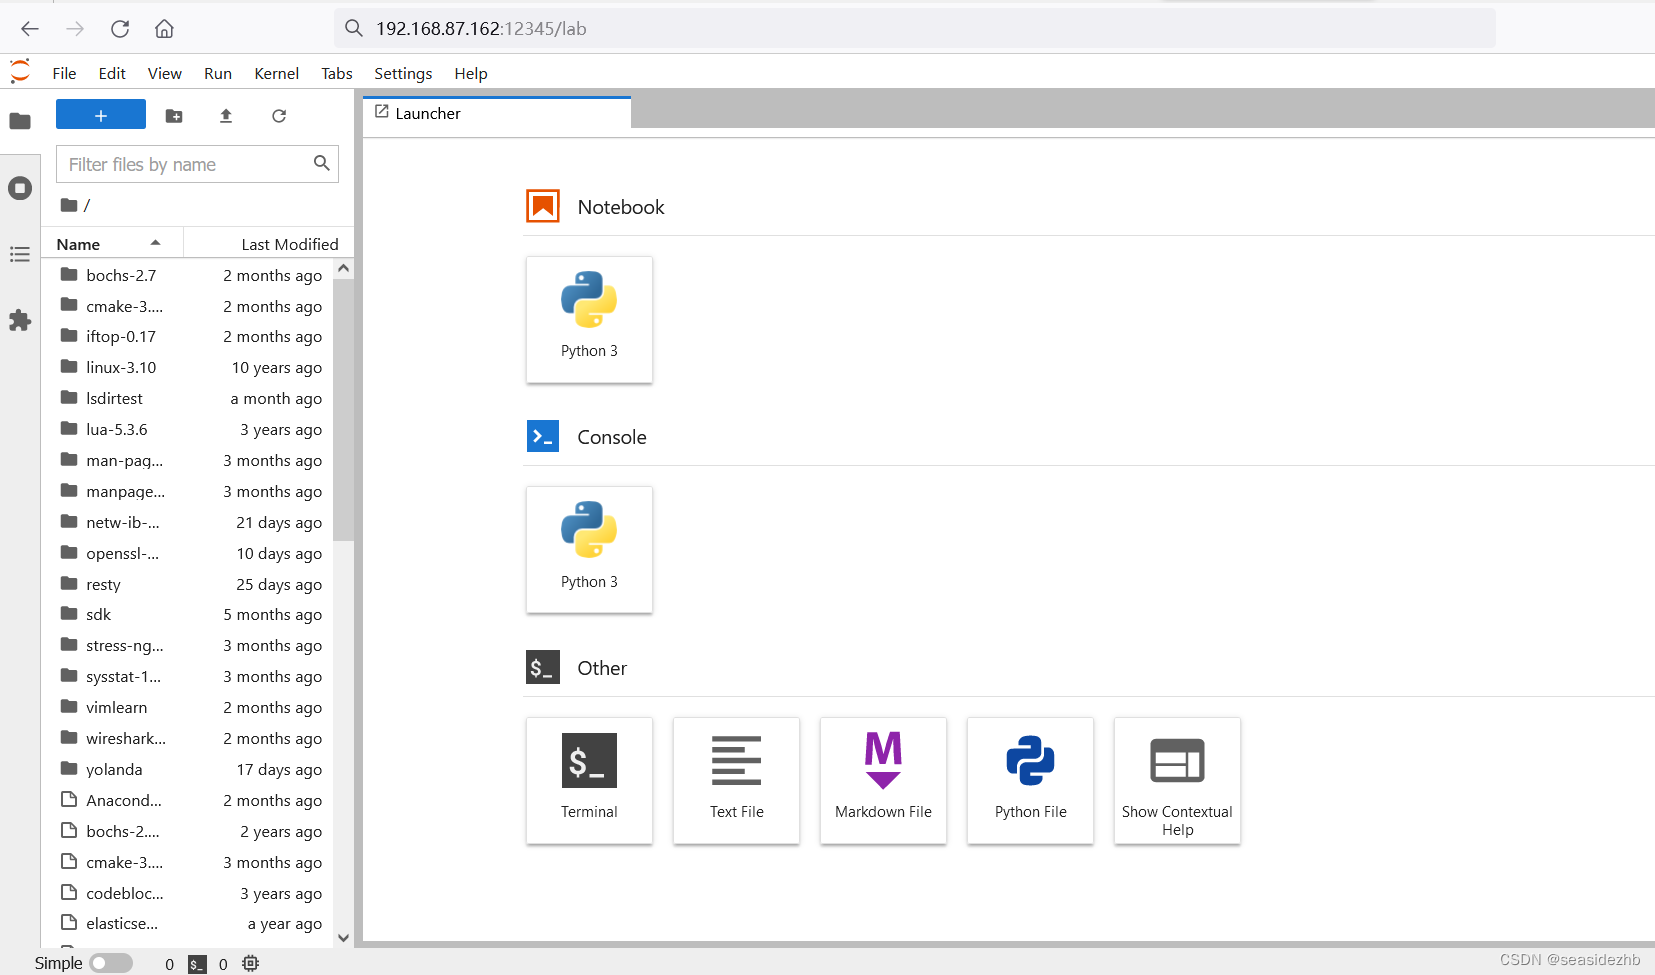
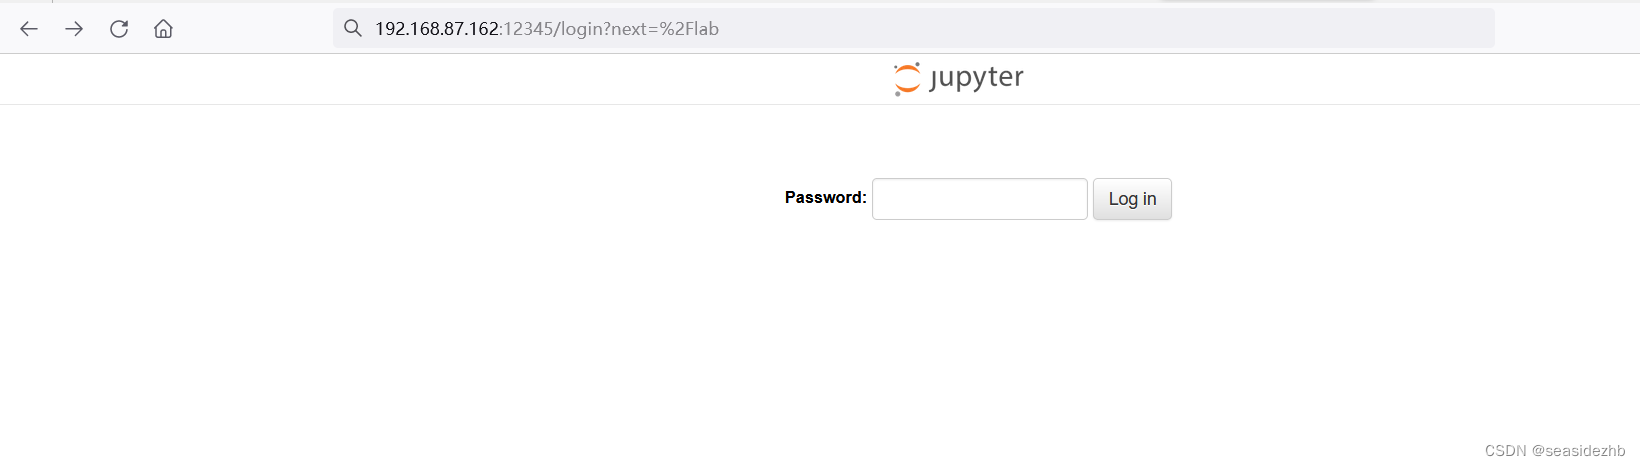
在本地浏览器使用服务器ip:服务器端口号/lab远程使用jupyter lab。比如:192.168.87.162:12345/lab,输入浏览器之后按下Enter。

就会跳转至192.168.87.162:12345/login?next=%2Flab,输入密码之后,点击Log in。
登录之后就可以使用jupyter lab了。