在 Jetpack Compose 中,Image 是一个重要的组件,用于显示图像和处理图像相关的操作。
一、Image在Compose中的简单使用
二、如何网络调用Image
一、Image在Compose中的简单使用
首先,让我们了解一下 Image 组件的基本用法。要在 Jetpack Compose 中显示图像,您可以使用 Image 组件,并将图像资源的引用作为参数传递给它。以下是一个简单的示例:
Image(
    painter = painterResource(R.drawable.my_image),
    contentDescription = "My Image"
)在上述示例中,painterResource(R.drawable.my_image) 用于从资源中加载图像,并将其作为 Image 组件的 painter 参数。contentDescription 参数用于提供图像的辅助描述,这在可访问性方面非常重要。
除了基本的图像显示功能外,Jetpack Compose 的 Image 组件还提供了一些强大的功能和属性,例如调整图像的大小、裁剪图像、添加点击事件等。以下是一些常见的用法示例:
- 调整图像的大小:
Image(
painter = painterResource(R.drawable.my_image),
contentDescription = "My Image",
modifier = Modifier.size(200.dp)
)
在上述示例中,使用 Modifier.size(200.dp) 将图像的大小调整为 200 dp。
2. 圆角处理:
Image(
    painter = painterResource(R.drawable.ic_launcher_background),
    contentDescription = "my Image",
    alignment = Alignment.Center,
    modifier = Modifier
        .size(30.dp)
        .clip(RoundedCornerShape(10.dp))
)
其中 Modifier.clip()就是裁剪图片的,参数RoundedCornerShape是对边缘进行裁剪。
3.添加点击事件:
Image(painter = painterResource(R.drawable.ic_launcher_background),
    contentDescription = "my Image",
    alignment = Alignment.Center,
    modifier = Modifier
        .size(30.dp)
        .clip(RoundedCornerShape(10.dp))
        .clickable {
            coroutineScope.launch {
                println("点击了图片")
            }

        })
在上述示例中,使用 Modifier.clickable 添加了一个点击事件,您可以在 lambda 表达式中处理相应的逻辑。
二、如何网络调用Image
网络调用Image是开发最常用的,下面写个compose通过网络调用图片
1.添加依赖
implementation "io.coil-kt:coil-compose:2.2.2"
implementation "io.coil-kt:coil-svg:2.2.2"
implementation "com.github.skydoves:landscapist-coil:2.0.3"
implementation "com.github.skydoves:landscapist-glide:2.1.0"
implementation "com.github.skydoves:cloudy:0.1.1"
implementation "io.coil-kt:coil-gif:2.3.0"
案例1,异步调用
@Preview
@Composable
fun AsyncImageDemo(){
    val imageUrl= "http://rongcloud-web.qiniudn.com/docs_demo_rongcloud_logo.png"
   // val placeholderRes=R.drawable.ic_launcher_background

    AsyncImage(model = ImageRequest.Builder(LocalContext.current)
        .data(imageUrl)
        .crossfade(true)
        .build(),
        contentDescription = "my Image",
        placeholder=painterResource(id = R.drawable.ic_launcher_background),
        error = painterResource(id = R.drawable.ic_launcher_background),
        onSuccess = {
            Log.d(TAG, "success")
        },
        onError = {
            Log.d(TAG, "error")
        },
        onLoading = {
            Log.d(TAG, "loading")
        },
        modifier =Modifier.clip(RoundedCornerShape(30.dp)))
}
案例2,简单的异步加载图片
@Preview
@Composable
fun SubcomposeAsyncImageDemo(){
    val imageUrl= "http://rongcloud-web.qiniudn.com/docs_demo_rongcloud_logo.png"
    SubcomposeAsyncImage(
        model = ImageRequest.Builder(LocalContext.current)
            .data(imageUrl)
            .build(),
        contentDescription = "my Image"){
        if(painter.state is AsyncImagePainter.State.Loading ||  painter.state is AsyncImagePainter.State.Error){
            CircularProgressIndicator()
        }else{
            SubcomposeAsyncImageContent()
        }
    }

}
案例3,网络进度加载图片:
@Preview
@Composable
fun AsyncImagePainterDemo(){
    val imageUrl= "http://rongcloud-web.qiniudn.com/docs_demo_rongcloud_logo.png"
    Column(horizontalAlignment = Alignment.CenterHorizontally){
        SubcomposeAsyncImage(model =imageUrl,
        loading = {
            CircularProgressIndicator()

        },
        contentDescription = null,
        modifier =Modifier.size(200.dp,600.dp))


        Spacer(modifier =Modifier.height(15.dp))

        SubcomposeAsyncImage(model = imageUrl,
            contentDescription=null,
            modifier =Modifier.size(200.dp)
        ){
            val state =painter.state
            when(state){
                is AsyncImagePainter.State.Loading->{
                    CircularProgressIndicator()
                }
                is AsyncImagePainter.State.Error -> Text("${state.result.throwable}")
                is AsyncImagePainter.State.Success -> SubcomposeAsyncImageContent()
                is AsyncImagePainter.State.Empty -> Text("Empty")
            }
        }
    }

}

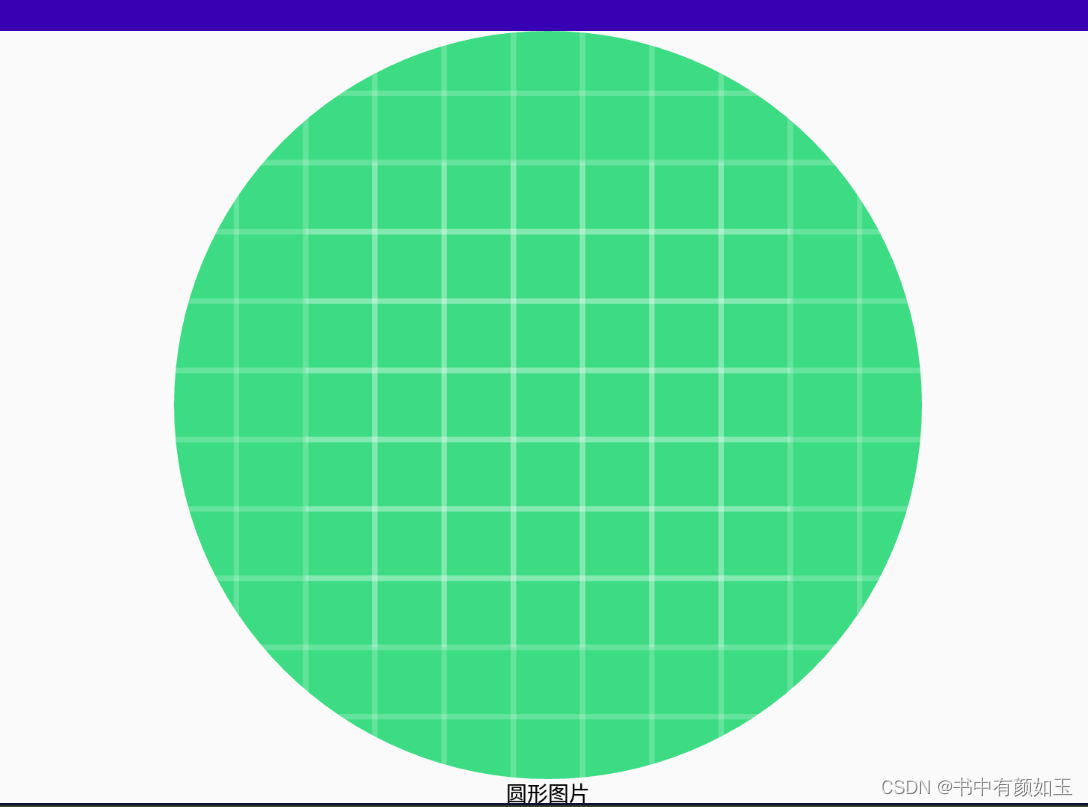
案例4,加载圆形图片
@Preview
@Composable
fun cicleImageDemo(){
    val imageUrl= "http://rongcloud-web.qiniudn.com/docs_demo_rongcloud_logo.png"
    Column(horizontalAlignment = Alignment.CenterHorizontally){
        Image(modifier= Modifier
            .fillMaxWidth()
            .height(500.dp),
          //  painter = rememberImagePainter(data =imageUrl,
            painter = rememberImagePainter(data =R.drawable.ic_launcher_background,
            builder ={
                placeholder(R.drawable.ic_launcher_background)
                crossfade(true)
                transformations(CircleCropTransformation())//圆形图片
            }),
            contentDescription ="my Image"
            )
        Spacer(modifier =Modifier.width(10.dp))
        Text(text ="圆形图片")
    }
}
案例5。加载圆角图片
@Preview
@Composable
fun clipImageDemo(){
    Column(horizontalAlignment = Alignment.CenterHorizontally){
        Image(modifier = Modifier
            .fillMaxWidth()
            .padding(20.dp)
            .height(400.dp),
            painter = rememberImagePainter(data=R.drawable.ic_launcher_background,
            builder = {
                placeholder(R.drawable.ic_launcher_background)
                crossfade(true)
                transformations(RoundedCornersTransformation(30f,30f,30f,30f))
            }),
            contentDescription ="my Image"
            )
        Text(text = "圆角图片")
    }
}
案例6:加载gif图片
@Preview
@Composable
fun coliLoadGifDemo(){
    Column(horizontalAlignment =Alignment.CenterHorizontally){
        val imageLoader = ImageLoader.Builder(LocalContext.current)
            .components(fun ComponentRegistry.Builder.(){
                if(SDK_INT >=28){
                    add(ImageDecoderDecoder.Factory())
                }else{
                    add(GifDecoder.Factory())
                }
            } ).build()
        Image(modifier = Modifier
            .fillMaxWidth()
            .height(400.dp)
            .padding(20.dp),
        painter = rememberImagePainter(data = imageLoader,imageLoader=imageLoader,
        builder = {
            placeholder(R.drawable.ic_launcher_background)//占位图
            crossfade(true)//淡出效果
        }),
        contentDescription = null
            )
        Text(text = "加载gif图片")
    }
}
Jetpack Compose 的 Image 组件还支持更多功能和属性,例如加载网络图像、圆角处理、动画效果等。您可以根据自己的需求进行进一步的研究和实践。
总结起来,Jetpack Compose 中的 Image 组件提供了简单而强大的图像显示功能,可以满足各种场景下的需求。您可以根据自己的应用需求使用不同的属性和功能来定制和优化图像的展示效果。
参考资料:
- Jetpack Compose 文档:https://developer.android.com/jetpack