小工具一:批量修改文件夹里面的图片名称
步骤:
1.安装nodejs。
2.根据需要修改editFileName(filePath, formatName)函数的参数,也可以不改,直接将renameFile.js和img文件夹放在同一个目录下。
3.在renameFile.js目录下开启终端,在终端执行node renameFile.js。
此功能适合批量按递增规则、批量添加文件名称后缀等来修改图片名称。如批量修改文件夹的图片名称,以1.png,2.png...来命名。
renameFile.js:
// 导入node文件系统模块(fs)
var fs = require("fs");
// 这里path是你要读取哪一个目录下的所有文件,如'./img',此时img放在js的同一级目录
var filePath = './img';
var formatName = 'png';
editFileName(filePath, formatName); //将img里面的图片重新命名为1.png 2.png
/**
*
* @param {*} path 文件夹路径 如'./img'
* @param {*} format
*/
function editFileName(path, format) {
fs.readdir(path, function (err, files) {
//files是名称数组,存的是文件夹里面所有的文件名字比如[xx.png]
files.forEach(function (filename, index) {
//运用正则表达式替换oldPath中不想要的部分
var oldPath = path + '/' + filename,
newPath = path + '/' + (index + 1 - 0) + '.' + format;
// fs.rename(oldPath, newPath, callback)
fs.rename(oldPath, newPath, function (err) {
if (!err) {
console.log(filename + '副本替换成功!')
}
})
})
})
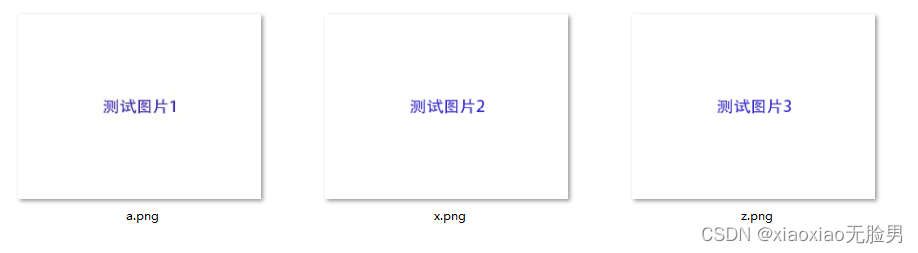
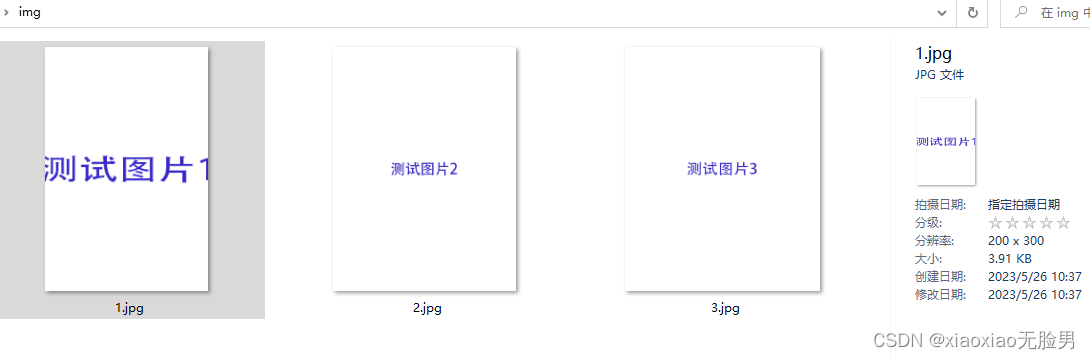
}img原文件夹里面的图片:
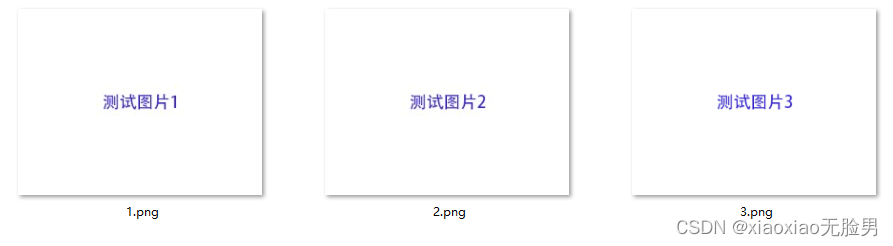
renameFile.js目录下开启终端,在终端运行node renameFile.js,,img文件里面的图片:
小工具二:批量修改文件夹里面的图片尺寸
步骤:
1.安装nodejs。
2.安装sharp,执行npm install sharp。
3.将resizeFile.js和img文件夹放在同一个目录下,并在同一目录下创建outputImg文件夹(必须创建,如果不创建会报错)。
4.根据需要的尺寸,修改imageSize=[width,height],此案例里面是400*400的尺寸。
5.在resizeFile.js目录下开启终端,在终端执行node renameFile.js。
此功能适合批量修改图片的宽高尺寸。
renameFile.js:
const fs = require('fs');
const sharp = require('sharp');
const inputFolder = './img/';
const outputFolder = './outputImg/';
const imageSize = [400, 400];
fs.readdir(inputFolder, (err, files) => {
if (err) console.log(err);
files.forEach(file => {
console.log(file)
sharp(inputFolder + file)
.resize(imageSize[0], imageSize[1])
.toFile(outputFolder + file, (err, info) => {
if (err) {
console.log(err);
};
console.log(info);
//info里面包含图片的信息
// {
// format: 'png',
// width: 400,
// height: 400,
// channels: 4,
// premultiplied: true,
// size: 9466
// }
});
});
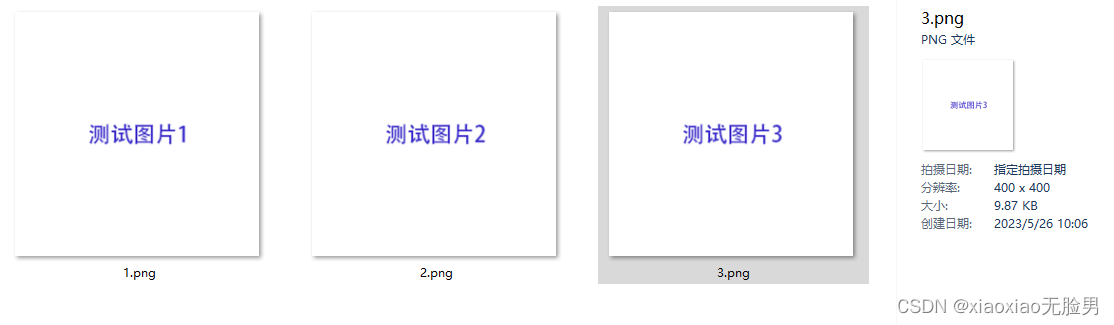
});执行node renameFile.js后,outputImg文件夹里面会出现我们需要的尺寸的图片。
案例中的需求是图片尺寸都变为400*400,下图是我们需要的图片。
小工具三:批量获取文件夹里面的图片宽高,并添加到css文件中
步骤:
1.安装nodejs。
2.安装image-size,执行npm run image-size。
3.在eiitFileBySize.js目录下开启终端,在终端执行node eiitFileBySize.js。
此功能适合批量获取文件夹的图片信息,并将信息添加到新文件中。
案例中的需求是将文件夹中的图片的宽高写入到css中。
eiitFileBySize.js:
var fs = require("fs");
var sizeOf = require('image-size');
var dimensions;
var filePath = './img';

// 同步读取
var data = fs.readFileSync('./css/index.css');
data=data.toString();
fs.readdir(filePath, function (err, files) {
    files.forEach(function (fileName, index) {
        console.log(fileName)
        dimensions = sizeOf('./img/' + fileName);
        data += '\n.class'+(index+1)+'{\n  width:' + dimensions.width + 'px;\n  height:' + dimensions.height + 'px;\n}';
    })
    fs.writeFile('./css/index.css', data, function (err) {
        if (err) {
            return console.error(err);
        }
    });
})
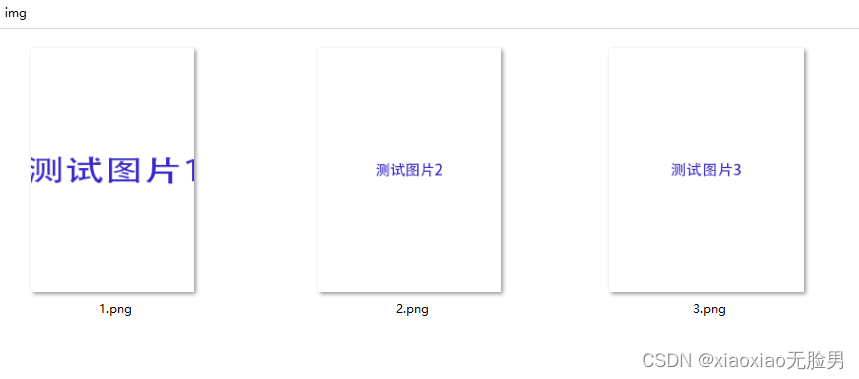
执行前的img文件夹:
执行前的index.css:
body{
    background:#ccc;
}
执行后的index.css:
body{
    background:#ccc;
}
.class1{
  width:200px;
  height:300px;
}
.class2{
  width:300px;
  height:400px;
}
.class3{
  width:400px;
  height:500px;
}
小工具四:批量压缩图片(jpg格式)
步骤:
1.安装nodejs。
2.安装images,执行npm run images。
3.在compressFile.js目录下开启终端,在终端执行node compressFile.js。
此功能适合批量获取文件夹的图片信息,并将信息添加到新文件中。
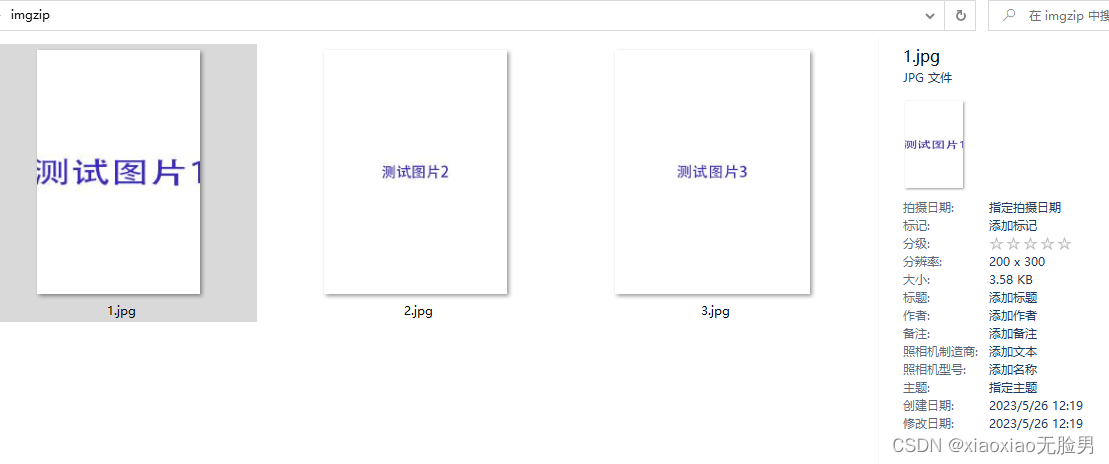
案例中的需求是将文件夹中的图片压缩,压缩后,图片质量为60;缺点:只能压缩jpg图片。
compressFile.js:
var images = require("images")
var fs = require("fs")
var path = "./img" //原图路径
var savepath = "./imgzip" //压缩图保存路径

function explorer(path) {
    fs.readdir(path, function (err, files) { //err 为错误 , files 文件名列表包含文件夹与文件
        if (err) {
            console.log('error:\n' + err);
            return;
        }

        files.forEach(function (file) {
            fs.stat(path + '/' + file, function (err, stat) {
                if (err) {
                    console.log(err);
                    return;
                }

                if (stat.isDirectory()) {
                    explorer(path + '/' + file); // 如果是文件夹就遍历

                } else {
                    //console.log('文件名:' + path.substring(9) + '/' + file);  // 读出所有的文件
                    var name = path + '/' + file;
                    var dirName = savepath + path.substring(9);
                    var fileName = savepath + path.substring(9) + '/' + file;
                    fs.mkdir(dirName, {
                        recursive: true
                    }, (err) => { //创建文件夹
                        if (err) {
                            console.log('X 文件夹创建失败')
                        } else {
                            console.log('文件夹创建成功')
                            console.log(name,fileName)
                            images(name).save(fileName, {
                                quality: 60
                            }); //保存图片到文件,图片质量为60
                        }
                    })

                }
            })
        })
    })
}
explorer(path);
执行node compressFile.js前,img文件夹:
执行node compressFile.js后,imgzip文件夹:
小工具五:批量压缩图片(jpg|png格式)
步骤:
1.安装nodejs。
2.安装imagemin和imageminJpegtran和imageminPngquant,执行
npm run imagemin@7.0.1
npm run imagemin-mozjpeg@8.0.0
npm run imagemin-pngquant@9.0.2
注意版本的兼容,我用的是上面这三个版本。
3.在compressFileAll.js目录下开启终端,在终端执行node compressFileAll.js。
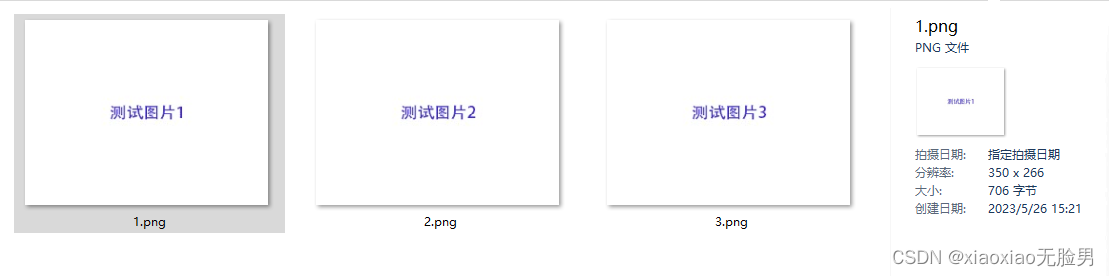
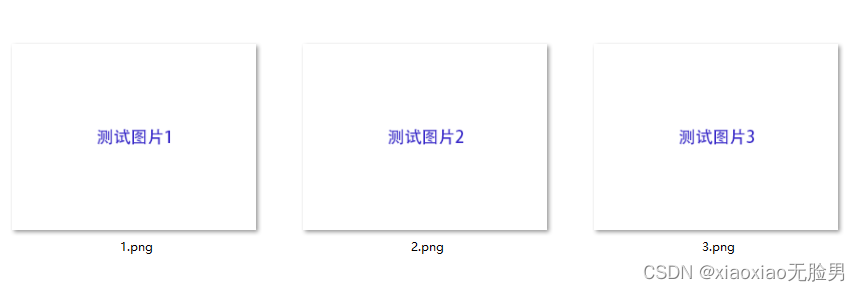
此功能适合批量压缩jpg或png图片。
compressFileAll.js
const imagemin = require('imagemin');
const imageminJpegtran = require('imagemin-jpegtran');
const imageminPngquant = require('imagemin-pngquant');

(async () => {
    const files = await imagemin(['img/*.{jpg,png}'], {
        destination: './buildImages',
        plugins: [
            imageminJpegtran(),
            imageminPngquant({
                quality: [0.6, 0.8]
            })
        ]
    });

    console.log(files);
    //=> [{data: <Buffer 89 50 4e …>, destinationPath: 'build/images/foo.jpg'}, …]
})();
执行node compressFileAll.js前的img文件夹:
执行node compressFileAll.js后的buildImages文件夹:
小工具六:批量给图片添加logo
步骤:
1.安装nodejs。
2.安装images,执行
npm run images
3.在addLogo.js目录下开启终端,在终端执行node addLogo.js。
此功能适合批量给文件夹的图片添加Logo。
addLogo.js
var fs = require("fs");
var images = require('images');
var path = require('path');
var watermarkImg = images('./logo.png');
var filePath = './img/';
var  savePath= './saveImg/'

fs.readdir(filePath, function (err, files) { //err 为错误 , files 文件名列表包含文件夹与文件
    if (err) {
        console.log('error:\n' + err);
        return;
    }

    files.forEach(function (file) {
        console.log(file)
        console.log(filePath + file)
        var sourceImg = images(filePath + file); // 源图片的文件夹
        var sWidth = sourceImg.width();
        var sHeight = sourceImg.height();
        var wmWidth = watermarkImg.width();
        var wmHeight = watermarkImg.height();
        fs.mkdir(savePath, {
            recursive: true
        }, (err) => { //创建文件夹
            if (err) {
                console.log('文件夹创建失败')
            } else {
                console.log('文件夹创建成功')
                images(sourceImg) // 设置绘制的坐标位置,右下角距离 40px
                    .draw(watermarkImg, sWidth - wmWidth - 40, sHeight - wmHeight - 40) // 保存格式会自动识别
                    .save(savePath + file);
            }
        })
    })
})
执行node addLogo.js的img文件夹:
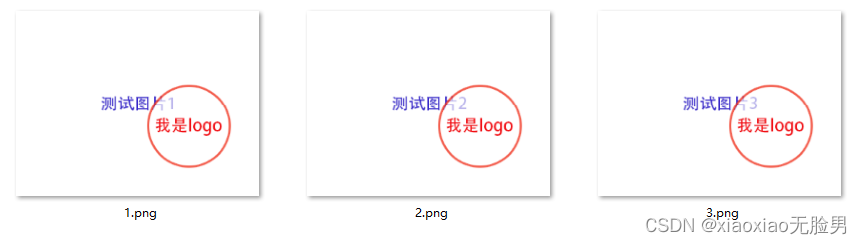
执行node addLogo.js后的saveImg文件夹:


![[高光谱]使用PyTorch的dataloader加载高光谱数据](https://img-blog.csdnimg.cn/1dd84feb013b4e9cafc4ae3bc2379412.png)