Git(第一篇)——Git的下载与安装(史上最全最详细)
目录
- Git(第一篇)——Git的下载与安装(史上最全最详细)
- git的下载
- git的安装
git的下载
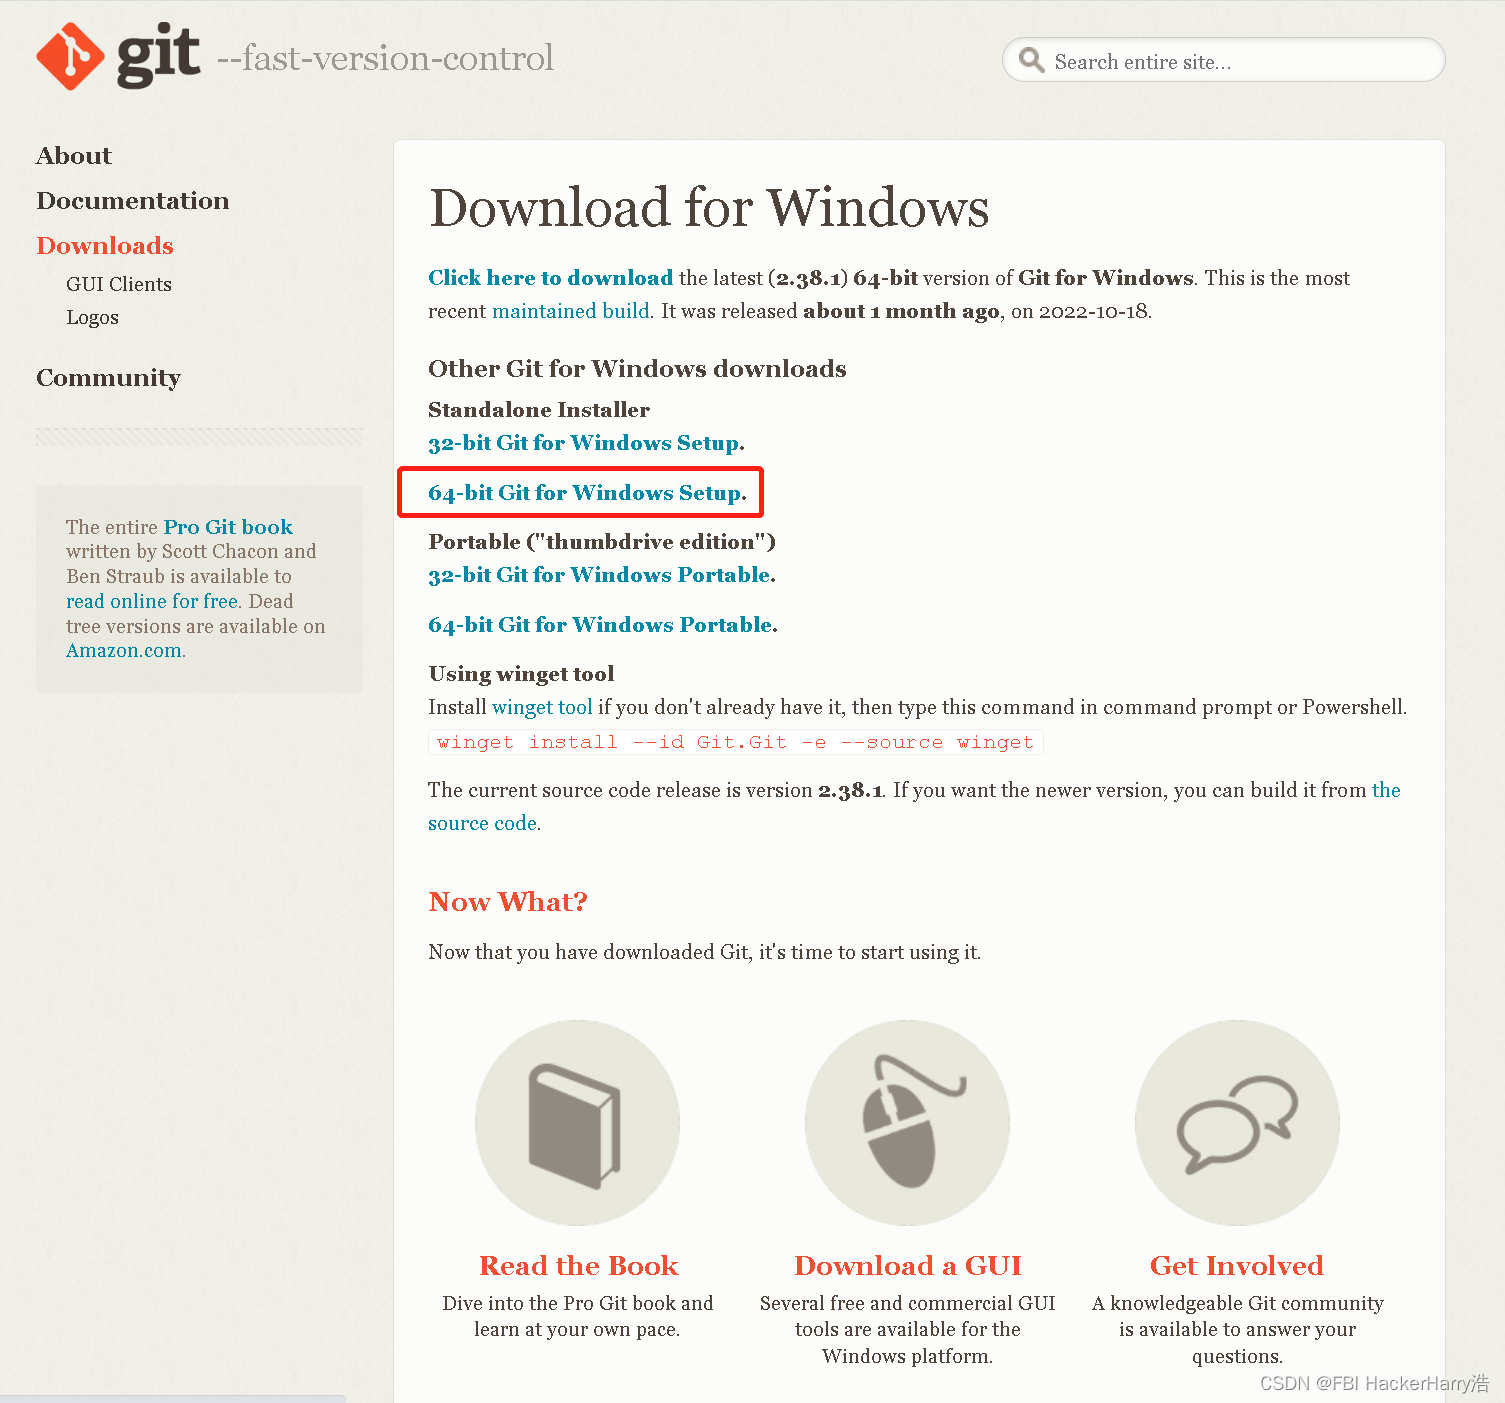
如果你还没有下载Git,可直接到git官网(https://git-scm.com/)进行下载。
如图
点击Download for Windows

选择独立安装版,64位
git的安装
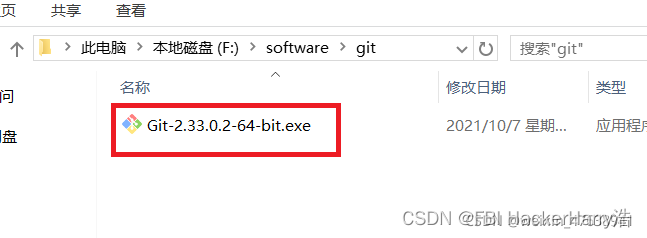
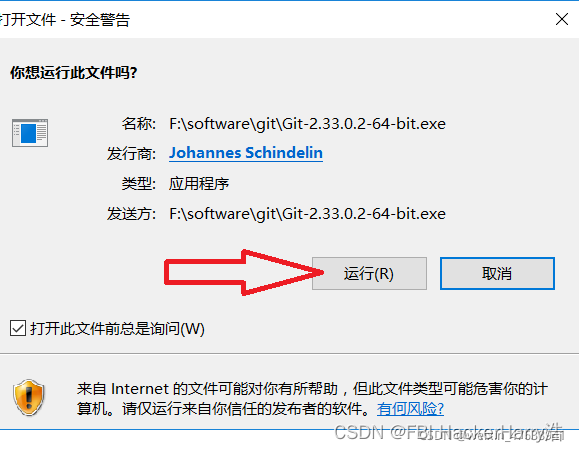
步骤 1. 双击运行安装
步骤 2. 点击运行
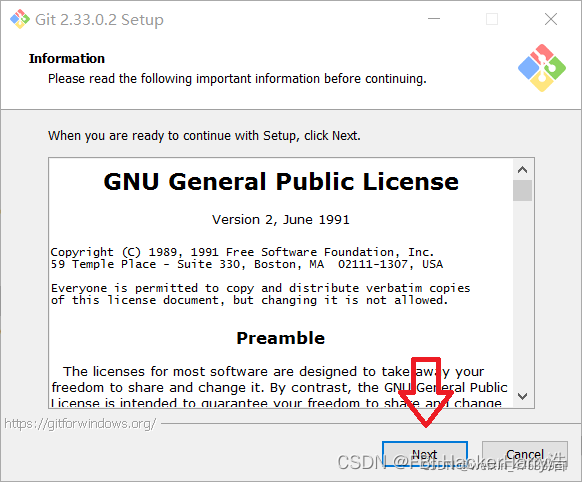
Information
直接点击Next
步骤 3. 选择下载路径
Select Destination Location

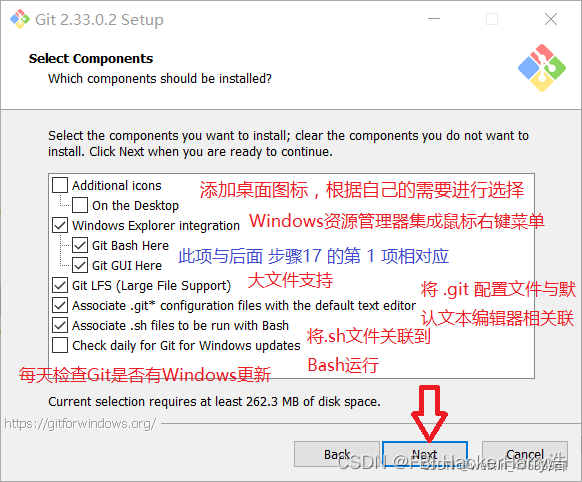
步骤 4. 根据需要选择部件(全选)
Select Components
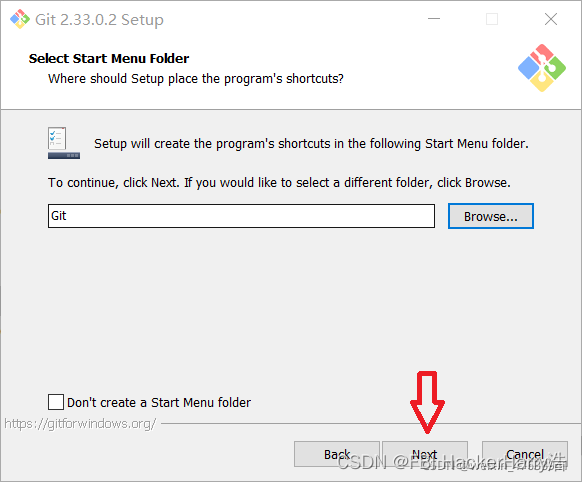
Select Start Menu Folder
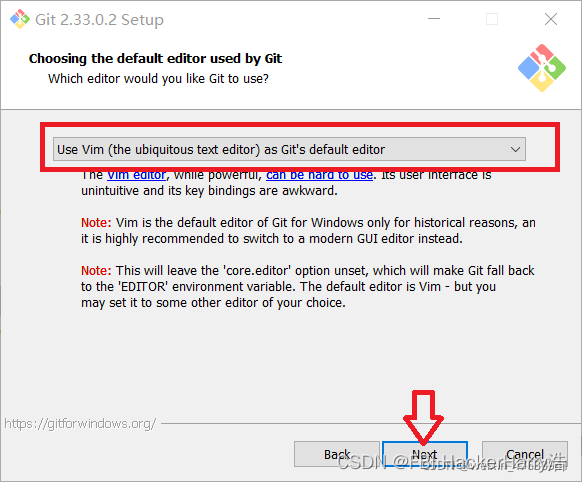
步骤 5. 选择 Git 默认的编辑器
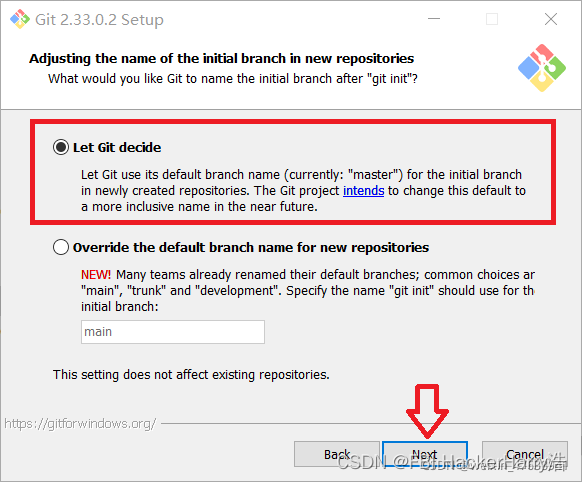
步骤 6. 新存储库中初始分支名称的调整
Adjusting the name of the initial branch in new repositories
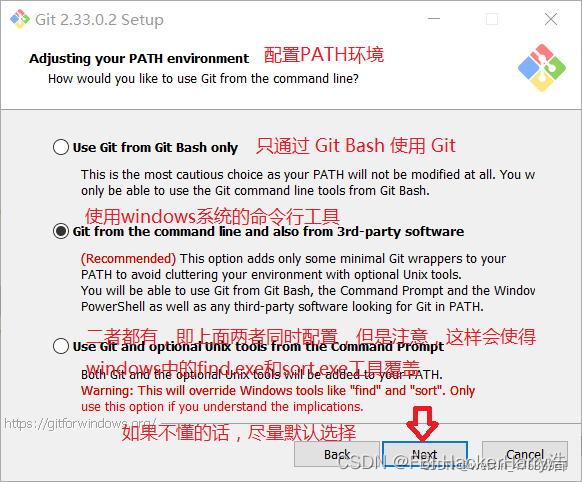
步骤 7. 配置 PATH 环境
步骤8.选择SSH客户端,点击“Next”。
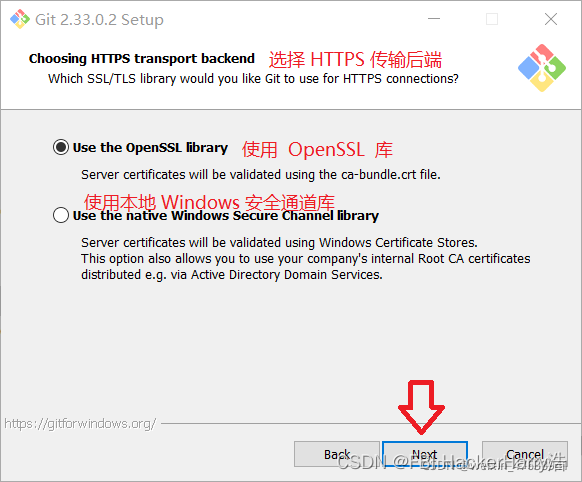
步骤 9. 选择 HTTPS 传输后端
步骤 10. 配置行结束转换
Configuring the line ending conversions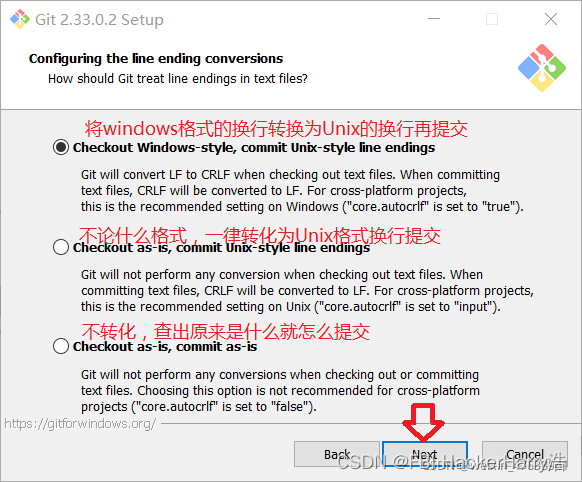
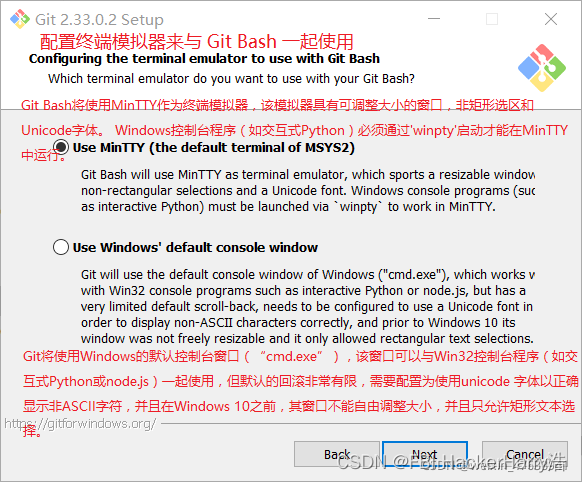
步骤 11. 配置终端模拟器来与 Git Bash 一起使用
Configuring the terminal emulator to use with Git Bash
步骤 12. 配置 git pull 的默认操作
Choose the default behavior of git pull

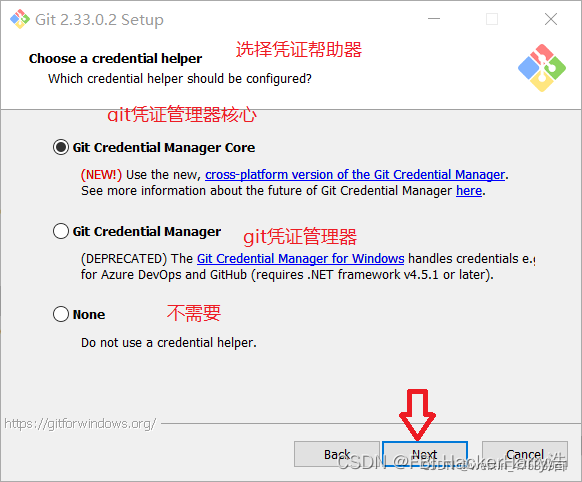
步骤 13. 选择凭证帮助器
Choose a credential helper
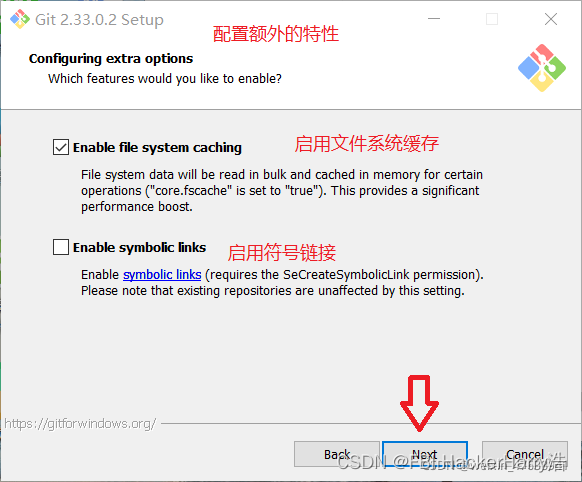
步骤 14 配置额外的特性
Configuring extra option
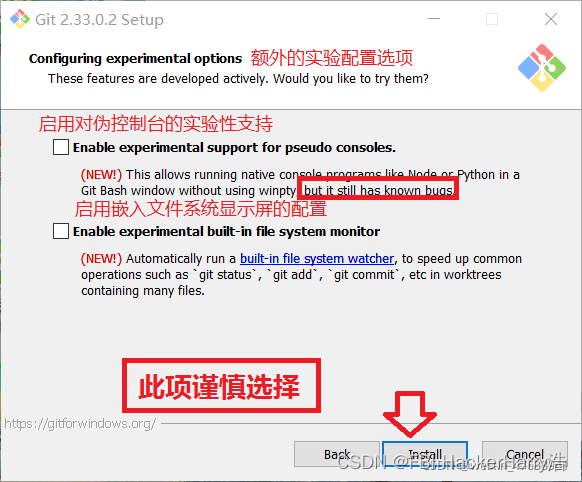
步骤 15. 额外的实验配置选项
Configuring experimental options
步骤 16. 安装中

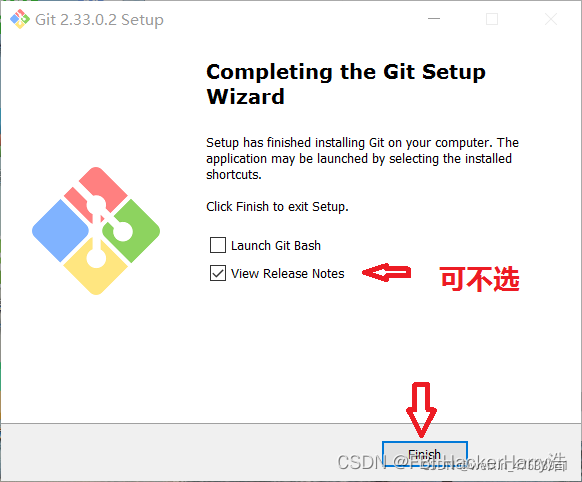
步骤 17. 安装完成
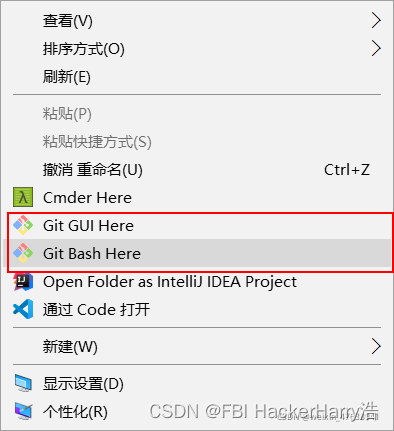
步骤 18. 检查是否安装完成
**在桌面任意位置按鼠标右键**会出现如下图所示 Git GUI Here 和 ==Git Bash Here==选项
注意:此项与步骤4中是否勾选Windows Explorer integration下的 Git GUI Here 和 Git Bash Here 相对应
若之前没有勾选这两个选项,请进行往下的一个步骤进行检测
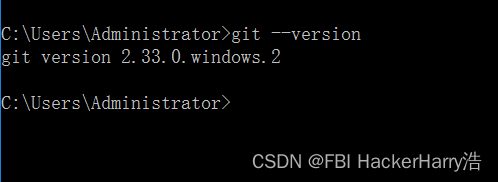
按下键盘键 win+R 调出运行框后按 cmd 调出命令提示符,输入 git --version 出现如下图相应版本信息号,则证明Git已安装完成


![[附源码]计算机毕业设计JAVA宿舍管理系统](https://img-blog.csdnimg.cn/28a9a94aa6264c65a954ee476ffbaecd.png)