一。先说优点
1、基于Vue3:
Nuxt3是基于Vue.js 3开发的,Vue.js 3是目前最流行的前端框架之一。
这意味着你可以利用Vue3的所有优势,如性能优化、响应式编程、更好的TypeScript支持等。
2、服务端渲染(SSR):
Nuxt3支持服务端渲染,可以帮助你解决SPA(单页应用)中的SEO问题,提高页面加载速度,改善用户体验。

静态站点生成(SSG):Nuxt3还提供静态站点生成的功能,让你可以轻松构建高性能的静态站点,提高托管速度和安全性。
3、模块化:
Nuxt3有丰富的模块化生态系统,让你可以轻松地扩展应用的功能,减少开发工作量。
4、文件系统路由:
Nuxt3的文件系统路由让你可以通过简单的文件和目录结构来组织你的应用路由,让开发更加简洁明了。
5、开箱即用:
Nuxt3提供了许多开箱即用的功能,如状态管理、中间件、页面过渡动画等,使得开发过程更加简单和高效。
二。再来 nuxt3 项目搭建
1. nuxt3脚手架
npx nuxi init nuxt3-app
// nuxt3-app 是我的项目名称
在 nuxt3-app 目录下下载依赖
yarn
运行
yarn dev
再访问http://localhost:3000 即可看到基础界面了
2. 项目结构
(刚搭建的项目啥文件夹都没有,这里面基本都是我自己创建的。)

-
assets,存放一些静态资源,包括一些Sass、Less,在项目组件中引用的时候需要在开头使用 ~assets/ 符号,如果你的静态资源文件需要 webpack 做构建编译处理,可以放到 assets 目录,否则可以放到 static 目录中去,这也是 assets 目录 和 static 目录的一个区别 (我这里放的是全局使用的css) 也可放在public下面 -
components组件! 全部都放在/components目录下,并自动注册,(不用自己引入了,真好~ )
组件名称为目录名+组件名,并以大驼峰式命名,重复的名称会被去除~
(~ 后面再介绍组件怎么使用,这里先介绍目录吧~ ) -
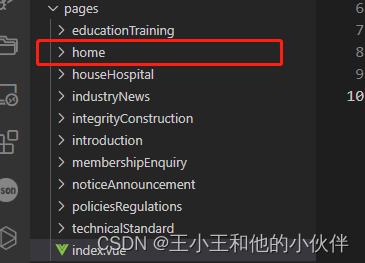
pagesNuxt 3 的pages目录,是用来建立页面并放置的目录,当项目下有存在 pages 目录,Nuxt 将会自动加载 Vue Router 来实现路由效果,目录下的文件通常是 Vue 的组件,也允许具有.vue、 .js、 .jsx、 .ts 或 .tsx副档名的文件。 当我们建立./pages/home/ index.vue,文件内容如下,则表示home 路由 / 对应到这个home页面文件,路由的配置将会由 Nuxt 3 自动产生。(不用自己创建路由了,真好~ ) -
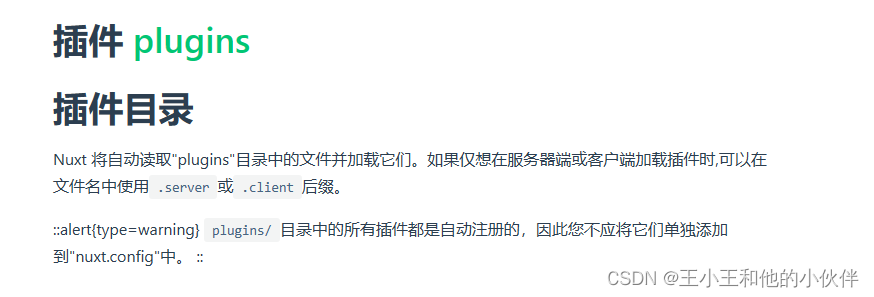
plugins这里定义的是插件,nuxt 会自动引用的。
呐! 官网说的 ~
-
public静态资源~ 我的图片放在这里 -
store状态管理,我项目中用的是pinia -
middleware设置中间件
引入插件
pinia
yarn add pinia @pinia/nuxt
element-plus
yarn add @element-plus/nuxt
添加 plugins/element.ts
import * as ElementPlusIconsVue from '@element-plus/icons-vue';
import ElementPlus from 'element-plus';

export default defineNuxtPlugin(nuxtApp => {
  // ElementPlus
  nuxtApp.vueApp.use(ElementPlus, { size: 'small', zIndex: 3000 });

  // ElementPlus Icons
  for (const [key, component] of Object.entries(ElementPlusIconsVue)) {
    nuxtApp.vueApp.component(key, component)
  }
})
less
我用的版本
    "less": "^3.12.2",
    "less-loader": "^7.0.1",
swiper
 yarn add vue-awesome-swiper
 yarn add swiper
添加 plugins/element.ts
import VueAwesomeSwiper from "vue-awesome-swiper";
// import "swiper/swiper.css";
import "swiper/swiper-bundle.css";

export default defineNuxtPlugin((nuxtApp) => {
  nuxtApp.vueApp.use(VueAwesomeSwiper);
});
我的:package.json
{
  "private": true,
  "scripts": {
    "build": "nuxt build",
    "dev": "nuxt dev",
    "generate": "nuxt generate",
    "preview": "nuxt preview"
  },
  "devDependencies": {
    "nuxt": "3.0.0-rc.4"
  },
  "dependencies": {
    "@element-plus/icons-vue": "^2.0.6",
    "@iconify/vue": "^3.2.1",
    "@pinia/nuxt": "^0.1.9",
    "@windicss/plugin-animations": "^1.0.9",
    "element-plus": "^2.2.8",
    "less": "^3.12.2",
    "less-loader": "^7.0.1",
    "nuxt-windicss": "^2.4.2",
    "pinia": "^2.0.14",
    "sass": "^1.53.0",
    "swiper": "^8.0.7",
    "nuxt-swiper": "^0.1.6",
    "unplugin-auto-import": "^0.9.2",
    "unplugin-vue-components": "^0.21.1",
    "vue-awesome-swiper": "^5.0.1"
  }
}
我安装的包
我的 nuxt.config.ts
import { defineNuxtConfig } from "nuxt";

const lifecycle = process.env.npm_lifecycle_event;

export default defineNuxtConfig({
  app: {
    head: {
      title: "房屋医院",
      // link: [{ rel: "icon", type: "image/*", href: "" }],
      link: [{ rel: "icon", type: "image/x-icon", href: "/favicon.ico" }],
      script: [
        {
          type: "text/javascript",
          src: "https://map.qq.com/api/js?v=2.exp&key=XXX",
        },
      ],
    },
  },
  css: ["~/assets/scss/index.scss"],
  build: {
    transpile: lifecycle === "build" ? ["element-plus"] : [],
  },
  buildModules: ["nuxt-windicss", "@pinia/nuxt"],
});
四。 开始使用了
1. 配置路由 :
nuxt3 是不用自己配置路由的,只要创建文件夹就可以了~
home 文件夹对应的路由是 http://localhost:3000/home
2.中间件,设置路由重定向
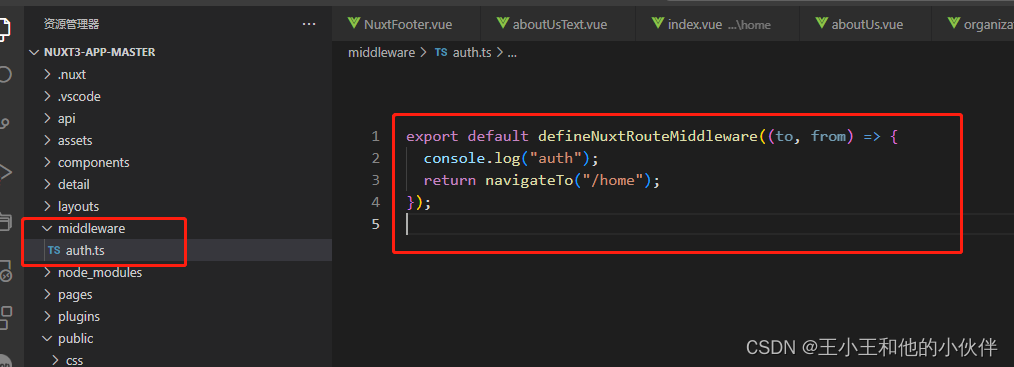
// 设置
export default defineNuxtRouteMiddleware((to, from) => {
  console.log("auth");
  return navigateTo("/home");
});
我的需求是,刚进入页面默认进入home路由。
// 使用 pages/index
definePageMeta({
  middleware: "auth",
});
3. 使用组件
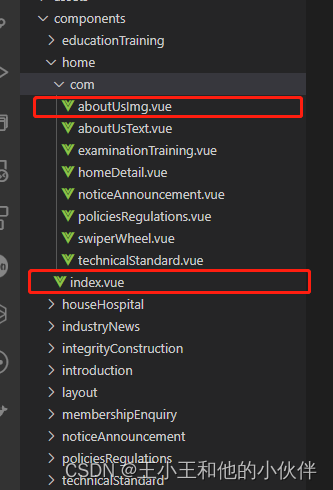
index文件 是自己在 home 文件夹下面的。要是使用 直接
<Home />
com 文件夹下面的 aboutUsImg 文件 要是使用 直接
<HomeComAboutUsImg />
4. 引入静态资源
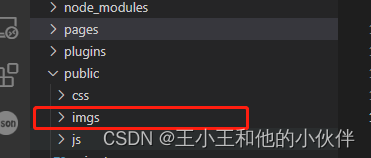
我的图片资源,都是放在pulic/imgs,下面的。
使用1 :
 <div class="introduction-title">
    <img src="/imgs/introduction/titleUse.png" alt="" />
    // 直接 "/imgs/introduction/titleUse.png" 去使用,要加/
</div>
使用2 :state中使用
不要加/
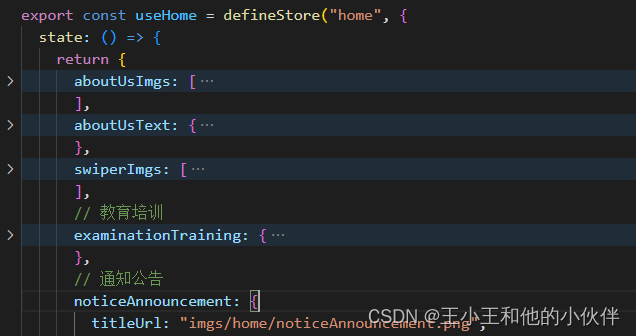
5. 使用 pinia
import { defineStore } from "pinia";
export const useCommon = defineStore("common", {
  state: () => {
    return {
      selectNavIndex: 0
    };
  },
  actions: {
    setSelectNavIndex(val) {
      this.selectNavIndex = val;
    }
  },
});
import { useHome } from "@/store/home";
const homeStore = useHome();
const selectNavIndex = computed(() => homeStore.selectNavIndex);
6.使用腾讯地图
nuxt.config.ts 配置
export default defineNuxtConfig({
  app: {
    head: {
      title: "房屋医院",
      // link: [{ rel: "icon", type: "image/*", href: "" }],
      link: [{ rel: "icon", type: "image/x-icon", href: "/favicon.ico" }],
      script: [
        {
          type: "text/javascript",
          src: "https://map.qq.com/api/js?v=2.exp&key=XXX",
        },
      ],
    },
  },
});
文件中使用:
<template>
  <div class="map">
    <div id="container"></div>
  </div>
</template>

<script setup>
const initMap = () => {
  const center = new qq.maps.LatLng(31.275091, 120.608716);
  var map = new qq.maps.Map(document.getElementById("container"), {
    // 地图的中心地理坐标。
    center: center,
    zoom: 13,
    disableDefaultUI: true, //禁止所有控件
  });
  var label = new qq.maps.Label({
    position: center,
    map: map,
    content: "文本标记",
  });
  var marker = new qq.maps.Marker({
    position: center,
    map: map,
  });
};
onMounted(() => {
  initMap();
});
</script>

<style lang="less" scoped>
#container {
  /*地图(容器)显示大小*/
  width: 527px;
  height: 343px;
}
</style>
打包:
npm run generate 或者 npm run build
生成 .output / dist 文件
全局 安装
npm install -g http-server
打开cmd命令行,cd进入.output / dist 文件下的 public文件夹目录下,执行
http-server -p 12345
打开启动的项目地址 即可查看是否成功。