参考
源文档The Complete Guide to Full Stack Web3 Development - DEV Community
源码,源文章里的github项目无法直接运行,经过修改后可mac中可用GitHub - daocodedao/web3-blog: https://linzhji.blog.csdn.net/article/details/130125634
框架
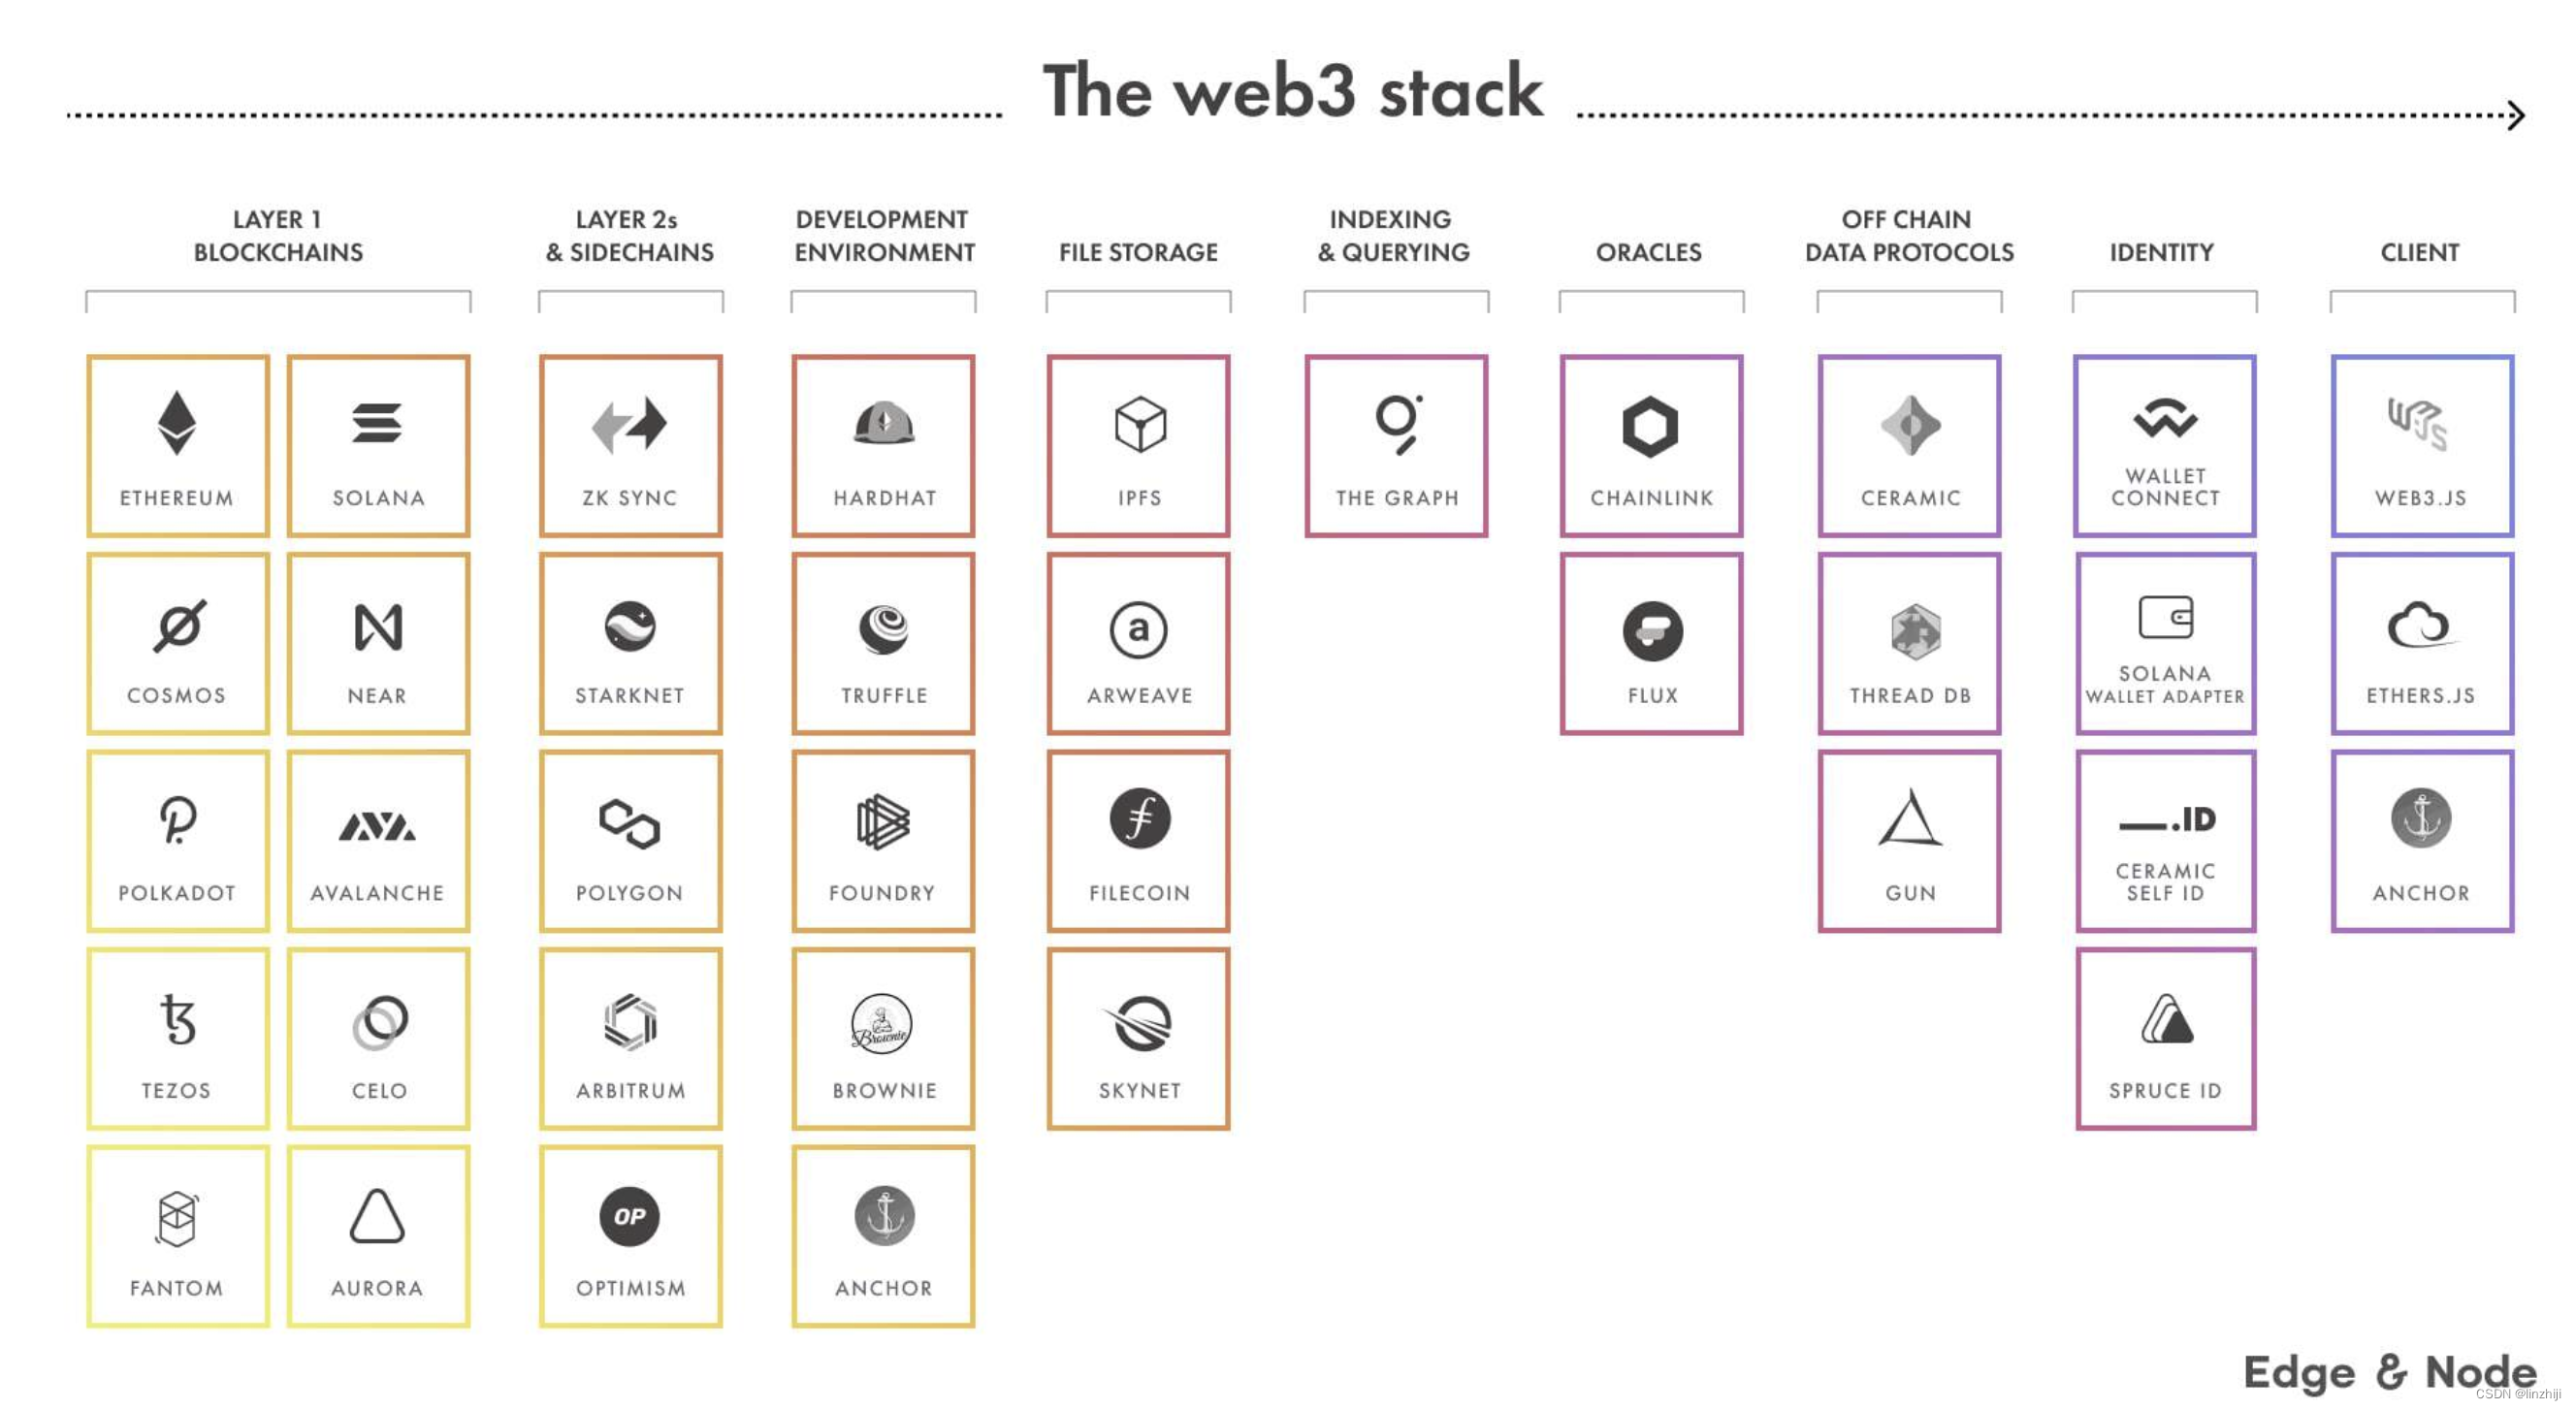
博客系统将会部署在polygon,因为polygon交易费用比较低。整体项目框架
- 区块链:Hardhat,polygon
- eth开发环境:Hardhat
- 前端框架:Next.js 和 React
- 文件存储:IPFS
- 检索: The Graph Protocol
前置准备
- node.js 环境
- vscode
- metamask钱包
开始开发
创建项目
npx create-next-app web3-blog
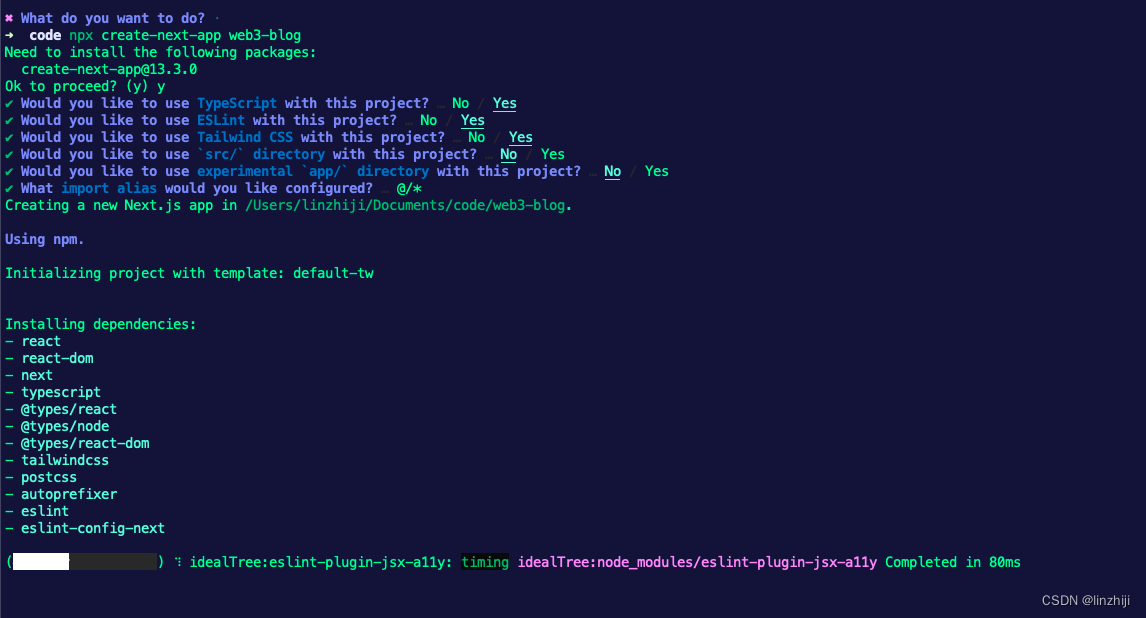
cd web3-blog
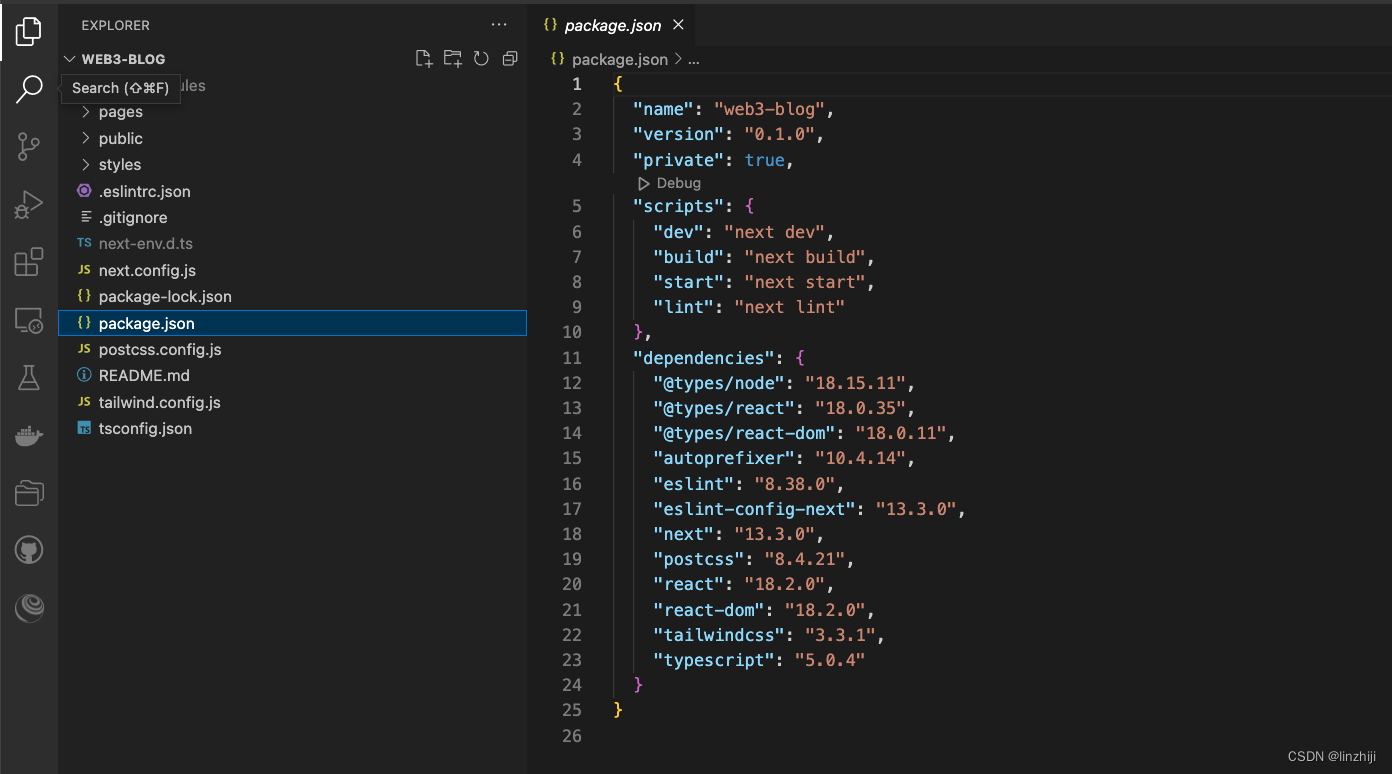
丰富一下package.json,新增
    "@openzeppelin/contracts": "^4.3.2",
    "@walletconnect/web3-provider": "^1.6.6",
    "hardhat": "^2.6.7",
    "ipfs-http-client": "^56.0.0",
    "web3modal": "^1.9.4",
    "react-markdown": "^7.1.0",
    "react-simplemde-editor": "^5.0.2",
    "@emotion/css": "^11.5.0"

  },
  "devDependencies": {
    "@nomiclabs/hardhat-ethers": "^2.0.0",
    "@nomiclabs/hardhat-waffle": "^2.0.0",
    "chai": "^4.2.0",
    "eslint": "7",
    "eslint-config-next": "12.0.1",
    "ethereum-waffle": "^3.0.0",
    "ethers": "^5.0.0"
  }
hardhat - Ethereum 开发环境
web3modal - 方便快速的连接钱包
react-markdown and simplemde - Markdown editor and markdown renderer for the CMS
@emotion/css - A great CSS in JS library
@openzeppelin/contracts -开源的solidity框架
#安装包依赖
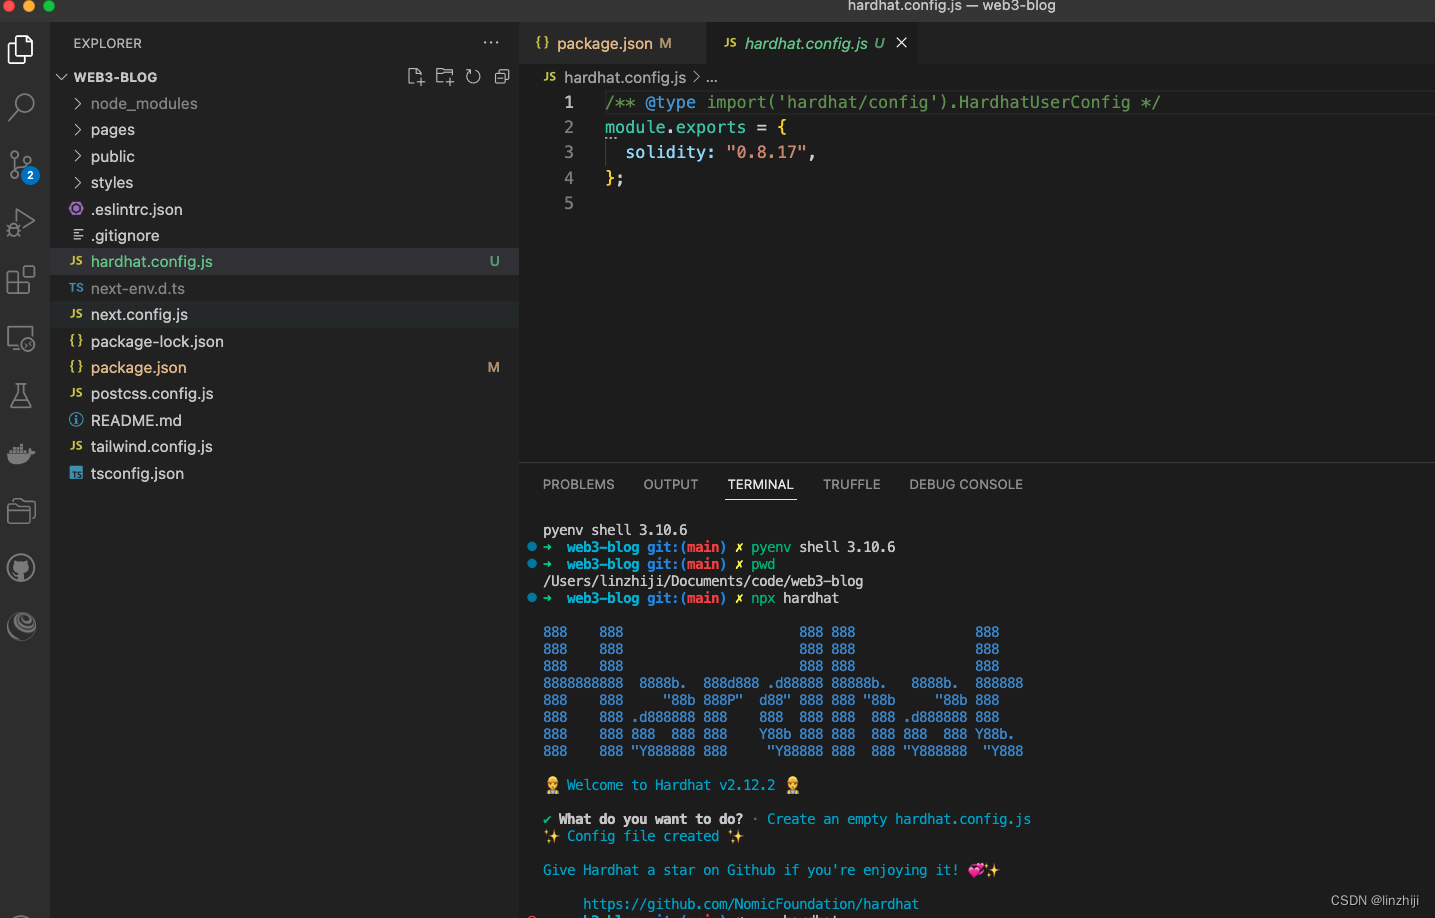
npm install准备hardhat部署脚本
npx hardhat

#选 Create an empty hardhat.config.js
开始编码
修改 styles/globals.css 文件,具体代码参考github,不贴了
public 文件夹添加 logo.svg and right-arrow.svg
智能合约
// contracts/Blog.sol
//SPDX-License-Identifier: Unlicense
pragma solidity ^0.8.0;

import "hardhat/console.sol";
import "@openzeppelin/contracts/utils/Counters.sol";

contract Blog {
    string public name;
    address public owner;

    using Counters for Counters.Counter;
    Counters.Counter private _postIds;

    struct Post {
      uint id;
      string title;
      string content;
      bool published;
    }
    /* mappings can be seen as hash tables */
    /* here we create lookups for posts by id and posts by ipfs hash */
    mapping(uint => Post) private idToPost;
    mapping(string => Post) private hashToPost;

    /* events facilitate communication between smart contractsand their user interfaces  */
    /* i.e. we can create listeners for events in the client and also use them in The Graph  */
    event PostCreated(uint id, string title, string hash);
    event PostUpdated(uint id, string title, string hash, bool published);

    /* when the blog is deployed, give it a name */
    /* also set the creator as the owner of the contract */
    constructor(string memory _name) {
        console.log("Deploying Blog with name:", _name);
        name = _name;
        owner = msg.sender;
    }

    /* updates the blog name */
    function updateName(string memory _name) public {
        name = _name;
    }

    /* transfers ownership of the contract to another address */
    function transferOwnership(address newOwner) public onlyOwner {
        owner = newOwner;
    }

    /* fetches an individual post by the content hash */
    function fetchPost(string memory hash) public view returns(Post memory){
      return hashToPost[hash];
    }

    /* creates a new post */
    function createPost(string memory title, string memory hash) public onlyOwner {
        _postIds.increment();
        uint postId = _postIds.current();
        Post storage post = idToPost[postId];
        post.id = postId;
        post.title = title;
        post.published = true;
        post.content = hash;
        hashToPost[hash] = post;
        emit PostCreated(postId, title, hash);
    }

    /* updates an existing post */
    function updatePost(uint postId, string memory title, string memory hash, bool published) public onlyOwner {
        Post storage post =  idToPost[postId];
        post.title = title;
        post.published = published;
        post.content = hash;
        idToPost[postId] = post;
        hashToPost[hash] = post;
        emit PostUpdated(post.id, title, hash, published);
    }

    /* fetches all posts */
    function fetchPosts() public view returns (Post[] memory) {
        uint itemCount = _postIds.current();

        Post[] memory posts = new Post[](itemCount);
        for (uint i = 0; i < itemCount; i++) {
            uint currentId = i + 1;
            Post storage currentItem = idToPost[currentId];
            posts[i] = currentItem;
        }
        return posts;
    }

    /* this modifier means only the contract owner can */
    /* invoke the function */
    modifier onlyOwner() {
      require(msg.sender == owner);
    _;
  }
}
合约允许拥有者创建,编辑博客内容,允许任何人获取内容
测试合约
test/sample-test.js
onst { expect } = require("chai")
const { ethers } = require("hardhat")

describe("Blog", async function () {
  it("Should create a post", async function () {
    const Blog = await ethers.getContractFactory("Blog")
    const blog = await Blog.deploy("My blog")
    await blog.deployed()
    await blog.createPost("My first post", "12345")

    const posts = await blog.fetchPosts()
    expect(posts[0].title).to.equal("My first post")
  })

  it("Should edit a post", async function () {
    const Blog = await ethers.getContractFactory("Blog")
    const blog = await Blog.deploy("My blog")
    await blog.deployed()
    await blog.createPost("My Second post", "12345")

    await blog.updatePost(1, "My updated post", "23456", true)

    posts = await blog.fetchPosts()
    expect(posts[0].title).to.equal("My updated post")
  })

  it("Should add update the name", async function () {
    const Blog = await ethers.getContractFactory("Blog")
    const blog = await Blog.deploy("My blog")
    await blog.deployed()

    expect(await blog.name()).to.equal("My blog")
    await blog.updateName('My new blog')
    expect(await blog.name()).to.equal("My new blog")
  })
})
npx hardhat test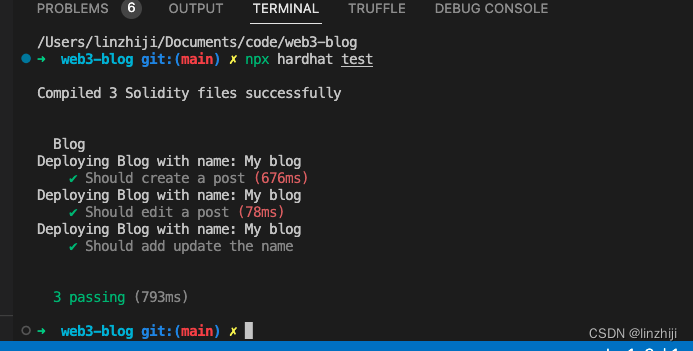
部署合约
部署前先启动本地eth网络
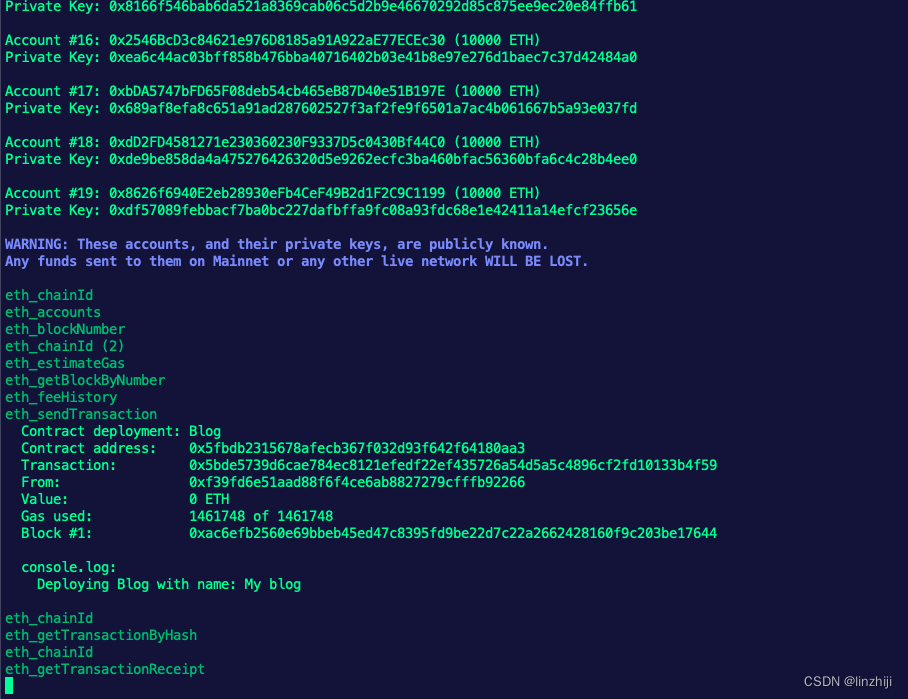
npx hardhat node
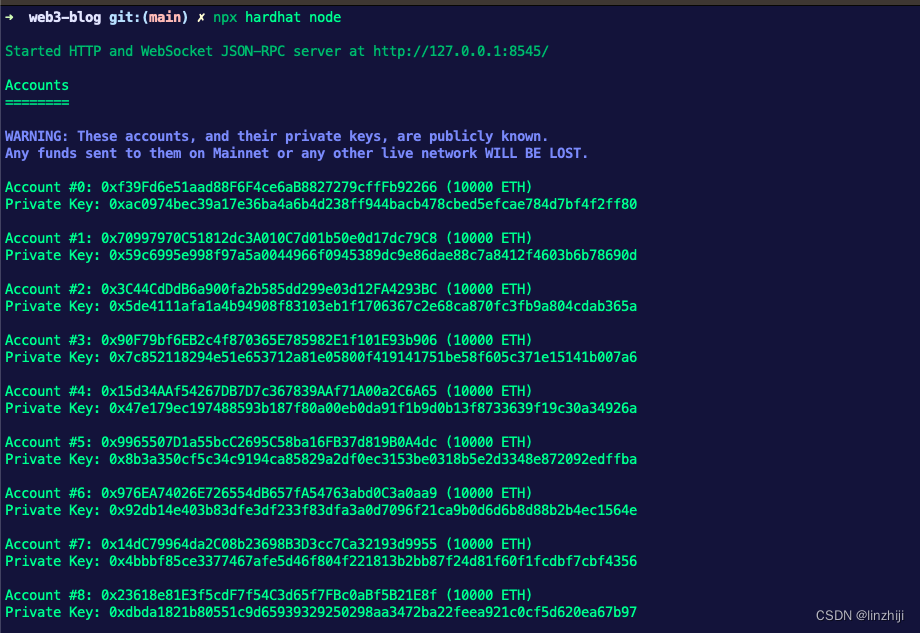
启动成功后,可以看到20个测试账号,后续测试开发可以用
修改部署脚本 scripts/deploy.js.
/* scripts/deploy.js */
const hre = require("hardhat");
const fs = require('fs');

async function main() {
  /* these two lines deploy the contract to the network */
  const Blog = await hre.ethers.getContractFactory("Blog");
  const blog = await Blog.deploy("My blog");

  await blog.deployed();
  console.log("Blog deployed to:", blog.address);

  /* this code writes the contract addresses to a local */
  /* file named config.js that we can use in the app */
  fs.writeFileSync('./config.js', `
  export const contractAddress = "${blog.address}"
  export const ownerAddress = "${blog.signer.address}"
  `)
}

main()
  .then(() => process.exit(0))
  .catch((error) => {
    console.error(error);
    process.exit(1);
  });
执行部署
npx hardhat run scripts/deploy.js --network localhost
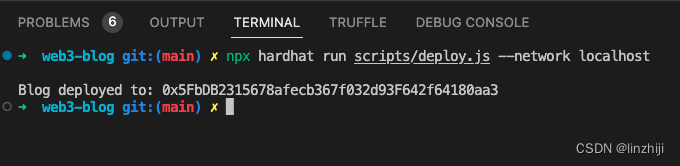
 部署成功,合约地址:0x5fbdb2315678afecb367f032d93f642f64180aa3
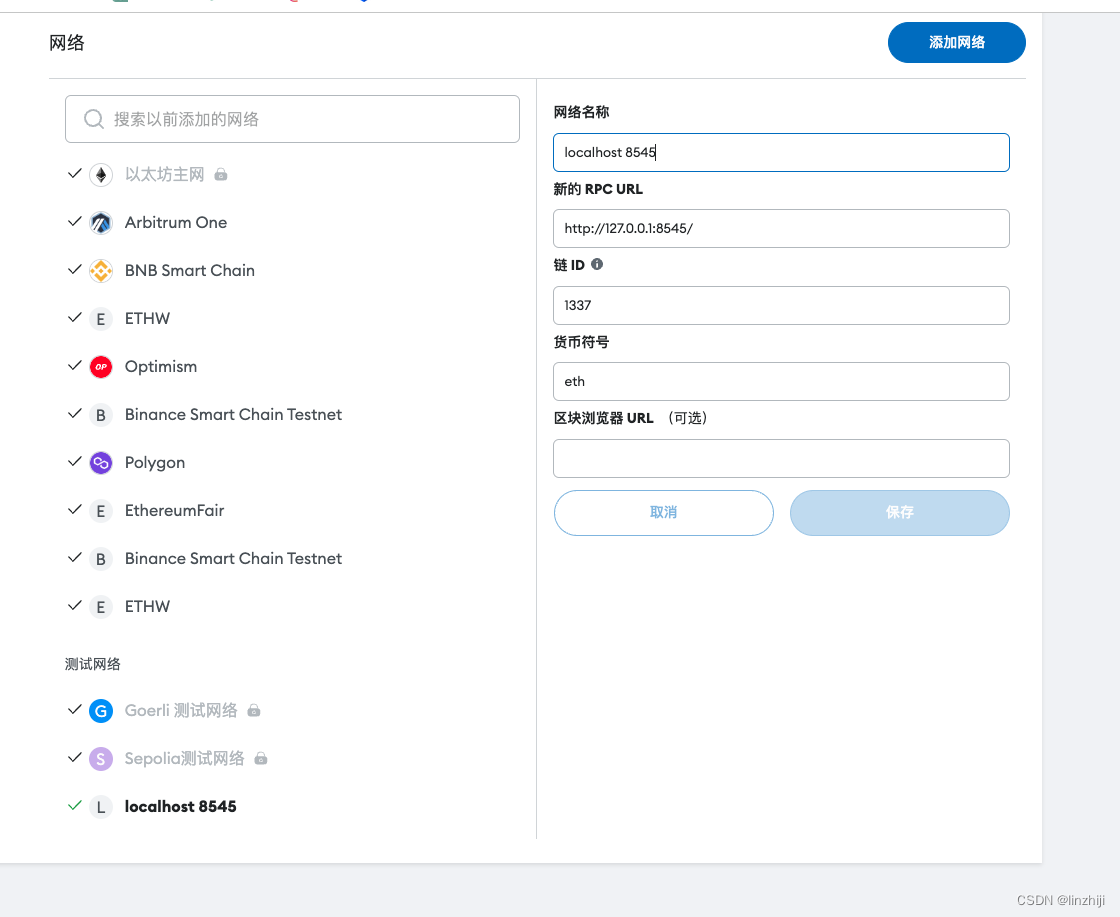
meta钱包
前面创建的地址,选一个
Account #0: 0xf39Fd6e51aad88F6F4ce6aB8827279cffFb92266 (10000 ETH)
Private Key: 0xac0974bec39a17e36ba4a6b4d238ff944bacb478cbed5efcae784d7bf4f2ff80
添加网络
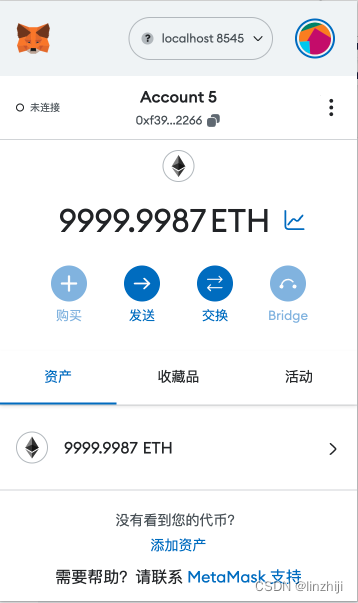
导入账号 ,前面选择的秘钥0xac0974bec39a17e36ba4a6b4d238ff944bacb478cbed5efcae784d7bf4f2ff80
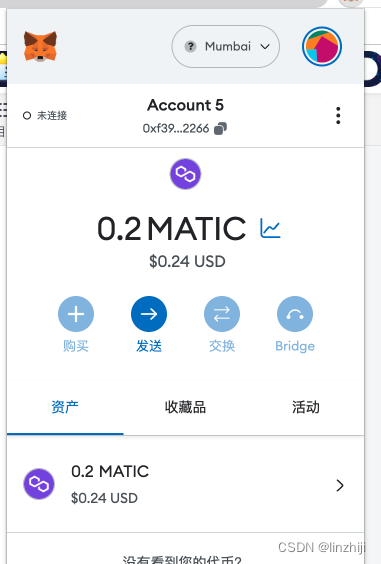
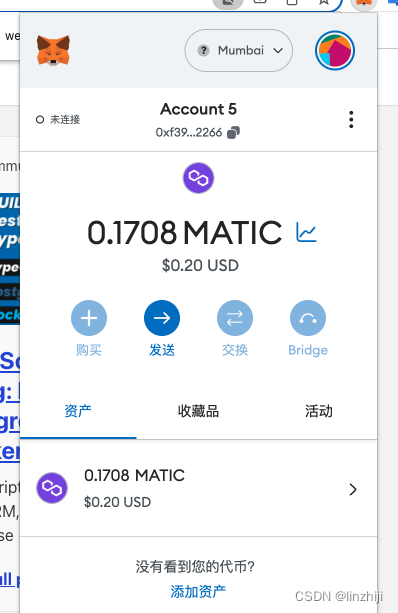
查看余额
Next.js app
环境配置文件
先创建环境配置文件.env.local
ENVIRONMENT="local"
NEXT_PUBLIC_ENVIRONMENT="local"变量可以切换local, testnet, and mainnet
js代码对应
context.js
import { createContext } from 'react'

export const AccountContext = createContext(null)
Layout and Nav
打开pages/_app.js ,修改,参考github代码
Entrypoint入口页面
打开pages/index.js,参考github代码
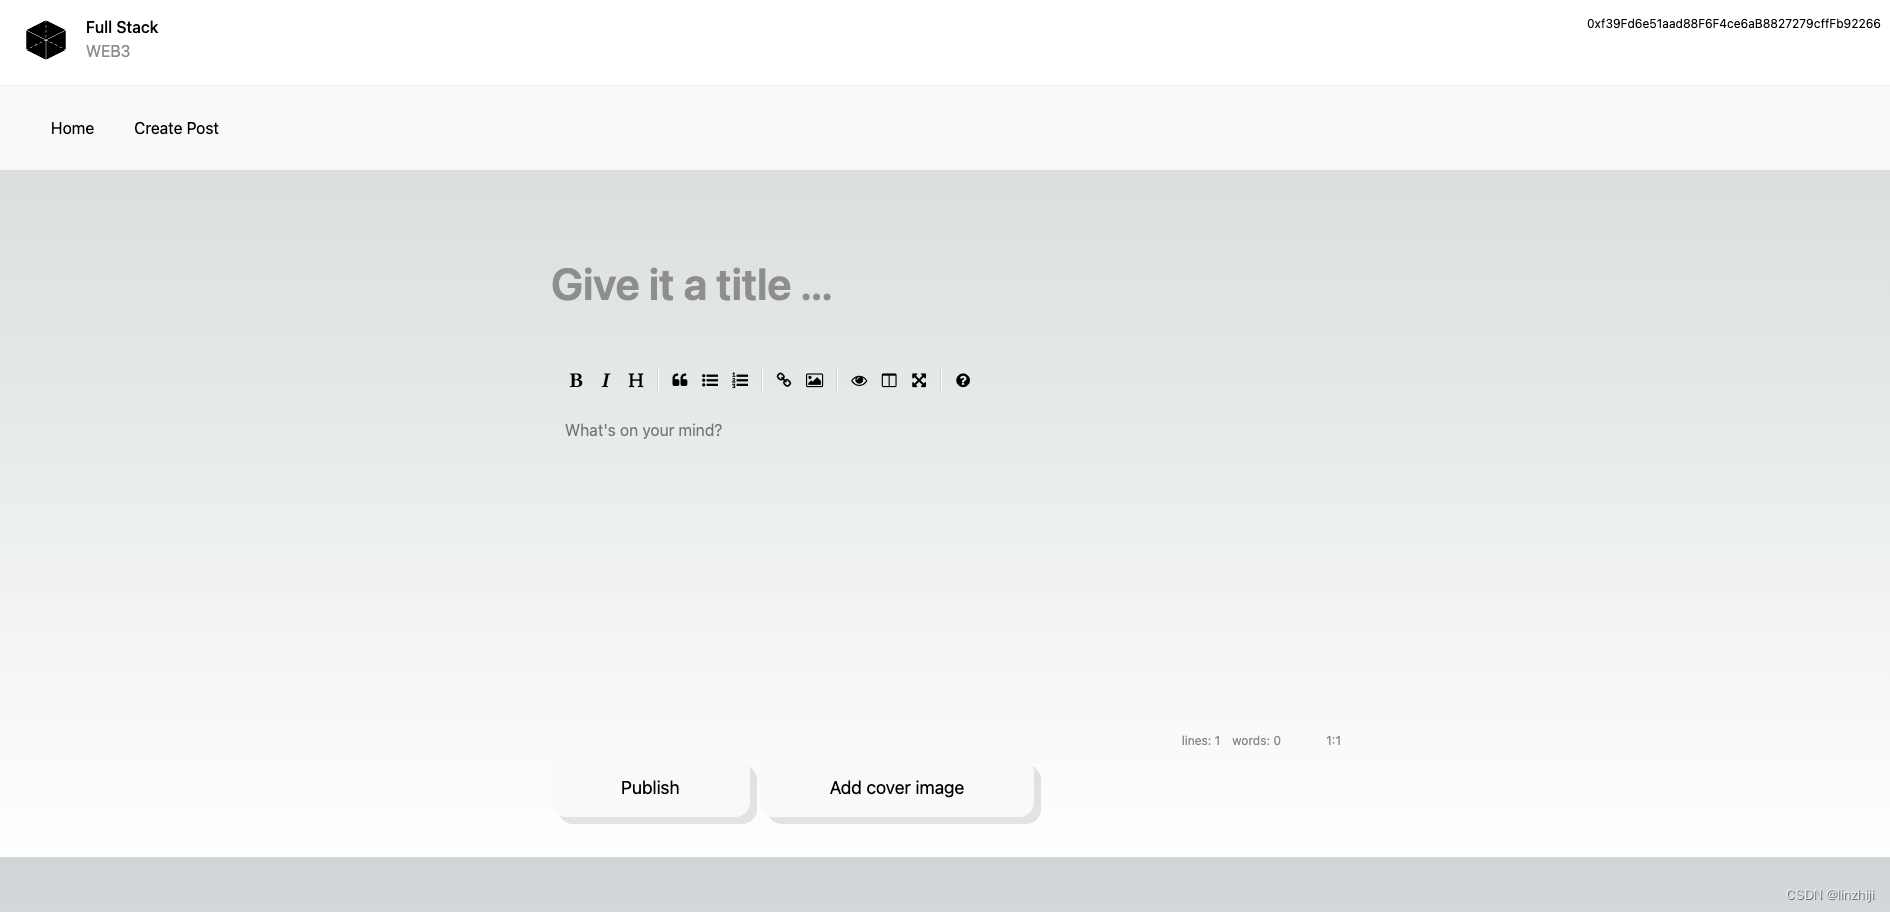
发布博客页面
pages/create-post.js,参考github代码
查看博客内容页面
博客的详情地址规则,myapp.com/post/some-post-id,修改文件pages/post/[id].js
编辑博客内容
修改文件 pages/post/[id].js
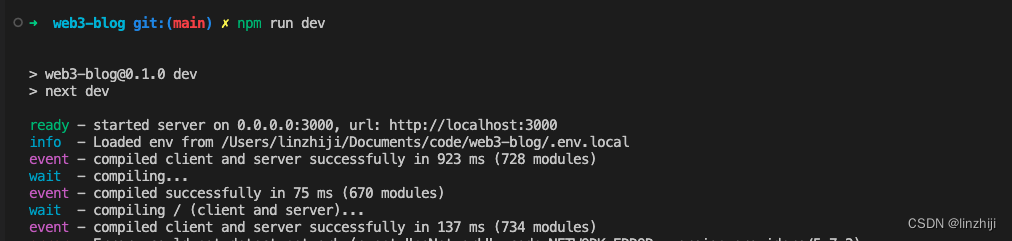
调试运行
npm run dev
或者使用vscode调试
launch.json
{
    // Use IntelliSense to learn about possible attributes.
    // Hover to view descriptions of existing attributes.
    // For more information, visit: https://go.microsoft.com/fwlink/?linkid=830387
    "version": "0.2.0",
    "configurations": [
        {
            "name": "Launch via npm",
            "type": "node",
            "request": "launch",
            "cwd": "${workspaceFolder}",
            "runtimeExecutable": "npm",
            "runtimeArgs": ["run-script", "dev"]
          }

    ]
}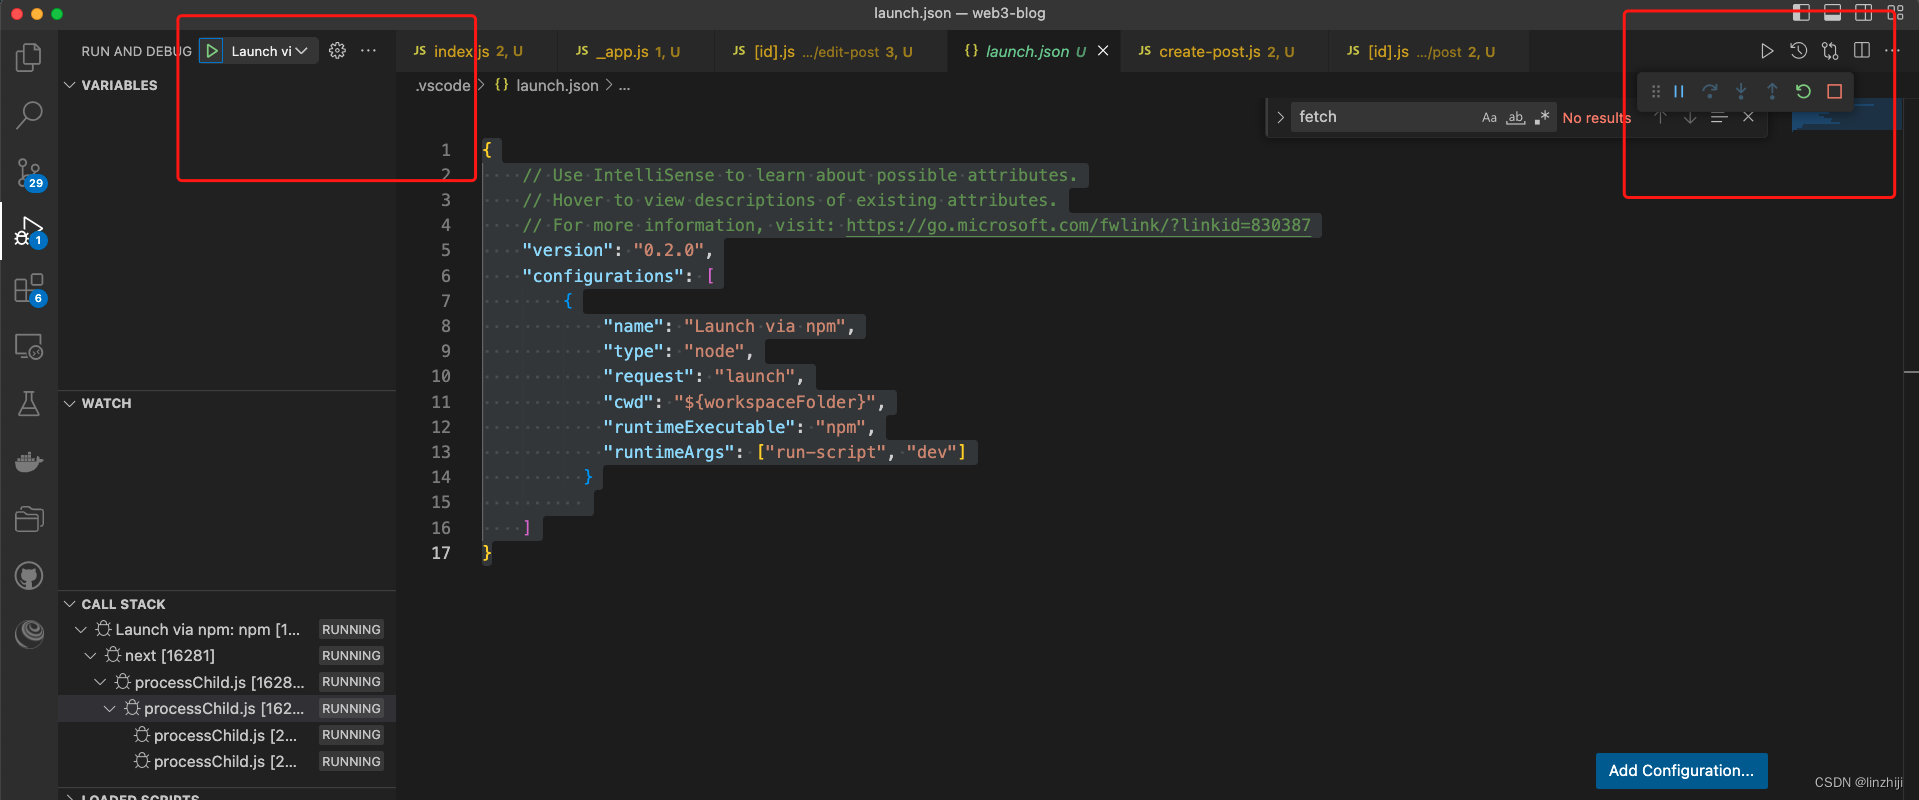
执行失败,报错
Error: could not detect network (event="noNetwork", code=NETWORK_ERROR, version=providers/5.7.2)

搜索代码
    provider = new ethers.providers.JsonRpcProvider()

#改为

    provider = new ethers.providers.JsonRpcProvider('http://127.0.0.1:8545/')
这个127.0.0.1:8545 对应前面的 hardhat 网络
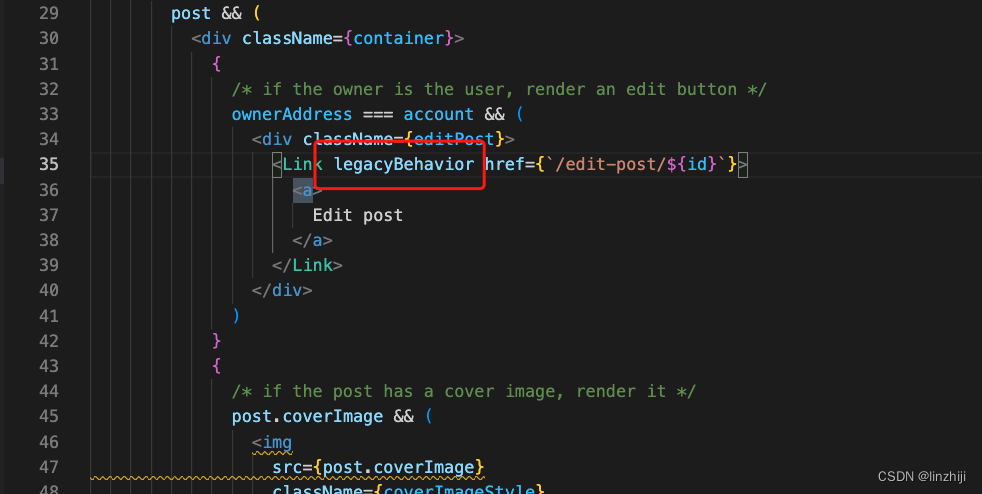
保存后,又报错
Error: Invalid <Link> with <a> child. Please remove <a> or use <Link legacyBehavior>.
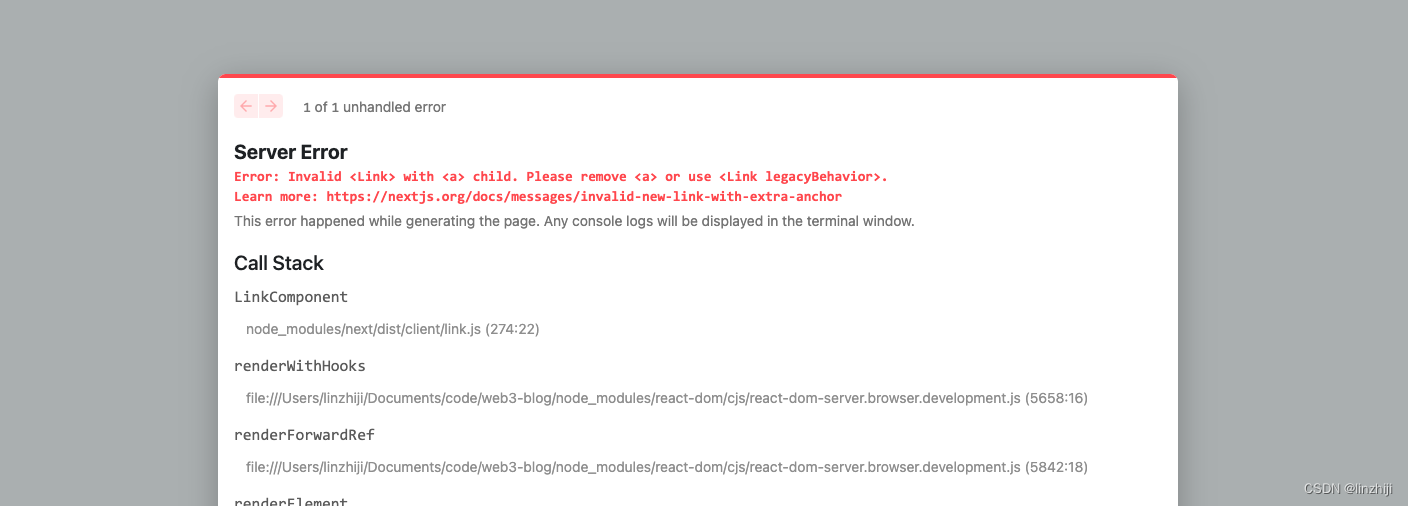
搜索代码<a ,对应找到<Link 后面加 legacyBehavior
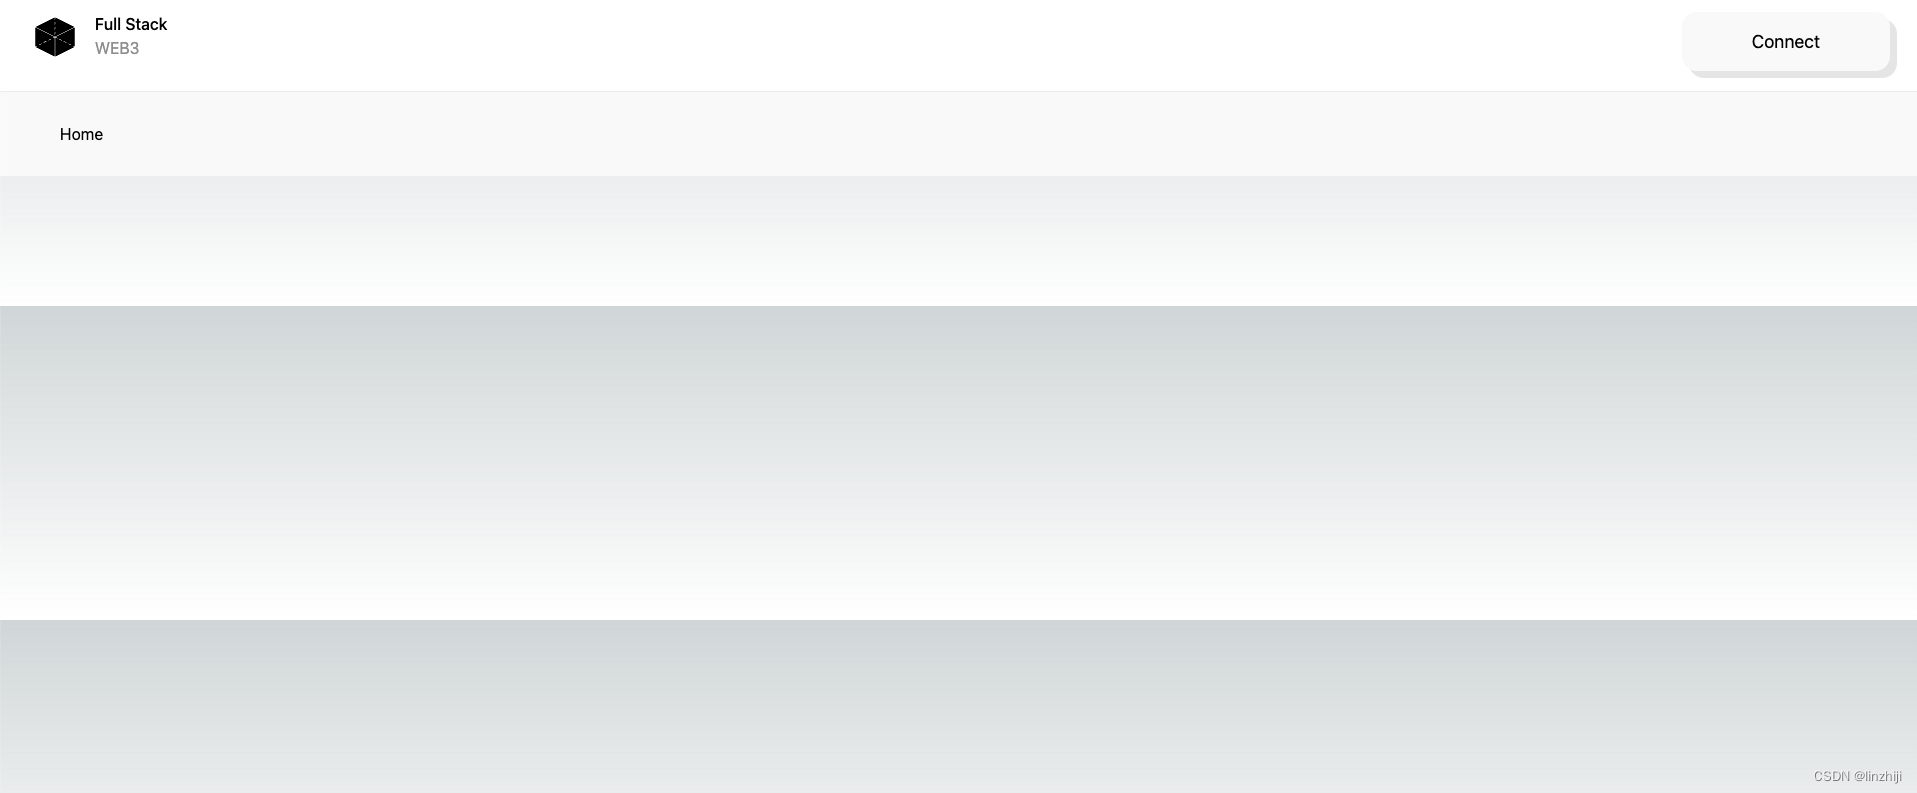
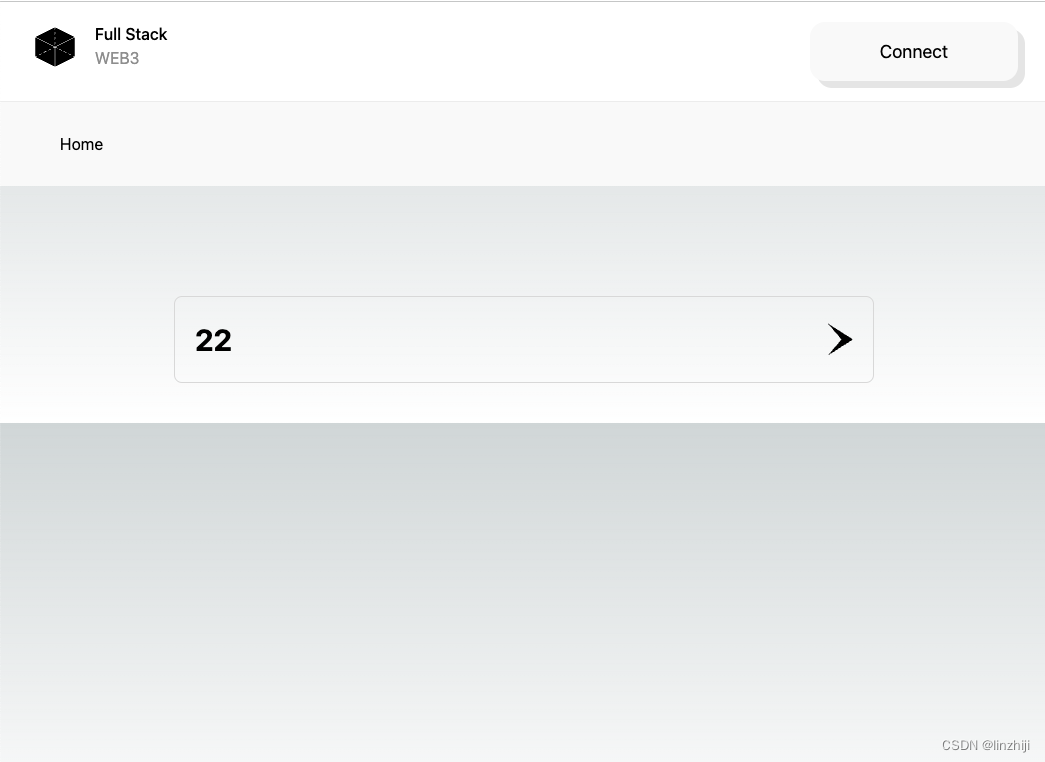
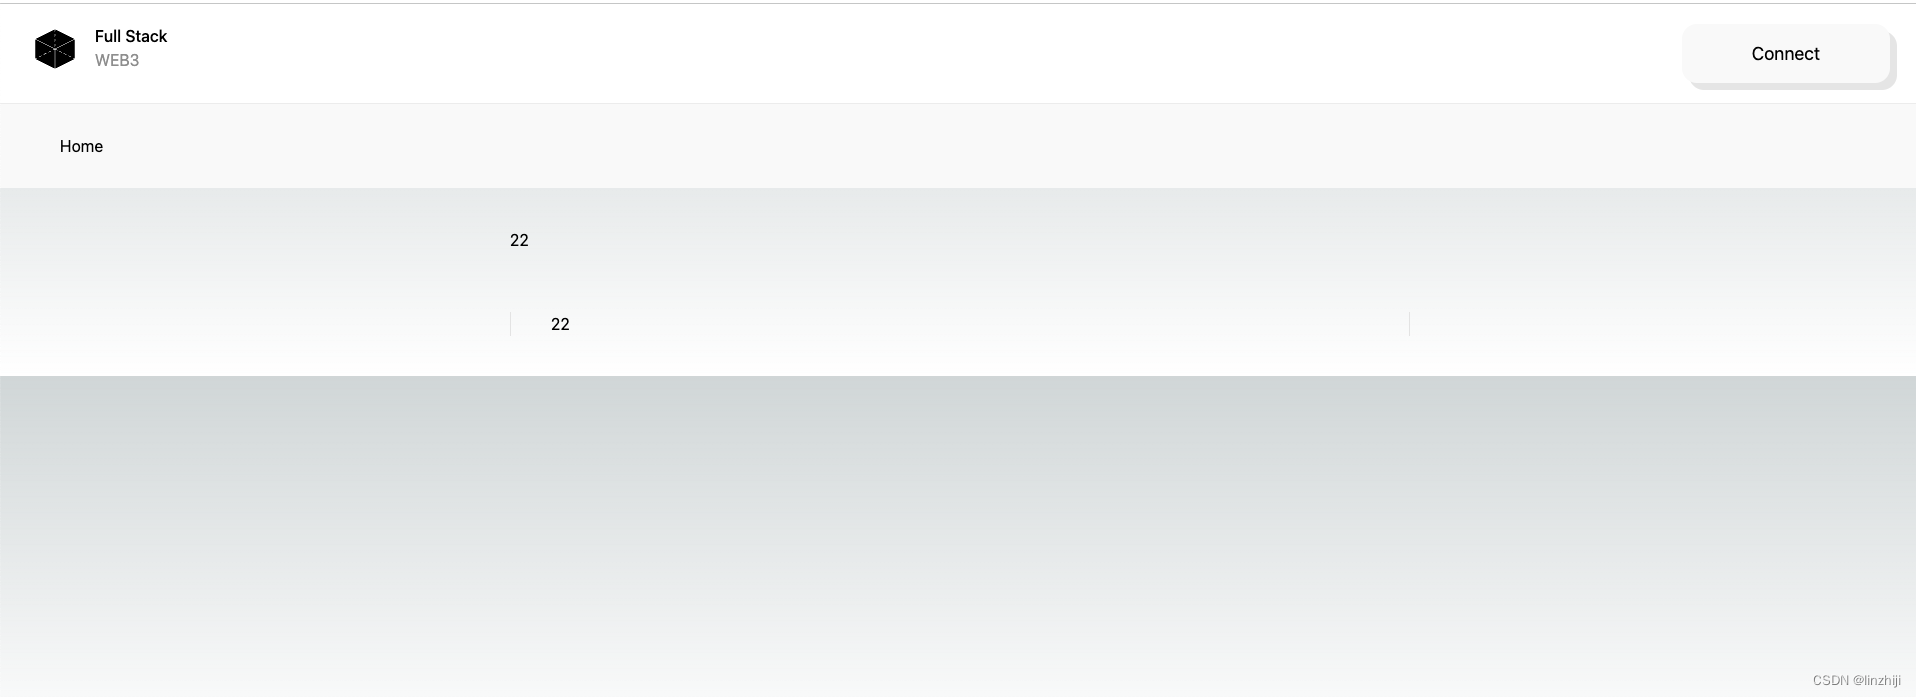
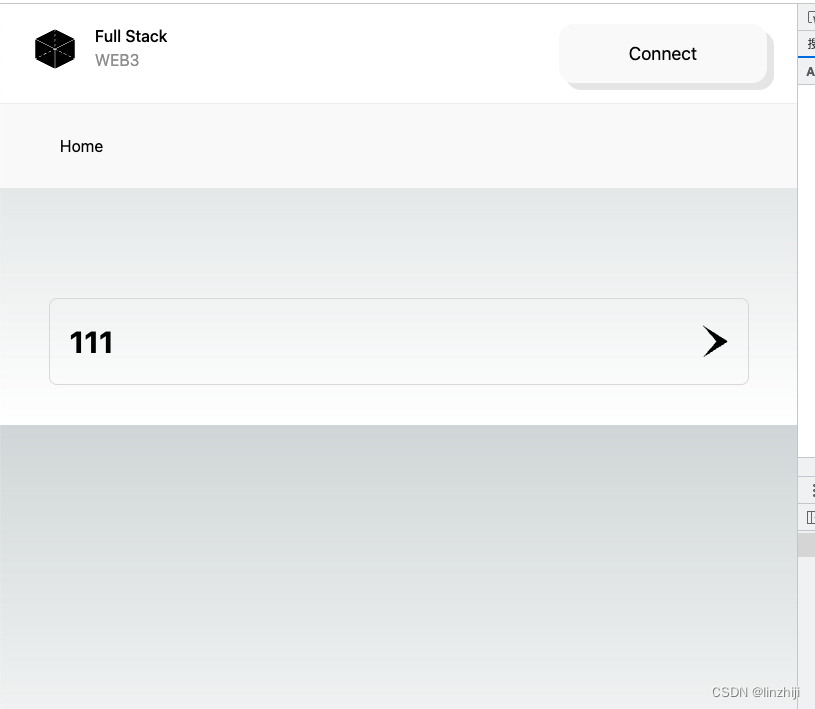
 跑起来了
跑起来了
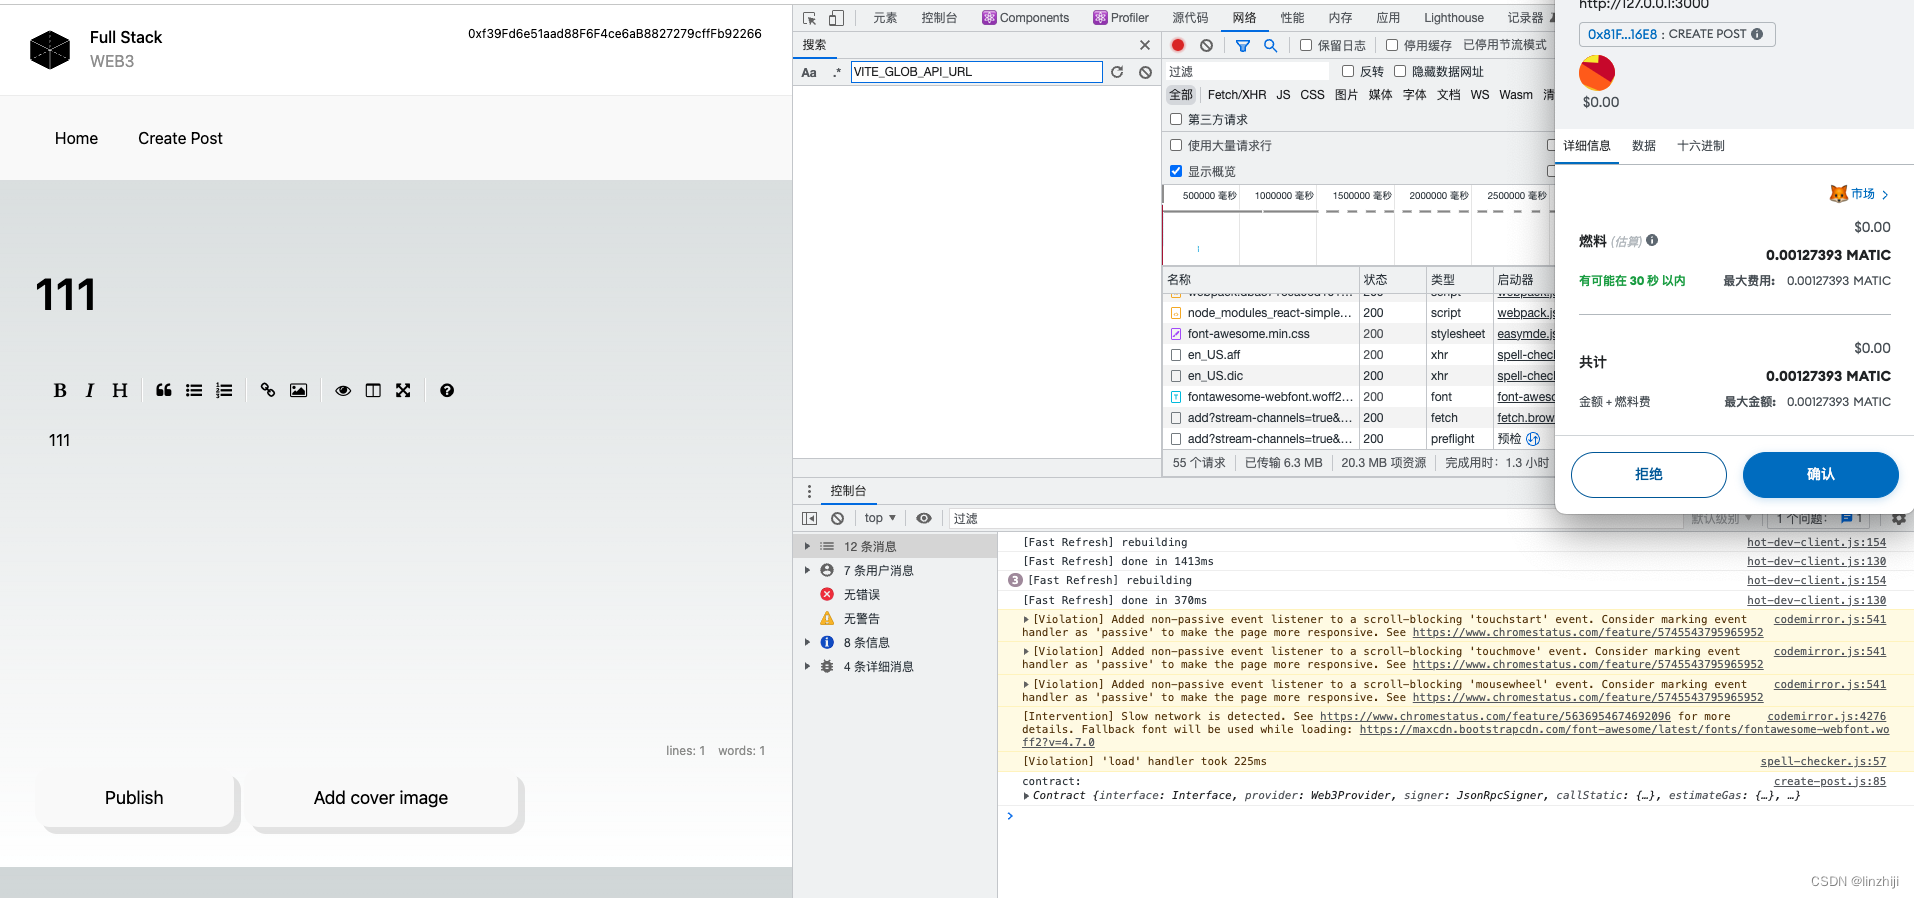
连接metamask钱包
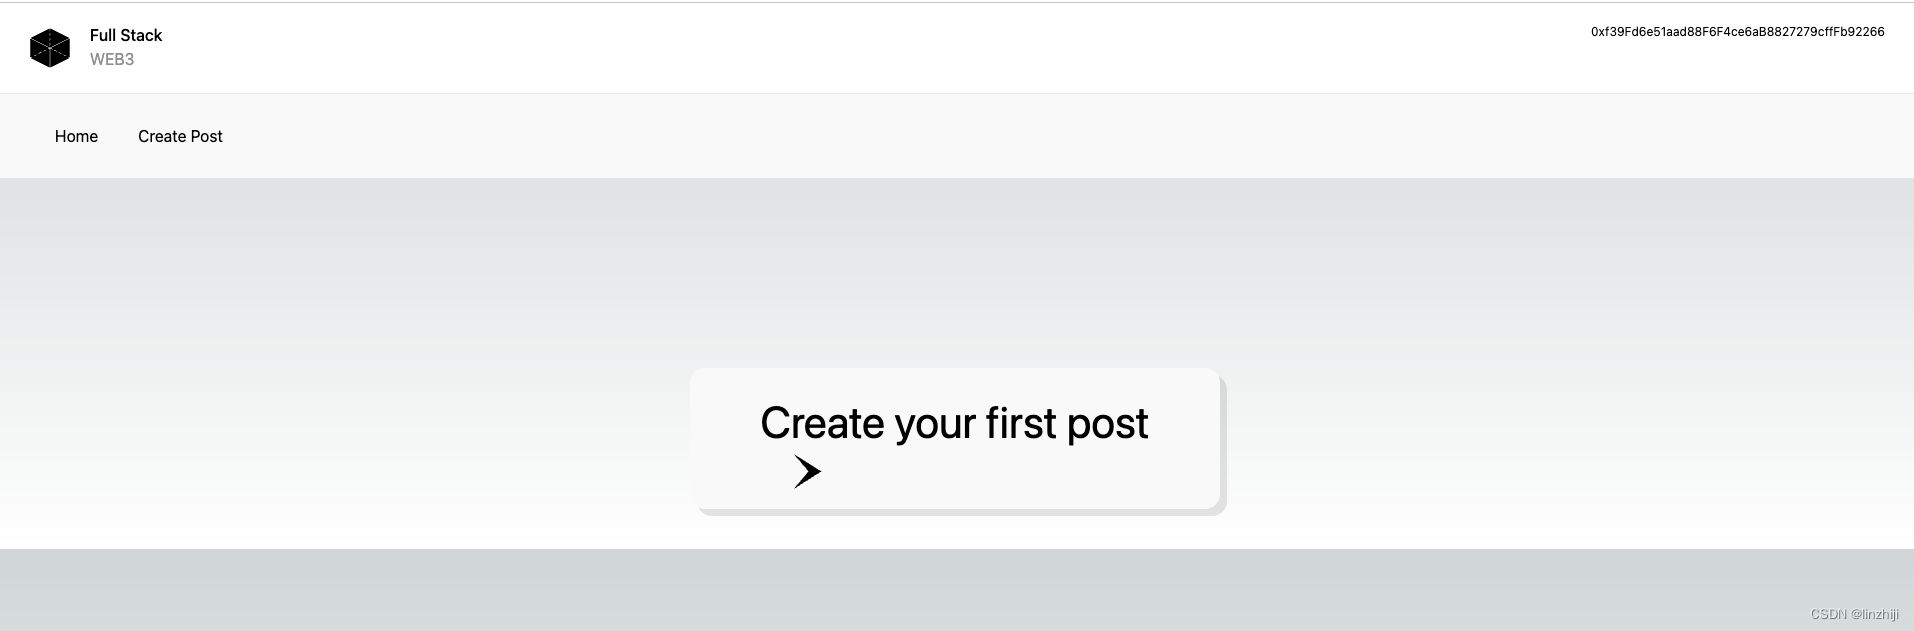
发帖
 失败了,看了一下infura doc, Make requests - Infura Docs,使用的不太对,改一下,
const client = create('https://ipfs.infura.io:5001/api/v0')

改为

const projectId = 'xxxxxxx';
const projectSecret = 'xxxxxxxx';
const auth = 'Basic ' + Buffer.from(projectId + ':' + projectSecret).toString('base64');

/* define the ipfs endpoint */
const client = create({
  host: 'ipfs.infura.io',
  port: 5001,
  protocol: 'https',
  headers: {
      authorization: auth,
  },
})
代码的xxxx是infura里申请的
搞定
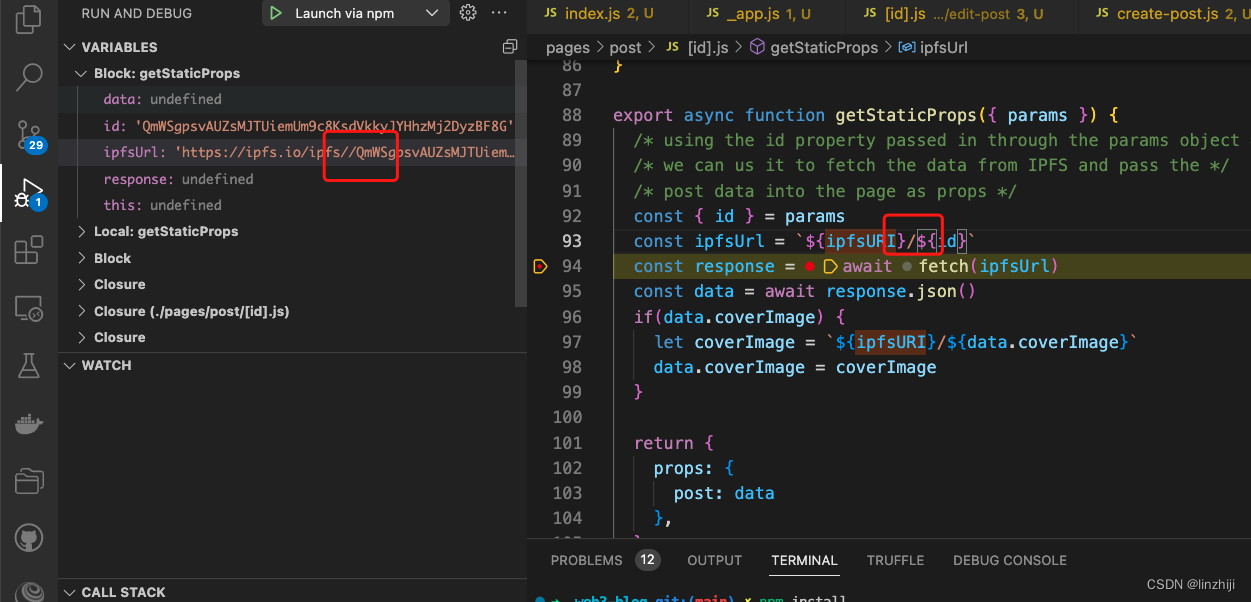
查看帖子又报错
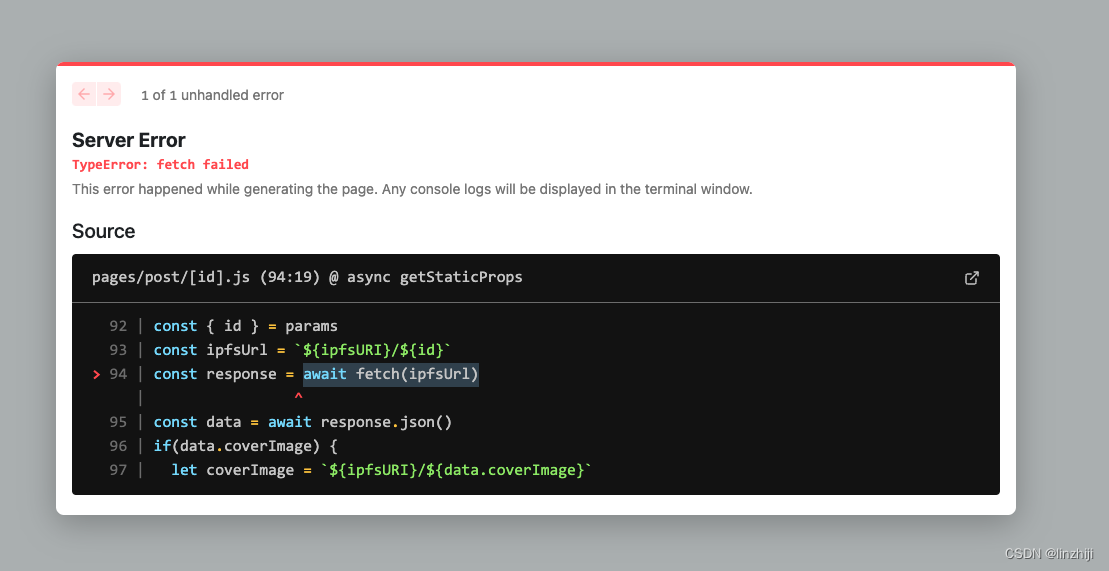
debug发现多了一个/,去掉
浏览器能访问了,但是代码还不行,查了一下infura的doc,Public gateway 已经关闭了,需要用infura上创建项目的gateway,具体原因:Public gateway - Infura Docs
const ipfsURI = 'https://ipfs.io/ipfs'

#改为

const ipfsURI = 'https://xxx.infura-ipfs.io/ipfs'

# xxx是你自己的gateway
上polygon
meta钱包
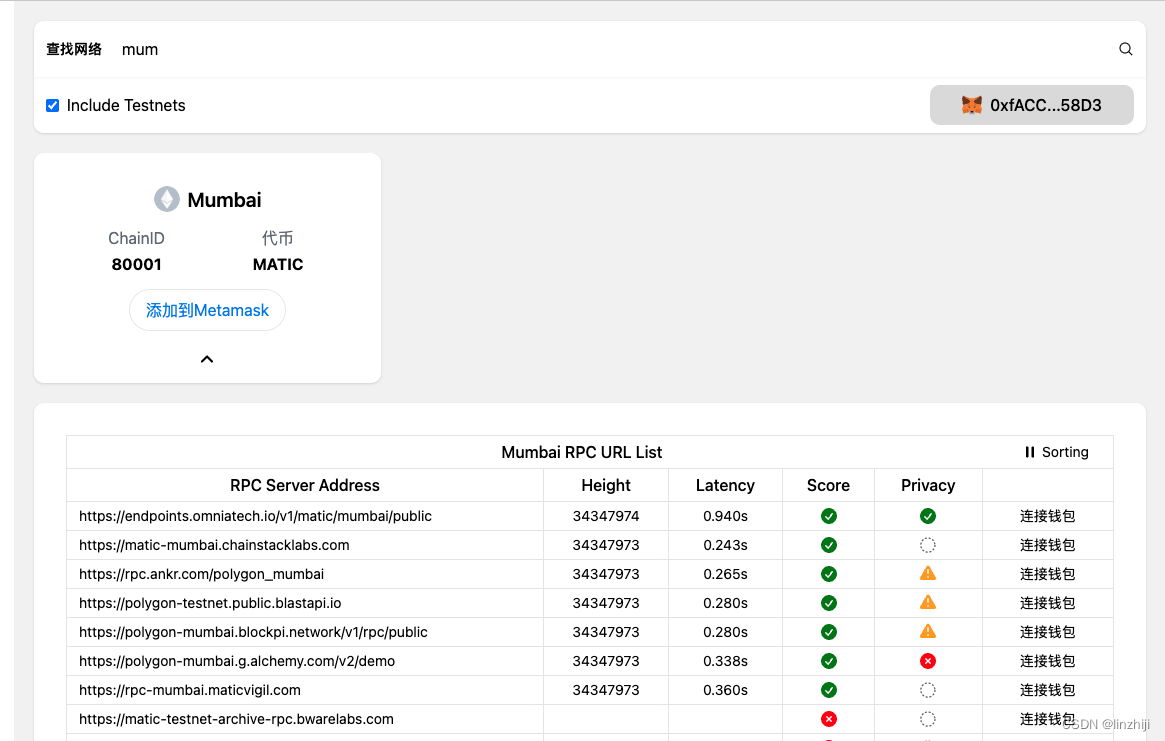
Chainlist

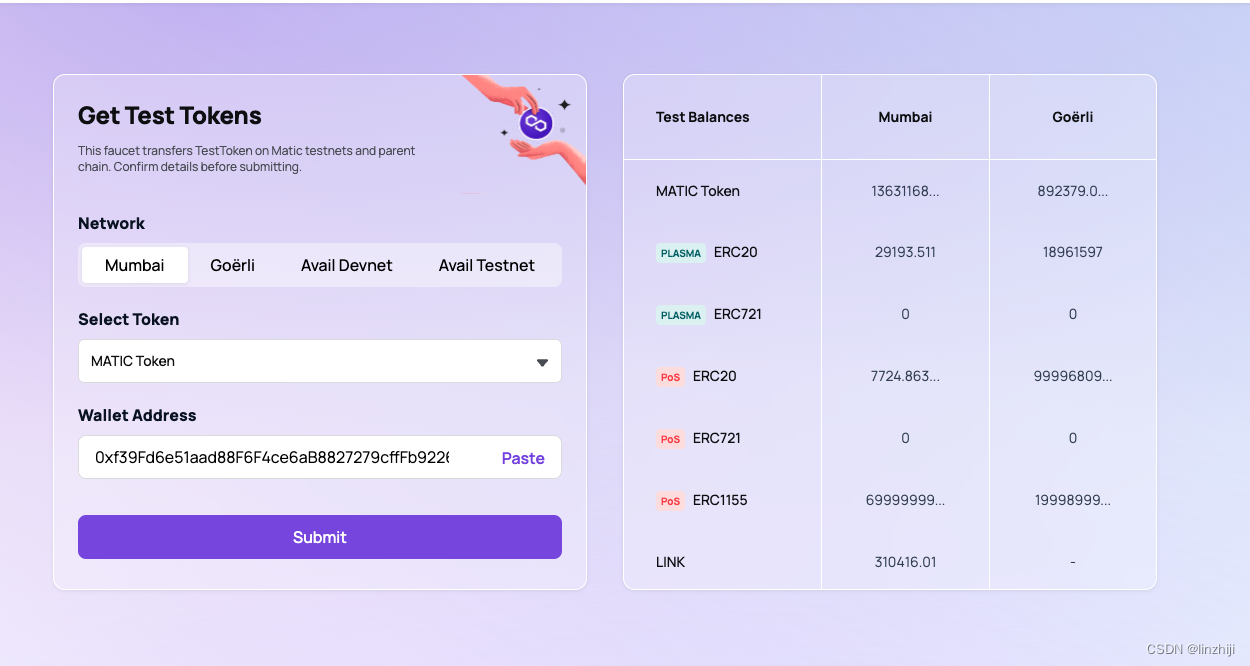
水龙头来点钱
Polygon Faucet
部署
hardhat.config.js 打开注释
require("@nomiclabs/hardhat-waffle")

/** @type import('hardhat/config').HardhatUserConfig */

module.exports = {
  solidity: "0.8.17",
  networks:{
    hardhat:{
      chainId:1337
    },
    mumbai: {
      url: "https://polygon-mumbai.blockpi.network/v1/rpc/public",
      accounts: ["ac0974bec39a17e36ba4a6b4d238ff944bacb478cbed5efcae784d7bf4f2ff80"]
    },
    // polygon: {
    //   url: "https://polygon-rpc.com/",
    //   accounts: [process.env.pk]
    // }
  }
这里的ac0974bec39a17e36ba4a6b4d238ff944bacb478cbed5efcae784d7bf4f2ff80 是钱包私钥,前面生成的
npx hardhat run scripts/deploy.js --network mumbai
url: "https://polygon-mumbai.blockpi.network/v1/rpc/public",
可以从Chainlist
找一个
部署成功
➜  web3-blog git:(main) ✗ npx hardhat run scripts/deploy.js --network mumbai

Blog deployed to: 0x81FeD4CdB0609bE8a23Bc5B95d875c05DD9416E8
花了些测
运行next
修改 .env.local ,local 改为 testnet
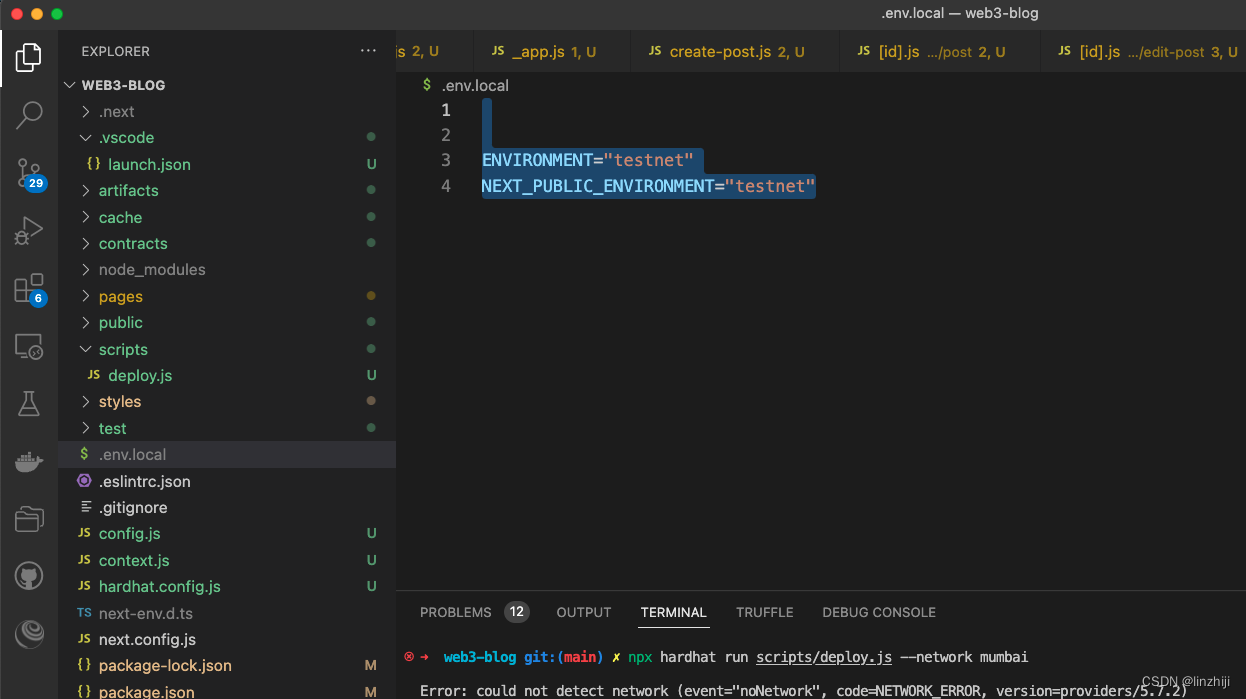
ENVIRONMENT="testnet"
NEXT_PUBLIC_ENVIRONMENT="testnet"
源码中 https://rpc-mumbai.matic.today 已经不可用,改为https://polygon-mumbai.blockpi.network/v1/rpc/public
npm run dev
跑起来

subgraph
源码中fetchPost and fetchPosts,可以查看某个文章或者全部文章,如果想要搜索文章怎么弄?
The Graph 协议可以实现这个功能
创建subgraph
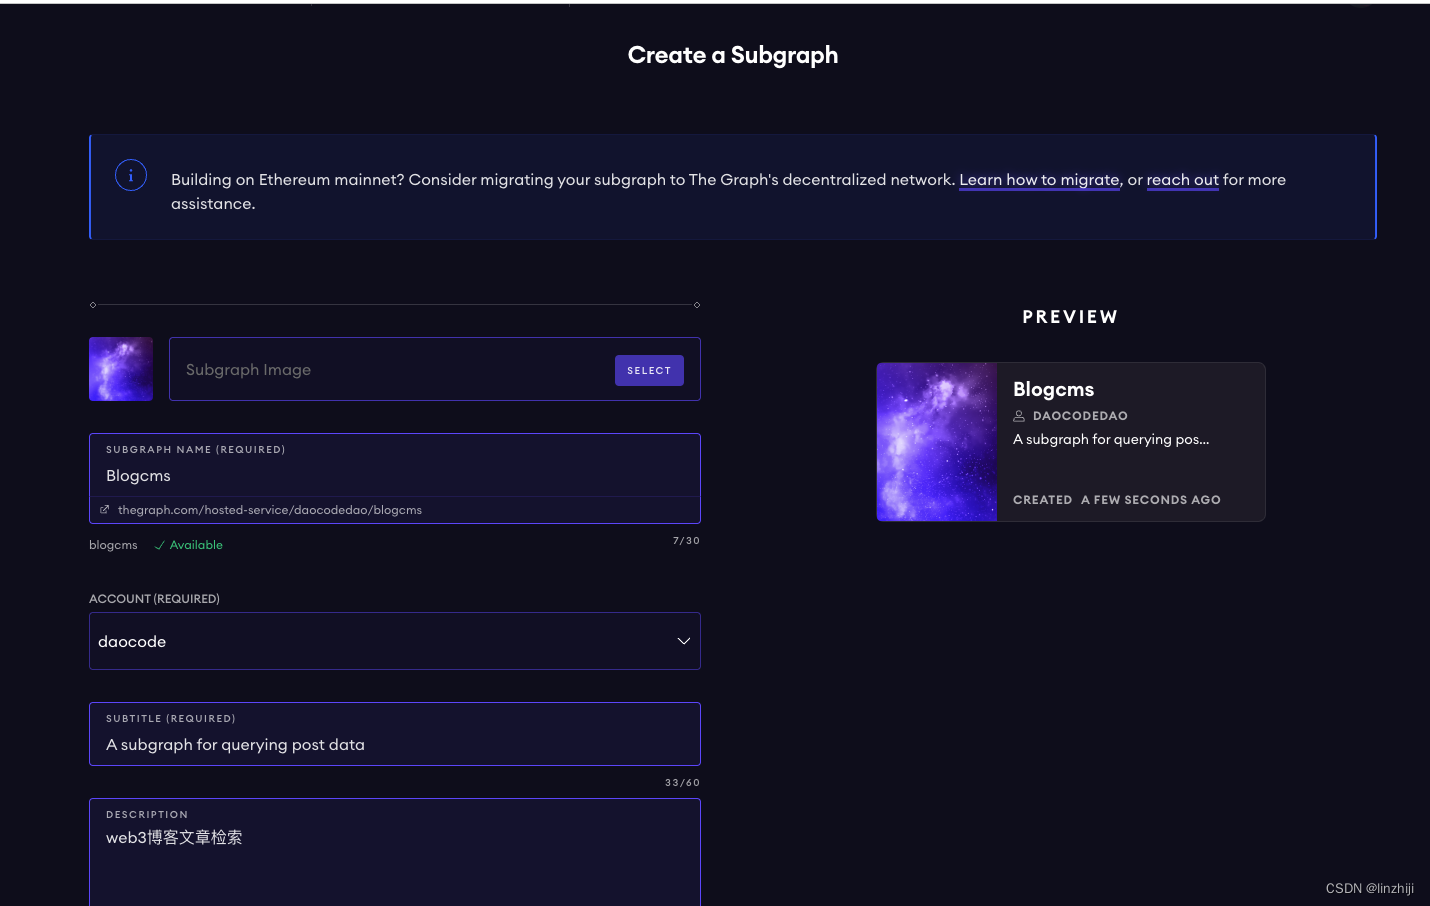

通过 Graph 命令行来初始化subgraph
本机执行命令
npm install -g @graphprotocol/graph-cli#命令参考
graph init --from-contract your-contract-address \
--network mumbai --contract-name Blog --index-events
#具体命令
graph init --from-contract 0x81FeD4CdB0609bE8a23Bc5B95d875c05DD9416E8 \
--network mumbai --contract-name Blog --index-events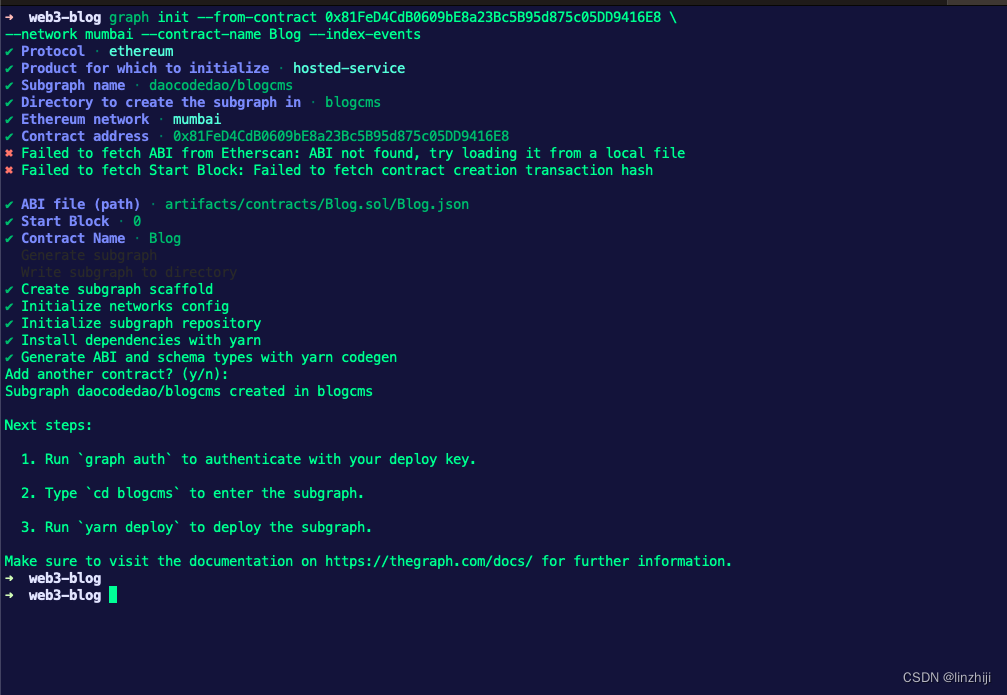
- subgraph.yaml: subgraph 的配置文件
- schema.graphql: GraphQL 语法文件,定义了数据存储和访问
- AssemblyScript Mappings: schema.ts AssemblyScript code that translates from the event data in Ethereum to the entities defined in your schema (e.g. mapping.ts in this tutorial)
subgraph.yaml
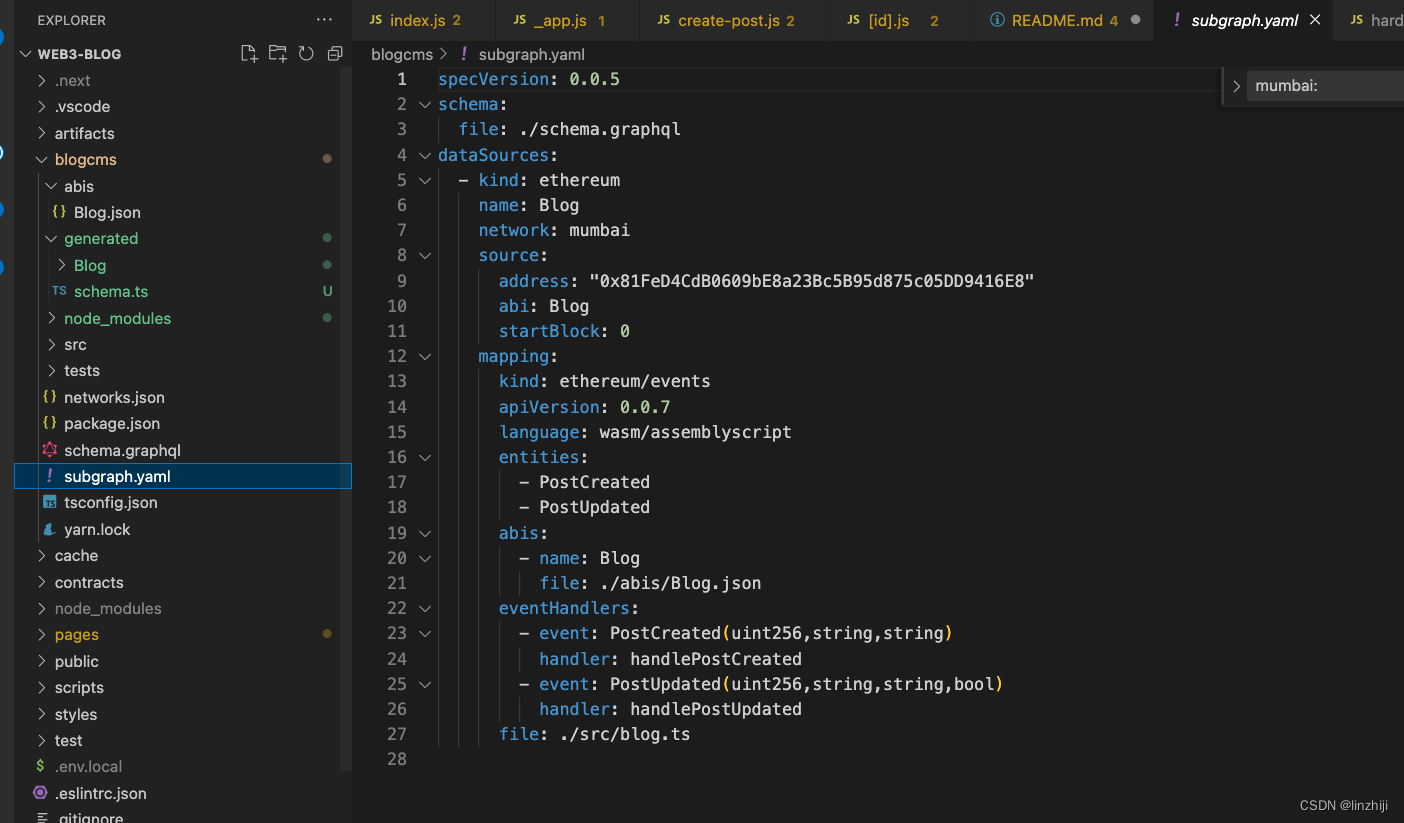
description(optional): a human-readable description of what the subgraph is. This description is displayed by the Graph Explorer when the subgraph is deployed to the Hosted Service.repository(optional): the URL of the repository where the subgraph manifest can be found. This is also displayed by the Graph Explorer.dataSources.source: the address of the smart contract the subgraph sources, and the abi of the smart contract to use. The address is optional; omitting it allows to index matching events from all contracts.dataSources.source.startBlock(optional): the number of the block that the data source starts indexing from. In most cases we suggest using the block in which the contract was created.dataSources.mapping.entities: the entities that the data source writes to the store. The schema for each entity is defined in the the schema.graphql file.dataSources.mapping.abis: one or more named ABI files for the source contract as well as any other smart contracts that you interact with from within the mappings.dataSources.mapping.eventHandlers: lists the smart contract events this subgraph reacts to and the handlers in the mapping — ./src/mapping.ts in the example — that transform these events into entities in the store.
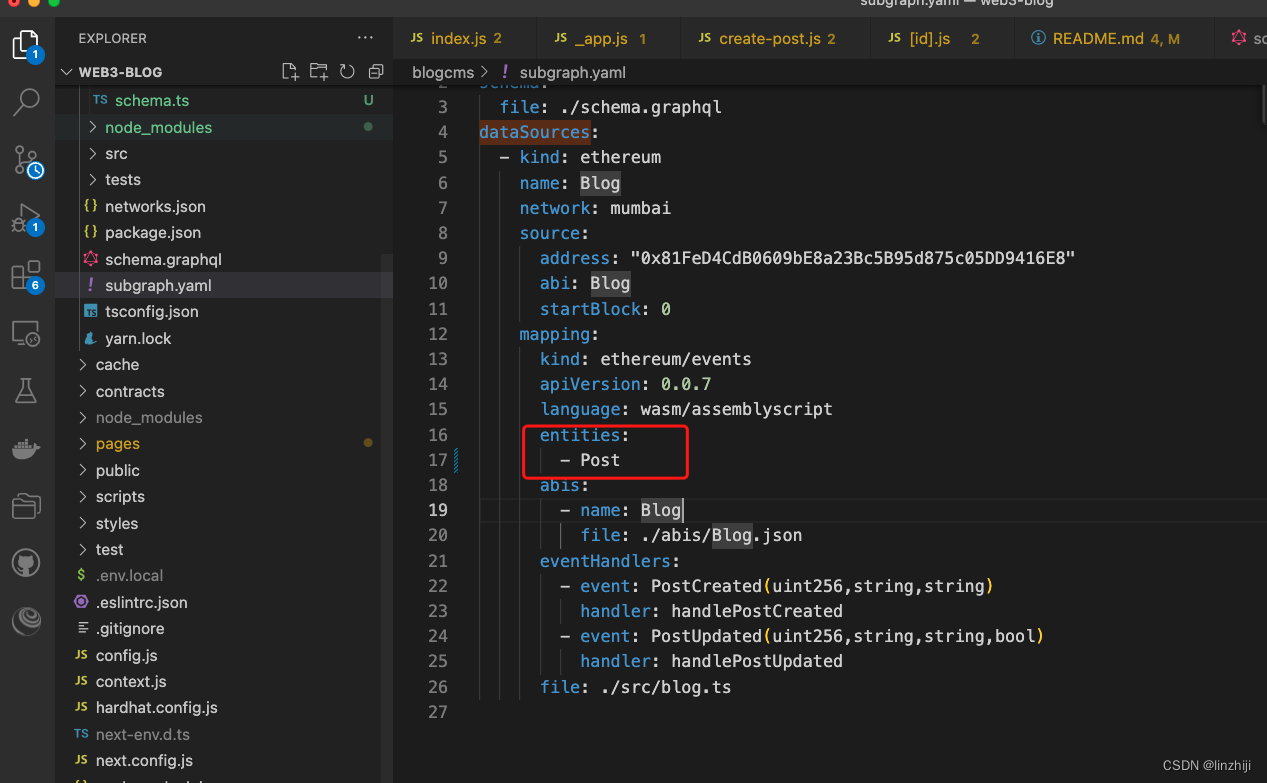
定义 entities
在 schema.graphql 里定义entity, Graph Node将会生成包括entity的查询实例。每个类型必须是entity,通过 @entity 声明
entities / data 将会对 Token 和 User 进行索引。通过这个方法我们可以对用户(user)创建的Tokens 进行索引
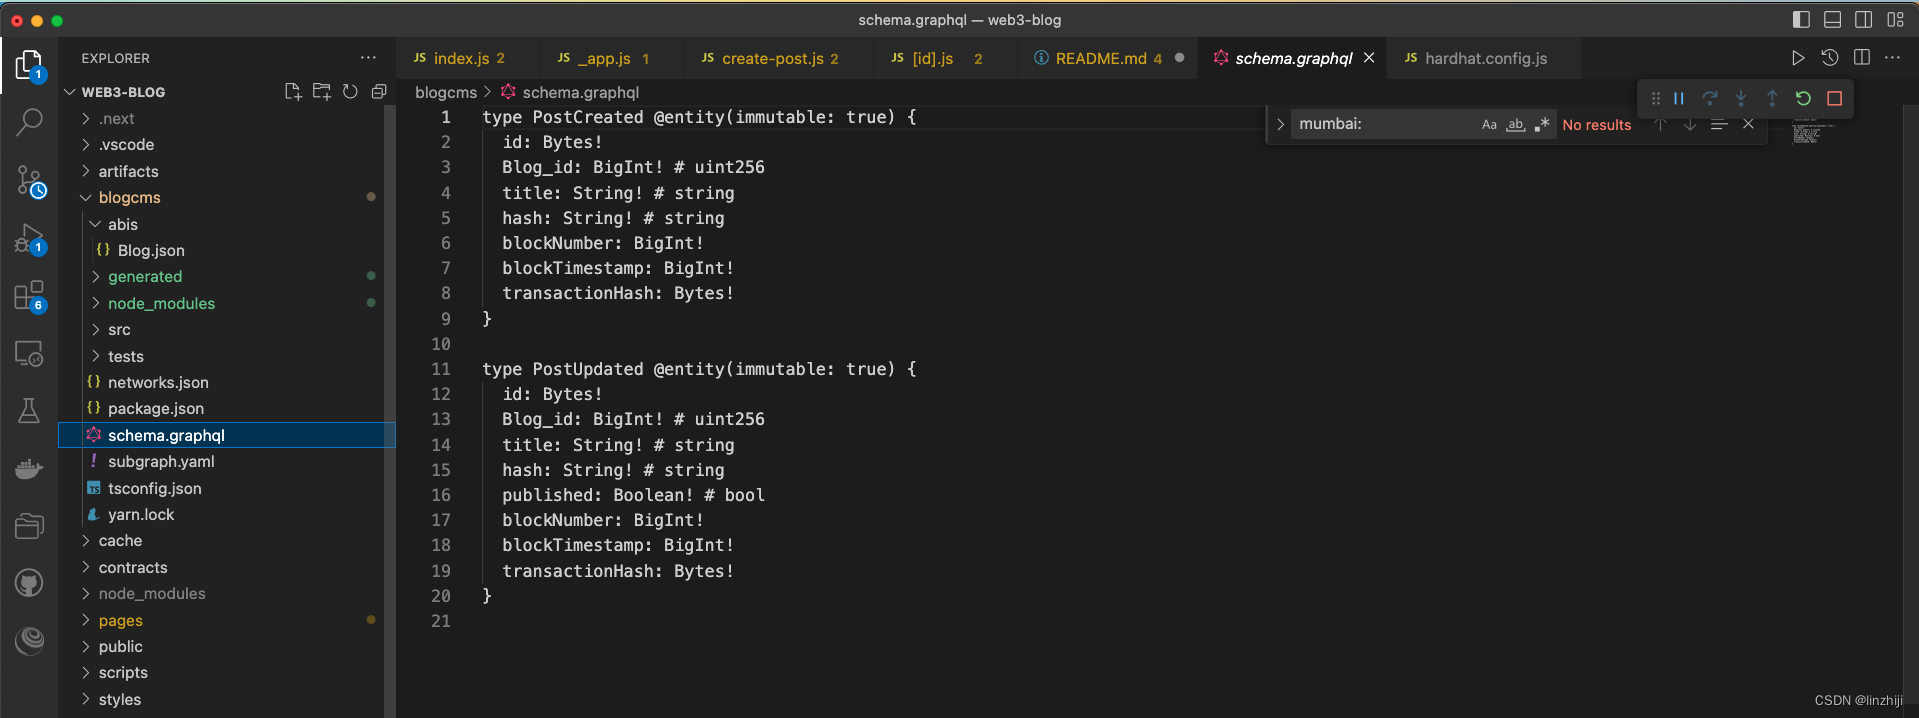
schema.graphql
type _Schema_
  @fulltext(
    name: "postSearch"
    language: en
    algorithm: rank
    include: [{ entity: "Post", fields: [{ name: "title" }, { name: "postContent" }] }]
  )

type Post @entity {
  id: ID!
  title: String!
  contentHash: String!
  published: Boolean!
  postContent: String!
  createdAtTimestamp: BigInt!
  updatedAtTimestamp: BigInt!
}
通过命令行生成
cd blogcms
graph codegen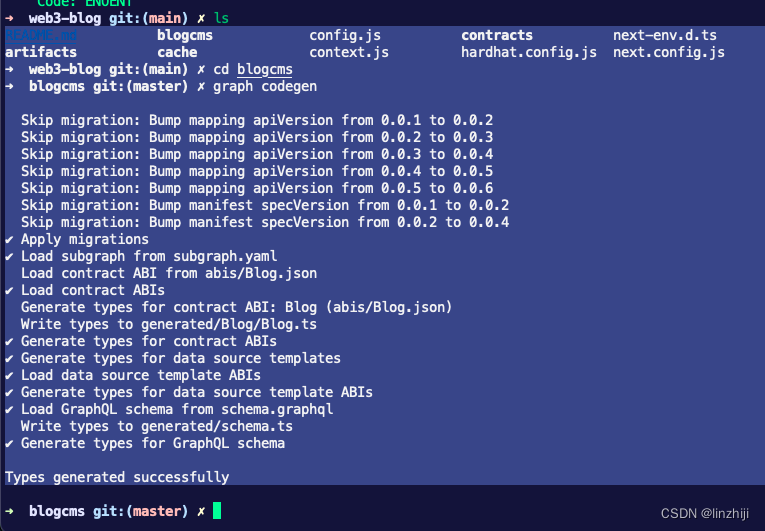
更新 subgraph 的 entity 和 mappings
subgraph.yaml
Assemblyscript mappings
import {
  PostCreated as PostCreatedEvent,
  PostUpdated as PostUpdatedEvent
} from "../generated/Blog/Blog"
import {
  Post
} from "../generated/schema"
import { ipfs, json } from '@graphprotocol/graph-ts'

export function handlePostCreated(event: PostCreatedEvent): void {
  let post = new Post(event.params.id.toString());
  post.title = event.params.title;
  post.contentHash = event.params.hash;
  let data = ipfs.cat(event.params.hash);
  if (data) {
    let value = json.fromBytes(data).toObject()
    if (value) {
      const content = value.get('content')
      if (content) {
        post.postContent = content.toString()
      }
    }
  }
  post.createdAtTimestamp = event.block.timestamp;
  post.save()
}

export function handlePostUpdated(event: PostUpdatedEvent): void {
  let post = Post.load(event.params.id.toString());
  if (post) {
    post.title = event.params.title;
    post.contentHash = event.params.hash;
    post.published = event.params.published;
    let data = ipfs.cat(event.params.hash);
    if (data) {
      let value = json.fromBytes(data).toObject()
      if (value) {
        const content = value.get('content')
        if (content) {
          post.postContent = content.toString()
        }
      }
    }
    post.updatedAtTimestamp = event.block.timestamp;
    post.save()
  }
}
重新编译
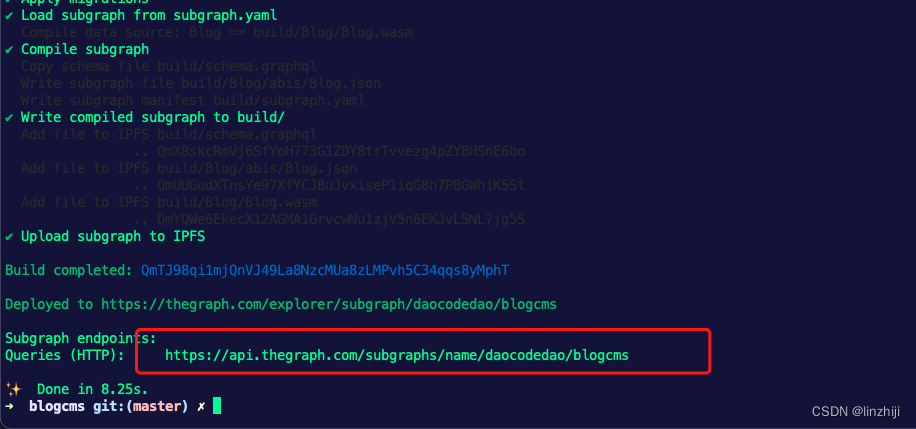
graph build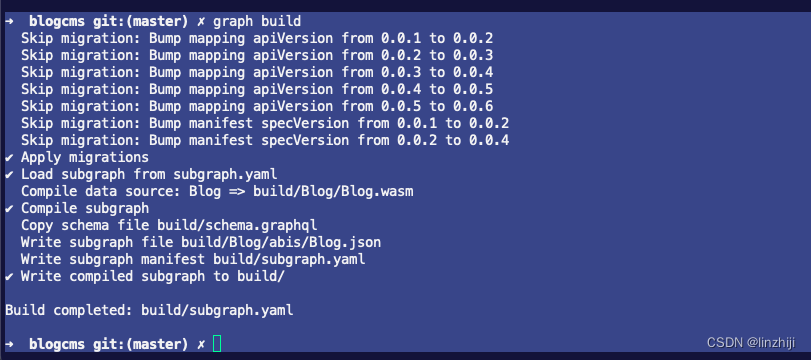
Deploying the subgraph
找到subgraph的token
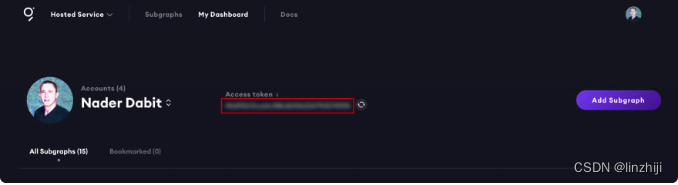
graph auth --product hosted-service 你的suggraph的key部署
yarn deploy
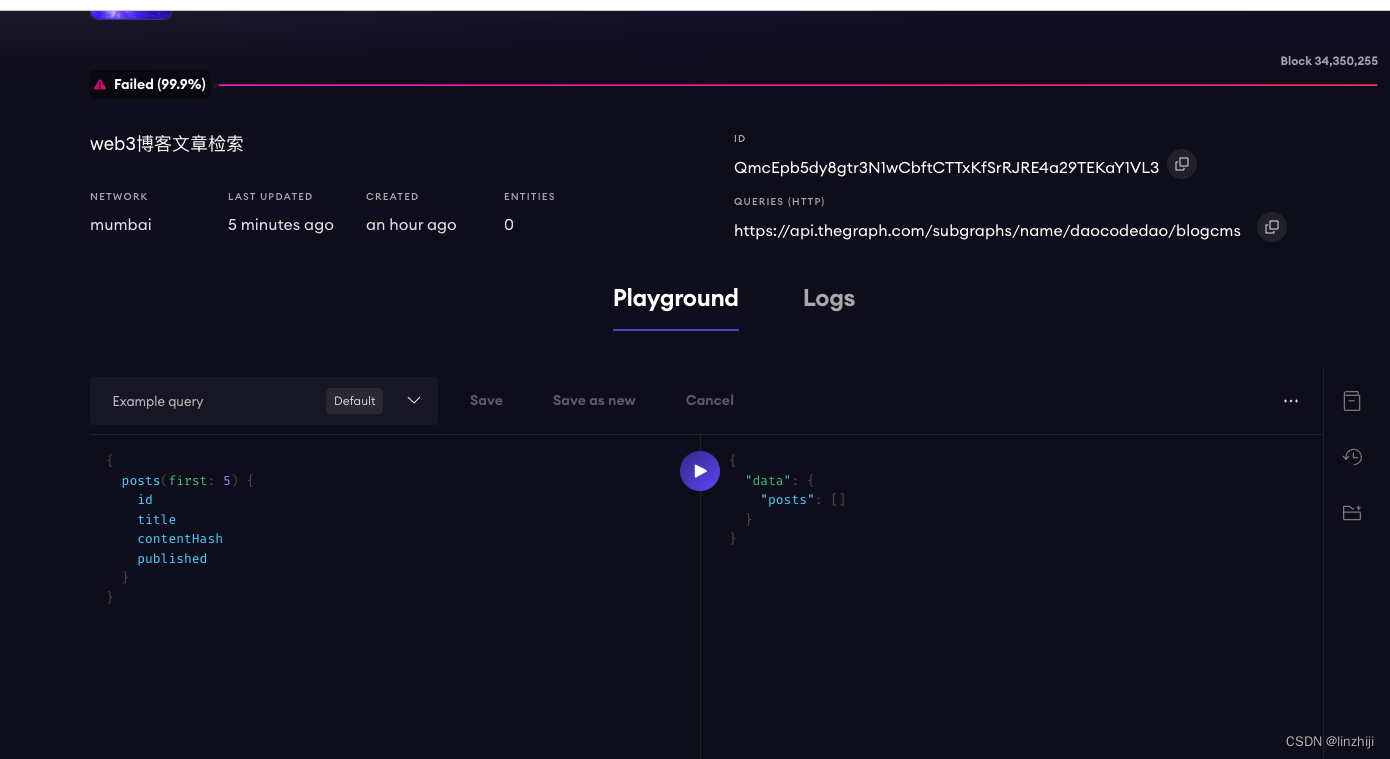
查询
{
  posts {
    id
    title
    contentHash
    published
    postContent
  }
}
没有数据,我们发个帖
链上查询
Contract Address 0x81FeD4CdB0609bE8a23Bc5B95d875c05DD9416E8 | PolygonScan
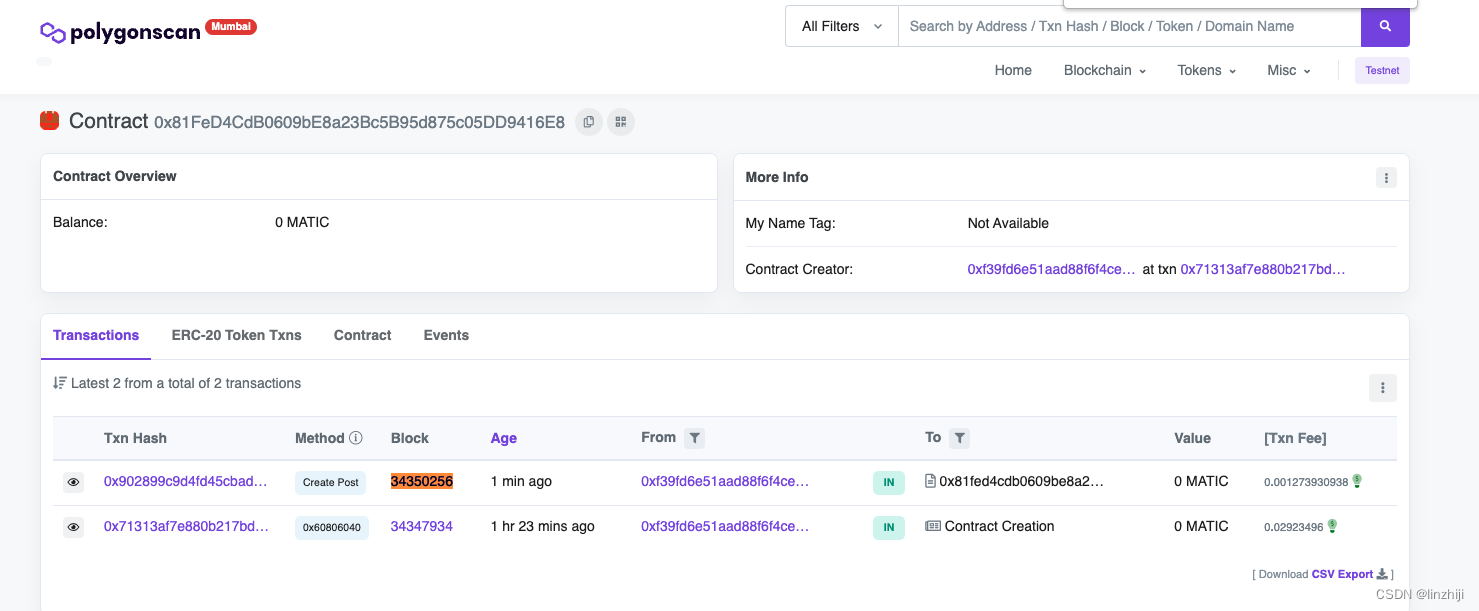
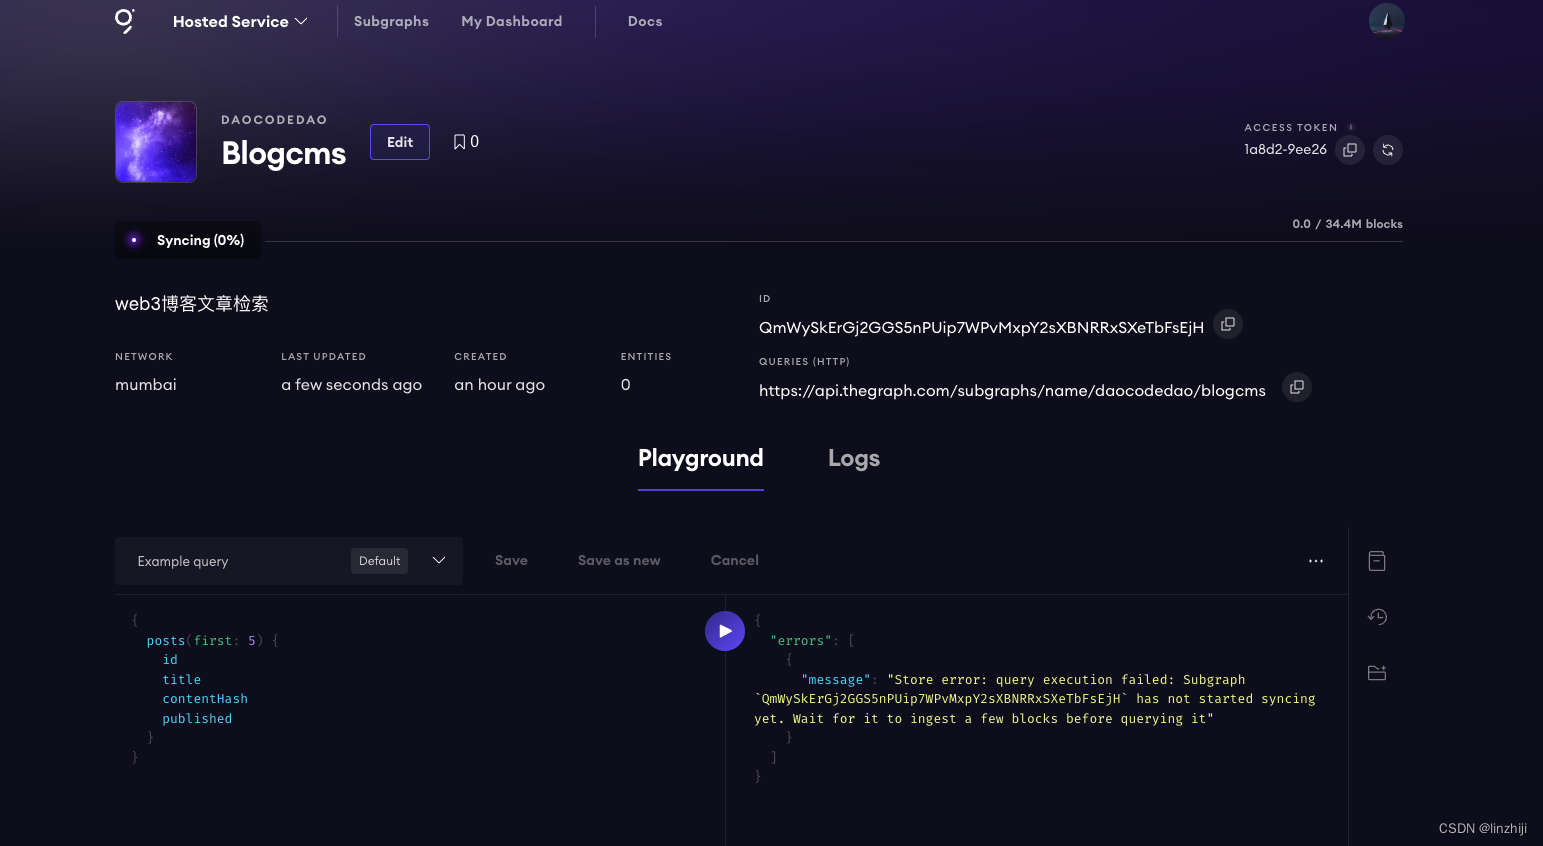
不过 suggraph还是没数据
 查一下log,出错了
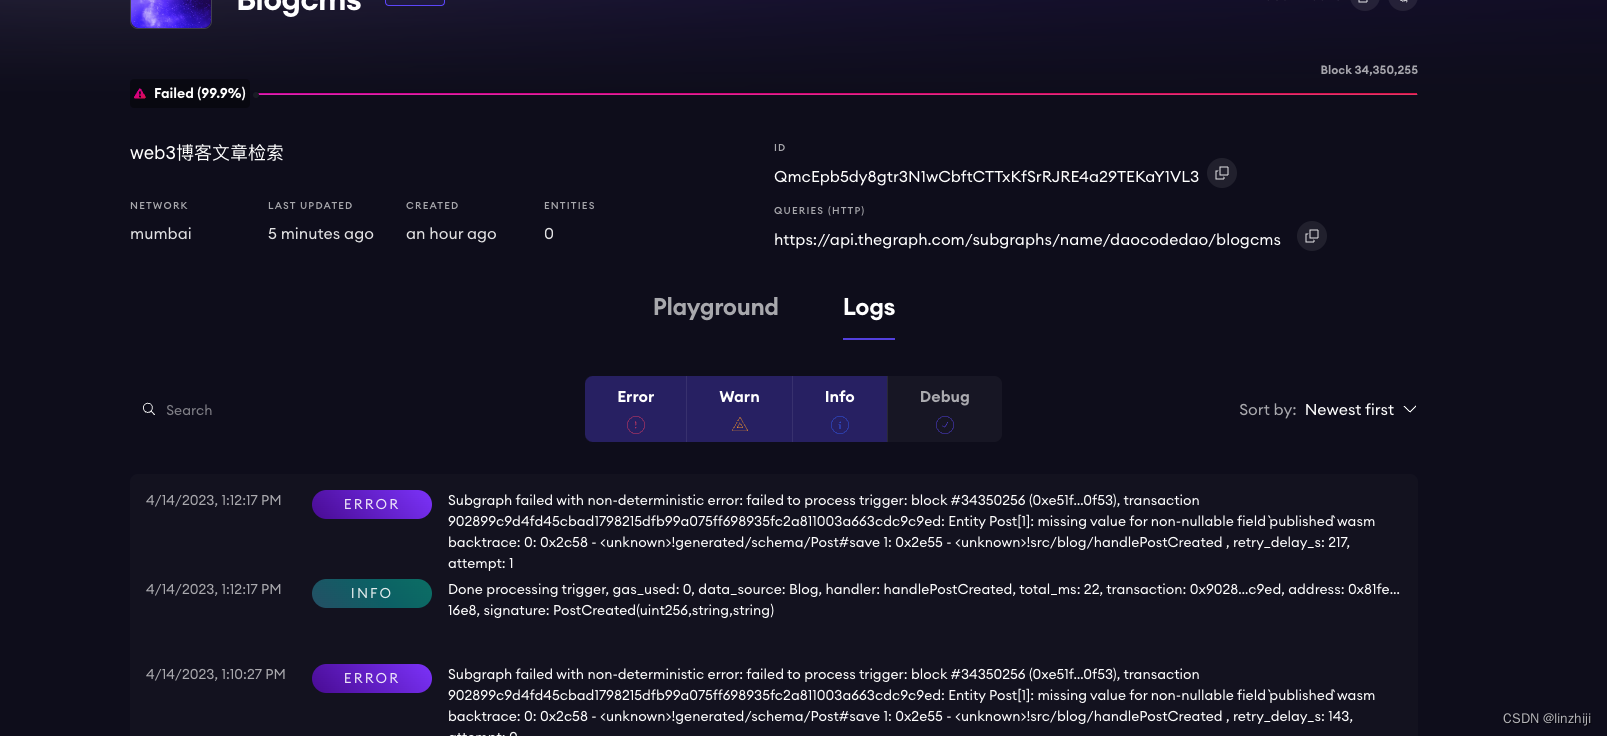
看了一下说明,schema.graphql应该是定义entity的published时候用了!,这个是强制不能为空的,而handlePostCreated里是没有published参数的,去掉!,再试试
type _Schema_
  @fulltext(
    name: "postSearch"
    language: en
    algorithm: rank
    include: [{ entity: "Post", fields: [{ name: "title" }, { name: "postContent" }] }]
  )

type Post @entity {
  id: ID!
  title: String
  contentHash: String
  published: Boolean
  postContent: String
  createdAtTimestamp: BigInt
  updatedAtTimestamp: BigInt
}
参考Creating a Subgraph - The Graph Docs
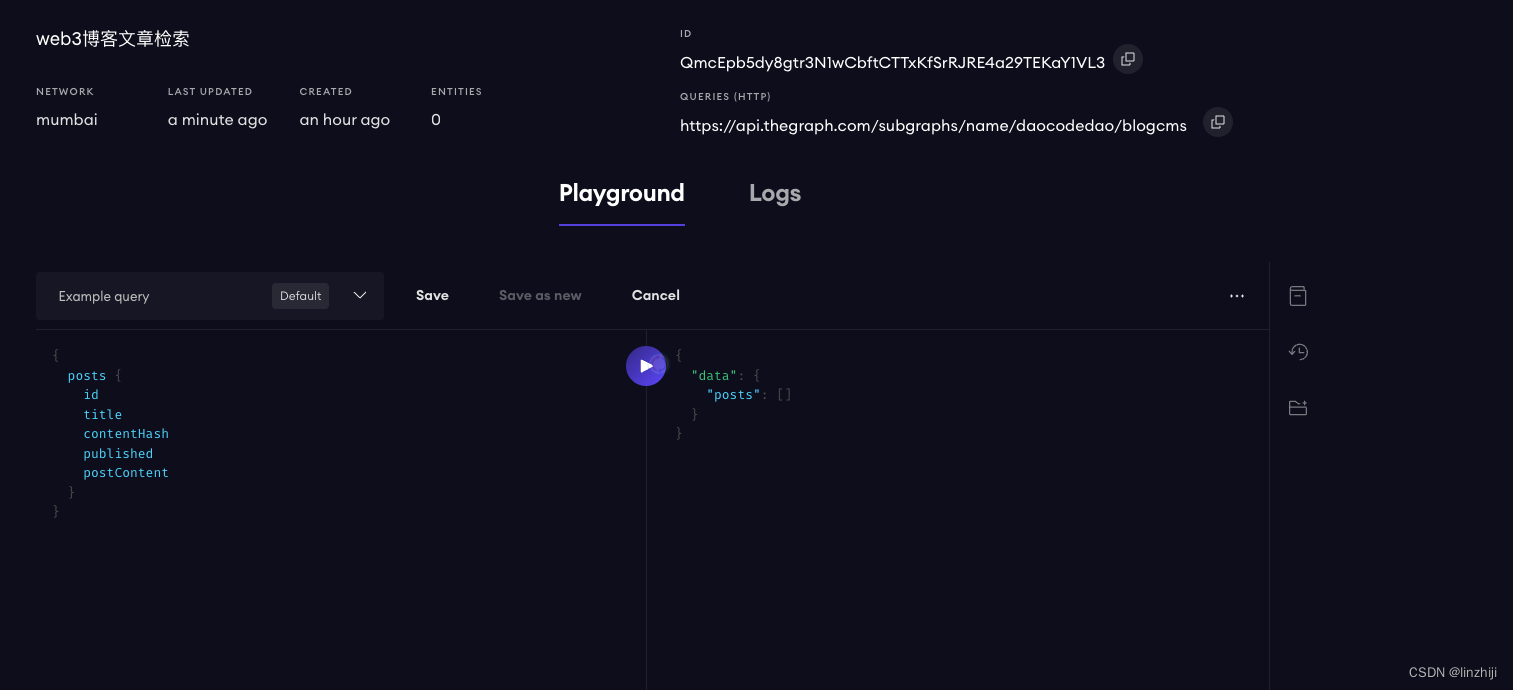
重新编译,上传
graph codegen
graph build
yarn deploy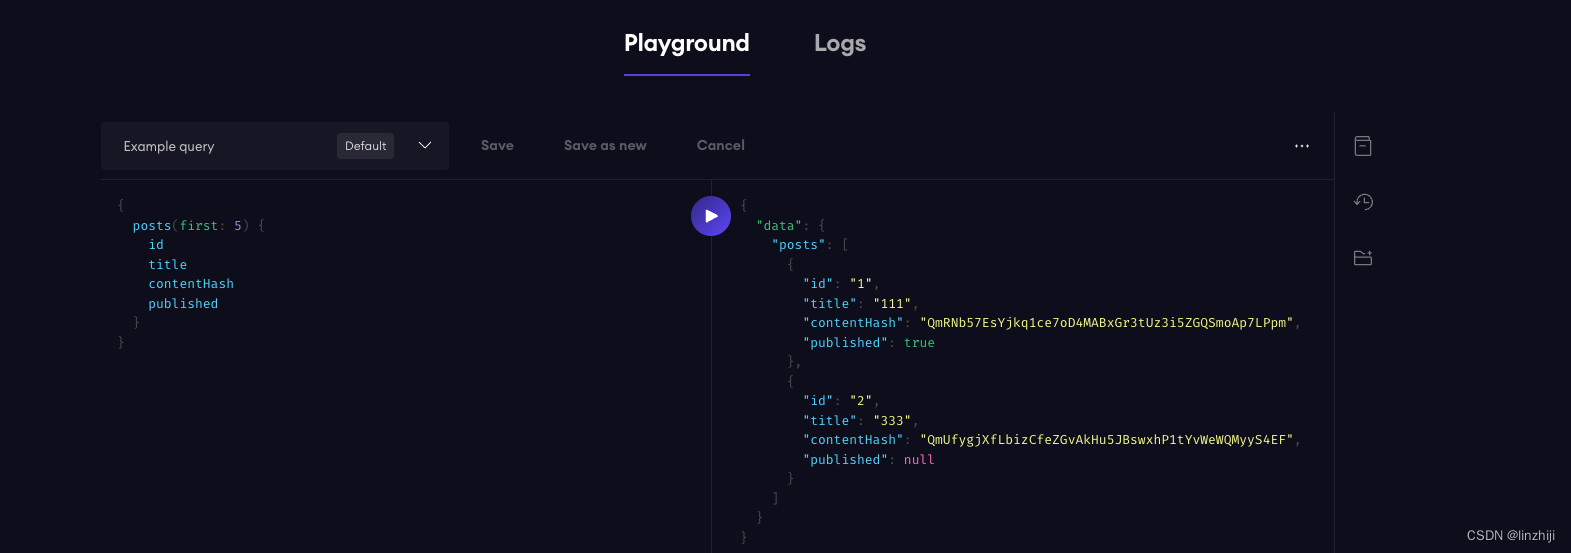
也可以用部署成功后的url来查询
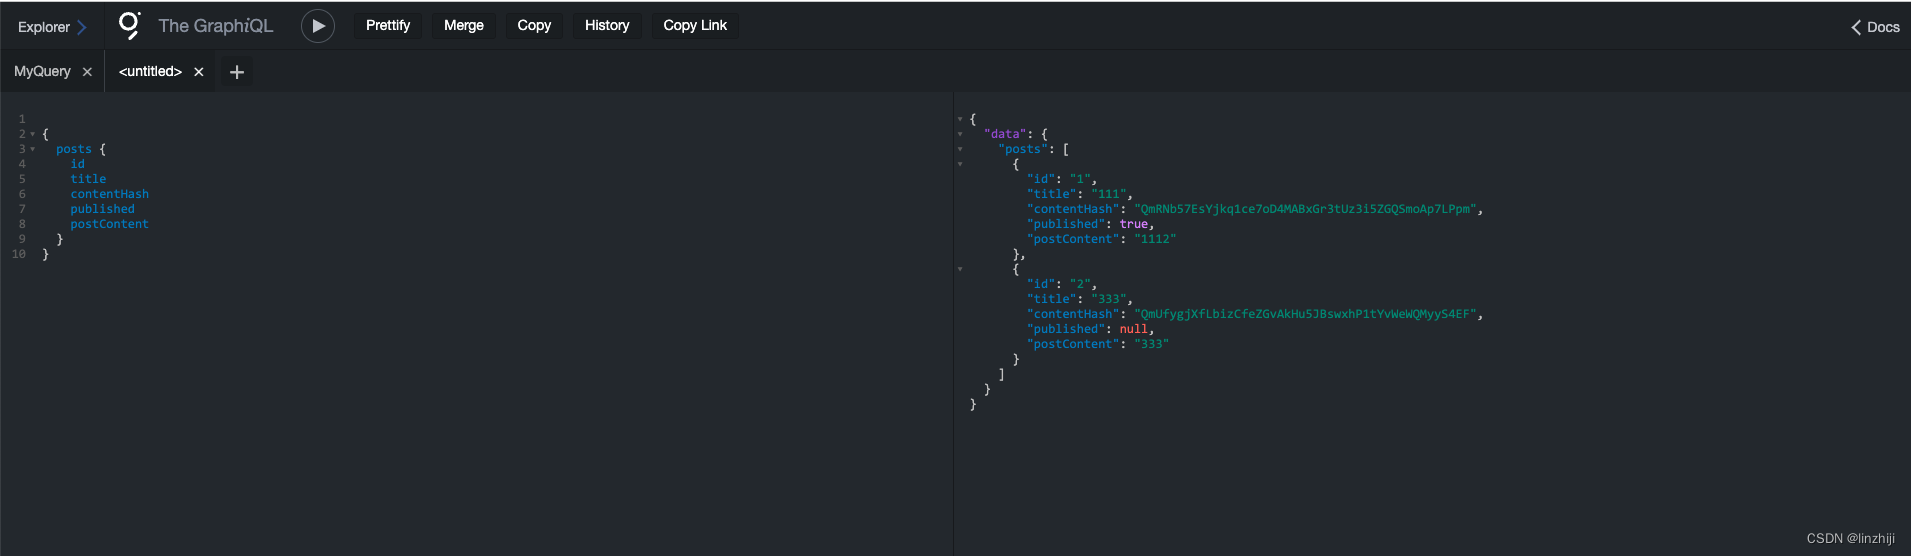
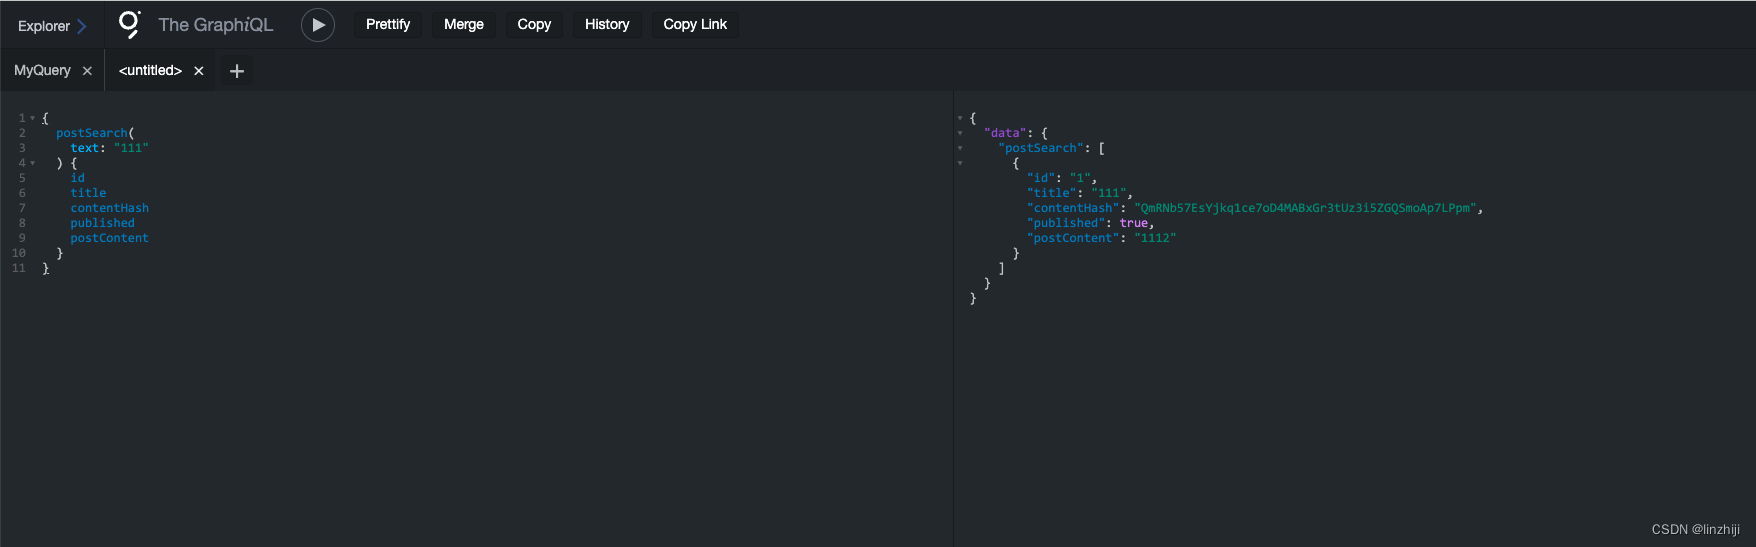
来搜索个文章
{
  postSearch(
    text: "111"
  ) {
    id
    title
    contentHash
    published
    postContent
  }
}
app使用graph
参考Querying from an Application - The Graph Docs
这里源项目没有,我加了个搜索功能,react不熟悉,看着弄吧
全局添加命令行
npm install --save-dev @graphprotocol/client-cli
package.json
里添加
"@apollo/client": "^3.7.12",npm installvscode
添加插件
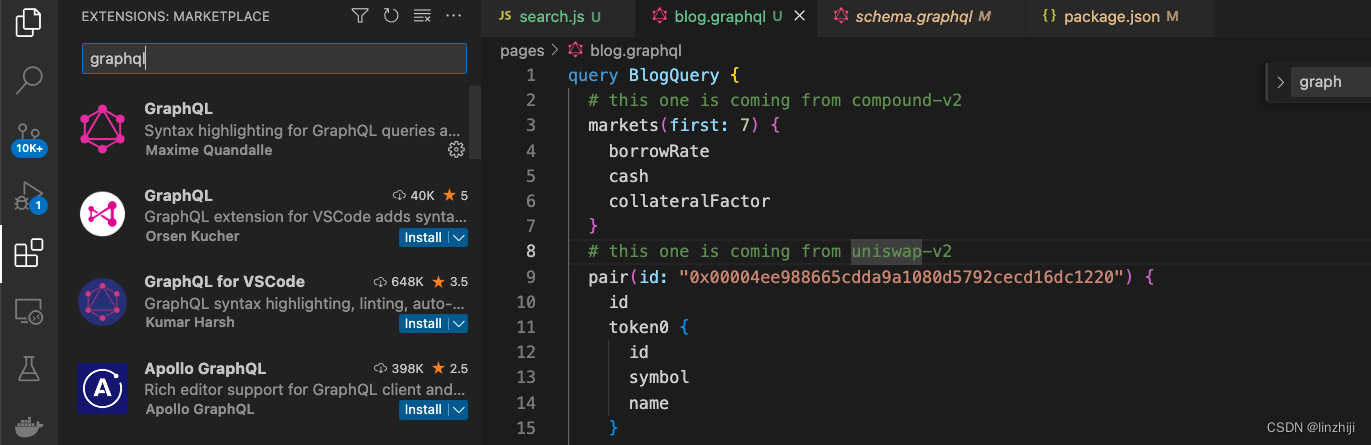
search.js
直接写死搜索111
import { useState, useEffect } from 'react'
import { ApolloClient, InMemoryCache, gql } from '@apollo/client'
// https://api.thegraph.com/subgraphs/name/daocodedao/blogcms
const APIURL = 'https://api.thegraph.com/subgraphs/name/daocodedao/blogcms'
const blogQuery = `
{
postSearch(
text: "111"
) {
id
title
contentHash
published
postContent
}
}
`
const client = new ApolloClient({
uri: APIURL,
cache: new InMemoryCache(),
})
export default function Search() {
const [searchCount, setSearchCount] = useState(0)
client.query({
query: gql(blogQuery),
})
.then((data) => {
console.log('Subgraph data: ', data)
setSearchCount(data?.data?.postSearch?.length)
})
.catch((err) => {
console.log('Error fetching data: ', err)
})
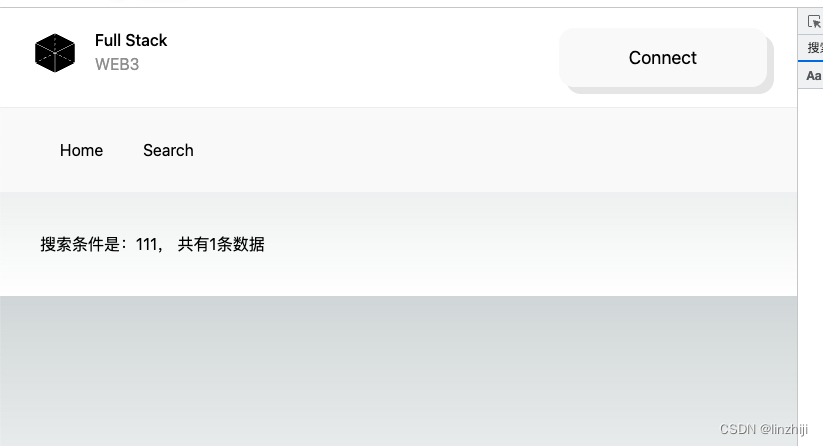
return (
<div>搜索条件是:111, 共有
{
searchCount
}
条数据
</div>
)
}
实在不熟React,搞了挺久的
题外话
在使用Next过程中,因为对整个框架不熟悉,提取infura key到.env 文件时遇到了一些问题
在.env.local文件里
INFURA_KEY="xxxxxxxxxxxxx"
在js代码里使用
process.env.INFURA_KEY结果在console里是打印的是对的,在chrome里打印出undefined
解决方案:https://medium.com/@zak786khan/env-variables-undefined-78cf218dae87
在.env.local文件里,变量名改为
NEXT_PUBLIC_INFURA_KEY="xxxxxxxxxxxxx"就行了