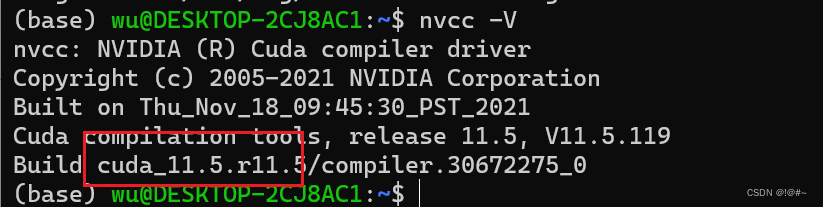
- 执行nvcc -V, cuda版本位11.5

-
删除cuda
sudo apt-get --purge remove "*cublas*" "*cufft*" "*curand*" \ "*cusolver*" "*cusparse*" "*npp*" "*nvjpeg*" "cuda*" "nsight*" -
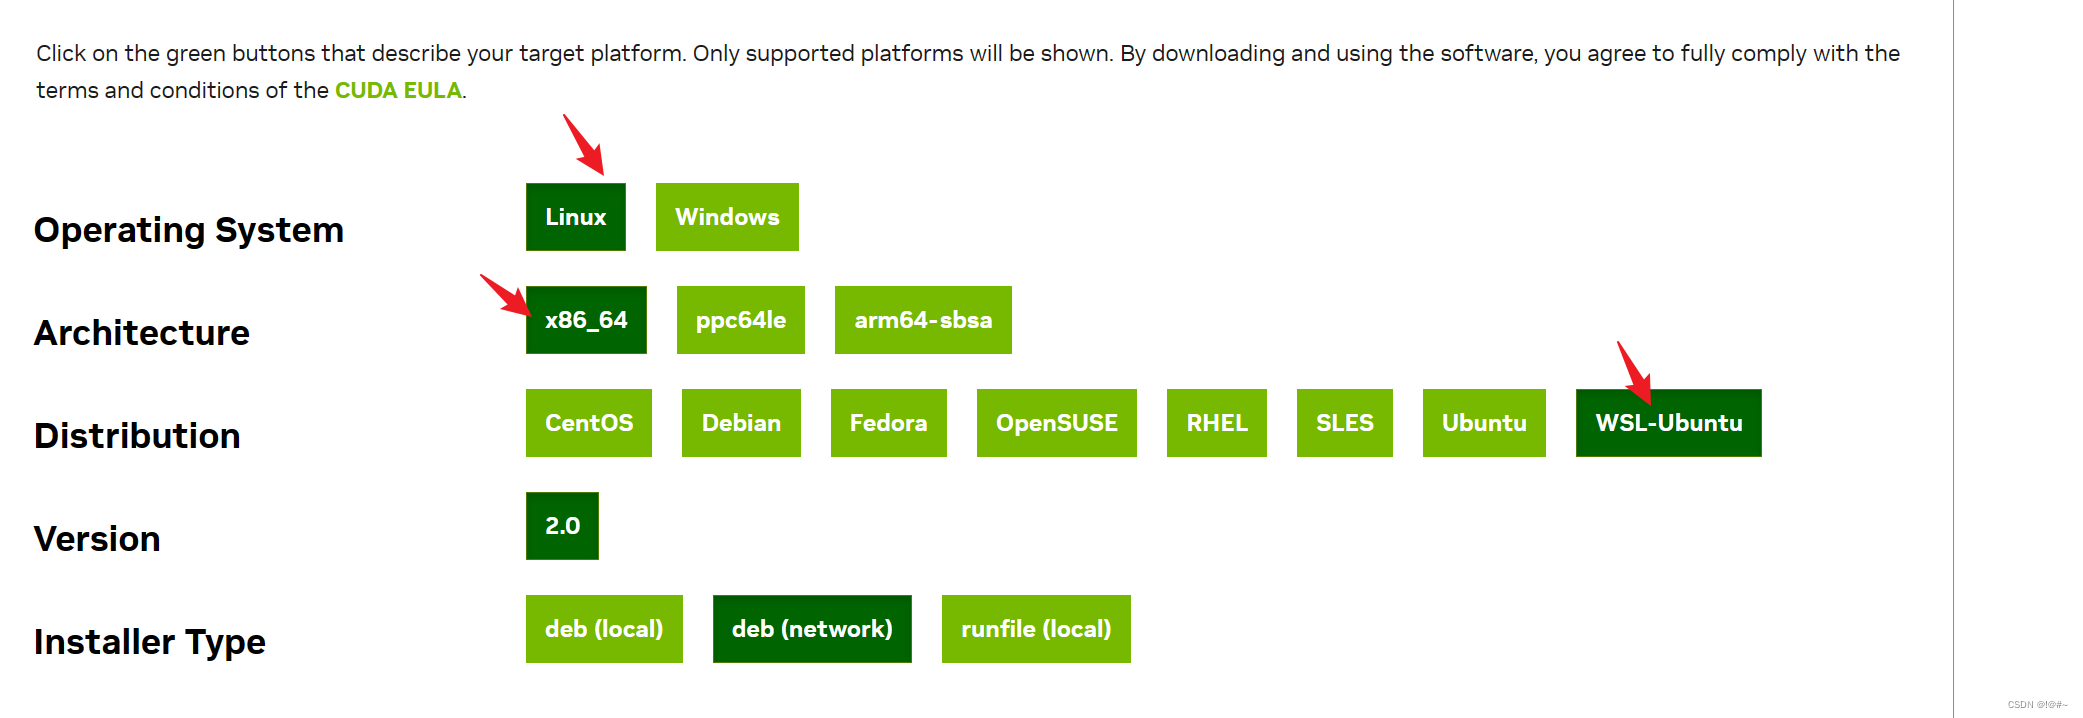
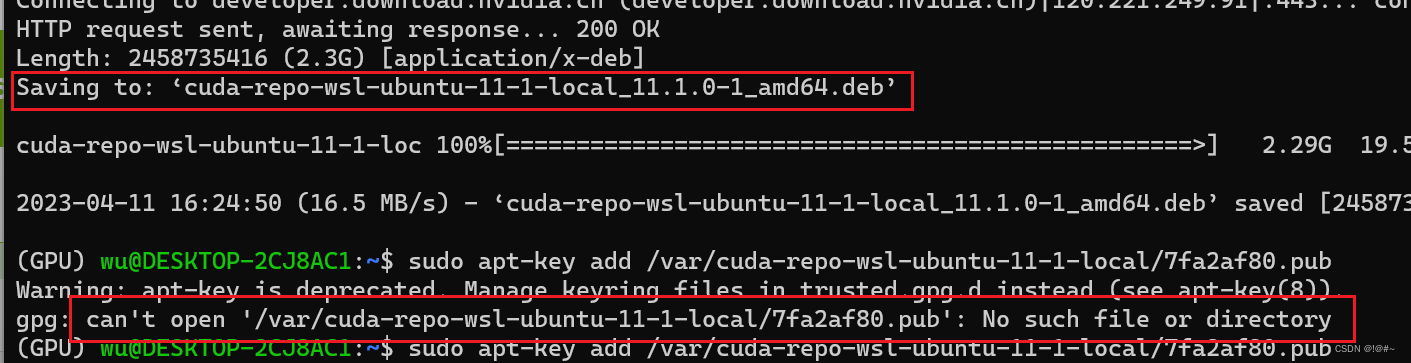
选择对应版本的cuda,下载WSl版本的cuda
- 执行上部分命令是正常
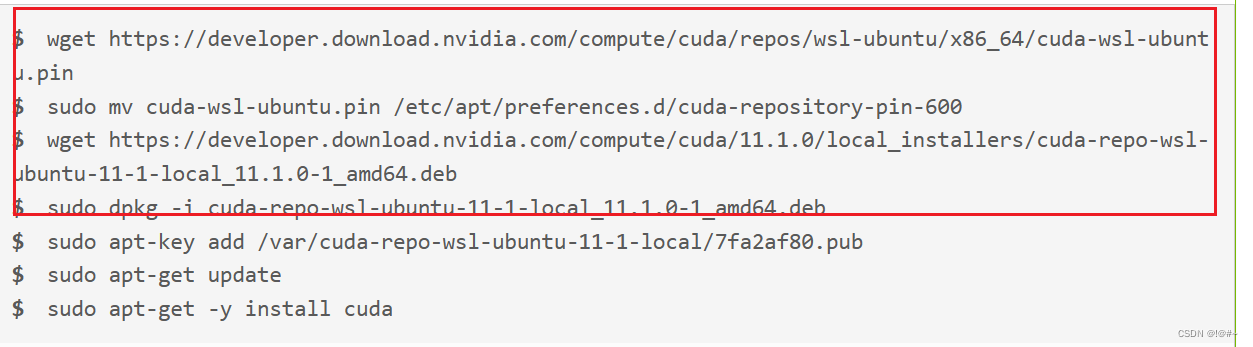
-
执行
sudo apt-key add /var/cuda-repo-wsl-ubuntu-11-1-local/7fa2af80.pub时,虽然warning了,但是最后还是ok了
-
执行
sudo apt-get update时会报错
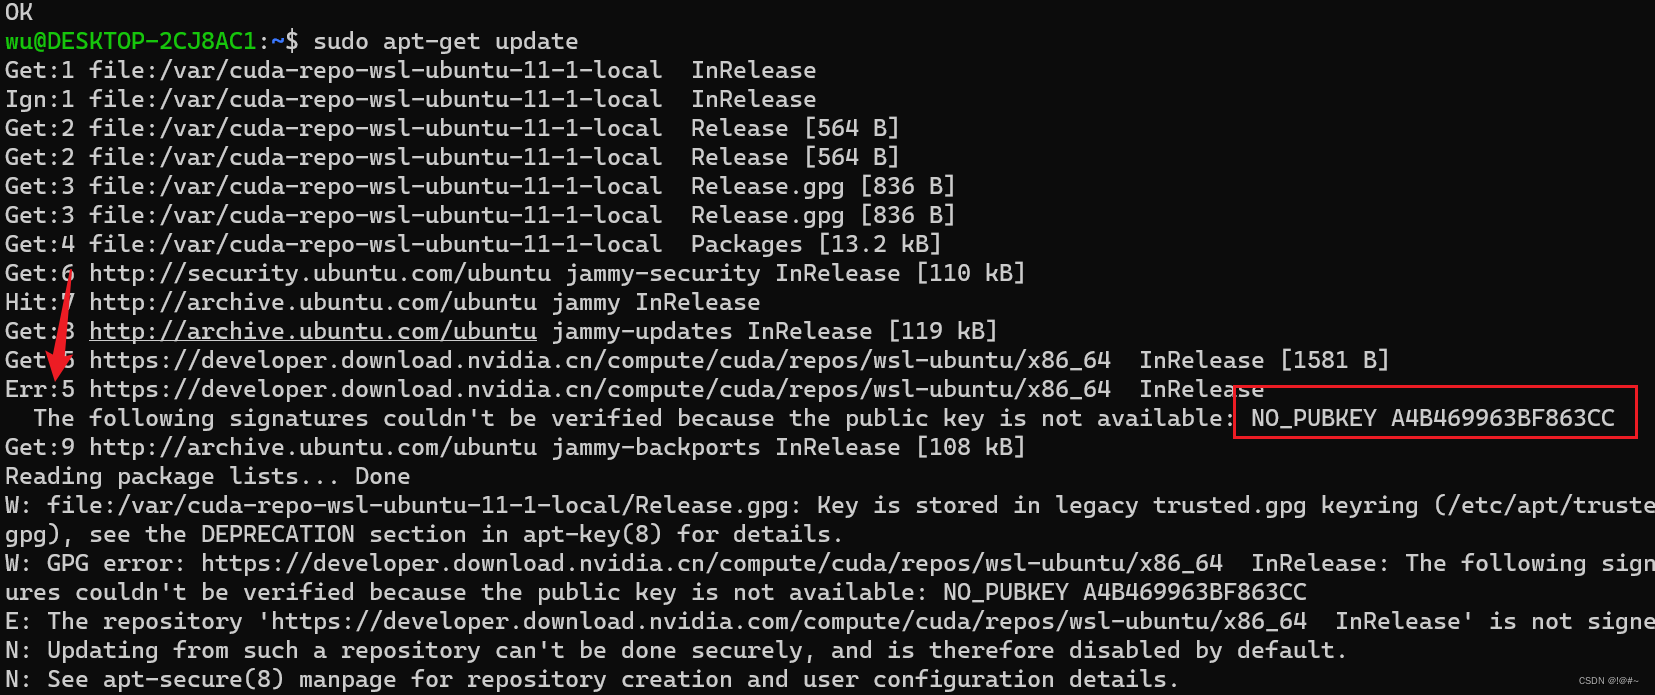
-
解决,执行如下命令, A4B469963BF863CC根据自己上面出现的NO_PUBKEY填写 GPG error解决方法 - 知乎 (zhihu.com)
 sudo gpg --keyserver keyserver.ubuntu.com --recv A4B469963BF863CC
 sudo gpg --export --armor A4B469963BF863CC | sudo apt-key add -

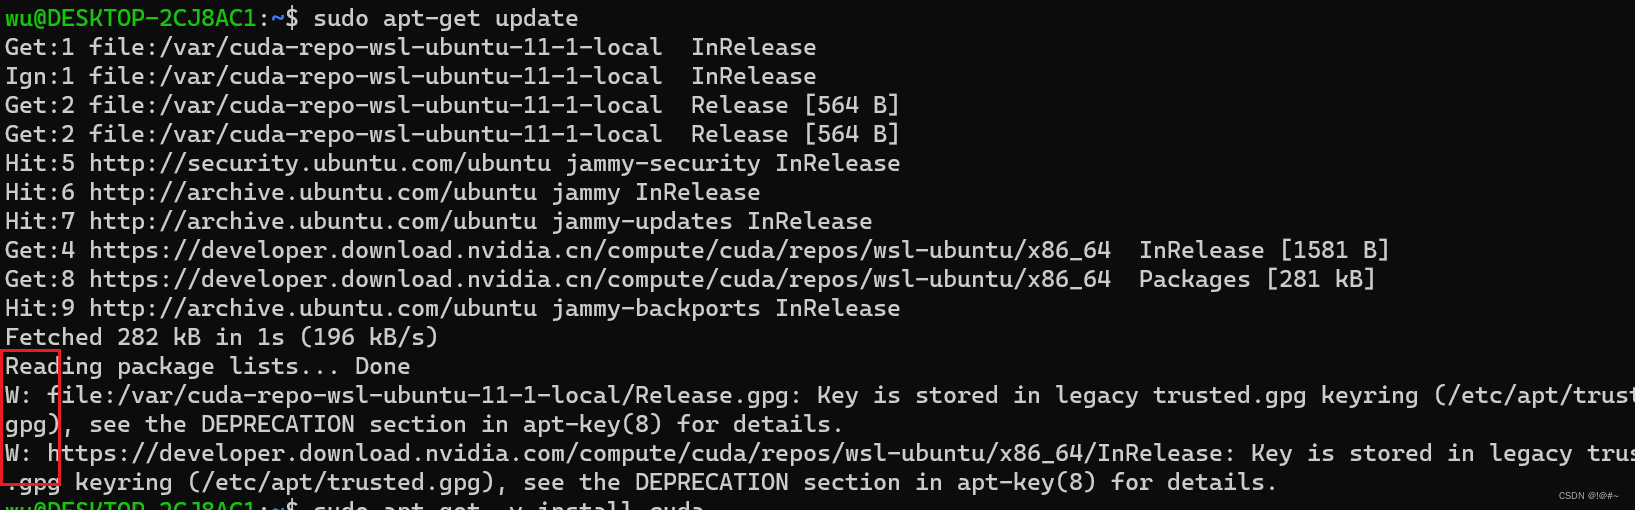
- 再次执行
sudo apt-get update,虽然都是warning,但好像也成功了
-
执行
sudo apt-get -y install cuda -
安装完成之后,
nvcc -V是显示不出cuda版本的,cuda路径在/usr/local/cuda下

-
添加路径
export PATH=/usr/local/cuda/bin:$PATH
export LD_LIBRARY_PATH=/usr/local/cuda/lib64:$LD_LIBRARY_PAT

再使用su命令切换到root用户下执行

添加完路径之后,使用 `source ~/.bashrc` 刷新环境, 运行 `nvcc -V`
-
不知道咋回事按照11.1的步骤安装最后是12.1

删除cuda
there are two things- nvidia drivers and cuda toolkit- which you may want to remove. If you have installed using apt-get use the following to remove the packages completely from the system:
To remove cuda toolkit:
sudo apt-get --purge remove "*cublas*" "cuda*" "nsight*"To remove Nvidia drivers:
sudo apt-get --purge remove "*nvidia*"If you have installed via source files (assuming the default location to be
/usr/local) then remove it using:sudo rm -rf /usr/local/cuda*From cuda 11.4 onwards, an uninstaller script has been provided. Use it for the uninstallation instead:
# To uninstall cuda
sudo /usr/local/cuda-11.4/bin/cuda-uninstaller
# To uninstall nvidia
sudo /usr/bin/nvidia-uninstall
If you get the problem of broken packages, it has happened since you added repo to the apt/sources.lst. Run the following to delete it:
sudo vim /etc/apt/sources.listGo to the line containing reference to Nvidia repo and comment it by appending
#in front of the line, for e.g.:#deb http://developer.download.nvidia.com/compute/cuda/repos/ubuntu1804/x86_64/ /Then run
sudo apt-get updateThis will fix the problem.
References: Nvidia uninstallation
-
再尝试使用runfile安装, 执行
sudo sh cuda_11.1.0_455.23.05_linux.run,会出现
查看对应的文件,会有

-
加上override参数之后,继续安装

-
还是11.5版本
-
卸载再次重新安装,
sudo apt-get --purge remove "*cublas*" "cuda*" "nsight*" sudo apt-get --purge remove "*nvidia*" sudo rm -rf /usr/local/cuda* -
安装过程出现了

-
放弃,还是安装runfile版本
-
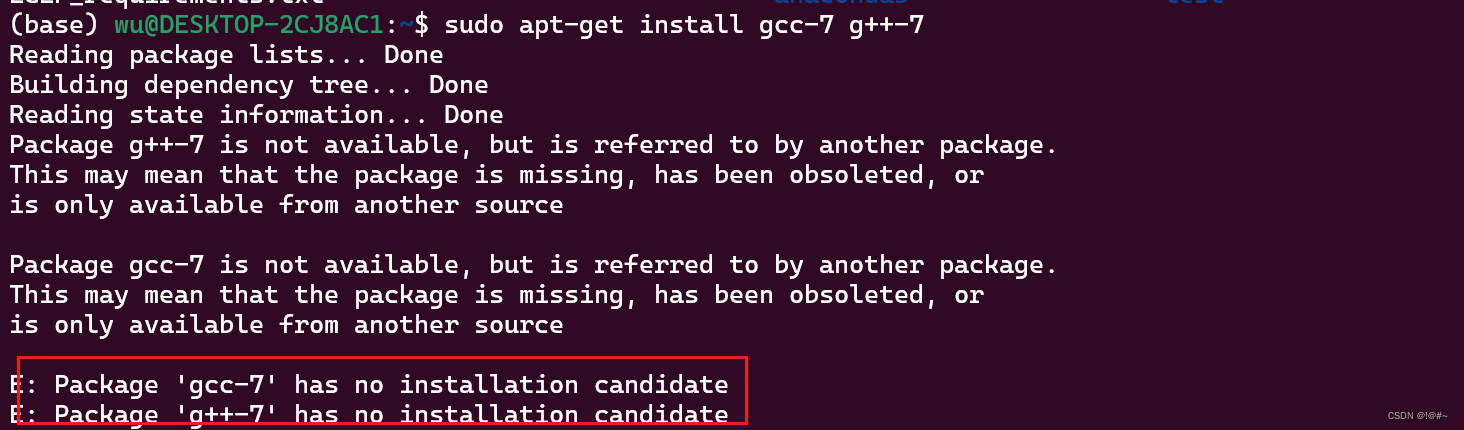
降低gcc版本, 出现错误E: Package ‘g+±7’ has no installation candidate
-
更换源
要在vim中清空文本,可以按下ESC键退出编辑模式,然后按两次g键将光标移动到文本的首行,最后按下d和G键,其中d键是小写,G键要切换成大写的,
# 修改 apt-get 源的配置文件
sudo cp /etc/apt/sources.list /etc/apt/sources.list.bak #备份
sudo vim /etc/apt/sources.list #修改

deb http://mirrors.aliyun.com/ubuntu/ focal main restricted universe multiverse
deb-src http://mirrors.aliyun.com/ubuntu/ focal main restricted universe multiverse

deb http://mirrors.aliyun.com/ubuntu/ focal-security main restricted universe multiverse
deb-src http://mirrors.aliyun.com/ubuntu/ focal-security main restricted universe multiverse

deb http://mirrors.aliyun.com/ubuntu/ focal-updates main restricted universe multiverse
deb-src http://mirrors.aliyun.com/ubuntu/ focal-updates main restricted universe multiverse

# deb http://mirrors.aliyun.com/ubuntu/ focal-proposed main restricted universe multiverse
# deb-src http://mirrors.aliyun.com/ubuntu/ focal-proposed main restricted universe multiverse

deb http://mirrors.aliyun.com/ubuntu/ focal-backports main restricted universe multiverse
deb-src http://mirrors.aliyun.com/ubuntu/ focal-backports main restricted universe multiverse


#最后执行
sudo apt-get update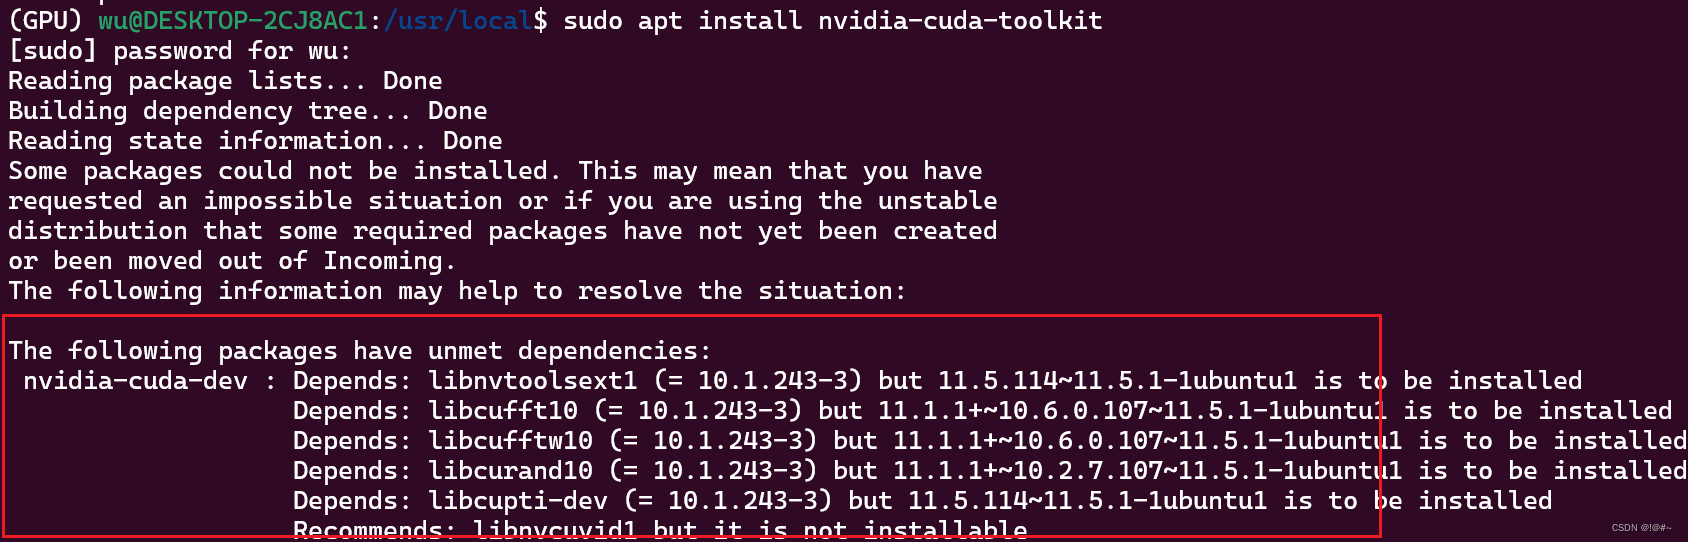
-
再次安装g++7,降低gcc版本,以便安装cuda
首先Ubuntu 20.04默认g++9版本太高,会导致CUDA无法安装,因此要先降低g++版本。
sudo apt-get install gcc-7 g++-7 sudo update-alternatives --install /usr/bin/gcc gcc /usr/bin/gcc-7 9 sudo update-alternatives --install /usr/bin/gcc gcc /usr/bin/gcc-9 1 sudo update-alternatives --display gcc sudo update-alternatives --install /usr/bin/g++ g++ /usr/bin/g++-7 9 sudo update-alternatives --install /usr/bin/g++ g++ /usr/bin/g++-9 1 sudo update-alternatives --display g++ -
降低g++版本之后,可以正常执行
sudo sh cuda_11.1.0_455.23.05_linux.run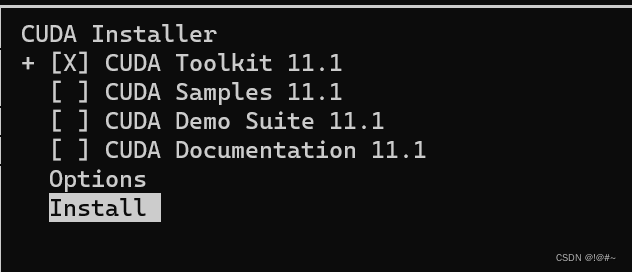
-
安装完成后显示
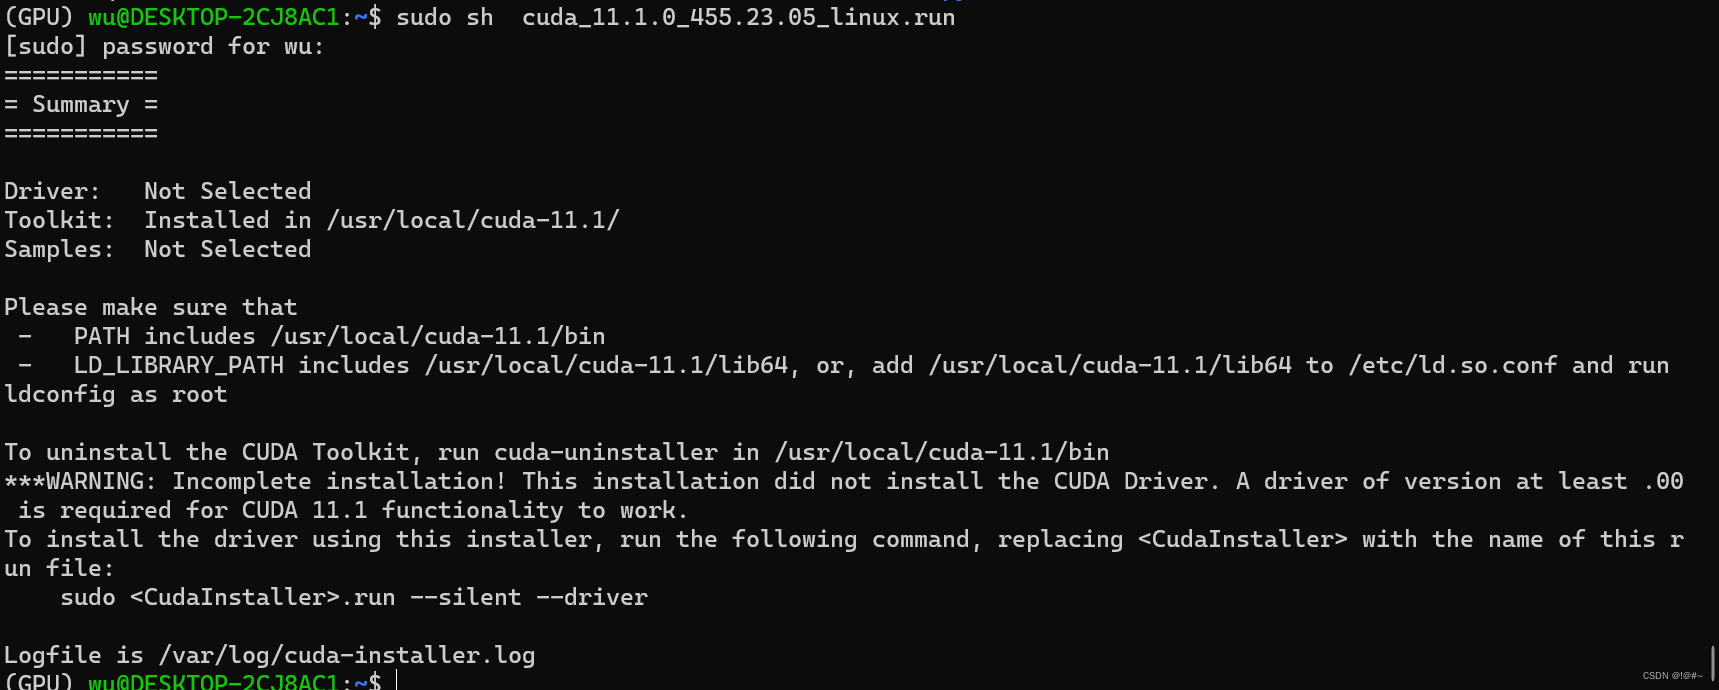
-
终于正常安装cuda 11.1了,虽然nvidia-smi显示和nvcc -V显示的版本不同,以nvcc -V为主
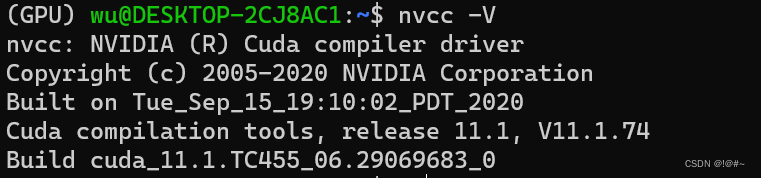
-
/usr/local目录下也有了 cuda目录

-
把之前在root和wu用户中修改的vim ~/.bashrc删除
-
更新可执行文件路径,在 vim ~/.bashrc中加入,如果不在 ~/.bashrc中加入的话,下次启动还是找不到cuda
export PATH=/usr/local/cuda-11.1/bin${PATH:+:${PATH}} -
更新动态链接库路径
export LD_LIBRARY_PATH=/usr/local/cuda-11.1/lib64${LD_LIBRARY_PATH:+:${LD_LIBRARY_PATH}} -
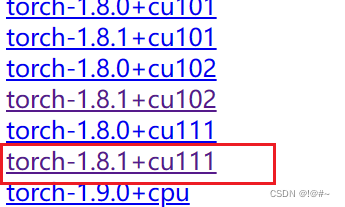
安装1.8.1版本的torch https://pytorch.org/get-started/previous-versions/
# CUDA 11.1 pip install torch==1.8.1+cu111 torchvision==0.9.1+cu111 torchaudio==0.8.1 -f https://download.pytorch.org/whl/torch_stable.html -
然后安装torch-geometric, 根据torch和cuda版本选择,
-
安装顺序为 torch-scatter2.0.8,torch-sparse0.6.12,torch-cluster1.5.9,torch-spline-conv1.2.1,torch-geometric==1.7.0,我的python版本为3.6, wsl(linux)
-
使用
nvcc -V命令,发现没有了,原因更改了 /etc/apt/sources.list can’t install nvidia-driver-toolkit on Ubuntu 20.04 LTS - needs uninstallable package - Ask Ubuntu方法:在/etc/apt/sources.list中添加
deb http://archive.ubuntu.com/ubuntu/ focal main restricted universe multiverse
deb-src http://archive.ubuntu.com/ubuntu/ focal main restricted universe multiverse

deb http://archive.ubuntu.com/ubuntu/ focal-updates main restricted universe multiverse
deb-src http://archive.ubuntu.com/ubuntu/ focal-updates main restricted universe multiverse

deb http://archive.ubuntu.com/ubuntu/ focal-security main restricted universe multiverse
deb-src http://archive.ubuntu.com/ubuntu/ focal-security main restricted universe multiverse
执行
sudo apt-cache policy
sudo apt-get --purge remove "*cublas*" "cuda*" "*nvidia*"
sudo apt-get clean
sudo apt-get autoremove
sudo apt-get update
sudo apt-get upgrade
sudo apt-get install nvidia-cuda-toolkit