文章目录
- Django实践-03模型
- 利用Django后台管理模型
- 1. 将admin应用所需的表迁移到数据库中。
- 2. 创建访问admin应用的超级用户账号,
- 3. 运行项目
- 4.注册模型类
- 5.对模型进行CRUD操作。
- 6.实现学科页和老师页效果
- 1. 修改polls/views.py文件。
- 2.修改templates/polls/subjects.html和tteachers.html模板页
- subjects.html
- teachers.html
- 3.访问
- django模块介绍
- django.shortcuts.render
- django.shortcuts.redirect
- 总结

Django实践-03模型
官网:https://www.djangoproject.com/
博客:https://www.liujiangblog.com/
git:https://gitcode.net/mirrors/jackfrued/Python-100-Days
Django静态文件问题备注:
参考:
Django测试开发-20-settings.py中templates配置,使得APP下的模板以及根目录下的模板均可生效
解决django 多个APP时 static文件的问题
django.short包参考:https://docs.djangoproject.com/en/4.1/topics/http/shortcuts/
利用Django后台管理模型
在创建好模型类之后,可以通过Django框架自带的后台管理应用(admin应用)实现对模型的管理。
1. 将admin应用所需的表迁移到数据库中。
python manage.py makemigrations
python manage.py migrate
(vip3-django) E:\vscode\vip3-django\djangoproject>python manage.py makemigrations
Migrations for ‘polls’:
polls\migrations\0001_initial.py
- Create model Subject
- Create model Teacher
(vip3-django) E:\vscode\vip3-django\djangoproject>python manage.py migrate
Operations to perform:
Apply all migrations: admin, auth, contenttypes, polls, sessionsRunning migrations:
Applying contenttypes.0001_initial… OK
Applying auth.0001_initial… OK
Applying admin.0001_initial… OK
Applying admin.0002_logentry_remove_auto_add… OK
Applying admin.0003_logentry_add_action_flag_choices… OK
Applying contenttypes.0002_remove_content_type_name… OK
Applying auth.0002_alter_permission_name_max_length… OK
Applying auth.0003_alter_user_email_max_length… OK
Applying auth.0004_alter_user_username_opts… OK
Applying auth.0005_alter_user_last_login_null… OK
Applying auth.0006_require_contenttypes_0002… OK
Applying auth.0007_alter_validators_add_error_messages… OK
Applying auth.0008_alter_user_username_max_length… OK
Applying auth.0009_alter_user_last_name_max_length… OK
Applying auth.0010_alter_group_name_max_length… OK
Applying auth.0011_update_proxy_permissions… OK
Applying auth.0012_alter_user_first_name_max_length… OK
Applying polls.0001_initial… OK
Applying sessions.0001_initial… OK
2. 创建访问admin应用的超级用户账号,
这里需要输入用户名、邮箱和口令。
python manage.py createsuperuser
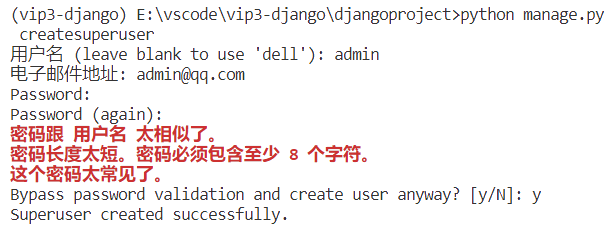
说明:输入口令时没有回显也不能退格。
3. 运行项目
python manage.py runserver
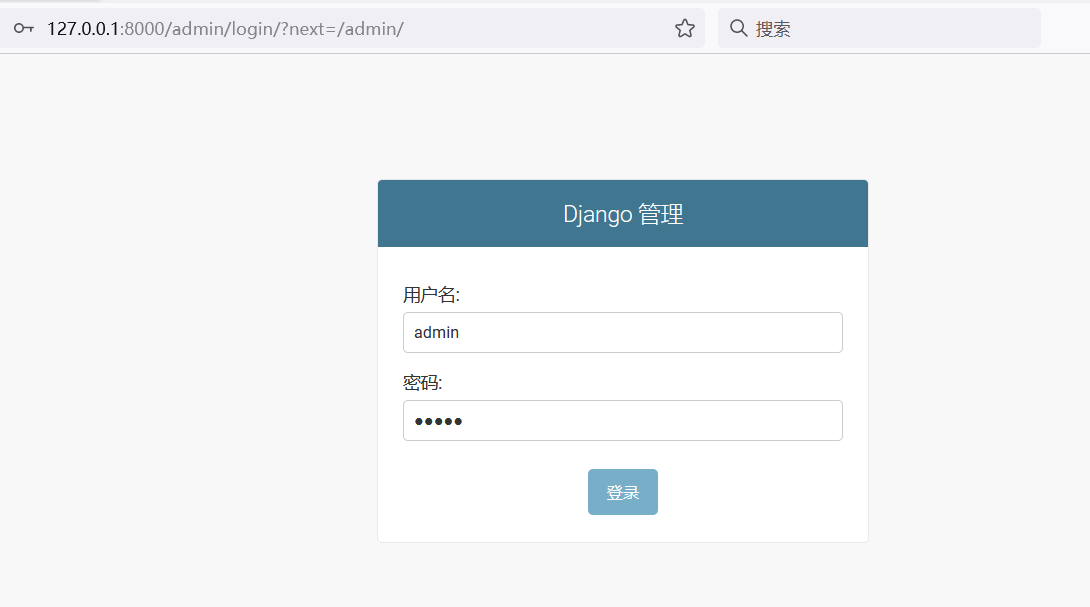
在浏览器中访问
http://127.0.0.1:8000/admin
输入刚才创建的超级用户账号admin和密码admin进行登录。
4.注册模型类
我们暂时还没能在admin应用中看到之前创建的模型类,为此需要在polls应用的admin.py文件中对需要管理的模型进行注册。
from django.contrib import admin

from polls.models import Subject, Teacher

admin.site.register(Subject)
admin.site.register(Teacher)
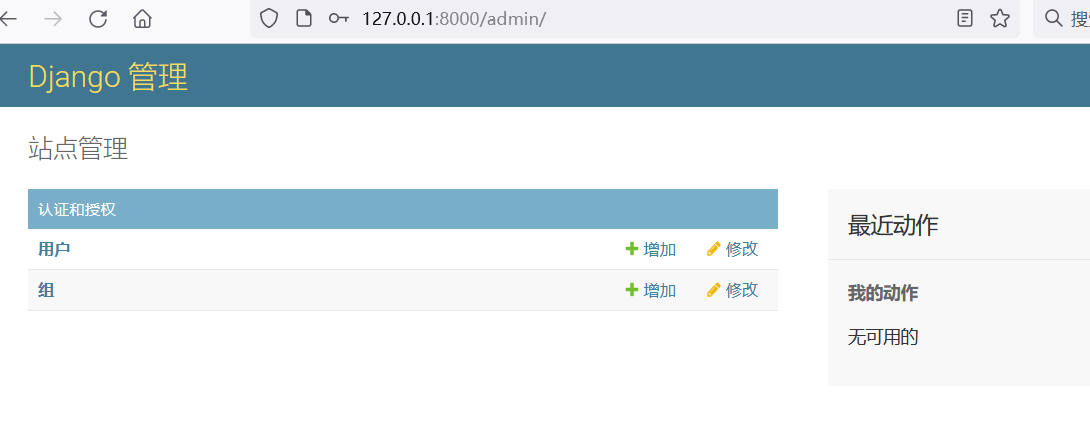
刷新
http://127.0.0.1:8000/admin
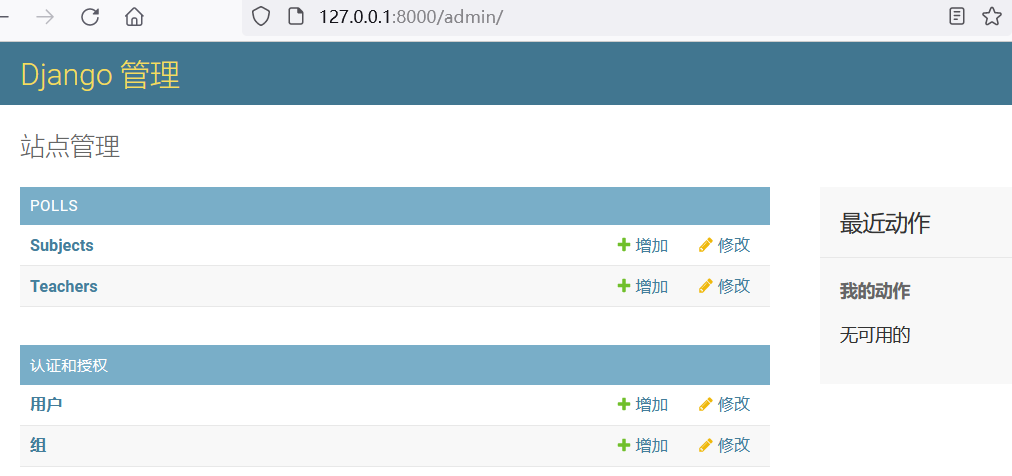
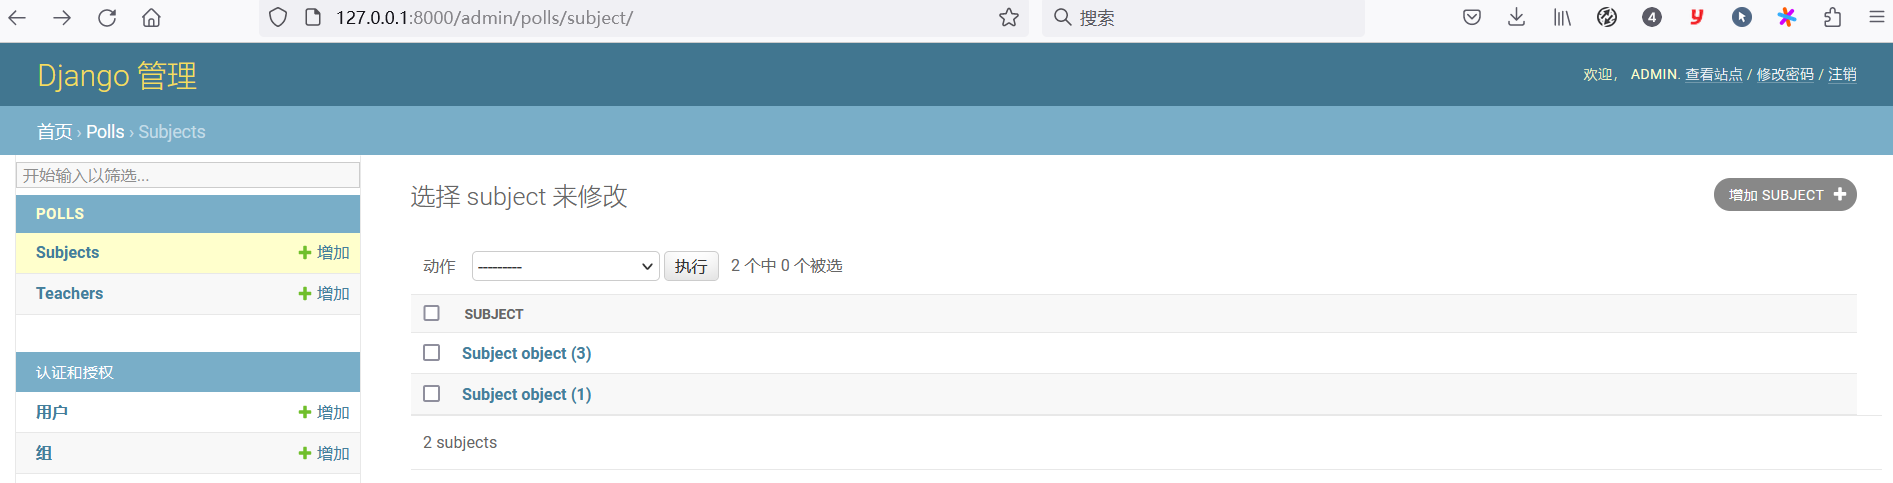
注册模型类后,就可以在后台管理系统中看到它们。可以在管理员平台对模型进行C(新增)、R(查看)、U(更新)、D(删除)操作,如下图所示。
5.对模型进行CRUD操作。
注册模型管理类。
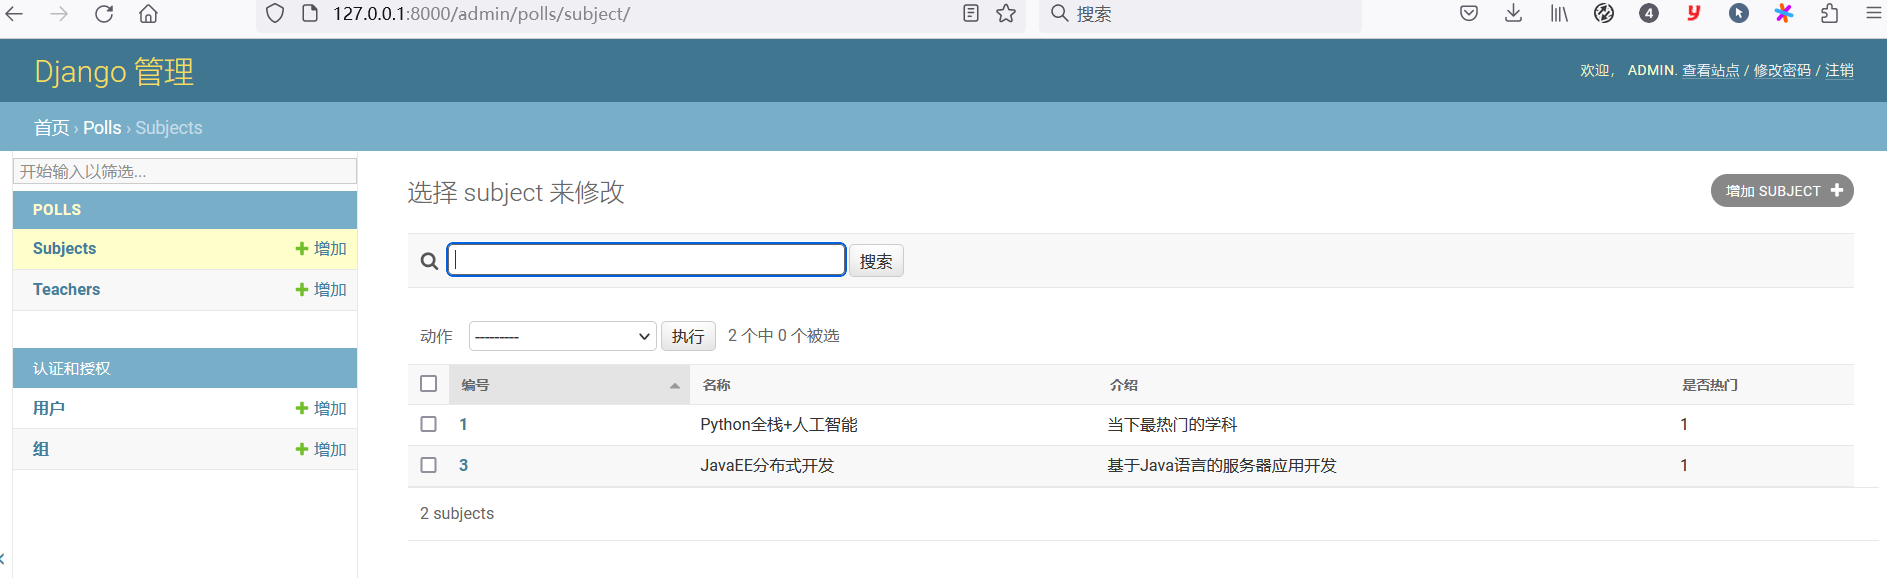
可能大家已经注意到了,刚才在后台查看部门信息的时候,显示的部门信息并不直观,为此我们再修改admin.py文件,通过注册模型管理类,可以在后台管理系统中更好的管理模型。
from django.contrib import admin

from polls.models import Subject, Teacher


class SubjectModelAdmin(admin.ModelAdmin):
    list_display = ('no', 'name', 'intro', 'is_hot')
    search_fields = ('name', )
    ordering = ('no', )


class TeacherModelAdmin(admin.ModelAdmin):
    list_display = ('no', 'name', 'sex', 'birth', 'good_count', 'bad_count', 'subject')
    search_fields = ('name', )
    ordering = ('no', )


admin.site.register(Subject, SubjectModelAdmin)
admin.site.register(Teacher, TeacherModelAdmin)
为了更好的查看模型,我们为Subject类和Teacher类添加__str__魔法方法,并在该方法中返回学科名字。
    def __str__(self) -> str:
        return self.name
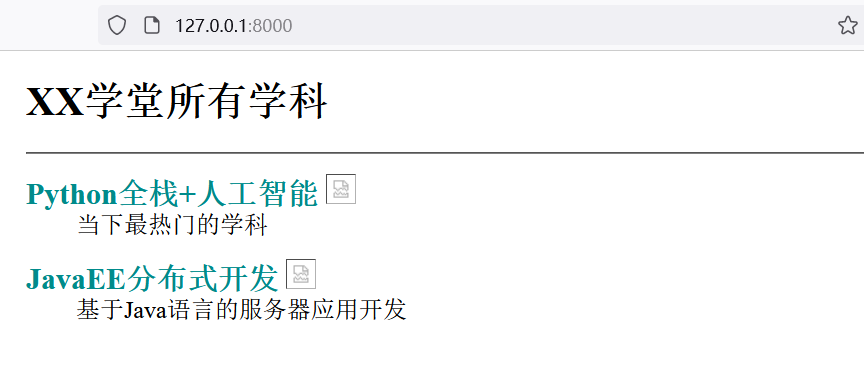
6.实现学科页和老师页效果
1. 修改polls/views.py文件。
修改polls/views.py文件,编写视图函数实现对学科页和老师页的渲染。
from django.shortcuts import render
from django.shortcuts import redirect

# Create your views here.

from polls.models import Subject, Teacher


def show_subjects(request):
    subjects = Subject.objects.all().order_by('no')
    return render(request, 'polls/subjects.html', {'subjects': subjects})


def show_teachers(request):
    try:
        sno = int(request.GET.get('sno'))
        teachers = []
        if sno:
            subject = Subject.objects.only('name').get(no=sno)
            teachers = Teacher.objects.filter(subject=subject).order_by('no')
        return render(request, 'polls/teachers.html', {
            'subject': subject,
            'teachers': teachers
        })
    except (ValueError, Subject.DoesNotExist):
        return redirect('/')
2.修改templates/polls/subjects.html和tteachers.html模板页
修改templates/polls/subjects.html和templates/polls/teachers.html模板页
subjects.html
<!DOCTYPE html>
<html lang="en">
<head>
    <meta charset="UTF-8">
    <title>学科信息</title>
    <style>
        #container {
            width: 80%;
            margin: 10px auto;
        }
        .user {
            float: right;
            margin-right: 10px;
        }
        .user>a {
            margin-right: 10px;
        }
        #main>dl>dt {
            font-size: 1.5em;
            font-weight: bold;
        }
        #main>dl>dd {
            font-size: 1.2em;
        }
        a {
            text-decoration: none;
            color: darkcyan;
        }
    </style>
</head>
<body>
    <div id="container">
        <div class="user">
            <a href="login.html">用户登录</a>
            <a href="register.html">快速注册</a>
        </div>
        <h1>XX学堂所有学科</h1>
        <hr>
        <div id="main">
            {% for subject in subjects %}
            <dl>
                <dt>
                    <a href="/teachers/?sno={{ subject.no }}">{{ subject.name }}</a>
                    {% if subject.is_hot %}
                    <img src="/static/images/hot-icon-small.png">
                    {% endif %}
                </dt>
                <dd>{{ subject.intro }}</dd>
            </dl>
            {% endfor %}
        </div>
    </div>
</body>
</html>
teachers.html
<!DOCTYPE html>
<html lang="en">
<head>
<meta charset="UTF-8">
<title>老师信息</title>
<style>
#container {
width: 80%;
margin: 10px auto;
}
.teacher {
width: 100%;
margin: 0 auto;
padding: 10px 0;
border-bottom: 1px dashed gray;
overflow: auto;
}
.teacher>div {
float: left;
}
.photo {
height: 140px;
border-radius: 75px;
overflow: hidden;
margin-left: 20px;
}
.info {
width: 75%;
margin-left: 30px;
}
.info div {
clear: both;
margin: 5px 10px;
}
.info span {
margin-right: 25px;
}
.info a {
text-decoration: none;
color: darkcyan;
}
</style>
</head>
<body>
<div id="container">
<h1>{{ subject.name }}学科的老师信息</h1>
<hr>
{% if not teachers %}
<h2>暂无该学科老师信息</h2>
{% endif %}
{% for teacher in teachers %}
<div class="teacher">
<div class="photo">
<img src="/static/images/{{ teacher.photo }}" height="140" alt="">
</div>
<div class="info">
<div>
<span><strong>姓名:{{ teacher.name }}</strong></span>
<span>性别:{{ teacher.sex | yesno:'男,女' }}</span>
<span>出生日期:{{ teacher.birth | date:'Y年n月j日'}}</span>
</div>
<div class="intro">{{ teacher.intro }}</div>
<div class="comment">
<a href="">好评</a> (<strong>{{ teacher.good_count }}</strong>)
<a href="">差评</a> <strong>{{ teacher.bad_count }}</strong>)
</div>
</div>
</div>
{% endfor %}
<a href="/">返回首页</a>
</div>
</body>
</html>
3.访问
http://127.0.0.1:8000/
点击Python全栈+人工智能学科的老师信息跳转到
http://127.0.0.1:8000/teachers/?sno=1

到此为止,页面上需要的图片(静态资源)还没有能够正常展示,我们在下一章节中为大家介绍如何处理模板页上的需要的静态资源。
django模块介绍
django.shortcuts.render
render(request, template_name, context=None, content_type=None, status=None, using=None
django.shortcuts.redirect
redirect(to, *args, permanent=False, **kwargs)
总结
本文主要是Django系列博客。本文是Django模型层models的使用过程。
1.基于实体类生成数据表
python manage.py makemigrations
python manage.py migrate
2.创建超级用户
python manage.py createsuperuser
3.把models交给后台admin管理 可优化
admin.site.register(Subject)
4.修改polls/views.py文件
5.修改templates/polls下的html文件
6.运行项目
python manage.py runserver