SpringBoot整合Junit 和 MyBatis
- 1. SpringBoot整合Junit
- 2. SpringBoot整合MyBatis
- 2.1 定义SpringBoot项目
- 2.2 定义dao接口
- 2.3 定义service层
- 2.4 定义controller层
- 2.5 配置yml/yaml文件
- 2.6 postman测试
1. SpringBoot整合Junit

在com.example.service下创建BookService接口
public interface BookService {
    void save();
}
在 com.example.service.impl 包写创建一个 BookServiceImpl 类,使其实现 BookService 接口,内容如下
@Service
public class BookServiceImpl implements BookService {
    @Override
    public void save() {
        System.out.println("book service is running ...");
    }
}
编写Junit测试类
在 test/java 下创建 com.example 包,在该包下创建测试类,将 BookService 注入到该测试类中
@SpringBootTest
class Springboot07TestApplicationTests {

    @Autowired
    private BookService bookService;

    @Test
    public void save() {
        bookService.save();
    }
}
==注意:==这里的引导类所在包必须是测试类所在包及其子包。
例如:
- 引导类所在包(xxxApplication.java)是
com.example- 测试类所在包是
com.example如果不满足这个要求的话,就需要在使用
@SpringBootTest注解时,使用classes属性指定引导类的字节码对象。如@SpringBootTest(classes = Springboot07TestApplication.class)
2. SpringBoot整合MyBatis
2.1 定义SpringBoot项目
- 创建模块,选择
Spring Initializr, 并配置模块相关基础信息
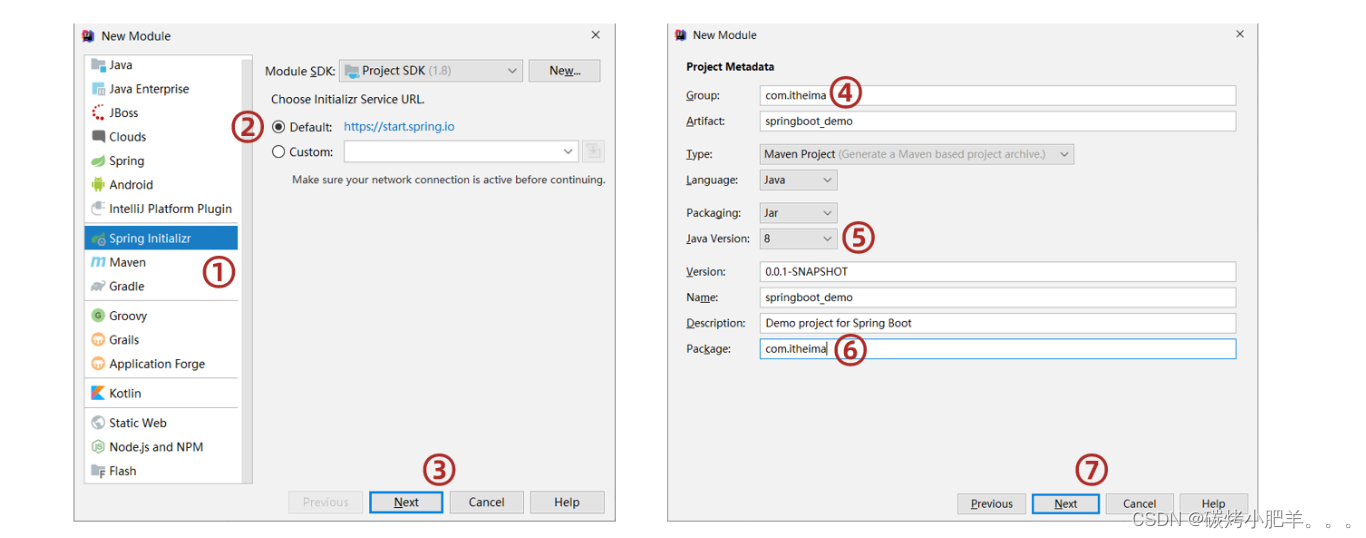
- 选择当前模块需要使用的技术集:
MyBatis和MySQL

2.2 定义dao接口
在com.example目录下面创建dao目录,并在该目录下创建BookDao接口。
注意:
- 这里
dao层接口上面需要加上@Mapper注解,把接口变为实体类。这样在自动注入的时候,Spring的IOC容器才能进行管理,要不然容器找不到该接口对应的实体类。 - 如果第一步没有在
dao层接口上面添加@Mapper注解,可以在引导类的上面添加@MapperScan("com.example.dao"),将dao层接口全部转化为实体类,都交给Spring容器管理。

// 作用:在接口类上添加了@Mapper,在编译之后会生成相应的接口实现类
// 添加位置:接口类上面
@Mapper
public interface BookDao {
    @Select("select * from tb_book where id = ${id}")
    public Book getById(Integer id);
}
2.3 定义service层
在com.example目录下面创建service目录,并在该目录下创建BookService接口, 然后在com.example.service目录下创建impl目录,然后在此目录下创建BookService接口的实现类BookServiceImpl.
public interface BookService {
    /**
     * 根据id查询书对象
     * @param id
     * @return
     */
    Book getById(Integer id);
}
@Service
public class BookServiceImpl implements BookService {
    @Autowired
    private BookDao bookDao;

    @Override
    public Book getById(Integer id) {
        return bookDao.getById(id);
    }
}
2.4 定义controller层
在com.example目录下面创建controller目录,并在该目录下创建BookController类, 注意,这里使用了统一返回结果,具体可以参考文章:https://editor.csdn.net/md/?articleId=128905204
@RestController
@RequestMapping("/books")
public class BookController {
    @Autowired
    private BookService bookService;

    @GetMapping("/{id}")
    public Ret getById(@PathVariable Integer id){
        Book book = bookService.getById(id);
        // 查找失败
        if(book == null){
            return new Ret(Code.SELECT_ERR, null, "查找失败...");
        }
        // 查找成功
        return new Ret(Code.SELECT_OK, book, null);
    }
}
2.5 配置yml/yaml文件
server:
  port: 8080

---

spring:
  datasource:
    driver-class-name: com.mysql.jdbc.Driver
    url: jdbc:mysql://localhost:3306/ssm_db
    username: root
    password: 1234

---
# 使用Druid数据源
#spring:
#  datasource:
#    driver-class-name: com.mysql.cj.jdbc.Driver
#    url: jdbc:mysql://localhost:3306/ssm_db?serverTimezone=UTC
#    username: root
#    password: 1234
#    type: com.alibaba.druid.pool.DruidDataSource

---
#日志级别 trace < debug < info < warn < error < fatal
logging:
  level:
    root: info
注意:SpringBoot自带连接数据库资源,我们也可以自己进行配置,例如配置alibaba的Druid,需要再pom.xml中添加对应的依赖,如下所示:
        <dependency>
            <groupId>com.alibaba</groupId>
            <artifactId>druid</artifactId>
            <version>1.1.16</version>
        </dependency>
application.yml配置Druid资源信息:
# 使用Druid数据源
spring:
  datasource:
    driver-class-name: com.mysql.cj.jdbc.Driver
    url: jdbc:mysql://localhost:3306/ssm_db?serverTimezone=UTC
    username: root
    password: 1234
    type: com.alibaba.druid.pool.DruidDataSource
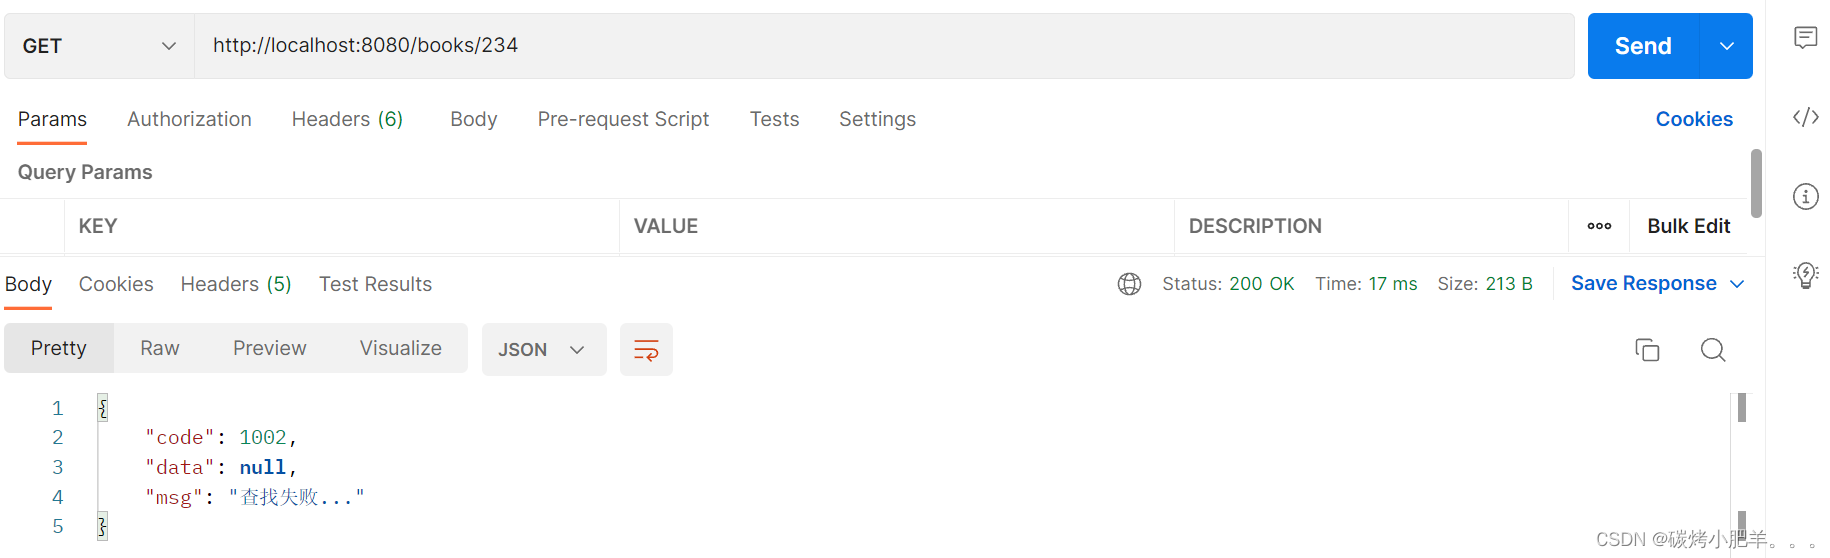
2.6 postman测试
查询成功案例

查询失败案例