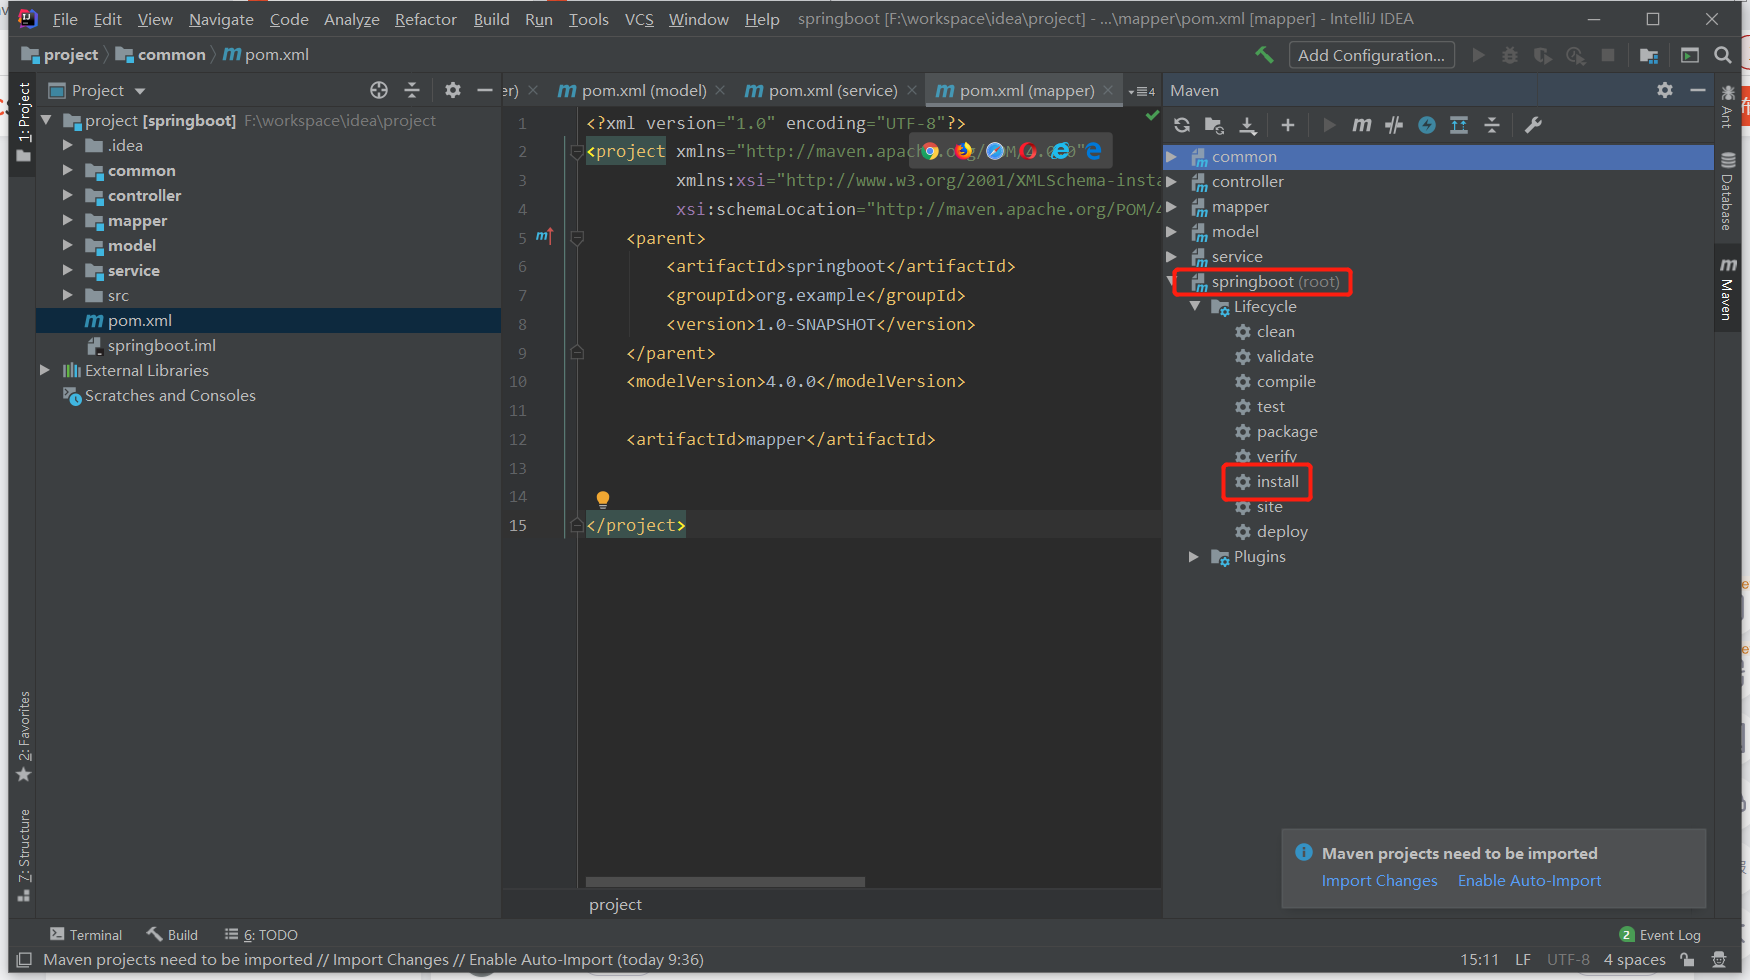
1.新建两个provider:springcloud-provider-dept-8002

2. 配置跟8001一样
整合 Ribbon
由上述可知,Ribbon 是需要集成在消费端的
所以在消费端 : springcloud-03-consumer-dept-8082 进行修改
在 POM 文件中添加 Ribbon、Eureka 依赖
    <!--ribbon-->
    <!-- https://mvnrepository.com/artifact/org.springframework.cloud/spring-cloud-starter-ribbon -->
    <dependency>
        <groupId>org.springframework.cloud</groupId>
        <artifactId>spring-cloud-starter-ribbon</artifactId>
        <version>1.4.7.RELEASE</version>
    </dependency>
    <!--Eureka 服务提供者-->
    <!-- https://mvnrepository.com/artifact/org.springframework.cloud/spring-cloud-starter-eureka -->
    <dependency>
        <groupId>org.springframework.cloud</groupId>
        <artifactId>spring-cloud-starter-eureka</artifactId>
        <version>1.4.7.RELEASE</version>
    </dependency>
编写 application.yml
# Eureka
eureka:
  client:
    # 不向注册中心注册自己
    register-with-eureka: false
    # 配置 可连接的注册中心
    service-url:
      defaultZone: http://127.0.0.1:7001/eureka/,http://127.0.0.2:7002/eureka/
在主启动类上添加 Eureka 启动项 : @EnableEurekaClient
在之前把 RestTemplate 注册到 Bean 的配置方法上添加一个注解
配置 负载均衡实现 RestTemplate : @LoadBalanced
修改控制层
 /**提供者 URL 的前缀
 *
 * 不使用 Ribbon 时 ,这里就是第一中写法
 *
 * 使用 Ribbon 实现负载均衡 时,这里就不能写死为一个地址,
 *       而需要通过注册中心的服务名来访问
 *       服务名:在 提供者 YML 文件中配置的 spring:application:name: 的值
 *            或者 监控页面的 Application 字段值
 */
//private static final String REST_URL_PREFIX = "http://localhost:8081";

private static final String REST_URL_PREFIX = "http://SpringCloud-02-provider";
启动集群、提供者、消费者,进行测试
进入 消费者页面 发出请求,得到正确结果
2.2 添加提供者,观察负载均衡
添加一个数据库 : spring_cloud_02
新建一个 服务提供者 : springcloud-02-provider-dept-8083
把另一个 提供者 的文件都复制过来,再做修改
修改 application.yml (端口号、数据库、描述信息)
【注意】多个提供者的服务名必须一致
server:
  port: 8083

mybatis:
  type-aliases-package: com.demo.pojo
  mapper-locations: classpath:mybatis/mapper/*.xml
  config-location: classpath:mybatis/mybatis-config.xml

spring:
  application:
    name: SpringCloud-02-provider
  datasource:
    username: root
    password: 123456
    driver-class-name: com.mysql.cj.jdbc.Driver
    url: jdbc:mysql://localhost:3306/spring_cloud_02?serverTimezone=UTC&useUnicode=true&characterEncoding=utf-8
    type: com.alibaba.druid.pool.DruidDataSource

logging:
  level:
    com.demo.mapper: DEBUG

# Eureka,配置服务注册到哪里
eureka:
  client:
    service-url:
      # 配置监控页面的地址,这是在 Eureka Server 中配置的
      defaultZone: http://127.0.0.1:7001/eureka/,http://127.0.0.2:7002/eureka/
  instance:
    # 修改 Eureka 监控页面上的默认描述信息
    instance-id: springcloud-provider-dept-8083
修改主启动类,添加注解
//在配置过这个注解后,服务启动会自动注册到 Eureka Server
@EnableEurekaClient
//开启服务发现
@EnableDiscoveryClient
2.3 修改负载均衡策略
负载均衡有一个核心的结构 : IRule
进入该接口
实现类
修改为已经实现的策略
因为是在消费者端做负载均衡,所以在消费者中修改
把已经实现的策略注册的 Bean 中即可
修改 springcloud-03-consumer-dept-8082 的 BeanConfig 文件
@Bean
public IRule myRule(){
    // 先使用已经实现的策略——随机
    return new RandomRule();
}
重建消费者,刷新请求,会发现不再轮询,会在已有的提供者之间随机选择
修改配置 Ribbon 的方式
新建一个 MyRule 类,并且把上面那个 myRule 方法挪过去
【注意】:这个 MyRule 类 不能在主应用程序的上下文(也就是 主启动类的同级目录中),所以需要单独的创建一个包
@Configuration
public class MyRule {
    /**
     * 修改默认的负载均衡策略
     */
    @Bean
    public IRule customize(){
        // 先使用已经实现的策略——随机
        return new RandomRule();
    }
}
在主启动类上加上 Ribbon 的注解:
@RibbonClient

@SpringBootApplication
@EnableEurekaClient
// configuration:标注 Rule 的配置类 ; name:标注需要配置的服务名
@RibbonClient(configuration = MyRule.class,name = "SpringCloud-02-provider")
public class Springcloud03ConsumerDept8082Application {
    public static void main(String[] args) {
        SpringApplication.run(Springcloud03ConsumerDept8082Application.class, args);
    }
}
自定义策略(简单示例)
可以点开刚刚看的那个 RandomRule 的源代码,复制过来修改一下
修改要求:每个提供者访问五次
编写 DiyRule()
public class DiyRule extends AbstractLoadBalancerRule {

    public Server choose(ILoadBalancer lb, Object key) {
        if (lb == null) {
            return null;
        } else {
            Server server = null;

            while(server == null) {
                if (Thread.interrupted()) {
                    return null;
                }
                // 获得可获得(活着的)的服务
                List<Server> upList = lb.getReachableServers();
                // 获得所有的服务
                List<Server> allList = lb.getAllServers();
                int serverCount = allList.size();
                if (serverCount == 0) {
                    return null;
                }

            //==上面是写死的======中间是修改部分==================
                System.out.println("自定义的 Rule");
                System.out.println(upList.size());
                // 访问某一个提供者的次数
                int times = 0;
                // 提供者的下标
                int index = 0;
                // 从活着的服务中随机获取一个
                server = (Server)upList.get(index);
                if (times < 4){
                    times++;
                }else {
                    times = 1;
                    index = (index + 1) % upList.size();
                }

            //==下面是写死的======中间是修改部分===================

                if (server == null) {
                    Thread.yield();
                } else {
                    if (server.isAlive()) {
                        return server;
                    }

                    server = null;
                    Thread.yield();
                }
            }

            return server;
        }
    }

    @Override
    public void initWithNiwsConfig(IClientConfig iClientConfig) {

    }

    @Override
    public Server choose(Object o) {
        return null;
    }
}
MyRule 类
@Configuration
public class CustomizedRule {
    /**
     * 修改默认的负载均衡策略
     */
    @Bean
    public IRule customize(){
        // 先使用已经实现的策略——随机
        return new DiyRule();
    }
}
在主启动类上添加
// configuration:标注 Rule 的配置类 ; name:标注需要配置的服务名
@RibbonClient(name = "SPRINGCLOUD-PROVIDER", configuration = CustomizedRule.class)

