文章目录
- 1. 文章引言
- 2. 基于java调用API
- 2.1 环境配置
- 2.2 编写代码
- 3. 重要总结
- 3.1 官网链接地址
- 3.2 开发语言的示例链接
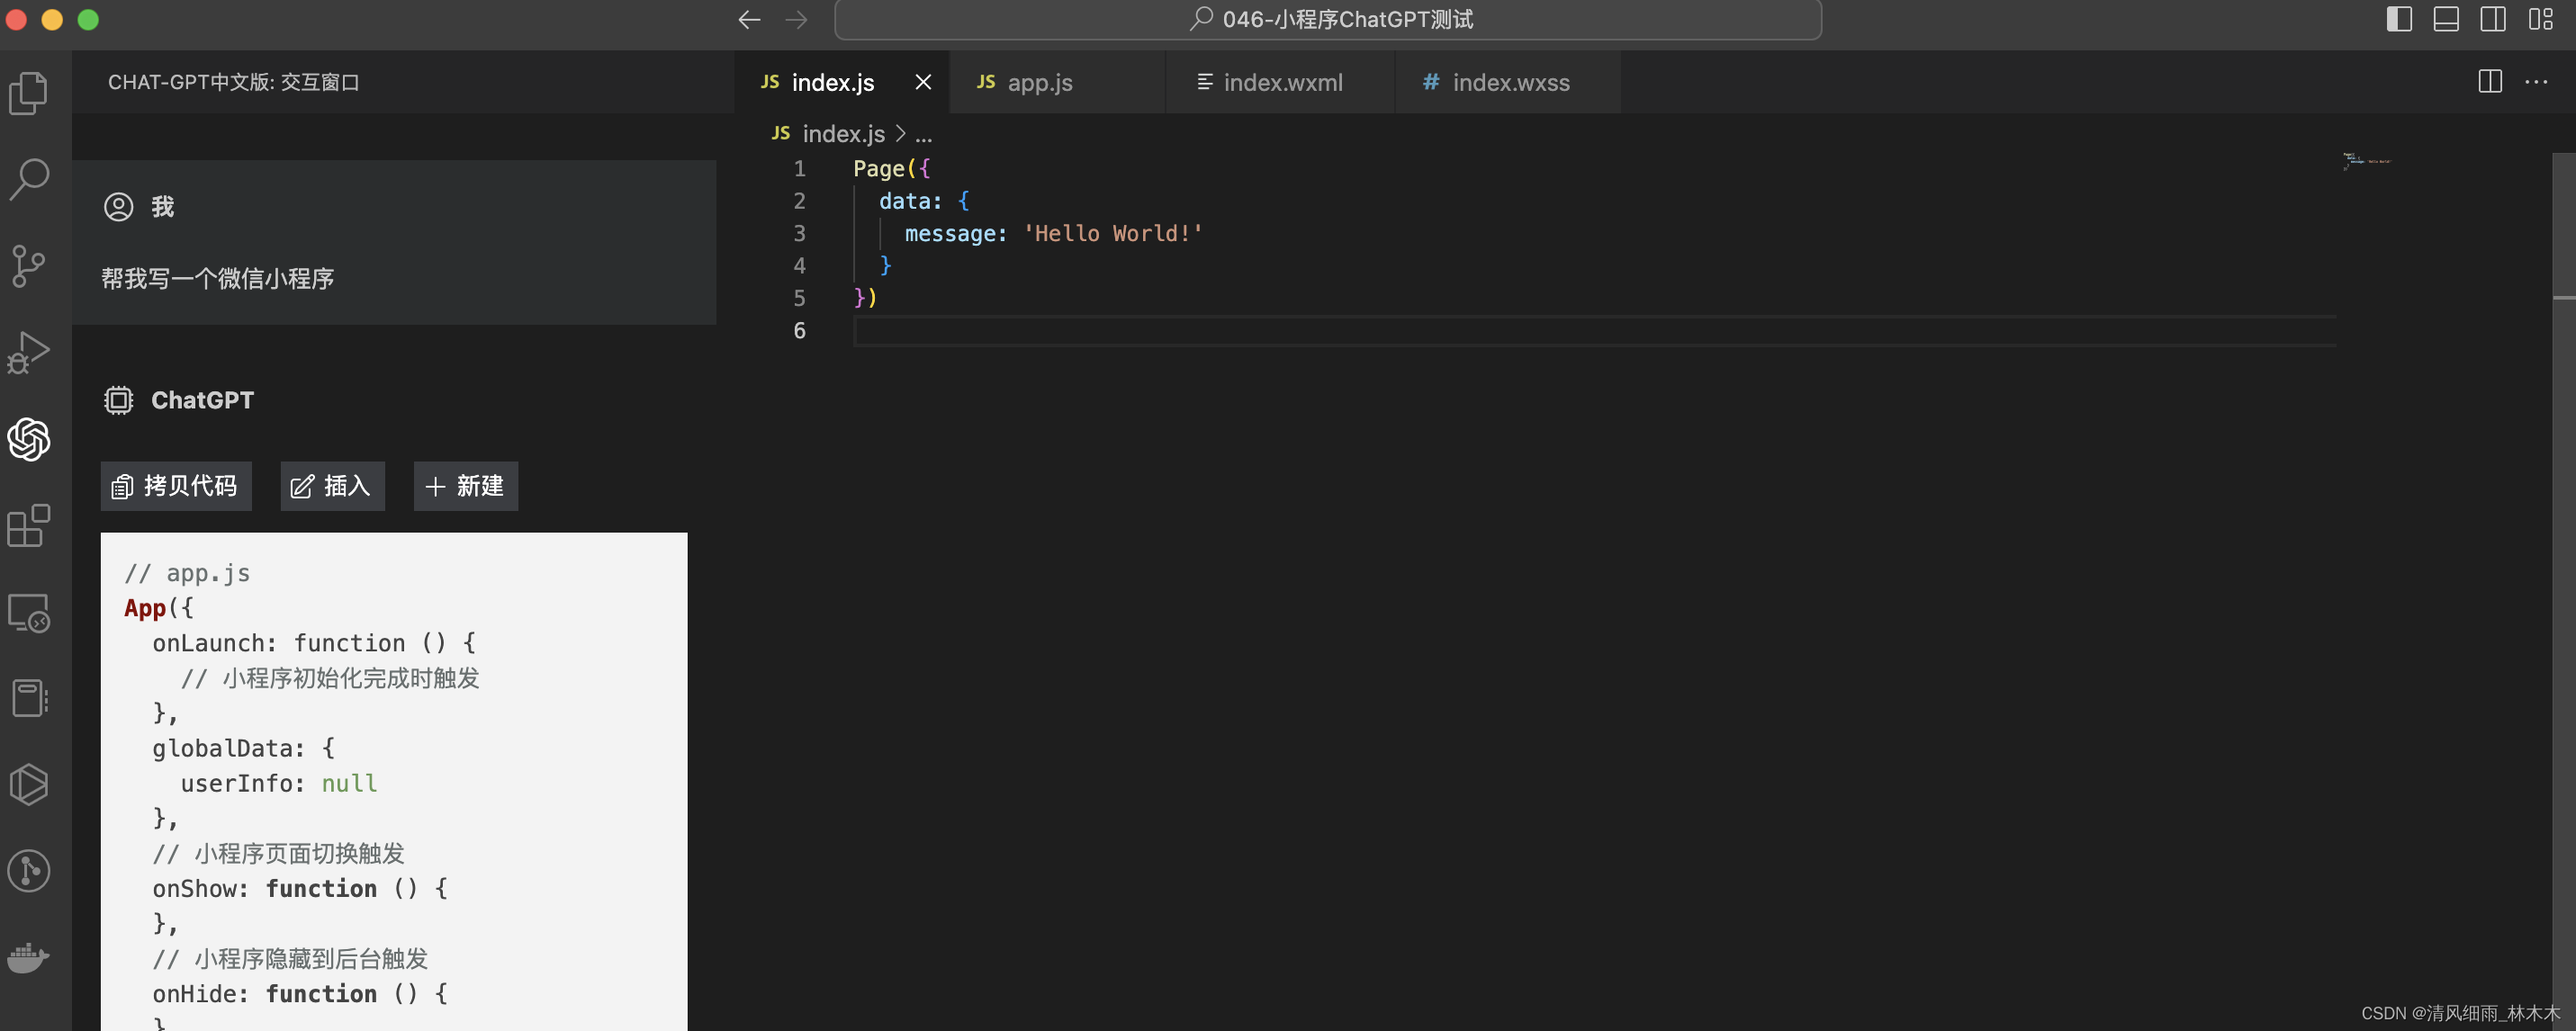
1. 文章引言
首先,我们需要访问ChatGPT的官网,官网提供了很多调用ChatGPT的API接口的语言示例,比如java,go,C#等等。
因为我是java开发,如下便详细解说如何使用java调用ChatGPT的API接口。
2. 基于java调用API
2.1 环境配置
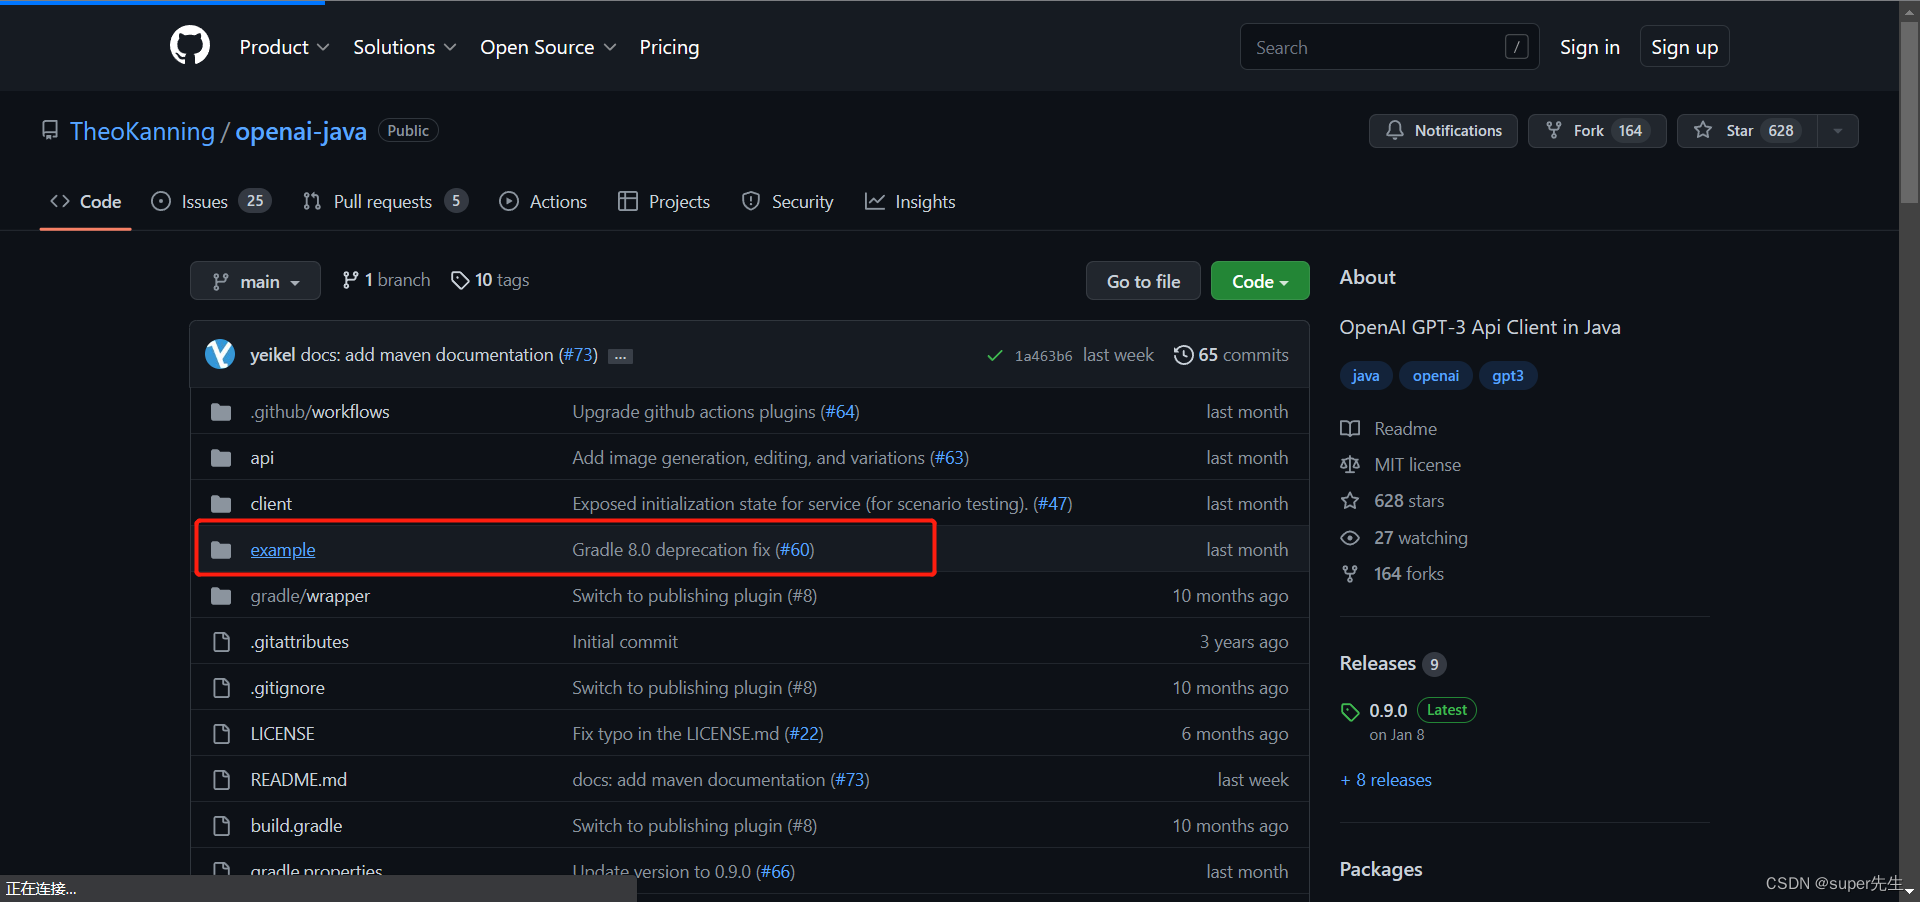
- 根据官网链接地址,点击跳转到
java示例的GitHub上:

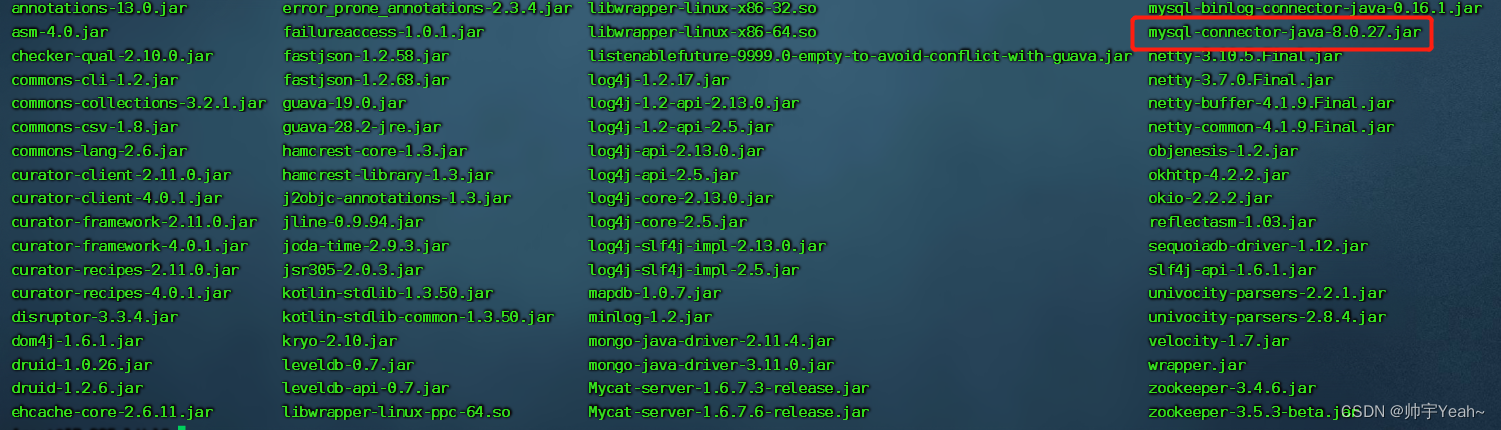
- 我们跳转到
GitHub上后,往下找到jar包的引用,如下图所示:
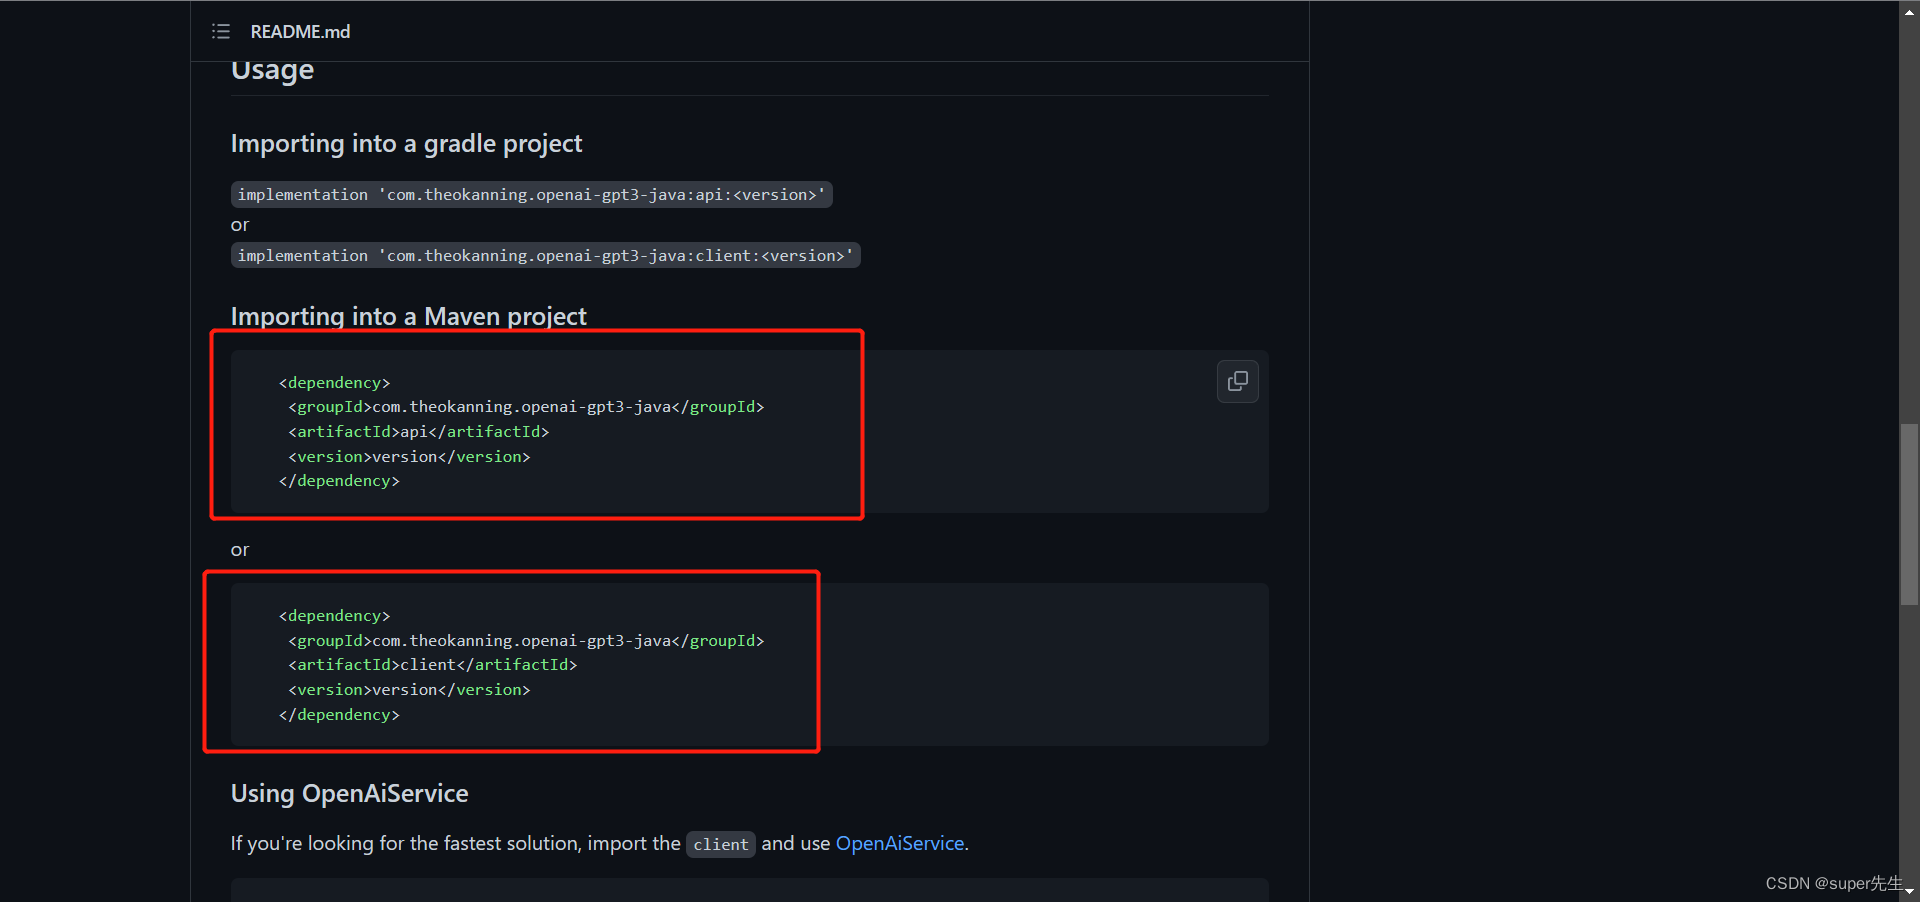
- 即在我们的项目(
pom.xml)中引入jar包,如下代码所示:
<dependency>
	<groupId>com.theokanning.openai-gpt3-java</groupId>
 	<artifactId>api</artifactId>
 	<version>version</version>
</dependency>
或者
<dependency>
 	<groupId>com.theokanning.openai-gpt3-java</groupId>
 	<artifactId>client</artifactId>
 	<version>version</version>
</dependency>
2.2 编写代码
- 我们没必要下载源码,而是点击
example这个包,如下图所示:
- 点击
src/main/java/example

- 单击
OpenAiApiExample.java,

- 得到示例代码,如下所示:
package example;

import com.theokanning.openai.OpenAiService;
import com.theokanning.openai.completion.CompletionRequest;

class OpenAiApiExample {
    public static void main(String... args) {
        String token = System.getenv("OPENAI_TOKEN");
        OpenAiService service = new OpenAiService(token);

        System.out.println("\nCreating completion...");
        CompletionRequest completionRequest = CompletionRequest.builder()
                .model("ada")
                .prompt("Somebody once told me the world is gonna roll me")
                .echo(true)
                .user("testing")
                .build();
        service.createCompletion(completionRequest).getChoices().forEach(System.out::println);
    }
}
填写你的秘钥(token)即可,但你需要注册OpenAI API才能获取API密钥(token)。
当然,你也可以使用如下方式调用ChatGPT:
public class ChatGPT {
    public static void main(String[] args) throws Exception {
        HttpClient httpClient = HttpClientBuilder.create().build();
        HttpPost request = new HttpPost("https://api.openai.com/v1/engines/davinci/jobs");
        request.addHeader("Content-Type", "application/json");
        request.addHeader("Authorization", "Bearer <API_KEY>");

        JSONObject requestBody = new JSONObject();
        requestBody.put("prompt", "What is the capital of France?");
        requestBody.put("max_tokens", 100);
        requestBody.put("temperature", 0.5);

        StringEntity requestEntity = new StringEntity(requestBody.toString());
        request.setEntity(requestEntity);

        HttpResponse response = httpClient.execute(request);
        String responseString = EntityUtils.toString(response.getEntity());
        JSONObject responseJson = new JSONObject(responseString);

        System.out.println("Response: " + responseJson.getString("choices").split("\n")[0]);
    }
}
3. 重要总结
3.1 官网链接地址
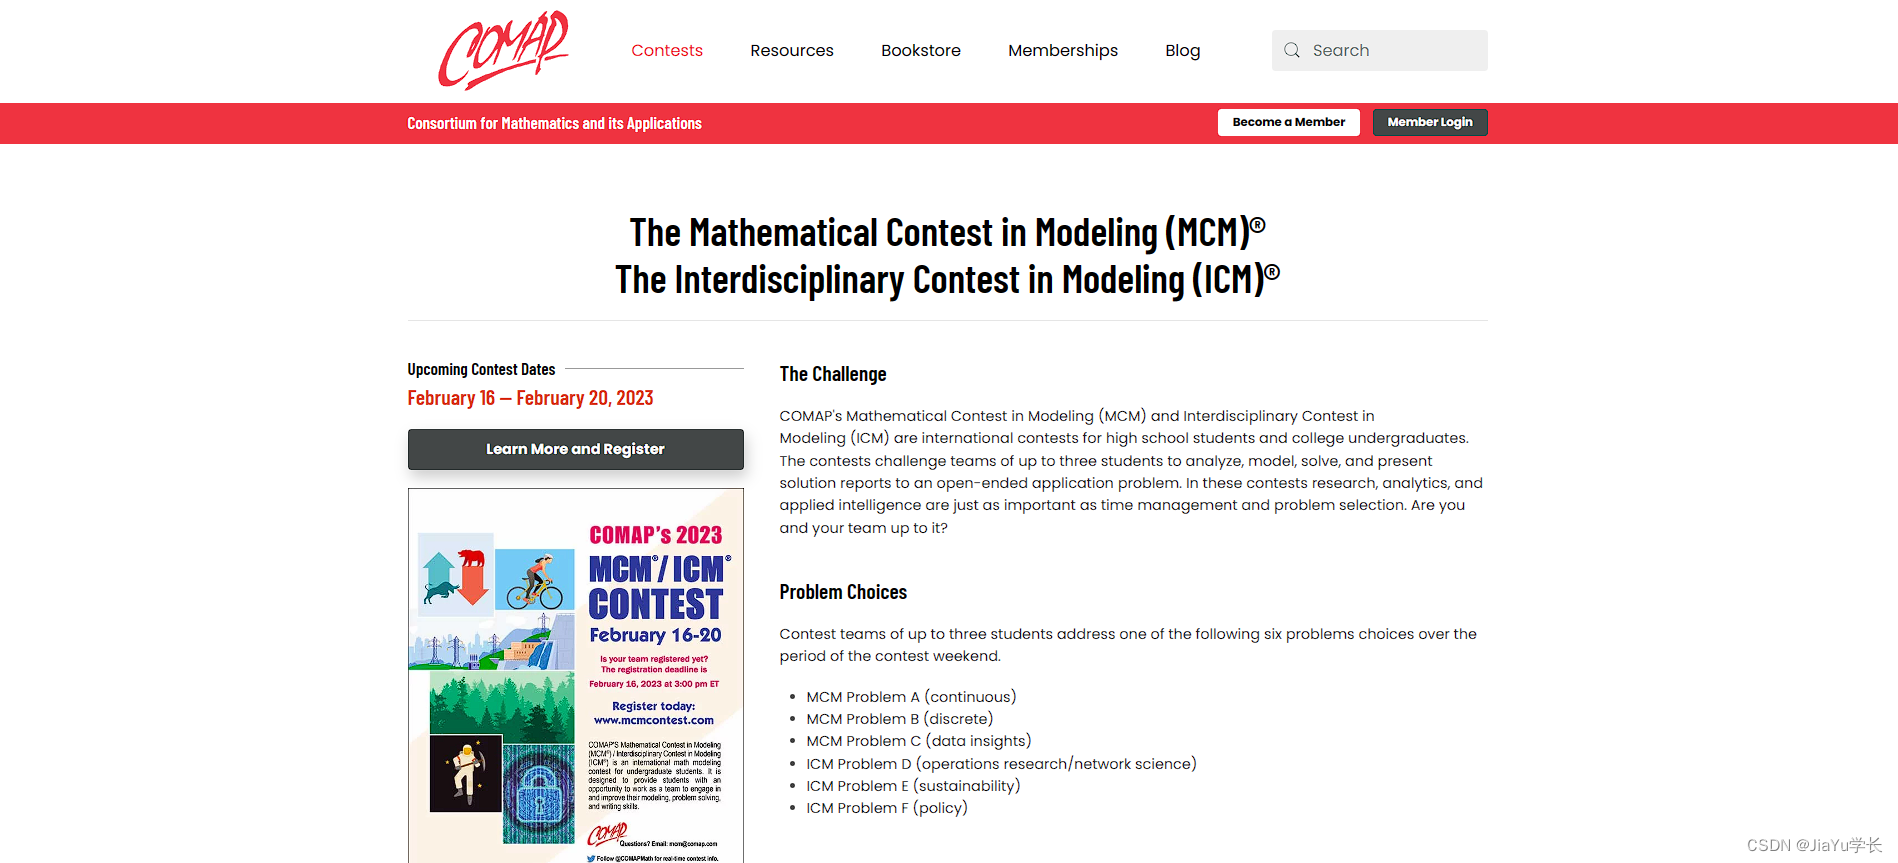
官网链接地址:https://platform.openai.com/docs/libraries/community-libraries,点击链接如下图所示:
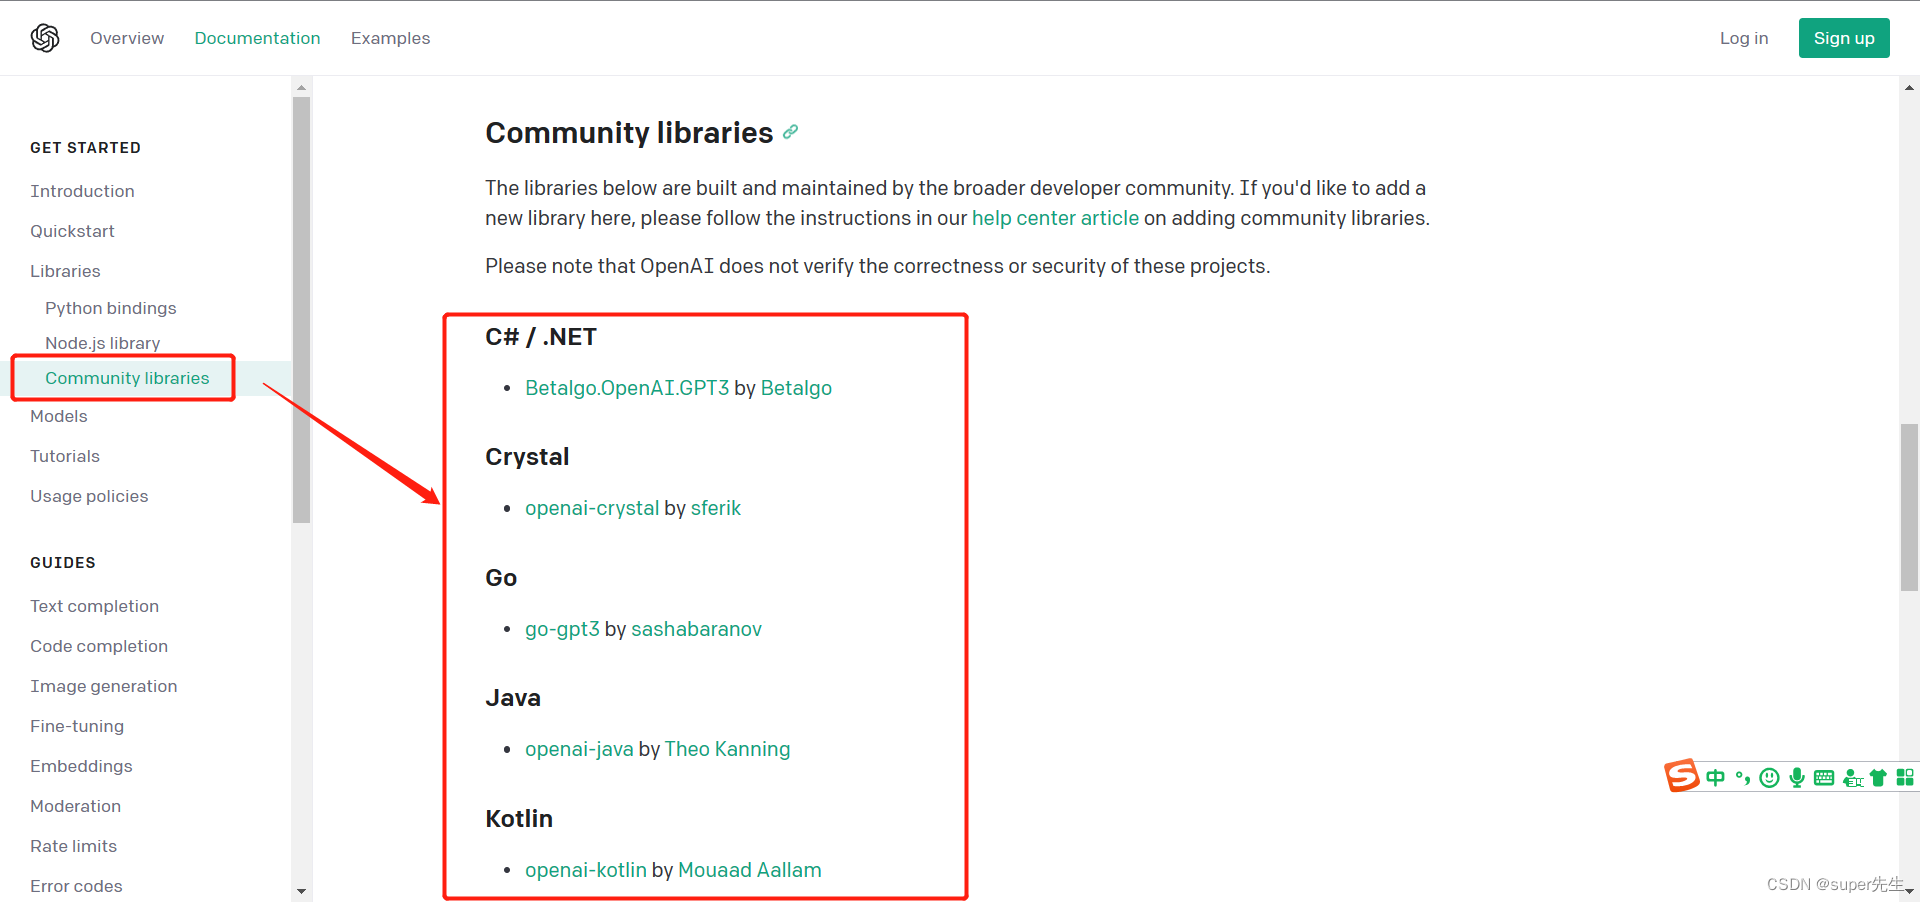
3.2 开发语言的示例链接
你可以根据你使用的语言,点击示例链接,如下图所示:
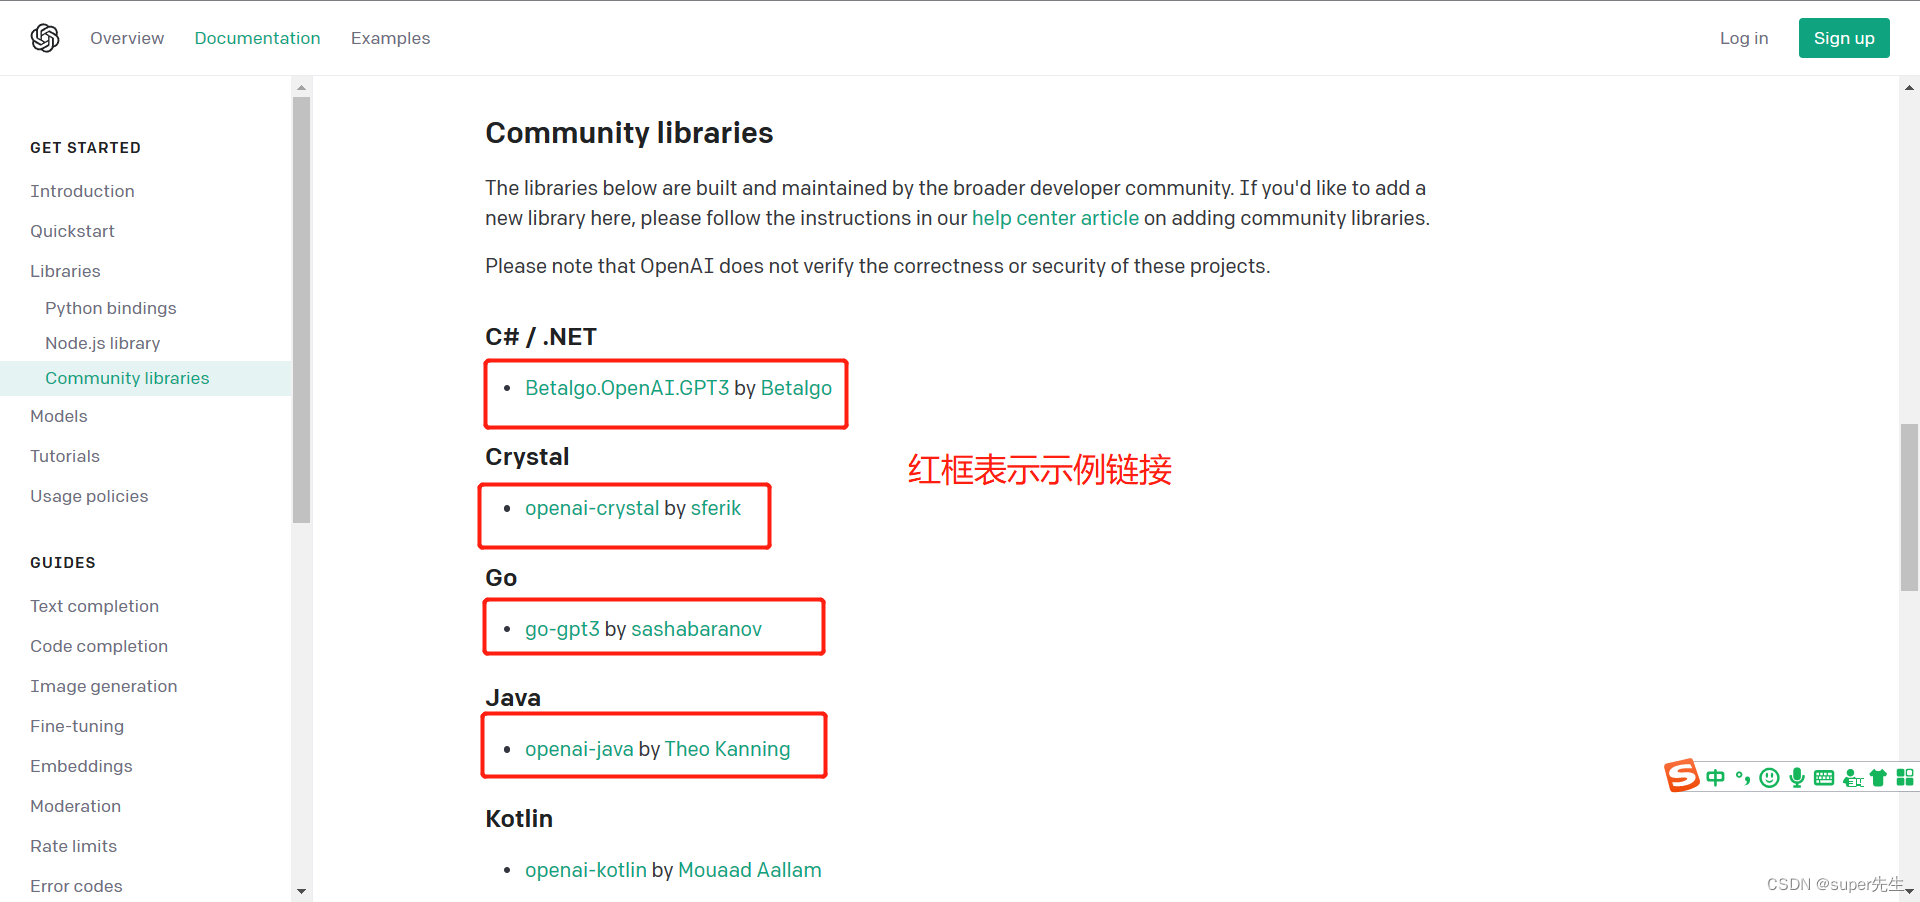
由于示例都是托管到GitHub上的,因而,如果你的网络不好,可能无法访问,如下图所示:

如果无法访问,检查网络是否通畅,再多尝试几次即可。