参考第2节, 准备好编译环境并实现hello.ko:
linux驱动 - 2: helloworld.ko_linux 驱动开发 hello world ko-CSDN博客
下面在hello模块的基础上, 添加代码, 实现一个usb设备驱动的最小骨架.
#include <linux/init.h>
#include <linux/module.h>
#include <linux/kernel.h>
#include <linux/usb.h>
#define TAG "hello-usb: "

static int hello_usb_probe(struct usb_interface *intf, const struct usb_device_id *id)
{
    printk(TAG "probe()\n");
    return 0;
}

static void hello_usb_disconnect(struct usb_interface *intf)
{
    printk(TAG "disconnect()\n");
}

static struct usb_device_id hello_usb_id_table [] = {
    {
        .match_flags= USB_DEVICE_ID_MATCH_VENDOR|USB_DEVICE_ID_MATCH_INT_CLASS|USB_DEVICE_ID_MATCH_INT_PROTOCOL,
        .idVendor = 0x046d,
        .bInterfaceClass = 0x03,
        .bInterfaceProtocol = 0x02,
    },
    { }	/* Terminating entry */
};

struct usb_driver hello_usb_driver = {
    .name		= "hello-usb",
    .probe		= hello_usb_probe,
    .disconnect	= hello_usb_disconnect,
    .id_table	= hello_usb_id_table,
};

static int hello_init(void)
{
    usb_register(&hello_usb_driver);
    printk("hello.ko: hello :) \n");
    return 0;
}

static void hello_exit(void)
{
    usb_deregister(&hello_usb_driver);
    printk("hello.ko: byebye! \n");
}

module_init(hello_init);
module_exit(hello_exit);

MODULE_LICENSE("GPL");
MODULE_DESCRIPTION("a hello module");- usb设备驱动用usb_register()注册, 只有一个参数, 即数据结构struct usb_driver.
- 数据结构struct usb_driver中比较关键的是3个:
id(结构体指针), 指向的结构体用来告诉内核哪些vid/pid/class...是该驱动需要接管的设备.
probe(函数指针), 指向的函数会在设备插入时调用一次, 一般用来创建并提交URB.
disconnect(函数指针), 指向的函数会在设备拔除时调用一次, 一般用来取消并销毁URB.
如上代码中, id匹配列表表示匹配vid==046d(罗技)/class=03(HID设备)/protocol=02(鼠标).
probe()/disconnect()只添加了打印, 暂未加入处理代码.
make编译即可生成hello.ko.
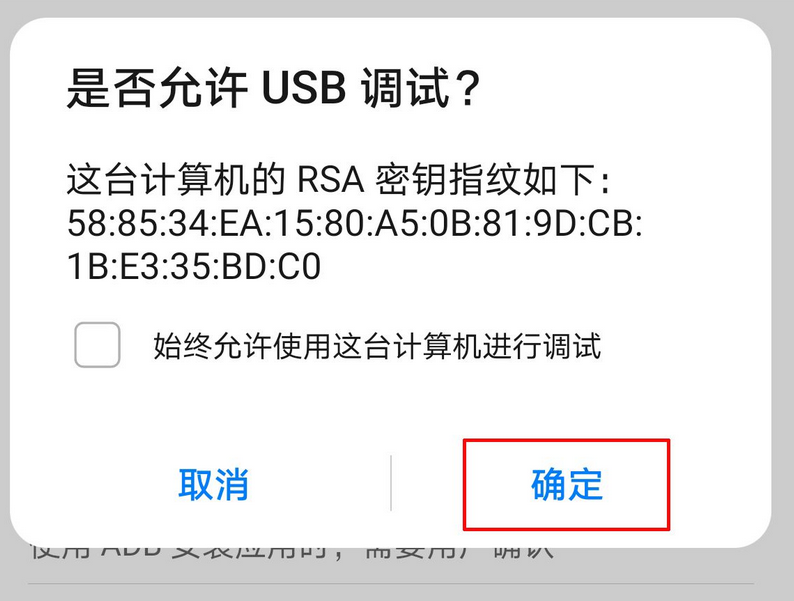
直接在虚拟机中插入你的罗技鼠标(如果是其他品牌, 可以换成别的vid即可).

发图, 使用virtualbox时的操作. vmware类似.
# rmmod usbhid    (很重要!!! 必须要先卸载掉标准驱动, 否则鼠标会被标准驱动捕获)
# insmod hello.ko
# dmesg -c
[ 2348.440455] usbcore: deregistering interface driver usbhid
[ 2356.464285] hello-usb: probe()
[ 2356.464320] usbcore: registered new interface driver hello-usb
[ 2356.464321] hello.ko: hello :)
很重要!!! 必须要先卸载掉标准驱动, 否则鼠标会被标准驱动捕获.
如果是自己做的设备端, 只需要将class定义为0xff(厂家自定义), 就不会跟HID有什么冲突和关联了, 也不需要这一步操作了.


![[RoarCTF 2019]Easy Calc](https://i-blog.csdnimg.cn/direct/fc85943b4a2c484aa8bec23398b13206.png)
![[Windows]在Win上安装bash和zsh - 一个脚本搞定](https://i-blog.csdnimg.cn/direct/3dc68110aee647cd8b7321ea4fa99694.png)