1. Props / 自定义事件 (父子通信)
使用场景
父子组件直接数据传递
代码实现
<!-- Parent.vue -->
<template>
  <Child :message="parentMsg" @update="handleUpdate" />
</template>

<script setup>
import { ref } from 'vue';
import Child from './Child.vue';

const parentMsg = ref('Hello from Parent');
const handleUpdate = (newVal) => {
  parentMsg.value = newVal;
};
</script>

<!-- Child.vue -->
<template>
  <div>
    <p>{{ message }}</p>
    <button @click="sendUpdate">Update Parent</button>
  </div>
</template>

<script setup>
const props = defineProps(['message']);
const emit = defineEmits(['update']);

const sendUpdate = () => {
  emit('update', 'New value from Child');
};
</script>
使用步骤
- 父组件通过
:propName传递数据 - 子组件通过
defineProps接收 - 子组件通过
defineEmits声明事件 - 子组件通过
emit('eventName', data)触发事件 - 父组件通过
@eventName监听处理
关键点
- 单向数据流原则
- 子组件不要直接修改 props
- 适合层级简单场景
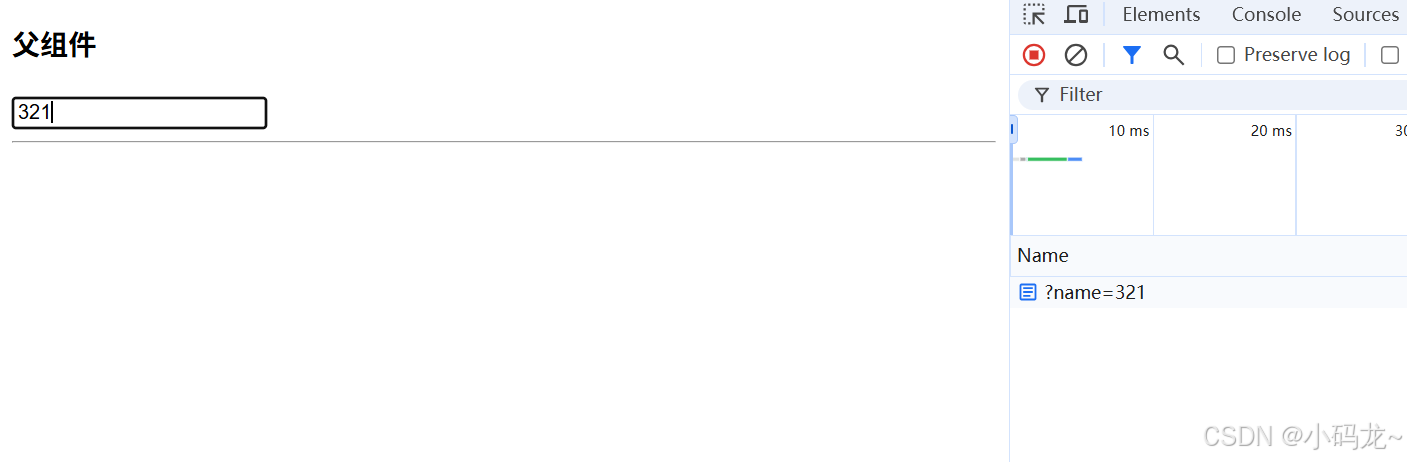
2. v-model / .sync (双向绑定)
使用场景
简化父子组件的双向绑定
代码实现
<!-- Parent.vue -->
<template>
  <Child v-model:title="pageTitle" />
  <p>Parent value: {{ pageTitle }}</p>
</template>

<script setup>
import { ref } from 'vue';
import Child from './Child.vue';

const pageTitle = ref('Initial Title');
</script>

<!-- Child.vue -->
<template>
  <input
    :value="title"
    @input="$emit('update:title', $event.target.value)"
  >
</template>

<script setup>
defineProps(['title']);
defineEmits(['update:title']);
</script>
使用步骤
- 父组件使用
v-model:propName绑定 - 子组件接收对应 prop
- 子组件通过
update:propName事件更新
关键点
- Vue 3 支持多个
v-model绑定 - 替代 Vue2 的
.sync修饰符 - 语法糖,底层仍是 props + events
3. Event Bus (全局事件总线)
使用场景
跨组件通信(小型项目)
代码实现
// eventBus.js
import mitt from 'mitt';
export const emitter = mitt();

// ComponentA.vue (发送方)
import { emitter } from './eventBus';
emitter.emit('global-event', { data: 123 });

// ComponentB.vue (接收方)
import { emitter } from './eventBus';
emitter.on('global-event', (data) => {
  console.log('Received:', data);
});
使用步骤
- 创建全局事件总线实例
- 发送方使用
emit触发事件 - 接收方使用
on监听事件 - 组件销毁时使用
off移除监听
关键点
- 需要手动管理事件监听
- 适用于简单场景
- 中大型项目改用状态管理
4. Provide / Inject
使用场景
跨层级组件通信
代码实现
<!-- Ancestor.vue -->
<script setup>
import { provide, ref } from 'vue';

const counter = ref(0);
provide('counter', {
  counter,
  increment: () => counter.value++
});
</script>

<!-- Descendant.vue -->
<script setup>
import { inject } from 'vue';

const { counter, increment } = inject('counter');
</script>

<template>
  <button @click="increment">{{ counter }}</button>
</template>
使用步骤
- 祖先组件使用
provide(key, value) - 后代组件使用
inject(key) - 建议提供响应式数据
关键点
- 适合深层嵌套组件
- 提供响应式对象更实用
- 避免组件过度耦合
5. Pinia (状态管理)
使用场景
复杂应用状态管理
代码实现
// stores/counter.js
import { defineStore } from 'pinia';

export const useCounterStore = defineStore('counter', {
  state: () => ({ count: 0 }),
  actions: {
    increment() {
      this.count++;
    }
  }
});

// ComponentA.vue
import { useCounterStore } from './stores/counter';
const store = useCounterStore();
store.increment();

// ComponentB.vue
import { useCounterStore } from './stores/counter';
const store = useCounterStore();
<p>{{ store.count }}</p>
使用步骤
- 定义 store
- 组件导入并使用 store
- 通过 actions 修改状态
关键点
- 集中式状态管理
- 支持 TypeScript
- 替代 Vuex 的现代方案
6. refs 访问组件实例
使用场景
需要直接操作子组件
代码实现
<template>
  <ChildComponent ref="childRef" />
  <button @click="callChildMethod">Call Child</button>
</template>

<script setup>
import { ref } from 'vue';
import ChildComponent from './Child.vue';

const childRef = ref(null);

const callChildMethod = () => {
  childRef.value.someMethod();
};
</script>
使用步骤
- 使用
ref属性标记子组件 - 通过 ref.value 访问实例
- 调用子组件方法/访问属性
关键点
- 破坏封装性,谨慎使用
- 优先考虑 props/events
- 适合集成第三方库
对比总结表
| 方式 | 适用场景 | 优点 | 缺点 |
|---|---|---|---|
| Props/Events | 父子组件通信 | 简单直接 | 不适合深层嵌套 |
| v-model | 双向绑定 | 语法简洁 | 只能用于父子组件 |
| Event Bus | 跨组件通信 | 全局可用 | 难以维护事件流 |
| Provide/Inject | 跨层级通信 | 避免逐层传递 | 数据来源不透明 |
| Pinia | 复杂状态管理 | 集中管理可维护性强 | 增加项目复杂度 |
| Refs | 直接访问组件 | 灵活性强 | 破坏组件封装 |
通用最佳实践
- 简单优先原则:优先使用 Props/Events
- 状态共享评估:
- 父子组件 → Props
- 兄弟组件 → 状态提升到父级
- 跨层级 → Provide/Inject 或 Pinia
- 类型安全:使用 TypeScript 定义 Props 和事件
- 响应式处理:对于复杂对象使用
reactive()或ref() - 内存管理:及时清理 Event Bus 监听器
- 模块化设计:Pinia Store 按功能拆分模块