- 🍨 本文为🔗365天深度学习训练营 中的学习记录博客
- 🍖 原作者:K同学啊
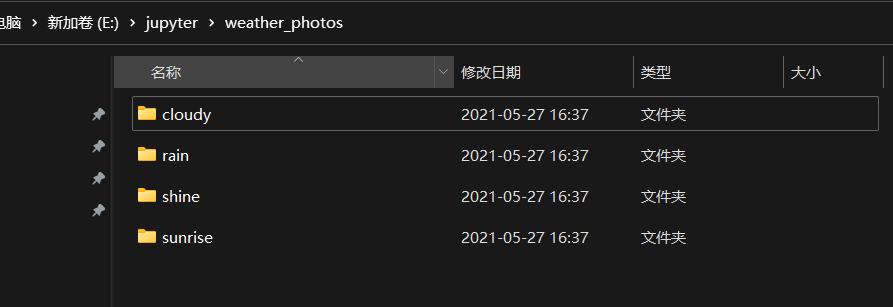
本次使用的数据集有晴天、雨天、多云和日出。
导入基本的包 包括读取文件、图像处理、科学计算和tensorflow的api包layers是层模块,提供了神经网络的实现。
import  os,PIL,pathlib
import  matplotlib.pyplot as plt
import  numpy as np
from  tensorflow  import  keras
from tensorflow.keras  import  layers,models
import  tensorflow as tf
//加载数据集
data_dir = "E:\jupyter\weather_photos"

data_dir = pathlib.Path(data_dir)

image_count = len(list(data_dir.glob('*/*.jpg')))

print("图片总数为:",image_count)

割分训练集和验证集 bach_size 是每次训练放进去的数据
batch_size = 32
img_height = 180
img_width = 180
#进行图片的处理  指定数据集路径 、比列、种子德等
train_ds = tf.keras.preprocessing.image_dataset_from_directory(
    data_dir,
    validation_split=0.2,
    subset="training",
    seed=123,
    image_size=(img_height, img_width),
    batch_size=batch_size)
#这个是验证集
val_ds = tf.keras.preprocessing.image_dataset_from_directory(
    data_dir,
    validation_split=0.2,
    subset="validation",
    seed=123,
    image_size=(img_height, img_width),
    batch_size=batch_size)
构建卷积神经网络
num_classes = 4
#三个卷积层 和两个池化层 通过dropout来防止过渡拟合
model = models.Sequential([
#将输入图像的像素值从 [0, 255] 重新缩放到 [0, 1] 范围内。1/255 代表每个像素值都会被缩放。
layers.experimental.preprocessing.Rescaling(1./255, input_shape=(img_height, img_width, 3)),
layers.Conv2D(16, (3, 3), activation='relu', input_shape=(img_height, img_width, 3)), # 卷积层1,卷积核3*3
layers.AveragePooling2D((2, 2)), # 池化层1,2*2采样
layers.Conv2D(32, (3, 3), activation='relu'), # 卷积层2,卷积核3*3
layers.AveragePooling2D((2, 2)), # 池化层2,2*2采样
layers.Conv2D(64, (3, 3), activation='relu'), # 卷积层3,卷积核3*3
layers.Dropout(0.3), # 让神经元以一定的概率停止工作,防止过拟合,提高模型的泛化能力。
layers.Flatten(), # Flatten层,连接卷积层与全连接层
layers.Dense(128, activation='relu'), # 全连接层,特征进一步提取
layers.Dense(num_classes) # 输出层,输出预期结果
])
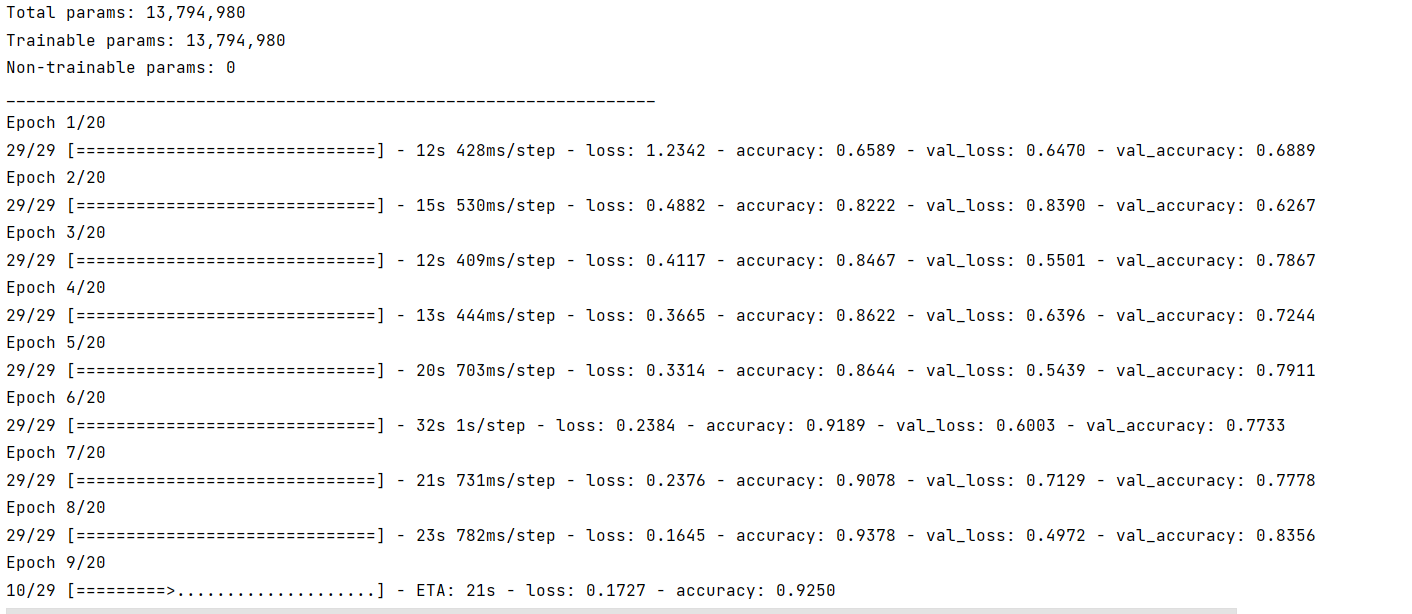
model.summary() # 打印网络结构
# 设置优化器
opt = tf.keras.optimizers.Adam(learning_rate=0.001)
#编译模型
model.compile(optimizer=opt,
              loss=tf.keras.losses.SparseCategoricalCrossentropy(from_logits=True),
              metrics=['accuracy'])
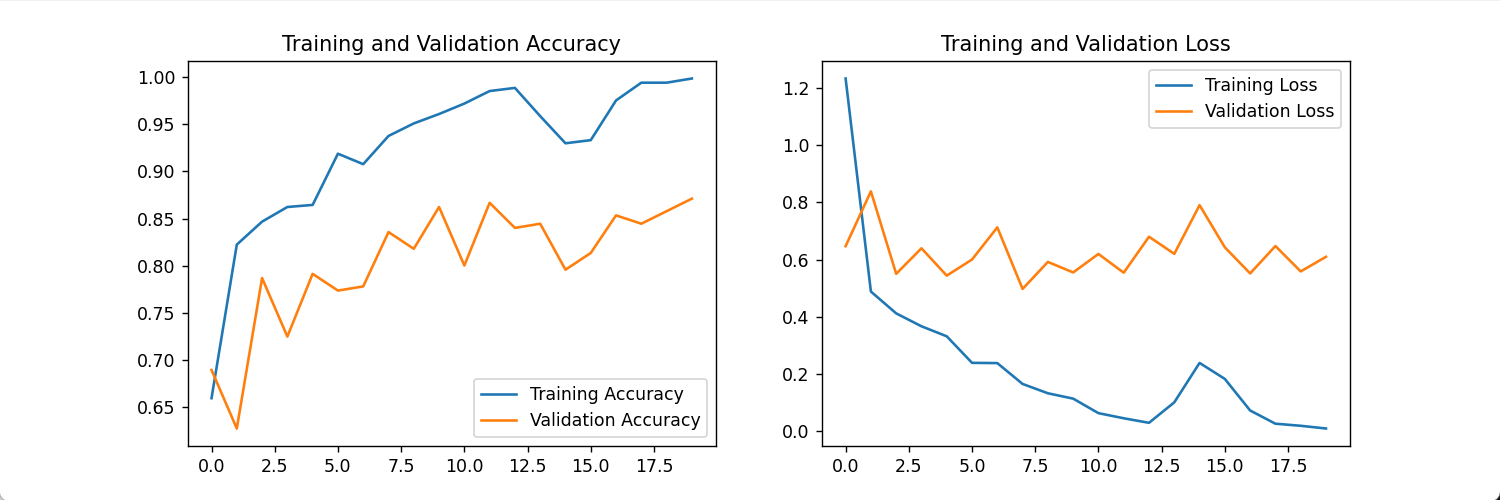
进行20轮的模型训练
epochs = 20
history = model.fit(
  train_ds,
  validation_data=val_ds,
  epochs=epochs
)
model.save('pre2.h5')
将准确率和丢失精度可视化
拓展
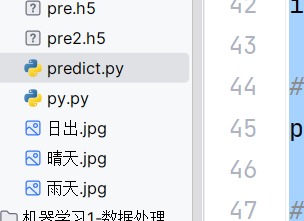
拿到新的图片,对图片进行预测。
import numpy as np
from tensorflow.keras.models import load_model
from tensorflow.keras.preprocessing import image
import tensorflow as tf
import os
import pathlib
import PIL

# 加载保存的模型
model = load_model('pre2.h5')

# 类别名称列表,和之前训练时使用的类别名称保持一致

class_names = ['cloudy', 'rain', 'shine', 'sunrise']
# 图像预处理函数,与训练时的预处理保持一致
# def preprocess_image(image_path, img_height, img_width):
#     img = image.load_img(image_path, target_size=(img_height, img_width))  # 调整图像大小
#     img_array = image.img_to_array(img)                                    # 将图像转换为 NumPy 数组
#     img_array = np.expand_dims(img_array, axis=0)                          # 增加一维,作为批次输入
#     img_array = img_array / 255.0                                          # 缩放到 [0, 1] 区间
#     return img_array
def preprocess_image(image_path, img_height, img_width):
    img = image.load_img(image_path, target_size=(img_height, img_width))  # 调整图像大小
    img_array = image.img_to_array(img)                                    # 转换为NumPy数组
    img_array = np.expand_dims(img_array, axis=0)                          # 增加一维,作为批次输入
    return img_array

# 预测函数
def predict_image(model, image_path, img_height, img_width, class_names):
    img_array = preprocess_image(image_path, img_height, img_width)        # 预处理图像
    predictions = model.predict(img_array)                                 # 使用模型进行预测
    predicted_class = np.argmax(predictions[0])                            # 获取预测类别索引
    predicted_class_name = class_names[predicted_class]                    # 获取类别名称
    confidence = np.max(predictions[0])                                    # 获取预测置信度
    return predicted_class_name, confidence

# 定义图像大小,保持与模型训练时一致
img_height = 180
img_width = 180

# 指定要预测的图像路径
image_path = '日出.jpg'  # 替换为你要预测的图像路径

# 使用模型进行预测
predicted_class_name, confidence = predict_image(model, image_path, img_height, img_width, class_names)

# 打印预测结果
print(f"Predicted class: {predicted_class_name} with confidence: {confidence:.2f}")
![[bug] vllm 0.6.1 RuntimeError: operator torchvision::nms does not exist](https://i-blog.csdnimg.cn/direct/9158c39dc86e44e2a11ce5366fbfc8cb.png)