1. 日志监控工具
- 安装
tar xf goaccess-1.4.tar.gz
cd goaccess-1.4/
yum install GeoIP-devel-1.5.0-13.el7.x86_64.rpm
yum install -y ncurses-devel.x86_64
./configure --enable-utf8 --enable-geoip=legacy
make
make install


2. 使用
goaccess /usr/local/nginx/logs/access.log -o /usr/local/nginx/html/report.html --log-format=COMBINED --real-time-html & #

2. jdk与tomcat安装
在192.168.228.12上部署tomcat
rpm -ivh jdk-8u121-linux-x64.rpm # 安装jdk的rpm包
tar xf apache-tomcat-7.0.37.tar.gz -C /usr/local/ # 将文件解压到指定位置
cd /usr/local/
ln -s apache-tomcat-7.0.37/ tomcat # 做软链接,方便后续升级
cd tomcat/bin
./startup.sh # 执行安装


 ## 3. nginx实现对tomcat的反向代理
在192.168.228.11上的nginx文件里面修改配置,从而调用12机器上的tomcat


http://192.168.228.11/test.jsp
http://192.168.228.12:8080/test.jsp
访问的是同一个页面
3. nginx实现对tomcat的负载均衡+反向代理
nginx:sever1
tomcat:sever2 server3
- 在server3中同样的安装tomcat

- nginx上负载均衡+反向代理


问题:
在浏览网页的时候,因为负载均衡,real server的地址一直会变,不利于session的建立。


- nginx上基于cookie负载均衡+反向代理
由于服务器站点CDN加速,基于IP_HASH不合适,而基于cookie可以用。


问题:
当server2 down后,server3被调用处理,但是之前在server2保留的信息没了。
/usr/local/tomcat/bin/shutdown.sh # 关闭tomcat服务

4. nginx上基于cookie负载均衡+反向代理+memcached
为tomcat添加功能模块

- 安装与配置tomcat
yum install -y memcached.x86_64 # 在两台real server上安装memcached
systemctl enable --now memcached.service # 启动服务
cp jar/* /usr/local/tomcat/lib # 复制对应版本的jar包到tomcat的lib库


vim /usr/local/tomcat/conf/context.xml # 在文件里面添加下面内容
<Manager className="de.javakaffee.web.msm.MemcachedBackupSessionManager"
memcachedNodes="n1:192.168.228.12:11211,n2:192.168.228.13:11211"
failoverNodes="n1"
requestUriIgnorePattern=".*\.(ico|png|gif|jpg|css|js)$"
transcoderFactoryClass="de.javakaffee.web.msm.serializer.kryo.KryoTranscoderFactory"
/>

 ./shutdown.sh
 ./startup.sh


- 测试
yum install -y telnet
telnet localhost 11211
telnet 192.168.228.13 11211


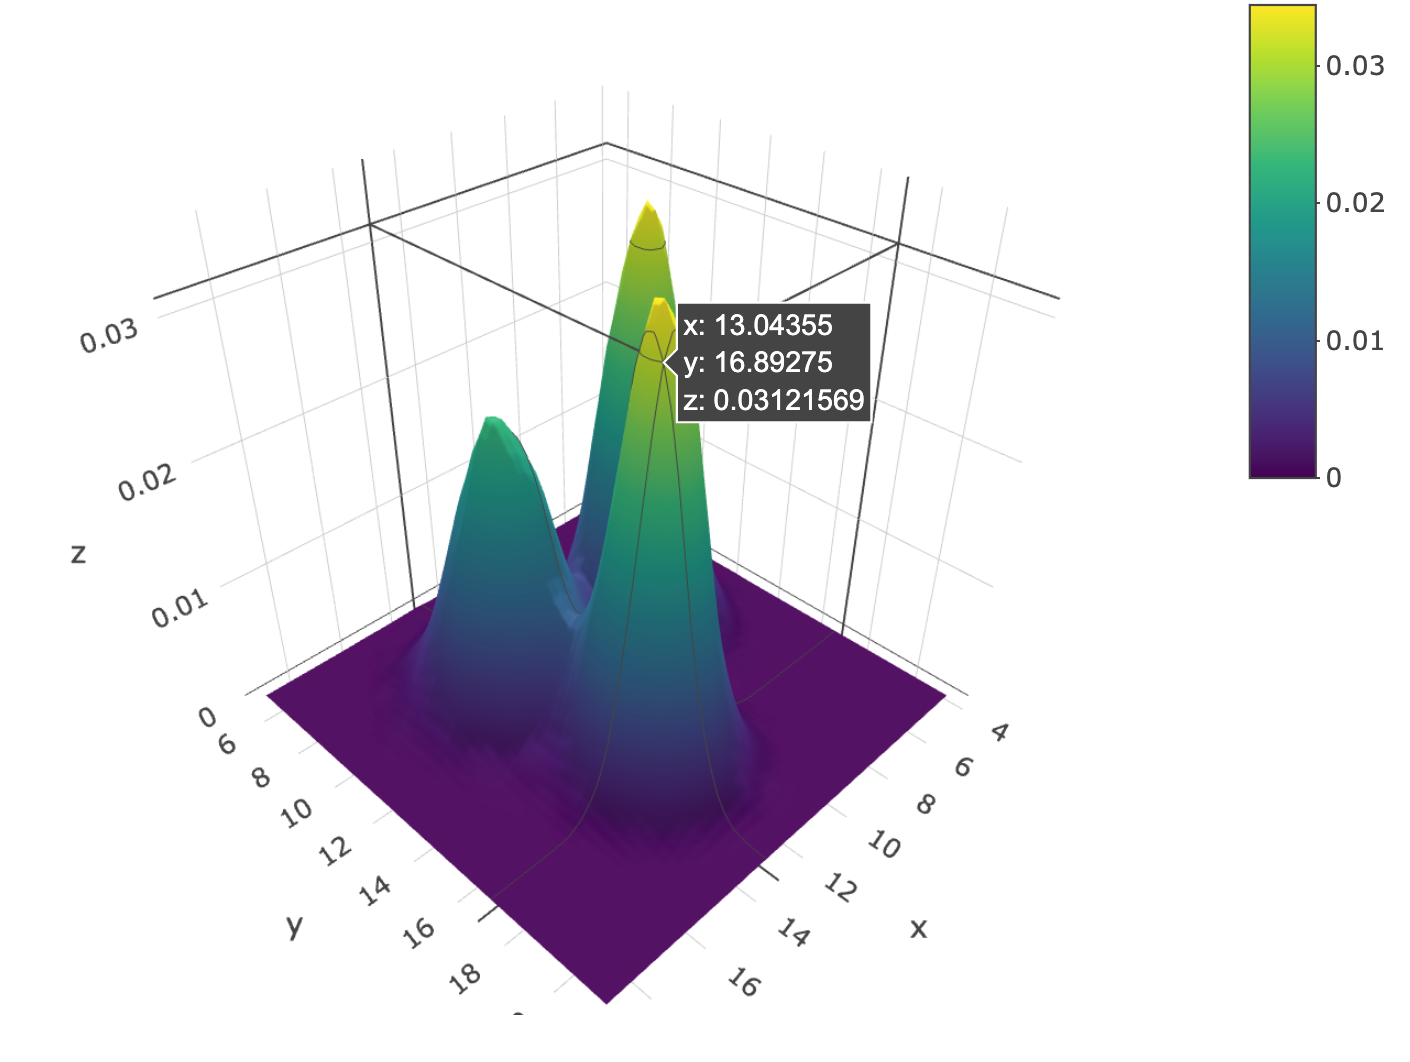


![[Python可视化]空气污染物浓度地图可视化](https://i-blog.csdnimg.cn/direct/9ae234d7ce834bd0b5f2086270e225cb.png)


