目录
创建SpringMVC项目
目录
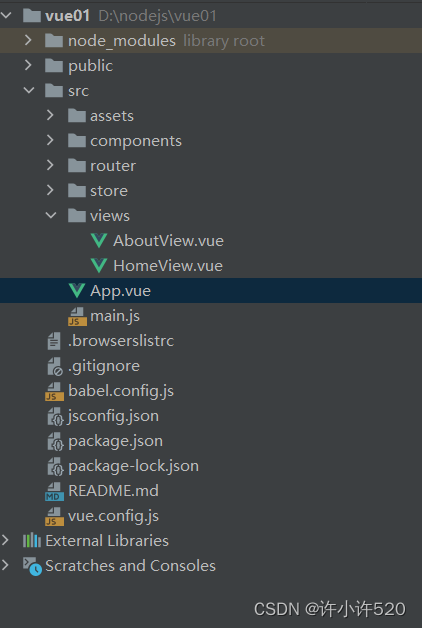
补全目录结构 :添加java项结构
导入jar包
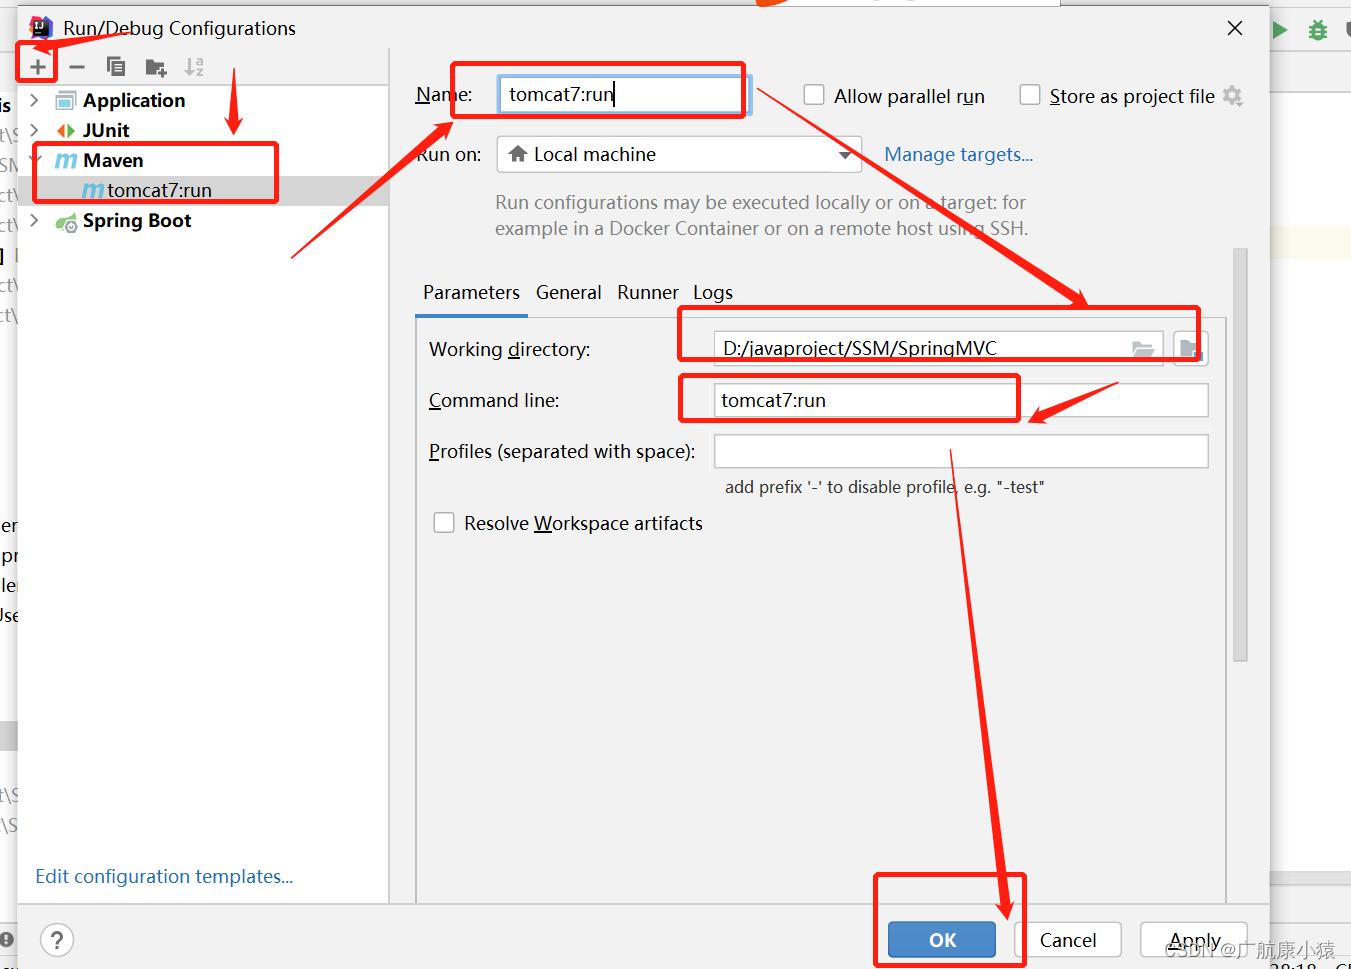
添加tomcat运行快捷键
创建配置类 SpringMvcConfig.class
创建Controller类
使用配置类ServletConfig替换web.xml
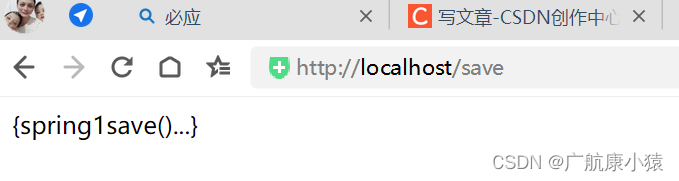
运行结果
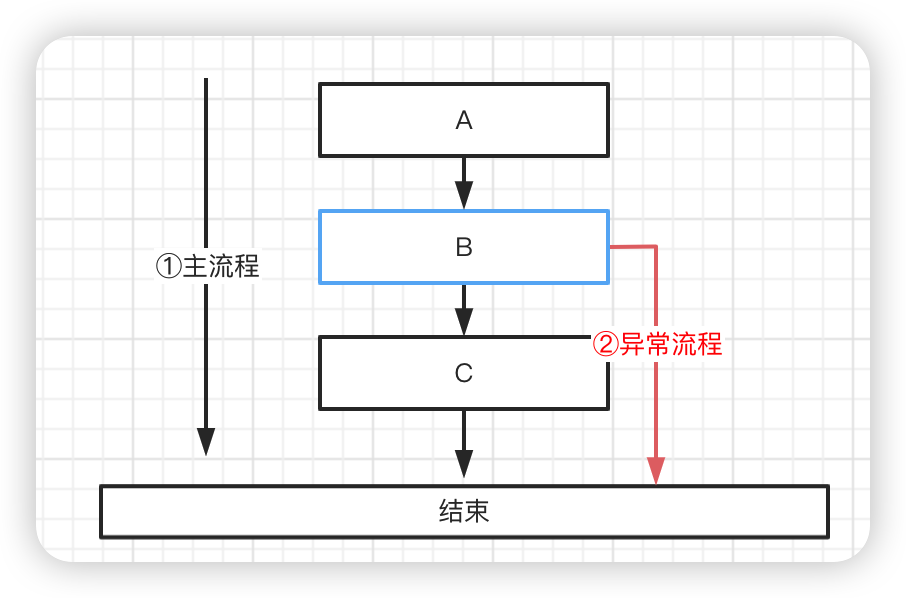
因为SpringMVC是一个Web框架,将来是要替换Servlet,所以先来回顾下以前Servlet是如何进行开发的?
1.创建web工程(Maven结构)
2.设置tomcat服务器,加载web工程(tomcat插件)
3.导入坐标(Servlet)
4.定义处理请求的功能类(UserServlet)
5.设置请求映射(配置映射关系)
SpringMVC的制作过程和上述流程几乎是一致的,具体的实现流程是什么?
1.创建web工程(Maven结构)
2.设置tomcat服务器,加载web工程(tomcat插件)
3.导入坐标(==SpringMVC==+Servlet)
4.定义处理请求的功能类(==UserController==)
5.==设置请求映射(配置映射关系)==
6.==将SpringMVC设定加载到Tomcat容器中==
创建SpringMVC项目

目录

补全目录结构 :添加java项结构


导入jar包
将pom.xml中多余的内容删除掉,再添加SpringMVC需要的依赖
<?xml version="1.0" encoding="UTF-8"?>

<project xmlns="http://maven.apache.org/POM/4.0.0" xmlns:xsi="http://www.w3.org/2001/XMLSchema-instance"
  xsi:schemaLocation="http://maven.apache.org/POM/4.0.0 http://maven.apache.org/xsd/maven-4.0.0.xsd">
  <modelVersion>4.0.0</modelVersion>

  <groupId>com.itheima</groupId>
  <artifactId>SpringMVC</artifactId>
  <version>1.0-SNAPSHOT</version>
  <packaging>war</packaging>

  <name>SpringMVC Maven Webapp</name>
  <!-- FIXME change it to the project's website -->
  <url>http://www.example.com</url>

  <properties>
    <project.build.sourceEncoding>UTF-8</project.build.sourceEncoding>
    <maven.compiler.source>1.8</maven.compiler.source>
    <maven.compiler.target>1.8</maven.compiler.target>
  </properties>

  <dependencies>
    <dependency>
      <groupId>junit</groupId>
      <artifactId>junit</artifactId>
      <version>4.11</version>
      <scope>test</scope>
    </dependency>
    <dependency>
      <groupId>javax.servlet</groupId>
      <artifactId>javax.servlet-api</artifactId>
      <version>3.1.0</version>
      <scope>provided</scope>
    </dependency>
    <dependency>
      <groupId>org.springframework</groupId>
      <artifactId>spring-webmvc</artifactId>
      <version>5.2.1.RELEASE</version>
    </dependency>
  </dependencies>
<!--导入插件-->
  <build>
    <plugins>
      <plugin>
        <groupId>org.apache.tomcat.maven</groupId>
        <artifactId>tomcat7-maven-plugin</artifactId>
        <version>2.1</version>
        <configuration>
          <port>80</port>
          <path>/</path>
        </configuration>
      </plugin>
    </plugins>
  </build>

</project>
添加tomcat运行快捷键

创建配置类 SpringMvcConfig.class
package com.itheima.config;

import org.springframework.context.annotation.ComponentScan;
import org.springframework.context.annotation.Configuration;

@Configuration
@ComponentScan("com.itheima.controller")
public class SpringmvcConfig {
}
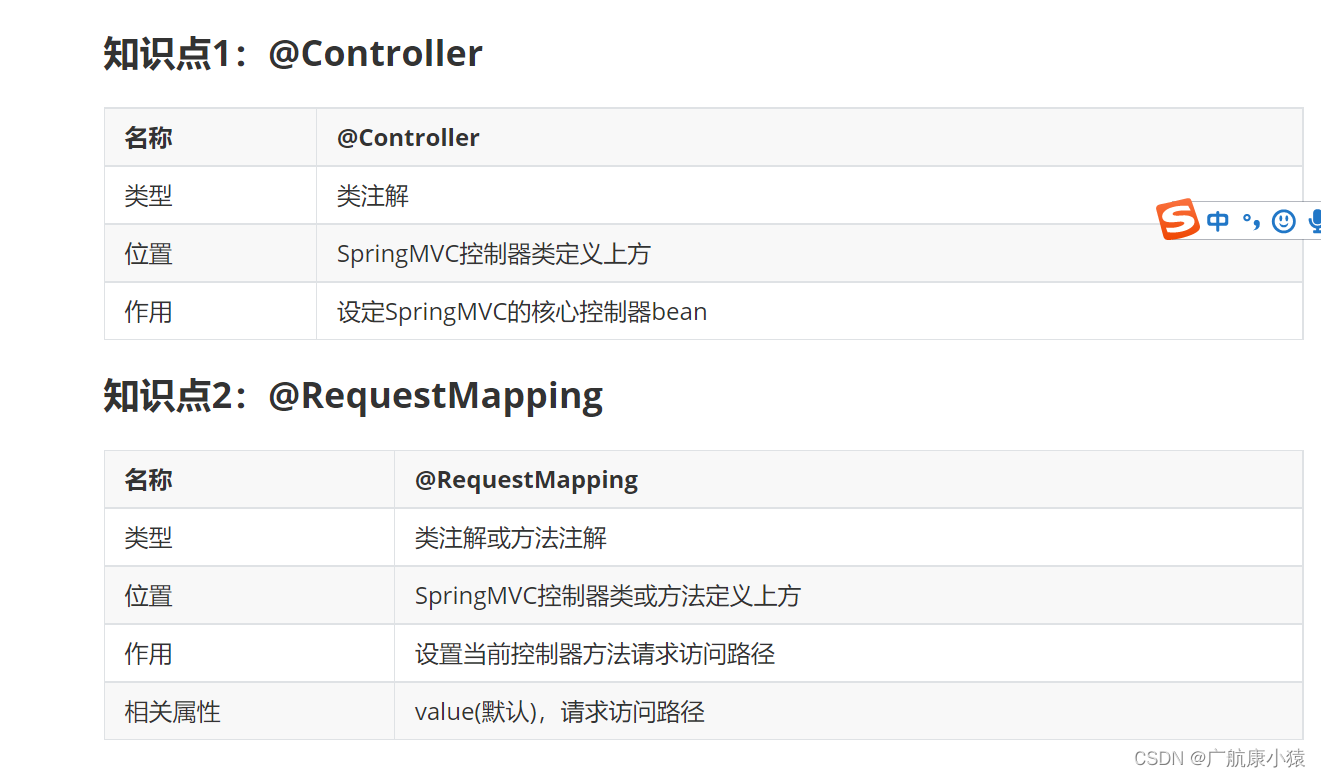
创建Controller类
package com.itheima.controller;
import org.springframework.stereotype.Controller;
import org.springframework.web.bind.annotation.RequestMapping;
import org.springframework.web.bind.annotation.ResponseBody;
//@Controller:Springmvc的bean标志
@Controller
public class UserController {
@RequestMapping("/save")
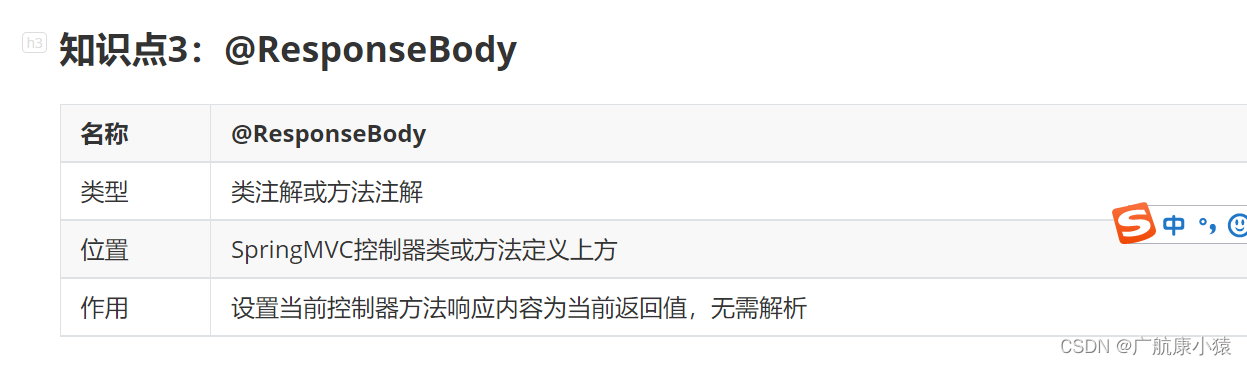
@ResponseBody
public String save(){
System.out.println("郭浩康第一个Sprintmvc项目创建成功");
return "{spring1save()...}";
}
}
使用配置类ServletConfig替换web.xml
将web.xml删除,换成ServletContainersInitConfig
package com.itheima.config;

import org.springframework.web.context.WebApplicationContext;
import org.springframework.web.context.support.AnnotationConfigWebApplicationContext;
import org.springframework.web.servlet.support.AbstractDispatcherServletInitializer;

public class ServletConfig extends AbstractDispatcherServletInitializer {
    //加载Springmvc容器
    @Override
    protected WebApplicationContext createServletApplicationContext() {
        AnnotationConfigWebApplicationContext ctx=new AnnotationConfigWebApplicationContext();
        ctx.register(SpringmvcConfig.class);
        return ctx;
    }
//设置请求处理
    @Override
    protected String[] getServletMappings() {
        return new String[]{"/"};
    }
//加载Spring容器
    @Override
    protected WebApplicationContext createRootApplicationContext() {
        return null;
    }
}
运行结果


![[SpringBoot-vue3] 自定义图库](https://img-blog.csdnimg.cn/0cbba2689ec64bb7a05354060aa27638.png)