【11集在Docker上编译tensorFlow Lite MCU例子工程-《MCU嵌入式AI开发笔记》】
这一集咱们一步一步的在doc下面编译TensorFlow Lite的例程
https://tensorflow.google.cn/lite/tutorials?hl=zh-cn
进入这个例子:
https://codelabs.developers.google.cn/codelabs/sparkfun-tensorflow#0

进入下一步:重点研究。
3. Set up your software
Download the TensorFlow repo
The code is available in the TensorFlow repository on GitHub, in the following location:
https://github.com/tensorflow/tensorflow/tree/master/tensorflow/lite/micro
cd ~ # change into your home (or any other) directory
git clone --depth 1 https://github.com/tensorflow/tensorflow.git
cd tensorflow
上面这个命令,我们需要在docker下面完成。
我们在cmd下面执行:
docker run -it --rm -p 8888:8888 registry.cn-hangzhou.aliyuncs.com/denverdino/tensorflow:latest

或者我们启动docker tesktop,直接在desktop下面启动应该也是可以的:
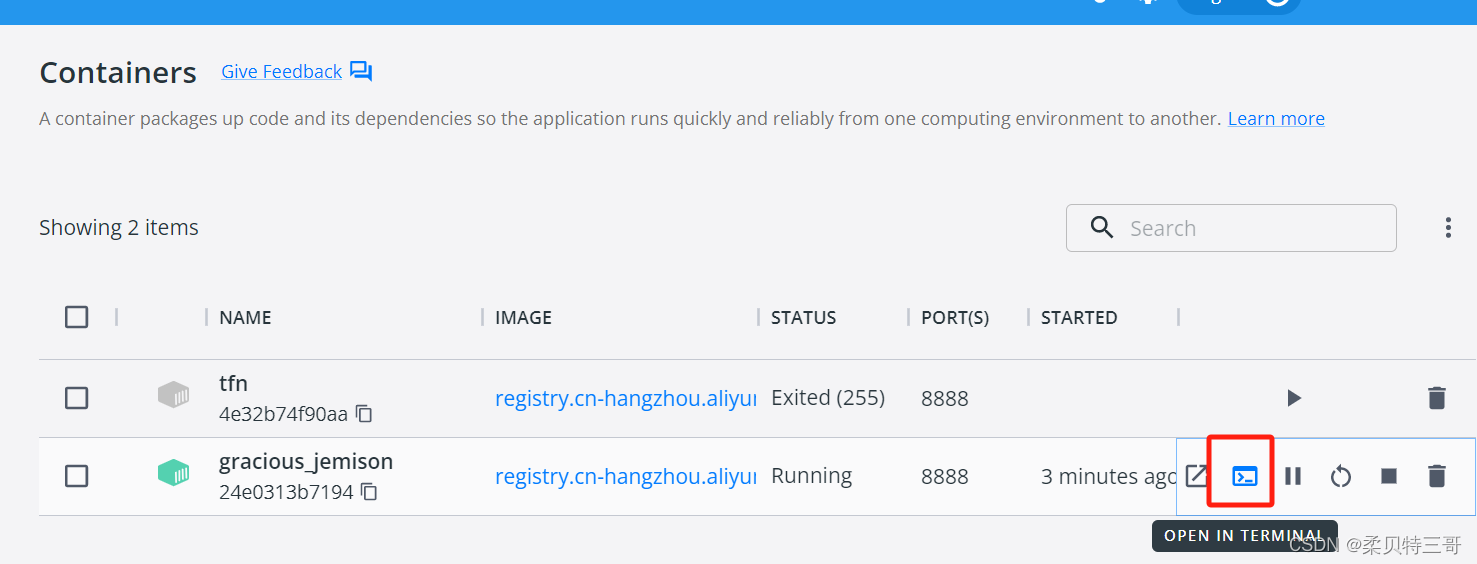
我们直接点击terminal
在命令行下面输入命令:
git clone --depth 1 https://github.com/tensorflow/tensorflow.git
/bin/sh: 9: git: not found
没有找到git,这样我们需要安装git。因为我们安装了ubuntu环境,所以我们用apt-get update命令更新一下

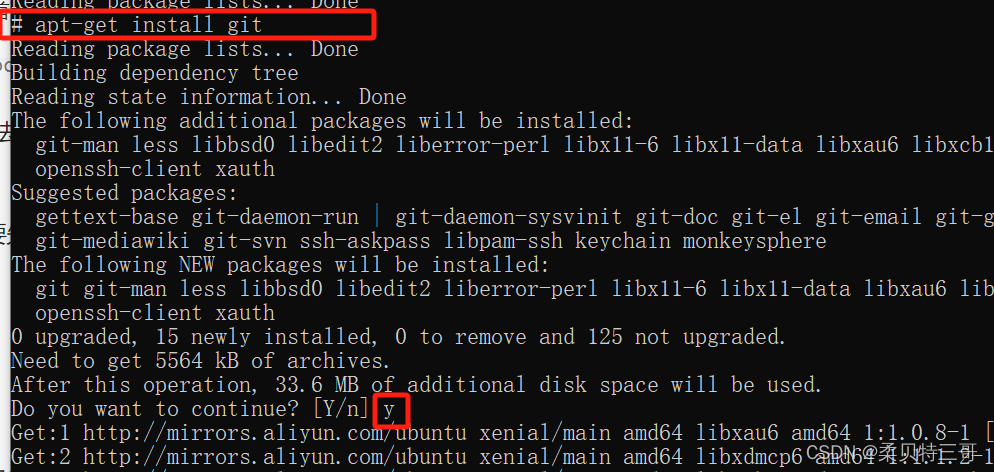
这样我们应该可以用git了。
git clone --depth 1 https://github.com/tensorflow/tensorflow.git

芭比Q了
我们用如下命令:
git clone https://github.com/tensorflow/tensorflow.git
等待下载结束。
还是出错了,最后切回之前的命令:
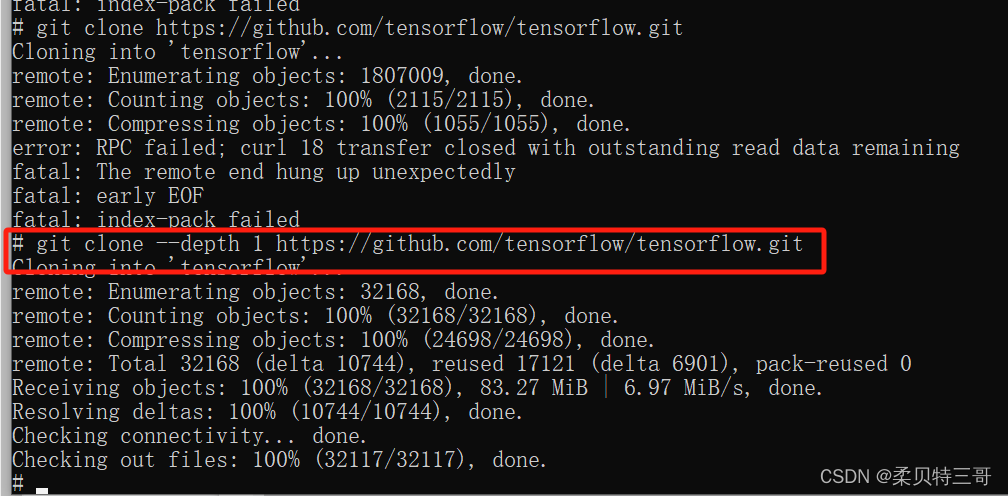
下载成功了。
之后
Download Python dependencies
We’ll be using Python 3 to prepare our binary and flash it to the device. The Python scripts depend on certain libraries being available. Run the following command to install these dependencies:
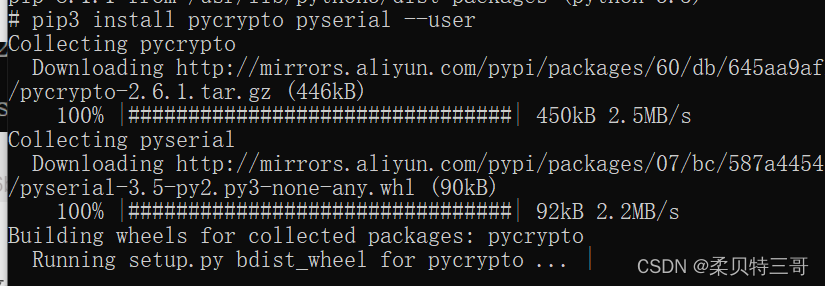
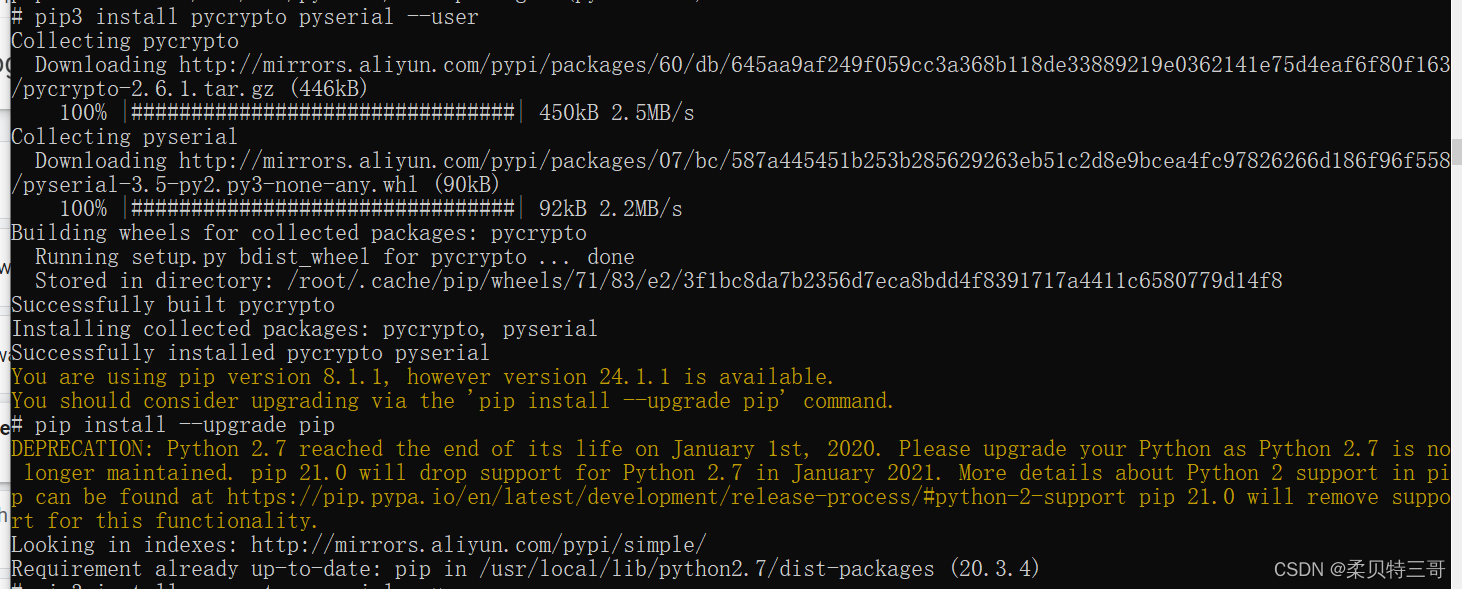
pip3 install pycrypto pyserial --user
出错了。
我们在该文档的开始,介绍了需要安装的软件环境,
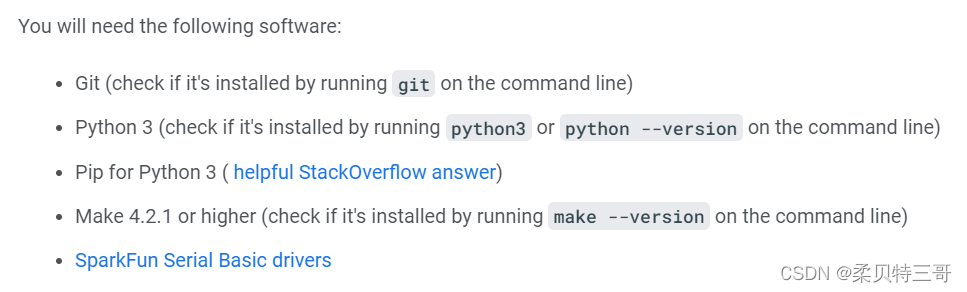
我们逐一检查一下:
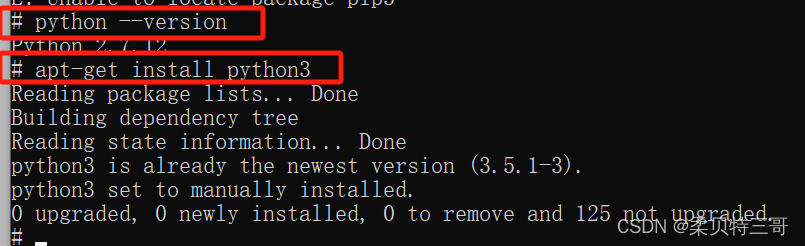
之后检查make
make --version
发现版本不对。
apt-get install -y make 4.2.1
等待吧,要一段时间
pip3也要安装,ubuntu没有pip3,只能安装python3-pip
apt-get install -y python3-pip

应该安装完成。
之后我们在返回执行Download Python dependencies这一步。
pip3 install pycrypto pyserial --user
又出问题了,好像是python版本 pip版本都升不上去了,有可能是镜像的问题。
咱们继续查找原因。
下次学习:如何更改Docker 下的默认make pip python版本。
开始编译咱们的MCU工程啦!!!!