前言:SpringBoot中使用Cache缓存可以提高对缓存的开发效率
此图片是SpringBootCache常用注解

第一步:引入依赖
        <!--缓存-->
        <dependency>
            <groupId>org.springframework.boot</groupId>
            <artifactId>spring-boot-starter-cache</artifactId>
        </dependency>
        <!--redis-->
        <dependency>
            <groupId>org.springframework.boot</groupId>
            <artifactId>spring-boot-starter-data-redis</artifactId>
        </dependency>
第二步:在启动类添加@EnableCachin
@EnableCaching //开启缓存注解功能
第三步:在实体类上继承序列化接口
public class User implements Serializable 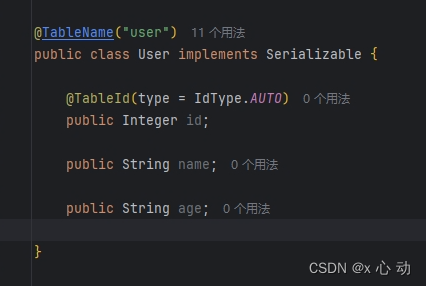
第四步:使用注解
    @PostMapping("/add")
    @CachePut(cacheNames = "userCache",key = "#user.id")   //缓存数据
    public User addInfo(@RequestBody User user){
        boolean save = userService.save(user);
        return user;
    }

    @GetMapping("/get/{id}")
    @Cacheable(cacheNames = "userCache", key = "#id")     //查询redis中是否存储的有数据,有数据直接返回,没有数据前往MySQL查询数据
    public User getUser(@PathVariable Integer id){
        return userService.getById(id);
    }

    @DeleteMapping("/del/{id}")
    @CacheEvict(cacheNames = "userCache",key = "#id")    //删除数据的时候同时删除缓存数据
    public void delUser(@PathVariable Integer id){
        userService.removeById(id);
    }

    @DeleteMapping("/delAll")
    @CacheEvict(cacheNames = "userCache",allEntries = true)    //删除全部数据的时候同时删除缓存中全部数据
    public void delUser(){
        userService.deleteAll();
    }