本文介绍通过Vue/Browser JS/Laravel三个平台对接Sentry SDK。
1.在vue中使用
这是入门指引,为了了解更多,请查看完整文档。
为了收集错误信息和采集性能数据,需要安装以下两个包:
@sentry/vue(Sentry's Vue SDK)
@sentry/tracing(instruments performance data)
使用 yarn or npm
安装依赖:
# Usingyarn
yarn add@sentry/vue @sentry/tracing
# Usingnpm
npm install --save@sentry/vue @sentry/tracing
在初始化root组件前先初始化sentry。
Vue 2
import Vue from "vue";
import Router from "vue-router";
import * as Sentry from "@sentry/vue";
import {Integrations } from "@sentry/tracing";
Vue.use(Router);
const router = new Router({
});

Sentry.init({
  Vue,
  dsn: "http://163bece17841482db08e8f4588a9d5de@sentrytest.cn/2",
  integrations: [
    new Integrations.BrowserTracing({
      routingInstrumentation: Sentry.vueRouterInstrumentation(router),
      tracingOrigins: ["localhost", "my-site-url.com", /^\//],
    }),
  ],
  // Set tracesSampleRate to 1.0 to capture100%
  // of transactions for performancemonitoring.
  // We recommend adjusting this value in production
  tracesSampleRate: 1.0,
});
// ...
new Vue({
  router,
  render: h => h(App),
}).$mount("#app");
Vue 3
import { createApp} from "vue";
import {createRouter } from "vue-router";
import * as Sentry from "@sentry/vue";
import {Integrations } from "@sentry/tracing";

const app = createApp({
  // ...
});
const router = createRouter({
  // ...
});

Sentry.init({
  app,
  dsn: "http://163bece17841482db08e8f4588a9d5de@sentrytest.cn/2",
  integrations: [
    new Integrations.BrowserTracing({
      routingInstrumentation: Sentry.vueRouterInstrumentation(router),
      tracingOrigins: ["localhost", "my-site-url.com", /^\//],
    }),
  ],
  tracesSampleRate: 1.0,
});

app.use(router);
app.mount("#app");其中tracesSampleRate推荐在正式环境跳转到较小值。详情查看完整文档.
Vue Error Handling
请注意,如果启用此集成,默认情况下Vue不会在内部调用其“logError”。这意味着Vue渲染器中发生的错误不会显示在开发人员控制台中。如果要保留此功能,请确保传递“logErrors:true”选项
上传source map
示例为webpack版本,其他参考SourceMaps for Vue | Sentry Documentation
// 安装webpack插件
yarn add --dev @sentry/webpack-plugin// webpack.config.js
const SentryWebpackPlugin = require("@sentry/webpack-plugin");
module.exports = {
// ... other config above ...
devtool: "source-map", // Source map generation must be turned on
plugins: [
new SentryWebpackPlugin({
org: "example-org",
project: "example-project",
// Specify the directory containing build artifacts
include: "./dist",
// Auth tokens can be obtained from https://sentry.io/settings/account/api/auth-tokens/
// and needs the `project:releases` and `org:read` scopes
authToken: process.env.SENTRY_AUTH_TOKEN,
// Optionally uncomment the line below to override automatic release name detection
// release: process.env.RELEASE,
}),
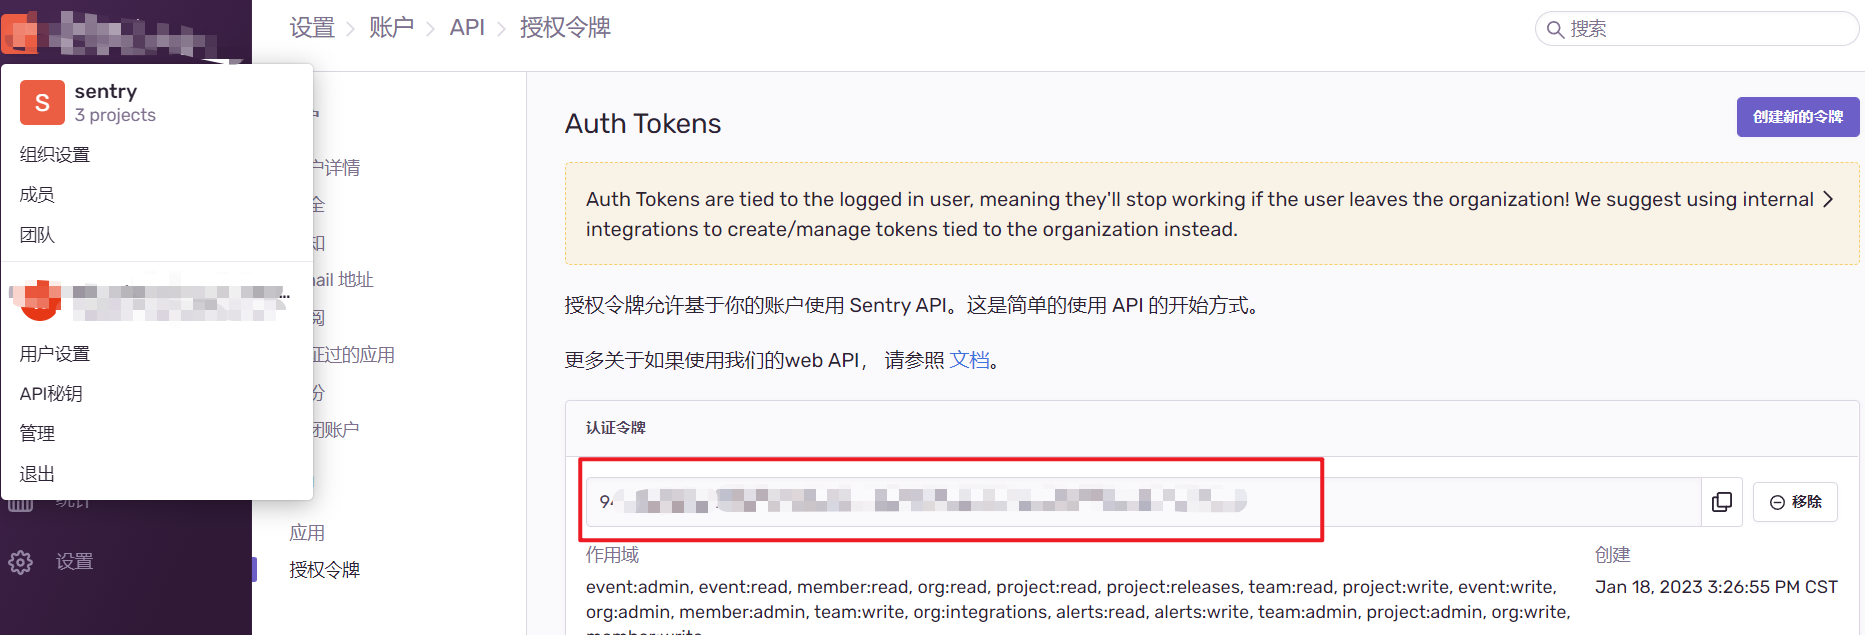
],};org参数如下:
Project为项目名称
AuthToken需要在API密钥管理中设置,注意创建作用域
2.在Browser js中使用
在browser js中使用没有找到详细的官网文档,但按以下说明进行配置也可以使用。
Js git地址:https://github.com/getsentry/sentry-javascript
Js CDN地址:https://docs.sentry.io/platforms/javascript/install/cdn/
Js sdk区别:
仅用于记录报错:bundle.min.js
用于记录错误和性能数据:bundle.tracing.min.js
用于记录错误、性能数据和会话回放:bundle.tracing.replay.min.js
引入bundle.min.js(使用CND或下载到本地),需要开启debug,则引入debug版本SDK,如bundle.debug.min.js,正式环境建议不用使用debug版本的SDK。
<script src="https://browser.sentry-cdn.com/7.34.0/bundle.tracing.min.js"></script>
{{--<script src="https://browser.sentry-cdn.com/7.34.0/bundle.tracing.debug.min.js"></script>--}}

<script>
    Sentry.init({,
        dsn:"http://163bece17841482db08e8f4588a9d5de@sentrytest.cn/2",
        environment:'local',
        release:'1.1.1',
        ignoreErrors: [/PickleRick_\d\d/, 'RangeError'],
        // An array of strings or regexps that'll be used to ignore specific errors based on their origin url
        denyUrls: ['external-lib.js'],
        // An array of strings or regexps that'll be used to allow specific errors based on their origin url
        allowUrls: ['http://127.0.0.1:8000', 'https://browser.sentry-cdn'],
        initialScope: {
            tags: {"my-tag": "my value"},
            user: {id: 42, email: "john.doe@example.com"},
        },
        debug:true,
        // integrations: [new Integrations.BrowserTracing()],
        // Set tracesSampleRate to 1.0 to capture 100%
        // of transactions for performance monitoring.
        // We recommend adjusting this value in production
        tracesSampleRate: 1.0,
    });
    window.onload=function(){
        //弹出未定义的变量,测试报错
        alert(zz);
    }
</script>
3.在laravel中使用
这是入门指引,了解更多请查看完整文档。
安装 sentry/sentry-laravel:
composer require sentry/sentry-laravel如果是laravel 5.5及以上,包会自动发现,否则需要自行在config/app.php配置
在App/Exceptions/Handler.php添加以下代码:
Laravel 7.x及以上:
public function report(Throwable $exception)
{
    if (app()->bound('sentry') && $this->shouldReport($exception)) {
        app('sentry')->captureException($exception);
    }

    parent::report($exception);
}
Laravel 5.x 和 6.x:
public function report(Exception $exception)
{
    if (app()->bound('sentry') && $this->shouldReport($exception)) {
        app('sentry')->captureException($exception);
    }

    parent::report($exception);
}
通过以下命令设置sentry,dsn地址根据时间情况填写:
php artisan sentry:publish --dsn=http://163bece17841482db08e8f4588a9d5de@sentrytest.cn/2这个命令会创建config/sentry.php,并且会在.env添加SENTRY_LARAVEL_DSN
可以使用以下代码抛出错误进行测试:
Route::get('/debug-sentry', function () {
    throw new Exception('My first Sentry error!');
});
性能数据采集
设置traces_sample_rate的值大于0.0(config/sentry.php)就会开启性能数据。
'traces_sample_rate' => 1.0 # be sure to lower this in production to prevent quota issues或在env配置
SENTRY_TRACES_SAMPLE_RATE=1
注:由于PHP本身架构问题,采集性能数据可能会延长页面响应时间,故官网建议使用relay进行转发,或将traces_sample_rate设置成足够小或关闭。
4.常用参数和方法说明(以vue版为例,其他同理,部分参数不同平台可能略有差异)
常用参数:
参数名 | 说明 | 示例 |
dsn | 数据发送地址(以下参数无特殊说明,都放到Sentry.init中) | |
ignoreErrors | 根据消息类型忽略错误,支持字符串和正则,不必填 | |
denyUrls | 根据原始url忽略错误,支持字符串和正则,不必填 | |
debug | 是否开启debug,true或false,默认false,非必填 | |
enabled | 是否开启sdk,true或false,默认true,非必填 | |
release | 版本号 | |
environment | 环境,无特殊要求,推荐使用production/staging/dev/local等常用标识表示 | |
initialScope
| 初始化的自定义参数,可以传一些用户信息等 | |
integrations | 集成配置,可以集成一些插件,如这里集成了日志采集插件 | |
tracesSampleRate
| 设置采样频率,0.0-1.0,0.0是关闭,1.0是全部采集,正式环境建议尽量设置小一点, | |
beforeSend
| 错误报告提交前回调,如这里在提交前弹出用户反馈弹框 | |
常用方法:
手动发送报告:
Sentry.captureMessage('captureMessage call message'); //发送普通信息
Sentry.captureException(new Error('duplicated exception')); //发送错误信息