初始化项目
中文网站
点击快速开始,点击创建sql项目,后面一步一步往后走
这个博主也挺全的,推荐下
可以看这个页面初始化项目跟我下面是一样的,这里用得是ts,我下面是js,不需要额外的配置了
1.vscode打开一个空文件夹
2.npm init -y 初始化package.json
3.安装相关依赖
npm install prisma
// 或者
yarn add prisma
继续安装
yarn add @prisma/client
4.指定数据库
// 如果不想安装或者配置数据环境就用下面这个sqlite,轻量级
npx prisma init --datasource-provider sqlite
// 下面这个是指定连接mysql的
npx prisma init --datasource-provider mysql
这时你会发现项目目录下多了 schema 文件和 env 文件:
5.env文件,内容大概如下(sqlite数据库可以跳过这一步)
这个文件里面存的就是连接信息
# Environment variables declared in this file are automatically made available to Prisma.
# See the documentation for more detail: https://pris.ly/d/prisma-schema#accessing-environment-variables-from-the-schema

# Prisma supports the native connection string format for PostgreSQL, MySQL, SQLite, SQL Server, MongoDB and CockroachDB.
# See the documentation for all the connection string options: https://pris.ly/d/connection-strings

DATABASE_URL="mysql://root:admin@localhost:3306/mydb"

# DATABASE_URL="SqlName://USER:PASSWORD@HOST:PORT/DATABASE?schema=SCHEMA"
# SqlName: 使用的数据库类型
# USER: 你的数据库用户名
# PASSWORD: 数据库用户的密码
# PORT: 数据库服务器运行的端口(通常5432用于 PostgreSQL)
# DATABASE: 数据库名称
# SCHEMA: 数据库中schema的名称(这个可以固定写死,可以忽略)
6.在schema文件夹下面的.schema文件内新增模型(数据库的表)
先测试下有没有连接数据库
执行npx prisma db pull
- 然后数据库如果存在的话,并且里面还有表的话,那么表的创建集合的语句就会在.schema文件内被创建出来
如果.schema文件代码没有高亮显示的话,去插件安装一下Prisma这个插件,安装完成就有代码高亮效果了
// This is your Prisma schema file,
// learn more about it in the docs: https://pris.ly/d/prisma-schema

// Looking for ways to speed up your queries, or scale easily with your serverless or edge functions?
// Try Prisma Accelerate: https://pris.ly/cli/accelerate-init

generator client {

  provider = "prisma-client-js"
}

datasource db {

  provider = "mysql"
  url      = env("DATABASE_URL")
}

model Post {

  id        Int      @id @default(autoincrement())
  createdAt DateTime @default(now())
  updatedAt DateTime @updatedAt
  title     String   @db.VarChar(255)
  content   String?
  published Boolean  @default(false)
  author    User     @relation(fields: [authorId], references: [id])
  authorId  Int
}

model Profile {

  id     Int     @id @default(autoincrement())
  bio    String?
  user   User    @relation(fields: [userId], references: [id])
  userId Int     @unique @map("user_id")
  @@map("profile ")
}

model User {

  id      Int      @id @default(autoincrement())
  email   String   @unique
  name    String?
  posts   Post[]
  profile Profile?
}
- @id 是主键
- @default(autoincrement()) 是指定默认值是自增的数字
- @unique 是添加唯一约束
- @relation 是指多对一的关联关系,通过authorld关联User的id
- ? 指当前字段不是必填项
- @default() 设置默认值
- @map(“”) 给字段起别名
- @@map("profile ") 表的别名
- @db.XXX 指定具体的数据类型,以mysql为例db.VarChar(255) 打点的时候vscode会提示关于mysql的相关数据类型,使用db.XXX相当于使用mysql具体的数据类型
- @@index([字段1,字段2]) 联合索引
- @@id([字段1,字段2]) 联合主键(适用于多对多关联表的中间表)
7.执行下面代码生成(更新)表
推荐使用第二个db push,如果需要查看创建表的sql语句推荐第一个
都是没有表会创建表,有表则会同步数据
// 后面的name值随便写(这个命令会生成建表结构,在prisma/migrations/文件夹/里面)
// 还会生成client代码
npx prisma migrate dev --name xiaoji

// 或者
npx prisma db push  // 无sql文件产生
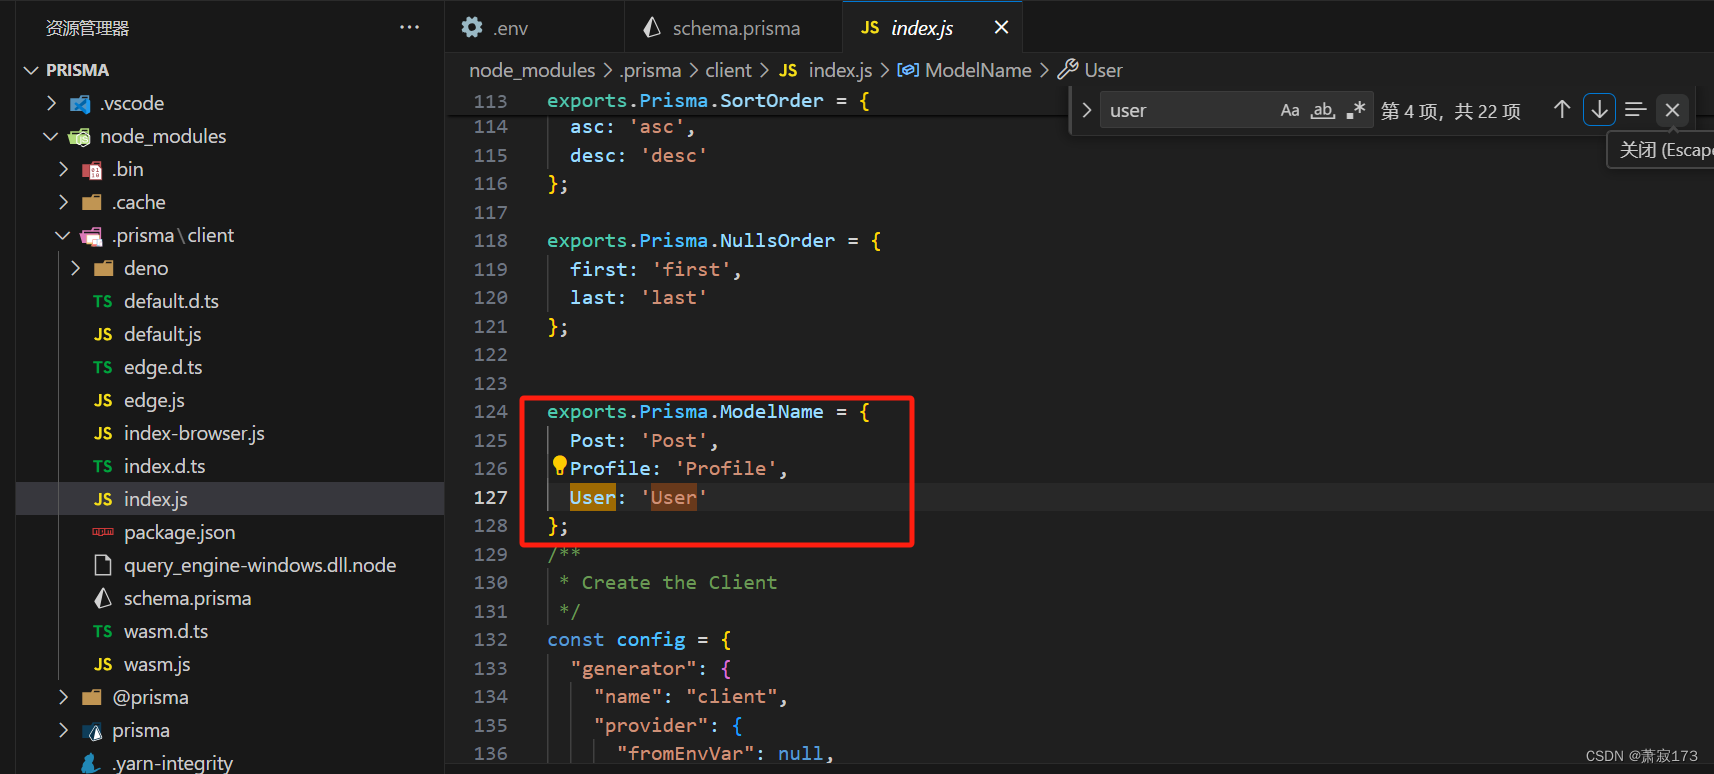
8.在node_modules/.prisma/client/index.js找到相关信息
如果文件内包含我们刚刚创建的数据库,然后就可以用 @prisma/client 来做 CRUD 了。
exports.Prisma.ModelName = {

  Post: 'Post',
  Profile: 'Profile',
  User: 'User'
};
快速入门ORM框架Peisma并使用CRUD小试一下
单张表添加数据
根目录下创建src/index.js内容如下:
import {
    PrismaClient } from "@prisma/client";
// const prisma = new PrismaClient(); // 不会打印sql语句
const prisma = new PrismaClient({

    log: [{
    emit: "stdout", level: "query" }], // 可以打印sql语句
  });

async function test1(){

    // 在user表新增一条数据
    await prisma.user.create({

        data:{

            name:"xiaoji",
            email:"111@qq.com"
        }
    })

    // 在user表再新增一条数据
    await prisma.user.create({

        data:{

            name:"sengren",
            email:"222@qq.com"
        }
    })

   // 将数据查询出来
   const users = await prisma.user.findMany();
   console.log('users',users);
}
test1()
下载安装插件
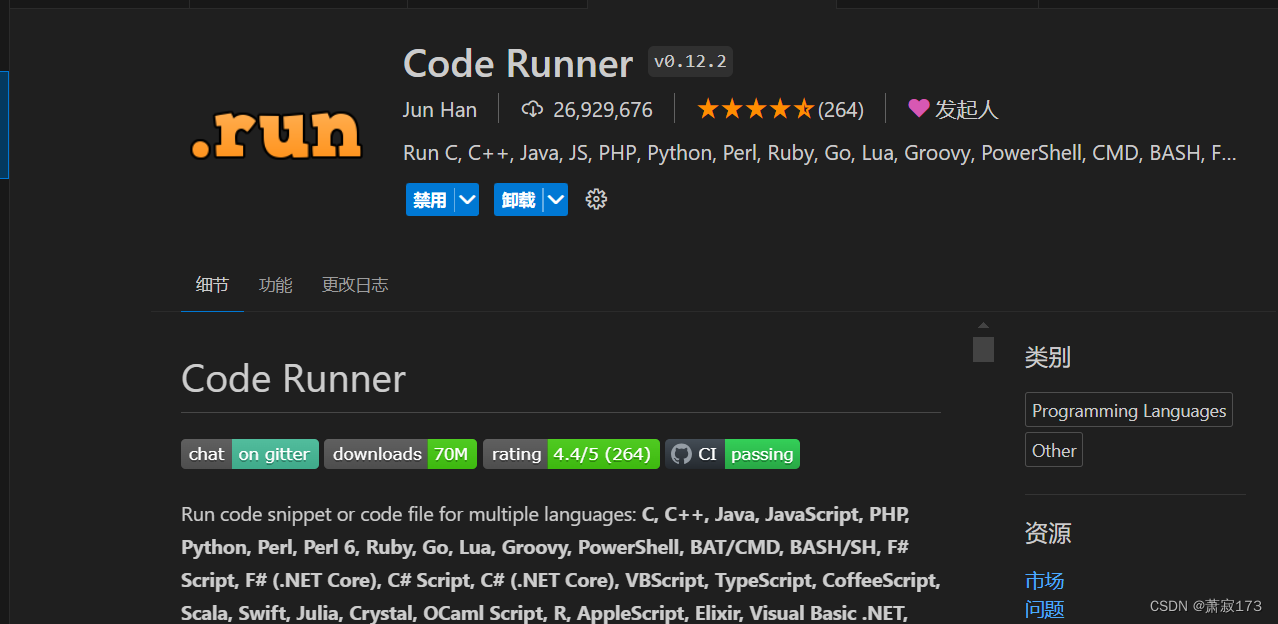
在当前index.js文件内直接右键->run Code->查看控制台
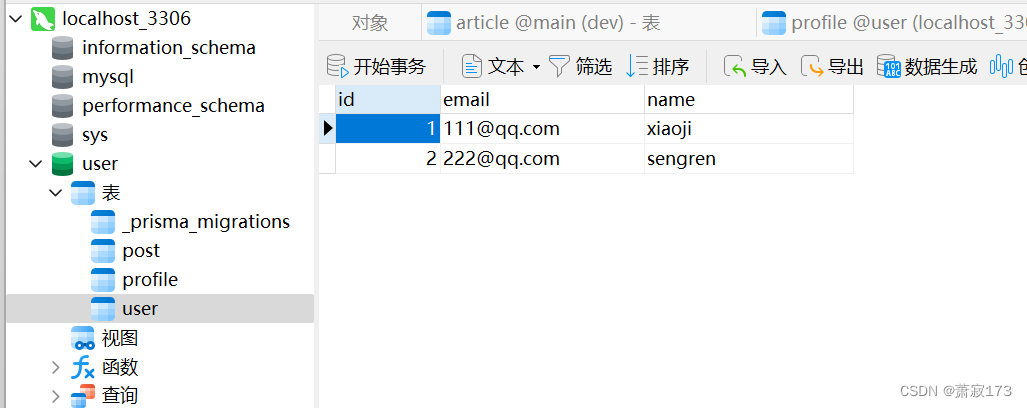
打印结果为:
users [
  {
    id: 1, email: '111@qq.com', name: 'xiaoji' },
  {
    id: 2, email: '222@qq.com', name: 'sengren' }
]
数据库结果为:
一对多添加数据
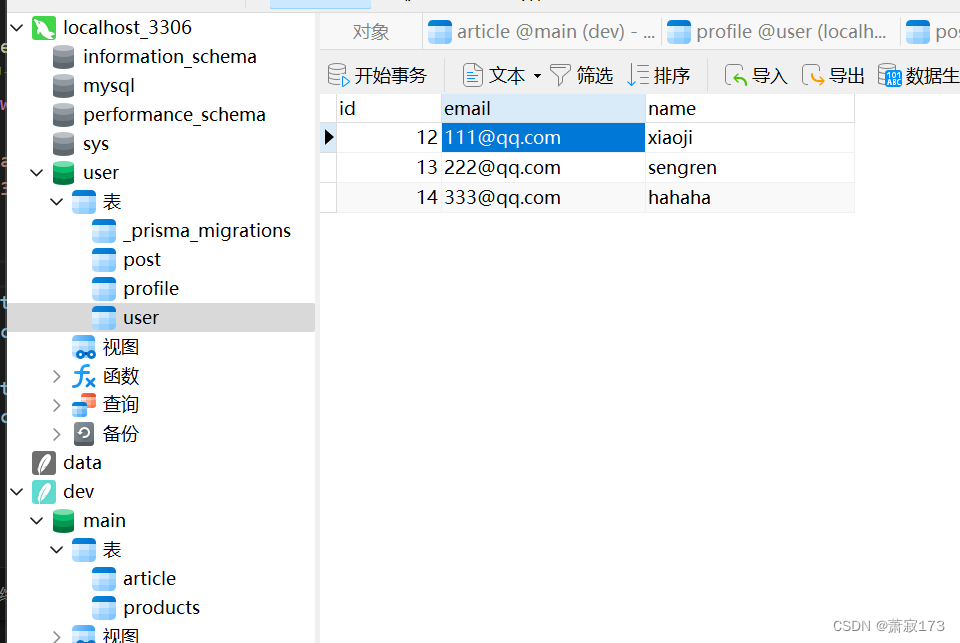
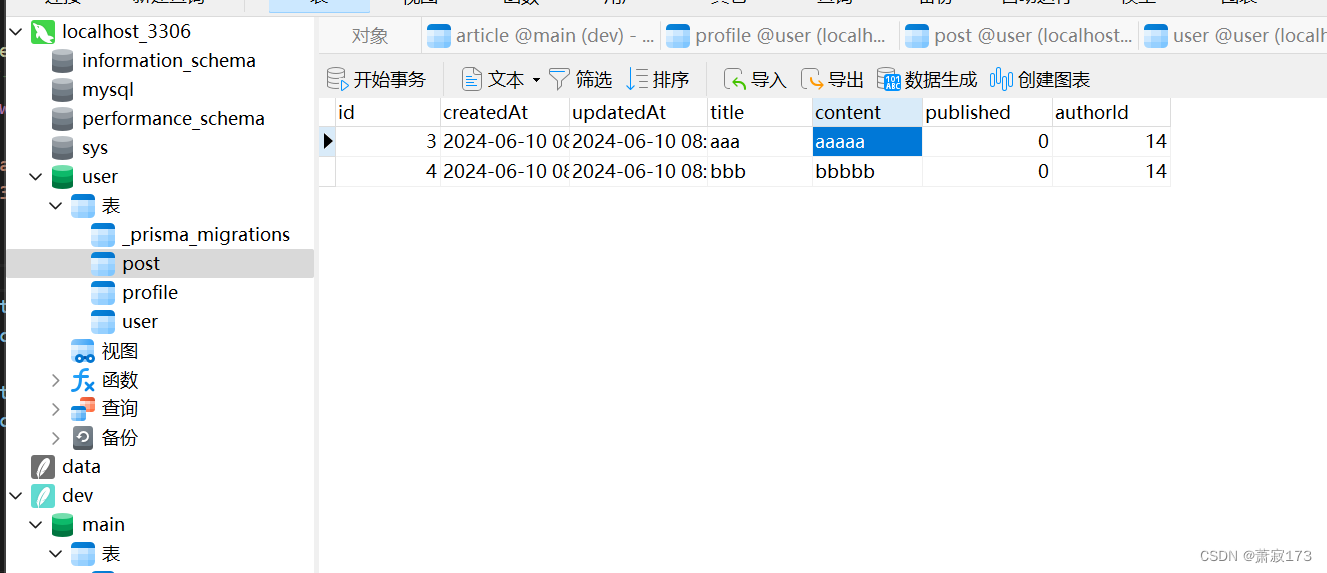
接下来再来插入新的user数据和它的两个post(表关联的数据)
新建js文件或者把刚刚的文件替换下内容,内容如下:
import {
    PrismaClient } from "@prisma/client";
const prisma = new PrismaClient({

  log: [{
    emit: "stdout", level: "query" }], // 可以打印sql语句
});

async function test1() {

  // 在user表新增一条数据
  const user = await prisma.user.create({

    data: {

      name: "hahaha",
      email: "333@qq.com",
      posts:{

        create:[
            {

                title:"aaa",
                content:"aaaaa"
            },{

                title:"bbb",
                content:"bbbbb"
            }
        ]
      }
    },
  });
  console.log("users", user);
}
test1();
右键->runCode运行

如果报错import错误,则在package.json里面新增一个属性,具体如下
{

  "name": "prisma",
  "version": "1.0.0",
  "description": "",
  "main": "index.js",
  "type": "module",  // 新增(将js文件模块化,就可以正常使用import了)
  "scripts": {

    "test": "echo \"Error: no test specified\" && exit 1"
  },
  "keywords": [],
  "author": "",
  "license": "ISC",
  "dependencies": {

    "@prisma/client": "^5.15.0",
    "prisma": "^5.15.0"
  }
}
然后重新右键runCode即可
查看user表数据
查看post表
单表更新
import {
    PrismaClient } from "@prisma/client";
const prisma = new PrismaClient({

    log: [{
    emit: "stdout", level: "query" }], // 可以打印sql语句
  });

async function test1(){

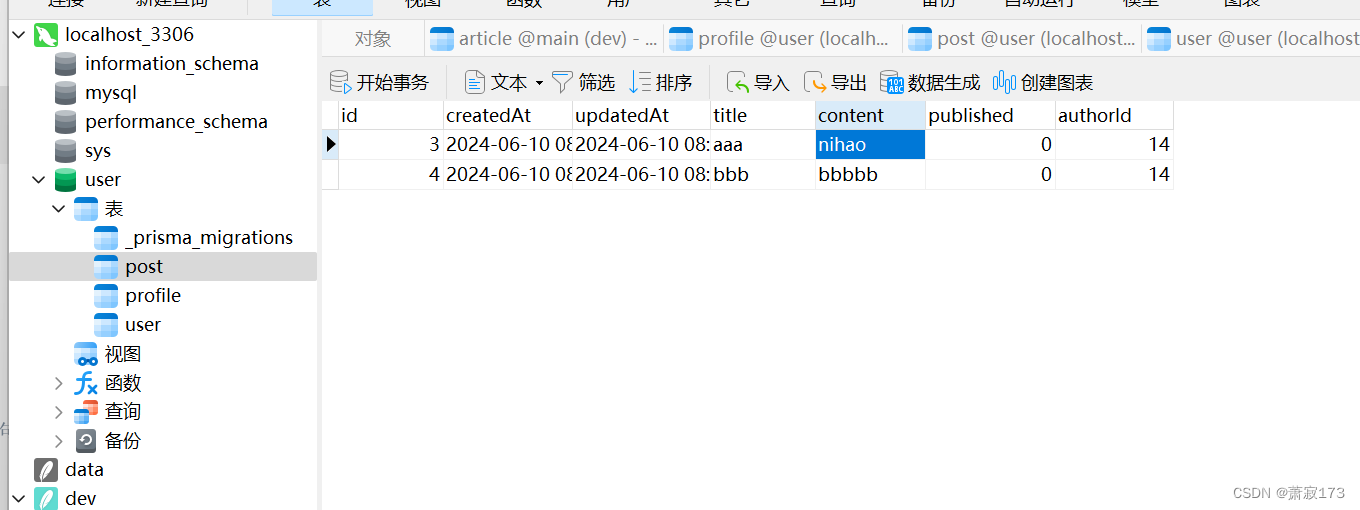
    // 更新post表的id字段为3的数据的content为nihao
    await prisma.post.update({

        where:{

            id:3
        },
        data:{

            content:"nihao"
        }
    })
}
test1()
效果图
单表删除
import {
    PrismaClient } from "@prisma/client";
const prisma = new PrismaClient({

  log: [{
    emit: "stdout", level: "query" }], // 可以打印sql语句
});

async function test1() {

    // 删除post表id为3的数据
    await prisma.post.delete({

        where:{

            id:3
        }
    })
}
test1();
生成对应的模型文档(html页面)
安装
yarn add prisma-docs-generator
配置
在prisma/schema.prisma新增一条
generator docs {

  provider = "node node_modules/prisma-docs-generator"
}
更新配置
npx prisma generate
然后prisma下面就新增了一个docs文件夹
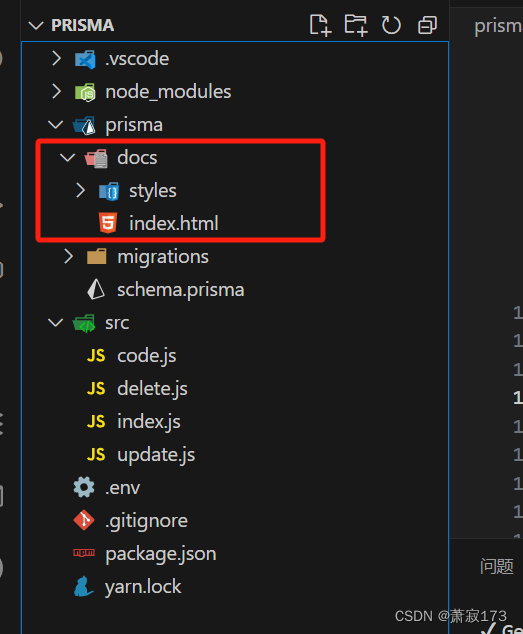
运行index.html
看到的页面如下所示
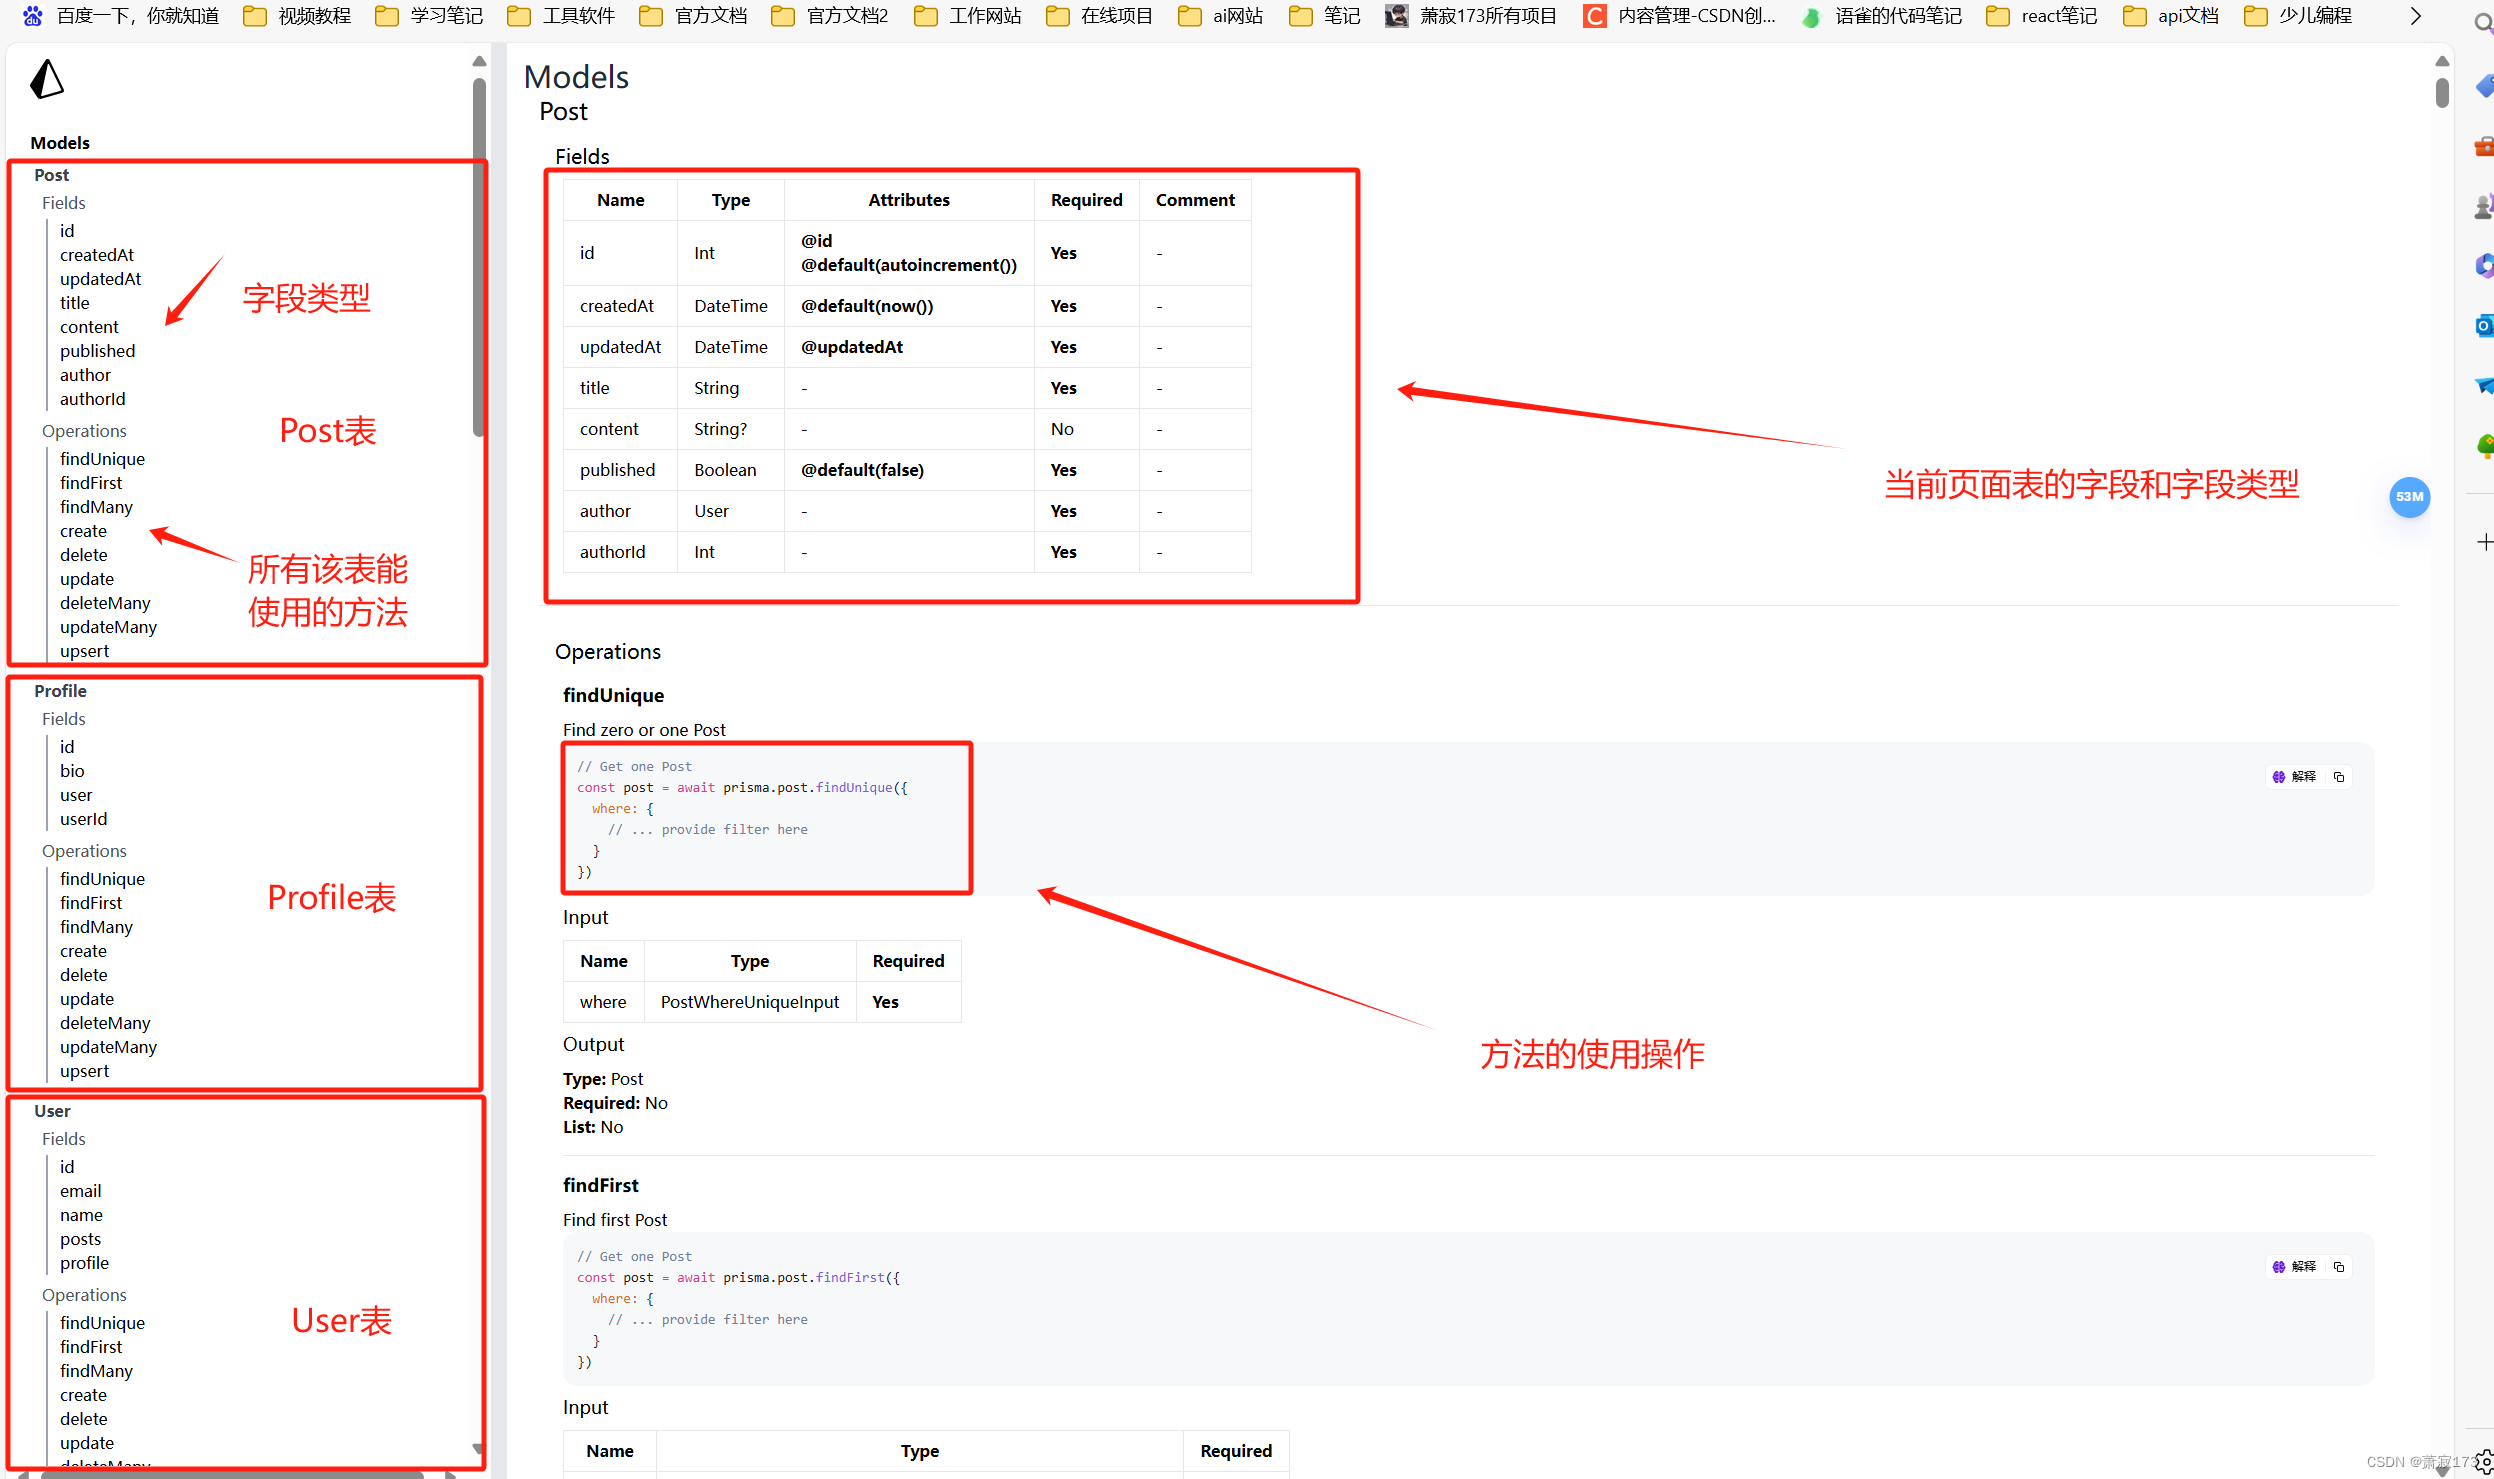
生成这个文档对于做项目查询相关的crud操作非常方便
一对一和一对多和多对多关系的表创建
一对多的表创建
// 部门 一的一方
model Department {

  id Int @id @default(autoincrement())
  name String @db.VarChar(20)
  createTime DateTime @default(now()) // @default(now()) 插入数据自动填入当前时间
  updateTime DateTime @updatedAt // 更新时间使用@updatedAt 会自动设置当前时间
  employees Emplyee[] // 员工表
}

// 员工 多的一方
model Emplyee {

  id Int @id @default(autoincrement())
  name String @db.VarChar(20)
  phone String @db.VarChar(30